cottontee4

Stye Watch – Urban Casual Meets Casual Chic!

It’s style watch time! So besides sharing the recipes I love, listing my favorite things to do, and my lifestyle tips,  I will also bring you my favorite fashion trends! This is some of my personal style and my spin on some of the current trends. 

If you know me personally than you know that I love comfort! You’ll find me in heels when I host and at events, but when I’m lounging around or running errands around town, it’s all about that cute and comfortable kind of style!

I recently teamed up with the Cotton Supply Co. who I love for their feminine cuts yet comfortable in fit. Here are some ways that I dress up and dress down my tees! Click here to shop the look!

Above is their ‘City Of Angels’ tank in black, and I took it and added my own urban flare to it by wearing it over leggins and paired with grey wedged sneakers. Under the tee I have on a lacey blue bandeau and over top, a printed vest. I fell inlove with this aztec gold necklace from Urban Outfitters so I put that on and grabbed my grey tote and off I went for a tea time date! The perfect pair of sunnies and some gold bangles finished off the look, and I felt cute and trendy, but most of all, comfortable! 

For my birthday I went with casual chic. I just love taking tee shirts and sassing them up with some accessories and a sexy pair of pumps! It takes the look from casual to chic with just some simple additions of accessories, and a minor tuck of the tee! 

In this look I took the ‘Malibu White’ tee and tied it up on the side (remember the 80’s style side knots?! Yes those! I did that to this tee and it rocked!), and paired it with an asymmetrical black skirt which took the look  from casual to chic as you see above. 

My JustFab pumps sexy-fied the outfit, and I figured that with the skirt and the side zipper jacket, it would dress the outfit up enough to go out for my birthday dinner, and it was! For my accessories I kept it pretty simple, a silver antique necklace for a lil sparkle on my neck, some silver stacked bangles, and my black sunnies! 

Since my outfit was pretty dressed up, I tied my hair up in a top knot, kept my makeup to a smokey eye and a nude lip, and off we went to explore San Diego’s Gaslamp District! So fun! Click here to shop the look! 

I think you can take any casual piece of clothing and dress it up, dress it down, take it to chic, or even give it an urban feel just by accessorizing it with some mood inspired pieces. Shoes can make any outfit say what you want it to say, and adding a simple jacket or vest can elevate your outfit as well! 

Keep that in mind if ever you need some fashion inspiration, and if you like some of the pieces I have above, you can get 20% off with jess20 at checkout! Thanks to the Cotton Supply Co for sharing the love with my audience! Check them out and tag me on Instagram and Twitter so I can see how you style the tees! 

I have some more style watch posts coming from you soon so stay tuned! 😀 

Keep stylin you sexy thang!

xoxo – Jess


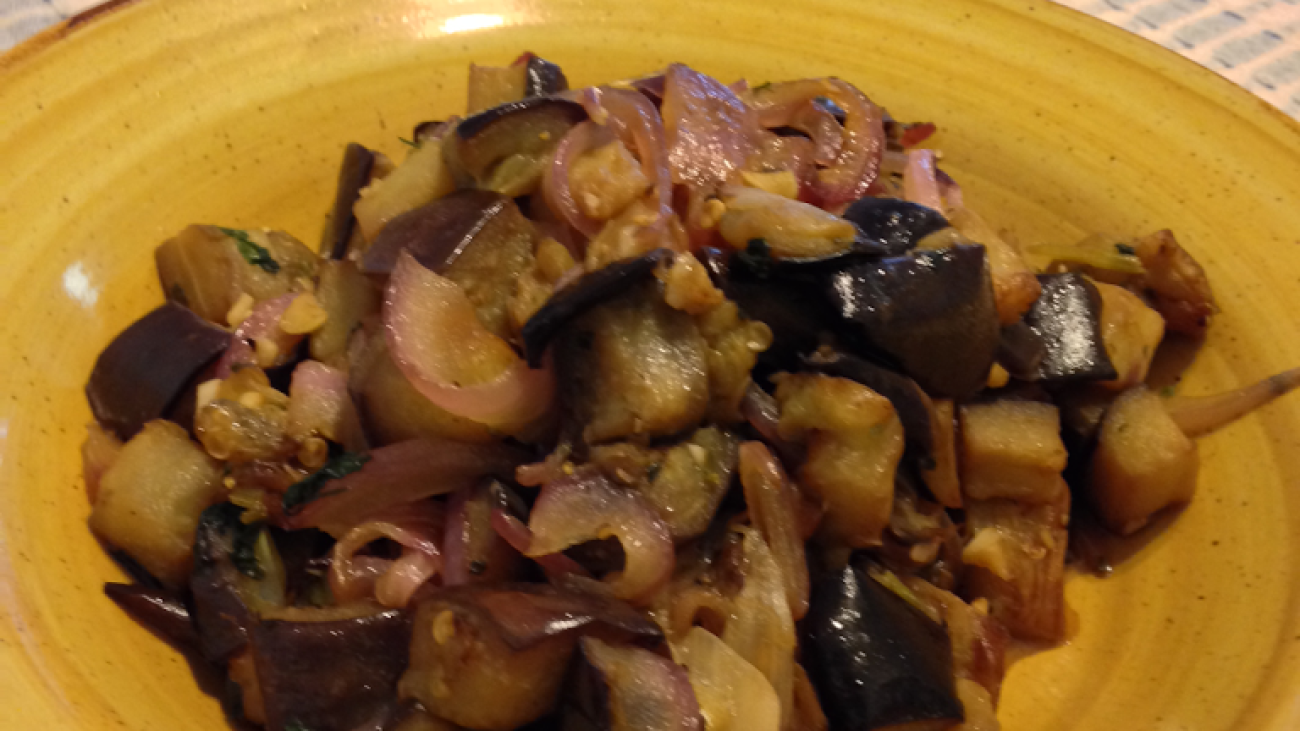
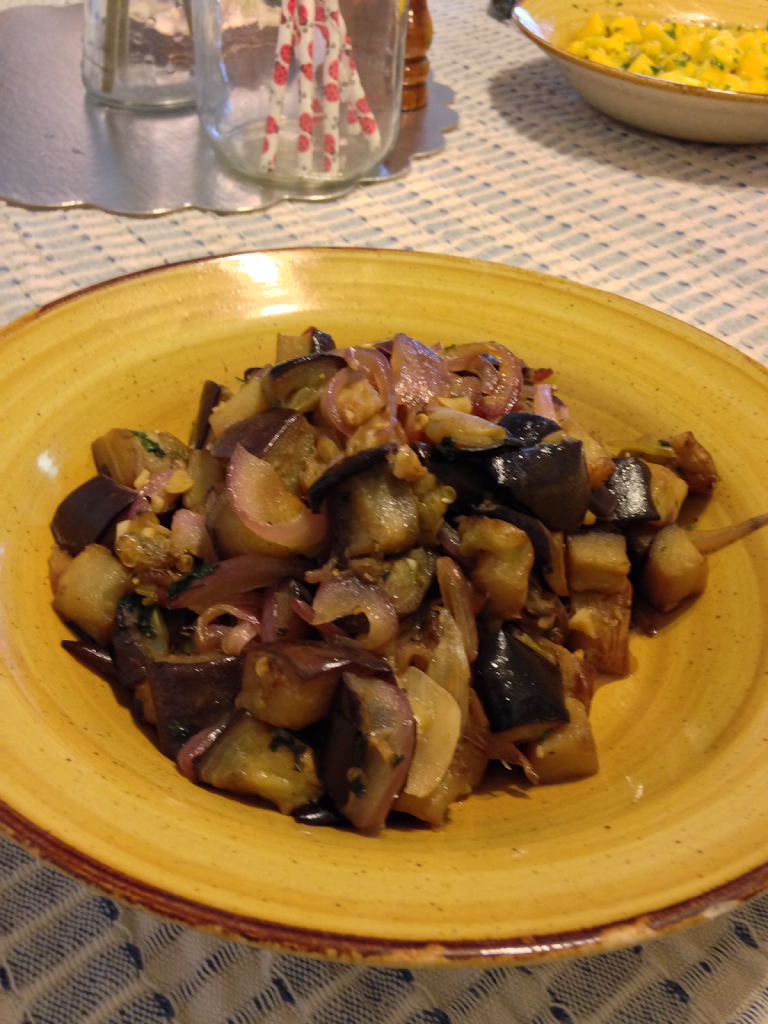
eggplantblogpic1

A Mediterranean inspired Coponata dish recipe!

For those of you out there on a cleanse, or if you’re gluten free, or vegan, this one’s for YOU! So the night Fr. Leo came over to cook up a storm, one of our friends was on a cleanse (I know right, I felt so bad that all this carb dense food was staring at him!) and my daughter is a gluten free vegetarian, soooo we had to make something that wasn’t all carbs and meat haha! This dish was refreshing to our palettes and diet friendly to our friends. Win win baby! So lets get cookin shall we! 


So this egg plant dish is creamy in texture, but not creamy in an ‘I hate textures and can’t eat that’ kind of way. It’s mineral-ly and smokey, and light enough that I could literally eat this every day. 

We had this in between courses while our food settled, and it was light enough to refresh us, yet satiating enough to keep us from going back for seconds on the other dishes. 

What you’ll need for this Coponata: 

– 1 eggplant
– 1 clove crushed garlic
– 2 tablespoons chopped parsley
– 1 teaspoon sea salt
– 1 teaspoon fresh cracked pepper
– 1 teaspoon red wine vinegar
– half of one finely diced red onion

So cut the tips off of the ends of the egg plant and slice the eggplant in half, horizontally. Then cube and cook them on very HIGH heat in 2 tablespoons of heated olive oil. Cooking this on high heat will allow the eggplant to blister which we want. You may drizzle the eggplant with extra olive oil if it’s not frying enough, perhaps you didn’t add enough at the beginning (this is what we experienced). You don’t want the eggplant to dry out so if using more olive oil is necessary, go for it. 

Then add in the fresh garlic and onion, crack some fresh pepper over top and add in the salt, and give it a toss. Drizzle the red wine vinegar over top once the onions are softened, this will de glaze the pan, and then add in some freshly cut parsley to top it all off before serving. ENJOY! Nom nom nommyyy! 

This is really really yummy for an appetizer too, light enough for it, and gets you ready for the other 5 courses! Please visit Grace Before Meals for more yummy recipes, and thanks again to Fr. Leo! 
Hope you enjoy this dish, I know we did! Be sure to tag me on Instagram and Twitter when you make it, I love seeing your spin on recipes! 

hugs all around, 

Jess
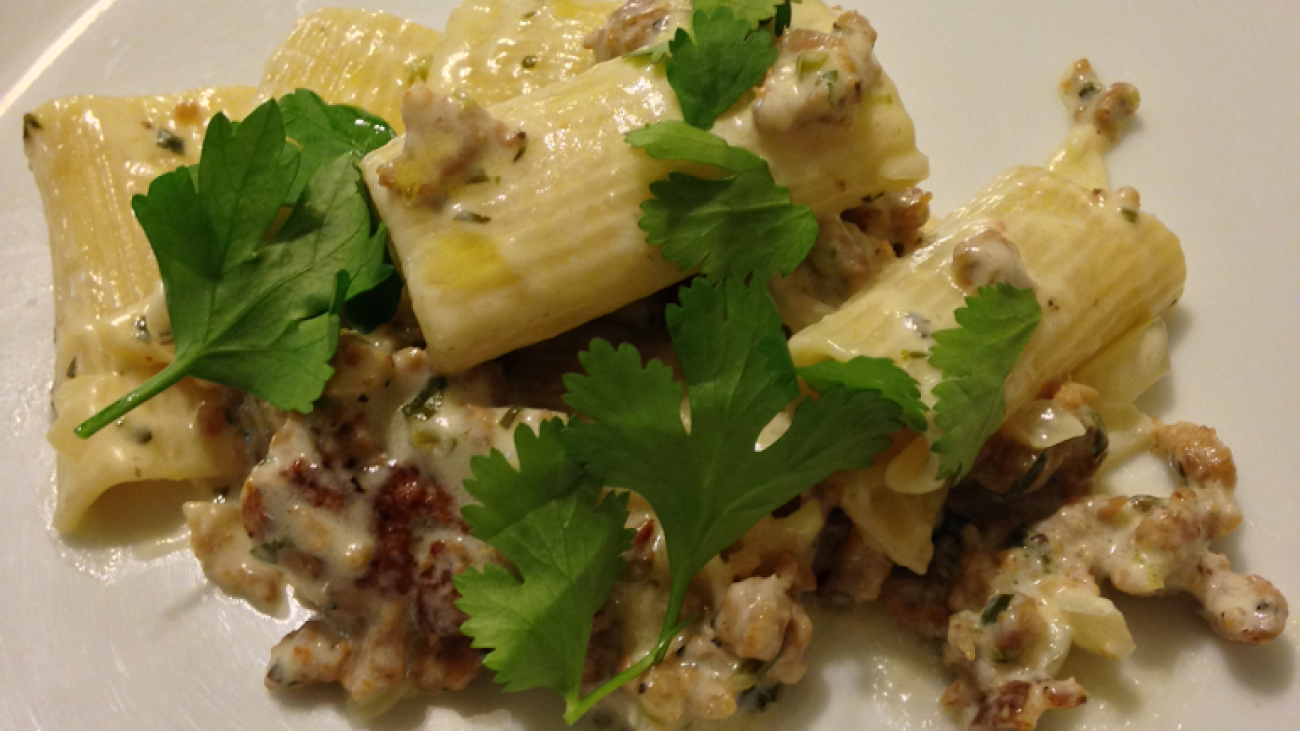
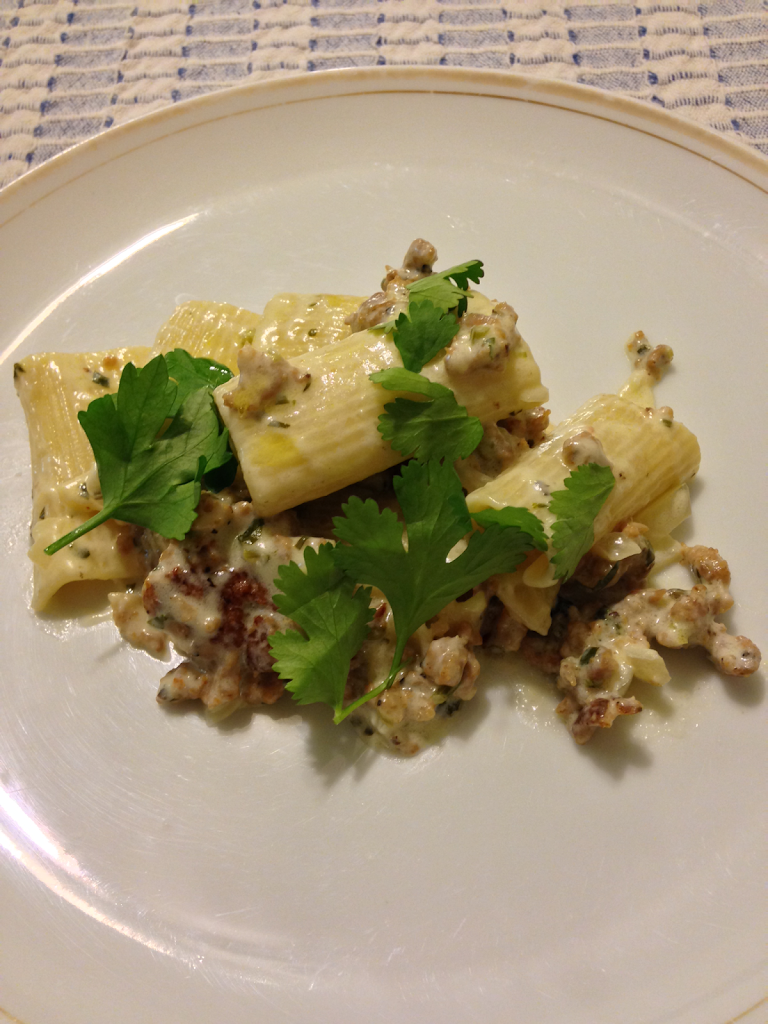
pastablogpic1

The yummiest pasta a la norcina recipe ever!

Yes, I dare say yummiest! This dish is a creamy Italian sweet sausage pasta sauce over al dente rigatoni, and it’s the comfort food to end all comfort foods. Deeeliishhh! It’s day 3 of our 6 courses in 6 days and this won’t fail to impress! So grab your vino and meet me in the kitchen! 

This dish takes you all the way to Italy and back again! Thanks to Fr. Leo for creating this 6 course meal in 1 day! So today is day 3 and you’ll find that the creaminess of this sauce meets the savory notes of the Italian sausage, and your taste buds and house guests won’t believe it’s real! It seems too good to be true, but it is… mind blown, I know.

So for the sweet sausage pasta sauce you’ll need: 

– sweet Italian sausage– 1/2 cup of finely chopped white onion
– one clove crushed fresh garlic
– white wine (compliments the sweetness of the sausage)
– pinch or two of crushed red pepper
– 2 tablespoons of salted butter
– 2 tablespoons of flour
– 1/2 cup finely cut fresh parsley 
– 1 1/2 cups heavy whipping cream
– sea salt
– fresh cracked black pepper
– rigatoni pasta (cooked al dente)

Cut each Italian sausage length wise just deep enough so that you’re able to remove the outer casing. Drop the sausage into a sauce pan and cook on medium heat. As it cooks it will crumble a part, when you see the sausage is just about done, add in the onion and garlic. 

Stir. Then add in JUST enough white wine into the pot to cover the sausage and let the wine cook out over HIGH heat. It will boil, let it cook for about 7 minutes and then lower the heat. Slowly add in the flour (dusting it in) and stir, this will thicken the mixture. Add in your butter and fresh parsley, and then add in the heavy whipping cream and turn the heat to LOW so that you don’t cook the cream out.

Sprinkle in the salt, pepper, and red pepper flakes and allow the mixture to come to a soft boil over LOW heat. 

Remove from heat after a few minutes of boiling, and then pour on top of a bed of al dente rigatoni pasta! Try not to get too addicted to this sauce and want to put it over everything! I know I did!

Sending out a big ol’ hug to Fr. Leo for making my bday night so incredible with all this food! 3 more days of this! Be sure to check out Grace Before Meals for more recipes and I’ll see you right back here tomorrow for another mouth watering recipe! 


Have a delicious kind of day yo!

xoxo

porkblogpic2

Bacon wrapped pork tenderloin with mango chutney recipe!

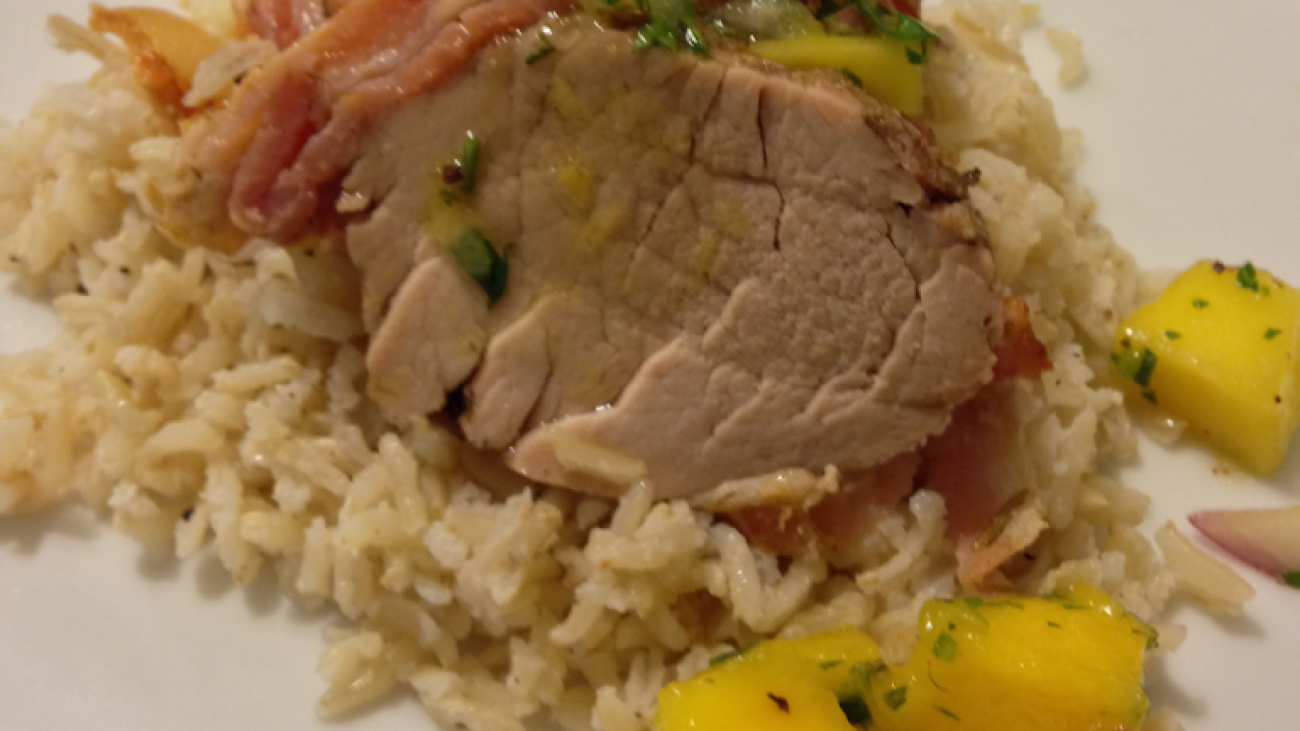
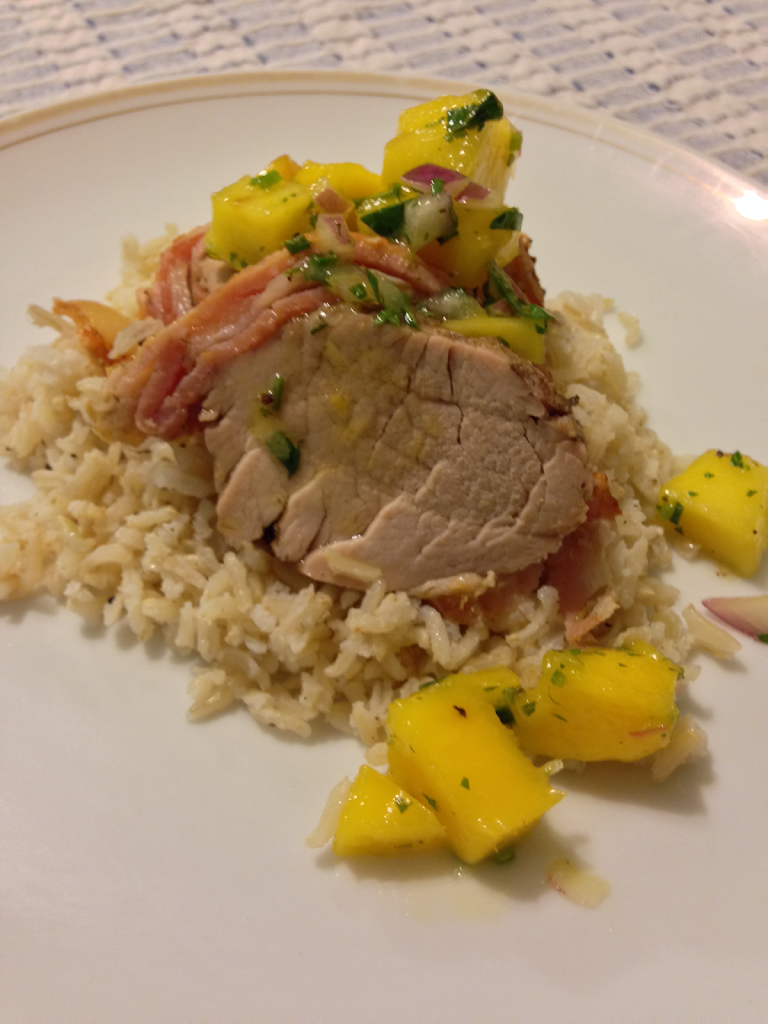
Oh it tastes even better than it sounds! Welcome to day 2 of our, 6 courses in 6 days, menu extravaganza! Today we’re making a bacon wrapped pork tenderloin with rosemary and cumin, a top a bed of creamy coconut rice, and then topped with mango chutney! Mango chutney! I mean, I can’t even describe how delicious this dish is! When people came over I kept blurting out what it was before Fr. Leo even got a chance to plate it! So wipe the drool and grab a fork, here we go! 

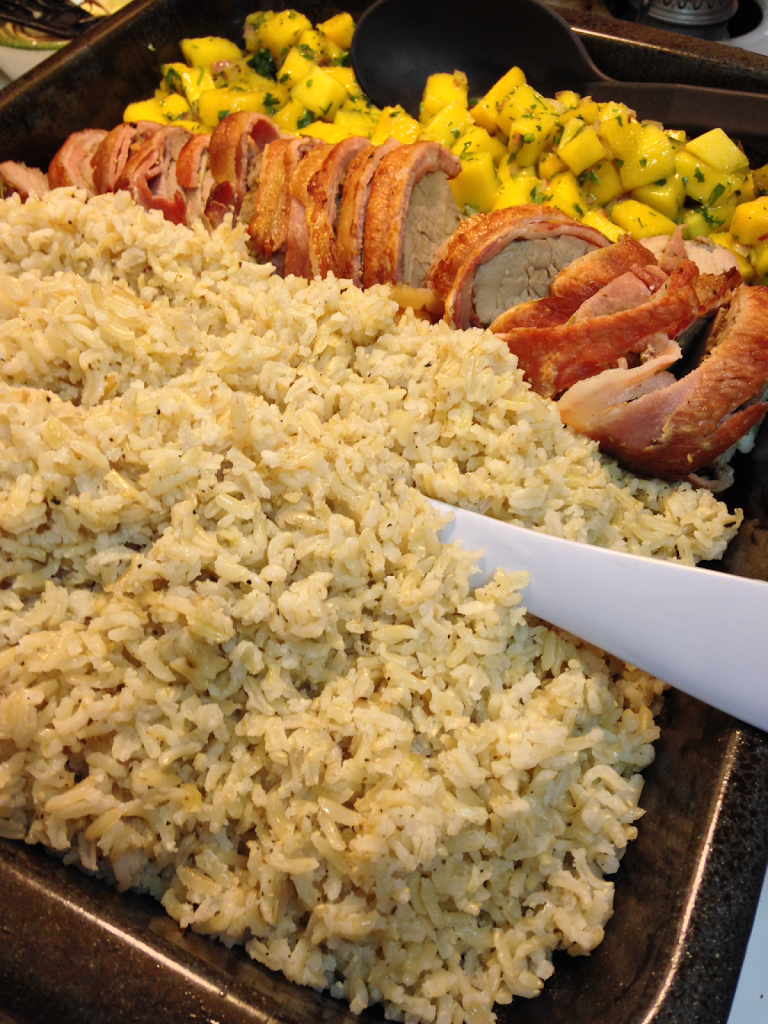
So start the rice first so that by the time everything is prepared, you can just let it sit in the pot or in the rice cooker until you’re ready to plate this amazingness! The coconut rice is so complimentary to the savory bacon wrapped pork tenderloin, and the sweetness of the mango chutney just puts it right over the edge. This is great for a dinner get together, or in my case, a birthday dinner!

So for the coconut rice:
-2 1/2 cups cooked basmati brown rice (you can use whichever rice you prefer)
-1/2 can full fat coconut milk
-1 teaspoon sea salt
-1 teaspoon fresh cracked black pepper
-1 1/2 teaspoon garlic powder

Cook the rice how you normally choose to do and then when it is done, add in all of the spices and coconut milk and stir. Set this aside until everything is ready. 

For the bacon wrapped pork tenderloin
-Pork tenderloin
-4-5 slices bacon
-1 1/2 teaspoons cumin
-2 teaspoons rosemary (adds the woodsy- piney flavor)
-salt
-fresh cracked black pepper

Crack the pepper over the pork tenderloin, sprinkle on the cumin, rosemary, and sea salt, and rub it all into the tenderloin. 

Wrap the tenderloin in the bacon by laying out the bacon horizontally next to one another and then placing the rubbed tenderloin at one end of the bacon, and wrapping it to the other end until the tenderloin is fully wrapped in bacon. 

Pre heat your oven to 500 degrees and allow the tenderloin to cook for about 10 minutes and then drop the temperature to 350 degrees and cook for an additional 20-25 minutes until the bacon is nice and crisp. Set aside. 

Now it’s time for the topping, the mango chutney! You’ll need: 

-2 mangoes
-2 oranges
-red wine vinegar
-1/4 cup of VERY finely chopped red onion
-freshly chopped cilantro 
-freshly chopped parsley (this combined with the cilantro will be about 1/4 cup)
– 2 teaspoons sea salt
-cracked fresh black pepper
– 1 tablespoon olive oil
– 1 teaspoon red wine vinegar (this cooks the onion down)

Cube the mango and scoop out the squares into a bowl. Add in the finely chopped onion, and the rest of the spices and herbs. Almost done! 

Now for the plating of it! Slice your tenderloin and place a few slices on top of a mound of coconut rice, and then top it with a generous scoop of the mango chutney and enjoy devour! This is what it will look like! Mmmmm mmm mmmmmm!!!

This dish was sweet and savory, had a tropical twist with the coconut notes in the rice, and filling but not enough to where you’re gonna want to un button that top fly button! Give this a try and when you do tag me on Instagram and Twitter so I can drool over this food porn photo! I mean, I think this is by far one of my most favorite dishes ever. So tropical, so yummy, so enjoy!!!

Big huuuge thank you to Fr. Leo for coming out and cooking for us all, check out his site, he’s the best cook! I mean he beat Bobby Flay!!!!! haha 😉 http://gracebeforemeals.com/


Love to you, 

Jess


asiansliders1

Asian Sliders With Homemade Cilantro Aioli Recipe!

It’s cook out season! The air is cooler and fresher, and it stays warmer out longer, thanks to Mr. Sun not going away too quickly these days. So what better way to kick off the weekend than with an Asian slider recipe on toasted buns, and home made cilantro aioli! So it was my birthday last week and our dear friend Fr. Leo came by to treat some friends and I to this incredible 6 course meal! So grab your appetite and lets start cookin because today is day one of six!

I’ll be giving you one recipe daily so that each night you’ll have a treat to cook! These were incredible! I mean Fr. Leo did beat Bobby Flay!!! Haha, can’t wait for you all to make these! 6 courses in 6 days! So hold on to something because these are amazing! They were crunchy yet moist, salty yet sweet, refreshing AND satiating!

So what’ll you’ll need for the Sliders

1 TBLspoon Olive Oil
1/2 White Onion
Sea Salt
Cracked Black Pepper
1 TBLspoon Garlic Powder
1 tspspoon Ground ginger
2 TBLspoons brown sugar
1/4 cup soy sauce 
Ground beef (I used 80/20 lean portion)

Saute half of a finely chopped white onion in olive oil, then roll it into the ground beef, add in all the spices, and fry on a pan. You’ll fry them dry since there’s fat in the beef so no oil is necessary.  

For the bun, simply take some hot dog buns and cut them in half, this makes them ‘mini’ buns. Then drizzle the inside halves with olive oil and lightly sprinkle them with sea salt, and bake them in the oven at 350 degrees for about 7-10 minutes. Just until they are crisp (not burnt) and set aside. 

For the aioli
2 cups mayo
3 TBLspoons sea salt
Sprinkle of fresh cracked black pepper
1 1/2 TBLspoons old bay seasoning
2 Teaspoons garlic powder
Fresh Cilantro (de-leaf whole, you’ll want the leaves to top off the sliders)

Mix all of the ingredients (except for the cilantro) together in a bowl and whisk well. Put each slider onto a toasted mini bun, swipe on some aioli, sprinkle with the fresh cilantro leaves and ENJOY!!! Badabinggg badaboom!!!

This recipe is so incredibly delicious and if you make it for a dinner party or get together you WILL be the coolest and best cook at the party! So give these a try and let me know what you think! 

Tag me on Instagram and Twitter when you do! Here’s another photo of the yumminess you’ll put in your tummy, and of the night Fr. Leo cooked for myself and 9 of my loves! Check out the site for more recipes including the original one of this one! 


Happy week to you! 

xo

J

facespritzblogpic

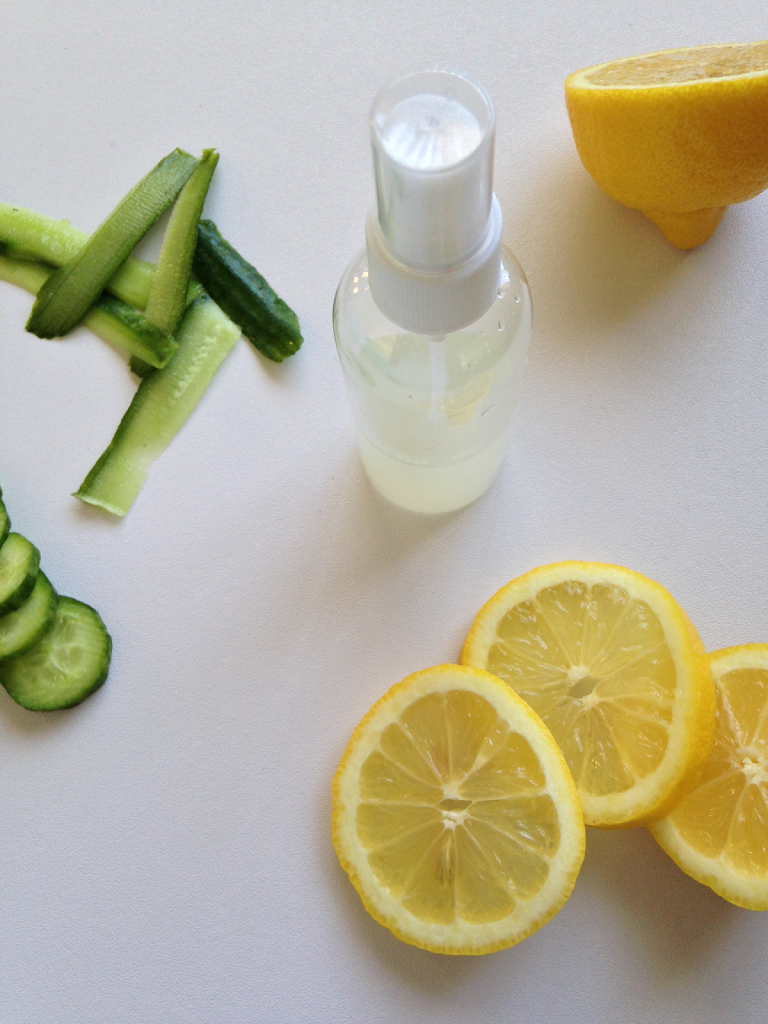
All natural skin tonic in a spritzer!

When I say tonic I don’t mean the beverage type unfortunatley. Leaving that for another post oh don’t your worry, but when I say tonic I mean skin tonic. A spritzer for your face. A natural, home made, DIY toner that smells fantabulous (that’s fantastic married to fabulous), and leaves your skin feeling refreshed and looking brighter! Spring time is in full force here in LA, the air is colder and my skin is more dry than ever, so if you need a pick me up, this one’s for you!

I chose to use a few ingredients that I already had in my kitchen, you can literally make so many different toners and spritzers with the fruits and veggies in your fridge. Next time we’ll make a green tea with vitamin E one! 

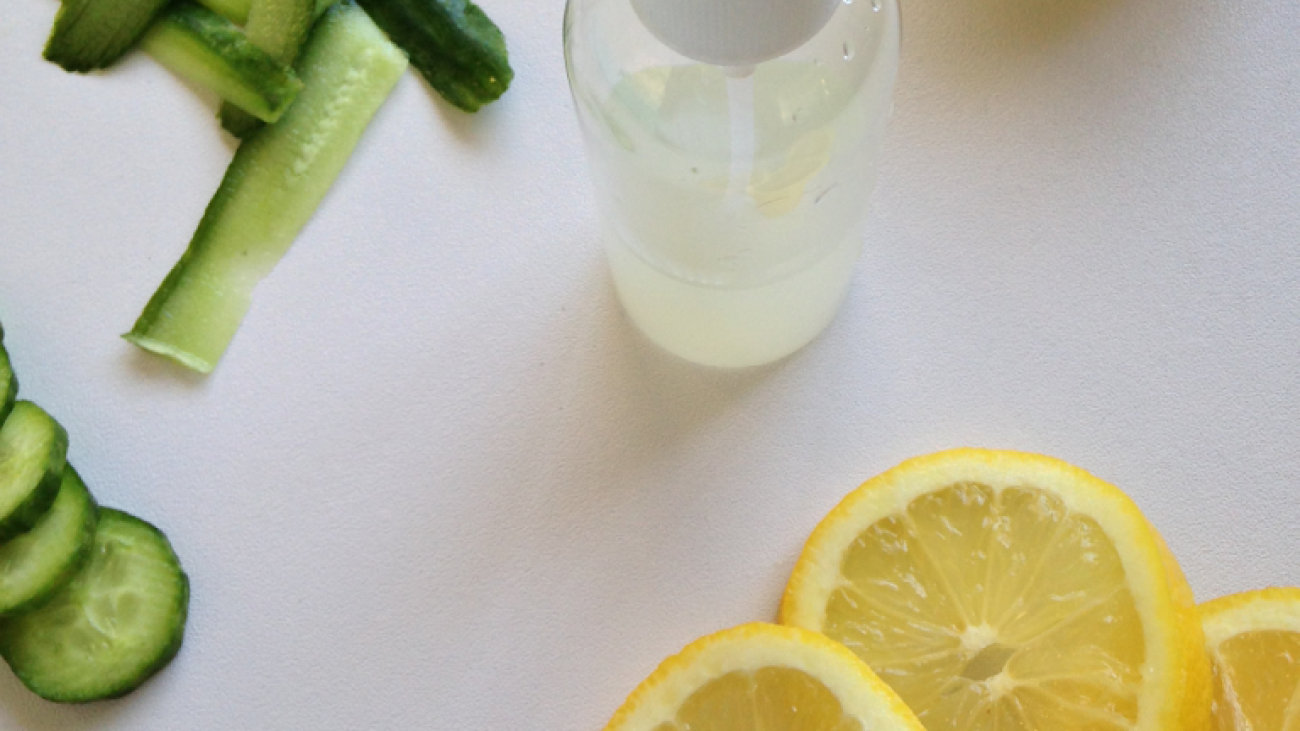
For today I used cucumber, lemon, aloe vera gel, and rose water. Each of these ingredients individually have so many benefits to them and the smell was so refreshing thanks to the cucumber, and the feel was incredible, thanks to the rose water, aloe vera, and lemon! I was all kinds of glowy! 

What you’ll need: 
– 1 small cucumber (skin tightening, improves complexion, gives you a glow, and the seeds are rich in Vitamin E & potassium which reduce fine lines, wrinkles, and blemishes!)
– 1 teaspoon lemon juice- just the teeniest of squeezes (skin brightening, anti bacterial and anti fungal properties great at treating blemishes)
– 1 teaspoon aloe vera gel (hydration, soothing, aids in hyper-pigmentation, natural moisturizer)
– 2 TBL spoon rose water (rejuvenates, tones, full of antioxidants, natural moisturizer)

What you’ll do: 
Once you’ve peeled your cucumber, toss it into the blender until it’s blended enough to strain the juices from. I used a napkin and poured the cucumber mesh into it and then strained it into a bowl using my hands and one tight grip. Then add in the lemon juice, aloe veral gel, and rose water. I poured everything back into the blender to give it another mix, and then poured the mixture into a spritzer bottle and vualaaaa!

Refrigerate and enjoy! 

You can omit the lemon if you’re going to be in the sun all day, the sun and lemon don’t mesh well together, so save the misting for when you’re inside and need a good pick me up! Try making this, as I did or with lavender and vitamin E. I think later this week I’ll make a green tea with vitamin E and rose water one. Hmmmm.

Have a beautiful day beautiful!

xo


smoothieblogpic

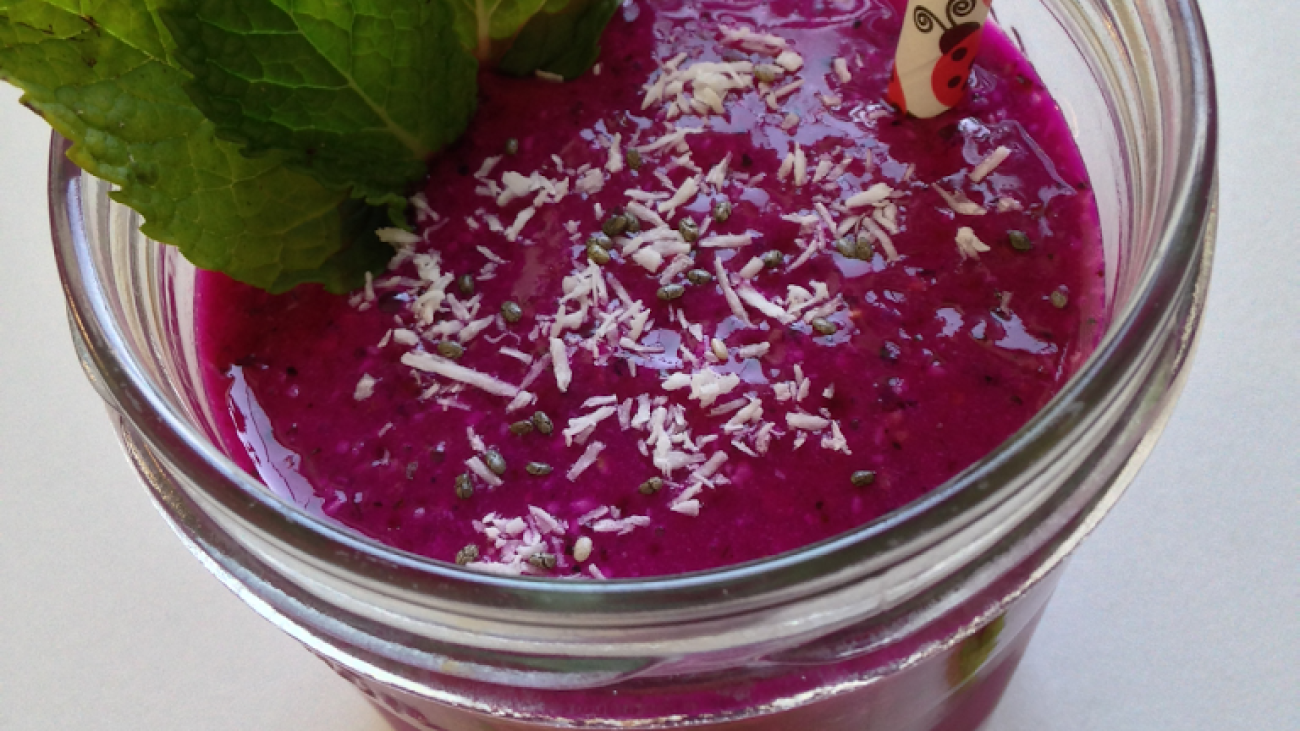
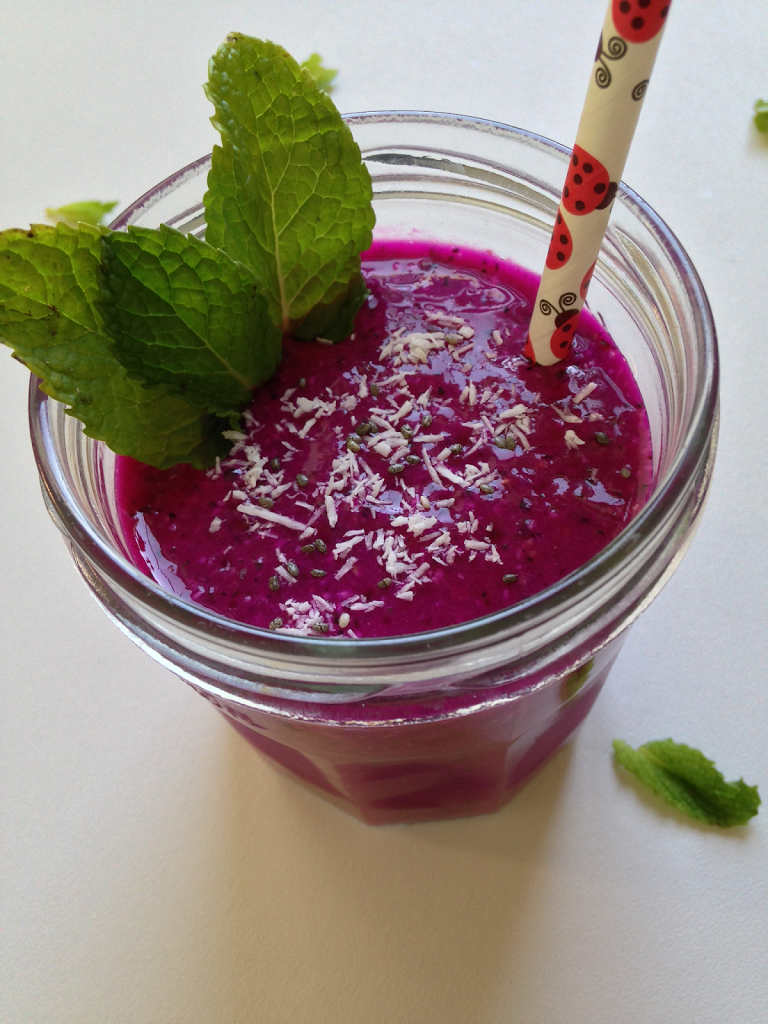
The super fruit, super charged, energizing smoothie!

I’ve been on a smoothie kick lately, just throwing everything I have into my blender and enjoying these yummy treats for breakfast or as post workout recovery fuel. Today’s smoothie recipe is my new all time favorite. I used Pitaya which is a super fruit… dragon fruit! We’re getting fancy! This antioxidant rich, vitamin packed, energy boosting recipe will leave you feeling refreshed, refueled, and re-energized! Isn’t the color just so pretty!? Go grab your blender and run to the kitchen!

I had some Pitaya packets in my freezer and decided to make a smoothie with this superfruit. 

The yummies:
– 1 packet of Pitaya (superfruit, purges harmful toxins from your body, high in fiber, low in sugar, jam packed with antixidants, vitamins, and promotes healthy skin)
– half of a banana (potassium, magnesium)
– 1 TBL spoon unsweetened coconut shreds (fiber, vitamins, minerals, calcium)
– 1 cup almond milk (iron & riboflavin which aid in muscle growth and healing)
– 3 to 4 strawberries (antioxidants, vitamin C, heart healthy)
– handful of blackberries (Vitamin K, reduces inflammation)
– few mint leaves (aids in digestion, great source of several essential minerals)
– 1 TBL spoon chia seeds (rich in antioxidants, minerals, fiber)
I put everything into the blender, blended until smooth and then topped it off with some more coconut shreds and mint leaves. No ice was needed since the Pitaya packet came straight from the freezer and I freeze my bananas so they make my smoothies extra creamy! Try that trick out! The smoothie was sweet enough as is, but if you wanted to drizzle in some agave for added sweetness, I think it’d be the bees knees! 

This was really yummy, filling, and the mint made the taste even tastier than I thought. Try it out, let me know your thoughts, and if you make this or make a version of it, tag me on Instagram or Twitter 😀 Jess_Lizama 

A very healthy, happy day to you!

Jess
scrubblogphoto

DIY Peppermint Lavender Sugar Scrub

Sugar scrubs are an amazing way to exfoliate, hydrate, and calm your skin, but they can get pricey! Have no fear, Jess is here, and I’m gonna show you how you can make a variation of scrubs with what you already have in your kitchen! In under ten mintues, and less than ten bucks, if you have some of the ingredients already, you’re set! Today we’re making a peppermint lavender sugar scrub, oh la la. Read on! 

First, why would you want to make your own sugar scrub besides the fact that’s it’s much cheaper this way? Well I’m a huge advocate of skin care. Most of my posts will be about skin care, hair care, good food, blah blah, and exfoliating your skin is right on up there with the list of priorities you must do before bed time, beyond just washing your face. Fellas out there, I know you want to believe you just have to splash your face with water and go but there’s more to it! 

Exfoliating improves your skin’s texture by prompting the cell renewal process and thus improving your skin’s texture. It’s all about the collagen! We need it to have plump young cells! Scrubbing away dead skin cells will unclog your pores, make your pores smaller, and help with any breakouts. Still not a good enough reason? Well I bet getting old and having your skin look saggy AND agey (agey is a word) is a good reason to exfoliate! Yup, as we get older it’s just more time for layers of dead skin to accumulate. Ewwww, scrub a dub dub those nasties away is what I always say!

Sugar is a great exfoliant as it’s milled finely enough that it will scrub away the dead skin, but not harsh enough to cause scraping or scratching on your face the way an apricot scrub would. Just be gentle. The olive oil you’ll use in this recipe is packed with antioxidants, and while you’re scrubbing, you’re also moisturizing your skin and it isn’t stripping your face of it’s natural oils. 

Speaking of oils, I went with Vitamin E as it’s extra moisturizing, you can skip this step you have more oily/ acne prone skin, and it also has anti aging benefits, as it speeds up cell regeneration – which lets face it, I need – as I’ve been breaking out like crazy lately, thank you Mother Nature. 

The peppermint not only smells invigorating and relieves stress, but it also has antiseptic and antibacterial properties, and will help to cool your skin. You’ll feel a nice cooling sensation with this scrub, I happen to be obsessed with this recipe btw. 

Lastly, I chose to use lavender as my essential oil of choice though you can go with whatever your heart desires. Lavender though is the most valuable oil in treating acne, as this time of month calls for some real action! Lavender also helps to rebalance your pore’s production of oil, and it smells amazing which could be why it’s great at relieving head aches and anxiety. I pretty much just want to dip my entire body into a vat of lavender oil. 

So grab your apron and a smile and lets get to making that Peppermint Lavender Sugar Scrub!

What you’ll need: 

1/2 cup sugar ( I used coconut sugar)
1/4 cup oil ( I used organic olive oil)
10-12 drops of Vitamin E oil
1/4 teaspoon Peppermint Extract
12-15 drops of Lavender Essential oil

What you’ll do: 

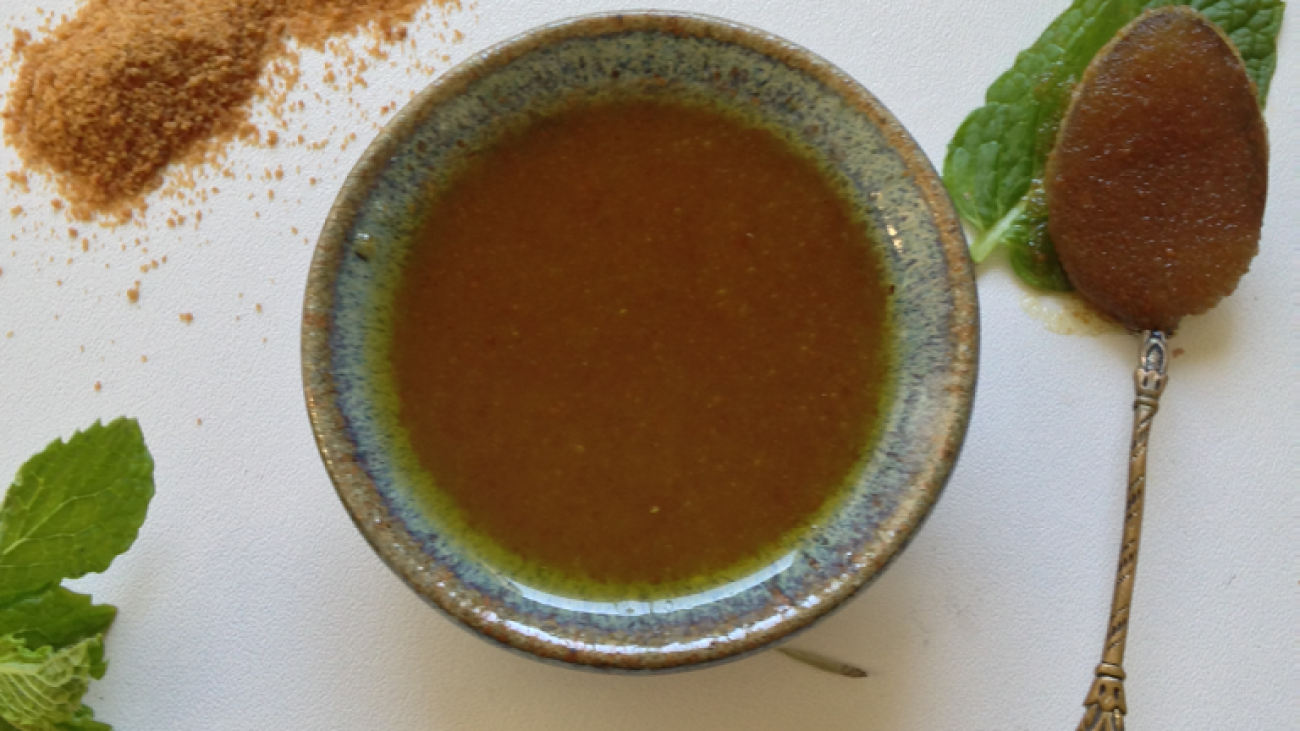
Mix all of the ingredients together in a bowl, and what I did was then package them into those little travel containers that you put lotions in. I got them for $1.49 at Target and filled up 3 bottles with this mixture. You can make more or less of this recipe depending on if you want less for your face or double up on the recipe for your body. You can also add as much or as little of the extract and oils depending on your personal preference, I loved the smell of this using these proportions. 

Makes a great gift, smells amazing, and your skin will be glowing after! If you make this please tag me on Instagram or Twitter: jess_lizama


Have a beautiful day beautiful!


xoxo


image-1-

Sunday Quote: Contentment

Happy Sunday! Take today to sleep in, be lazy, cook your favorite meal, and indulge. For the week ahead, reserve today for self care and to spread love to those around you.

I took this photo while on a hike at Red Rock with my lil fam bam and the view from the top is incredible. Blog on that adventure coming soon!