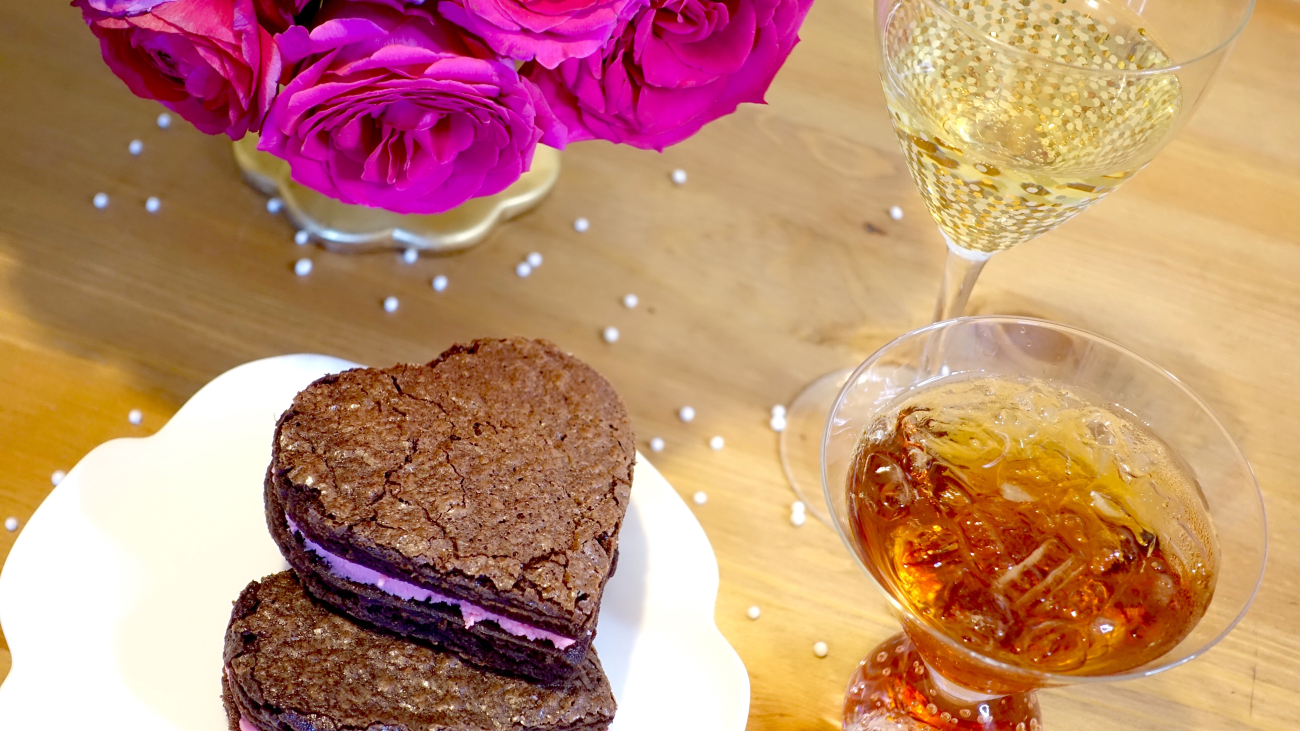
BLEEDING HEART OREO BROWNIES – A VALENTINE’S BEST NIGHTMARE

Happy Valentine’s Day! I hope you’ve been enjoying all of the themed recipes and videos that I’ve been posting lately, all in the name of love! Well this is for anyone who thinks today’s celebration is more of a corporate holiday … anyone who thinks today can suck it … and anyone who loves oreos. And brownies!!! We’re making “Bleeding Oreo Brownie Hearts” because everyone deserves a reason to love Valentine’s Day. Even if it’s for desserts and ‘the day after’ chocolate sales!
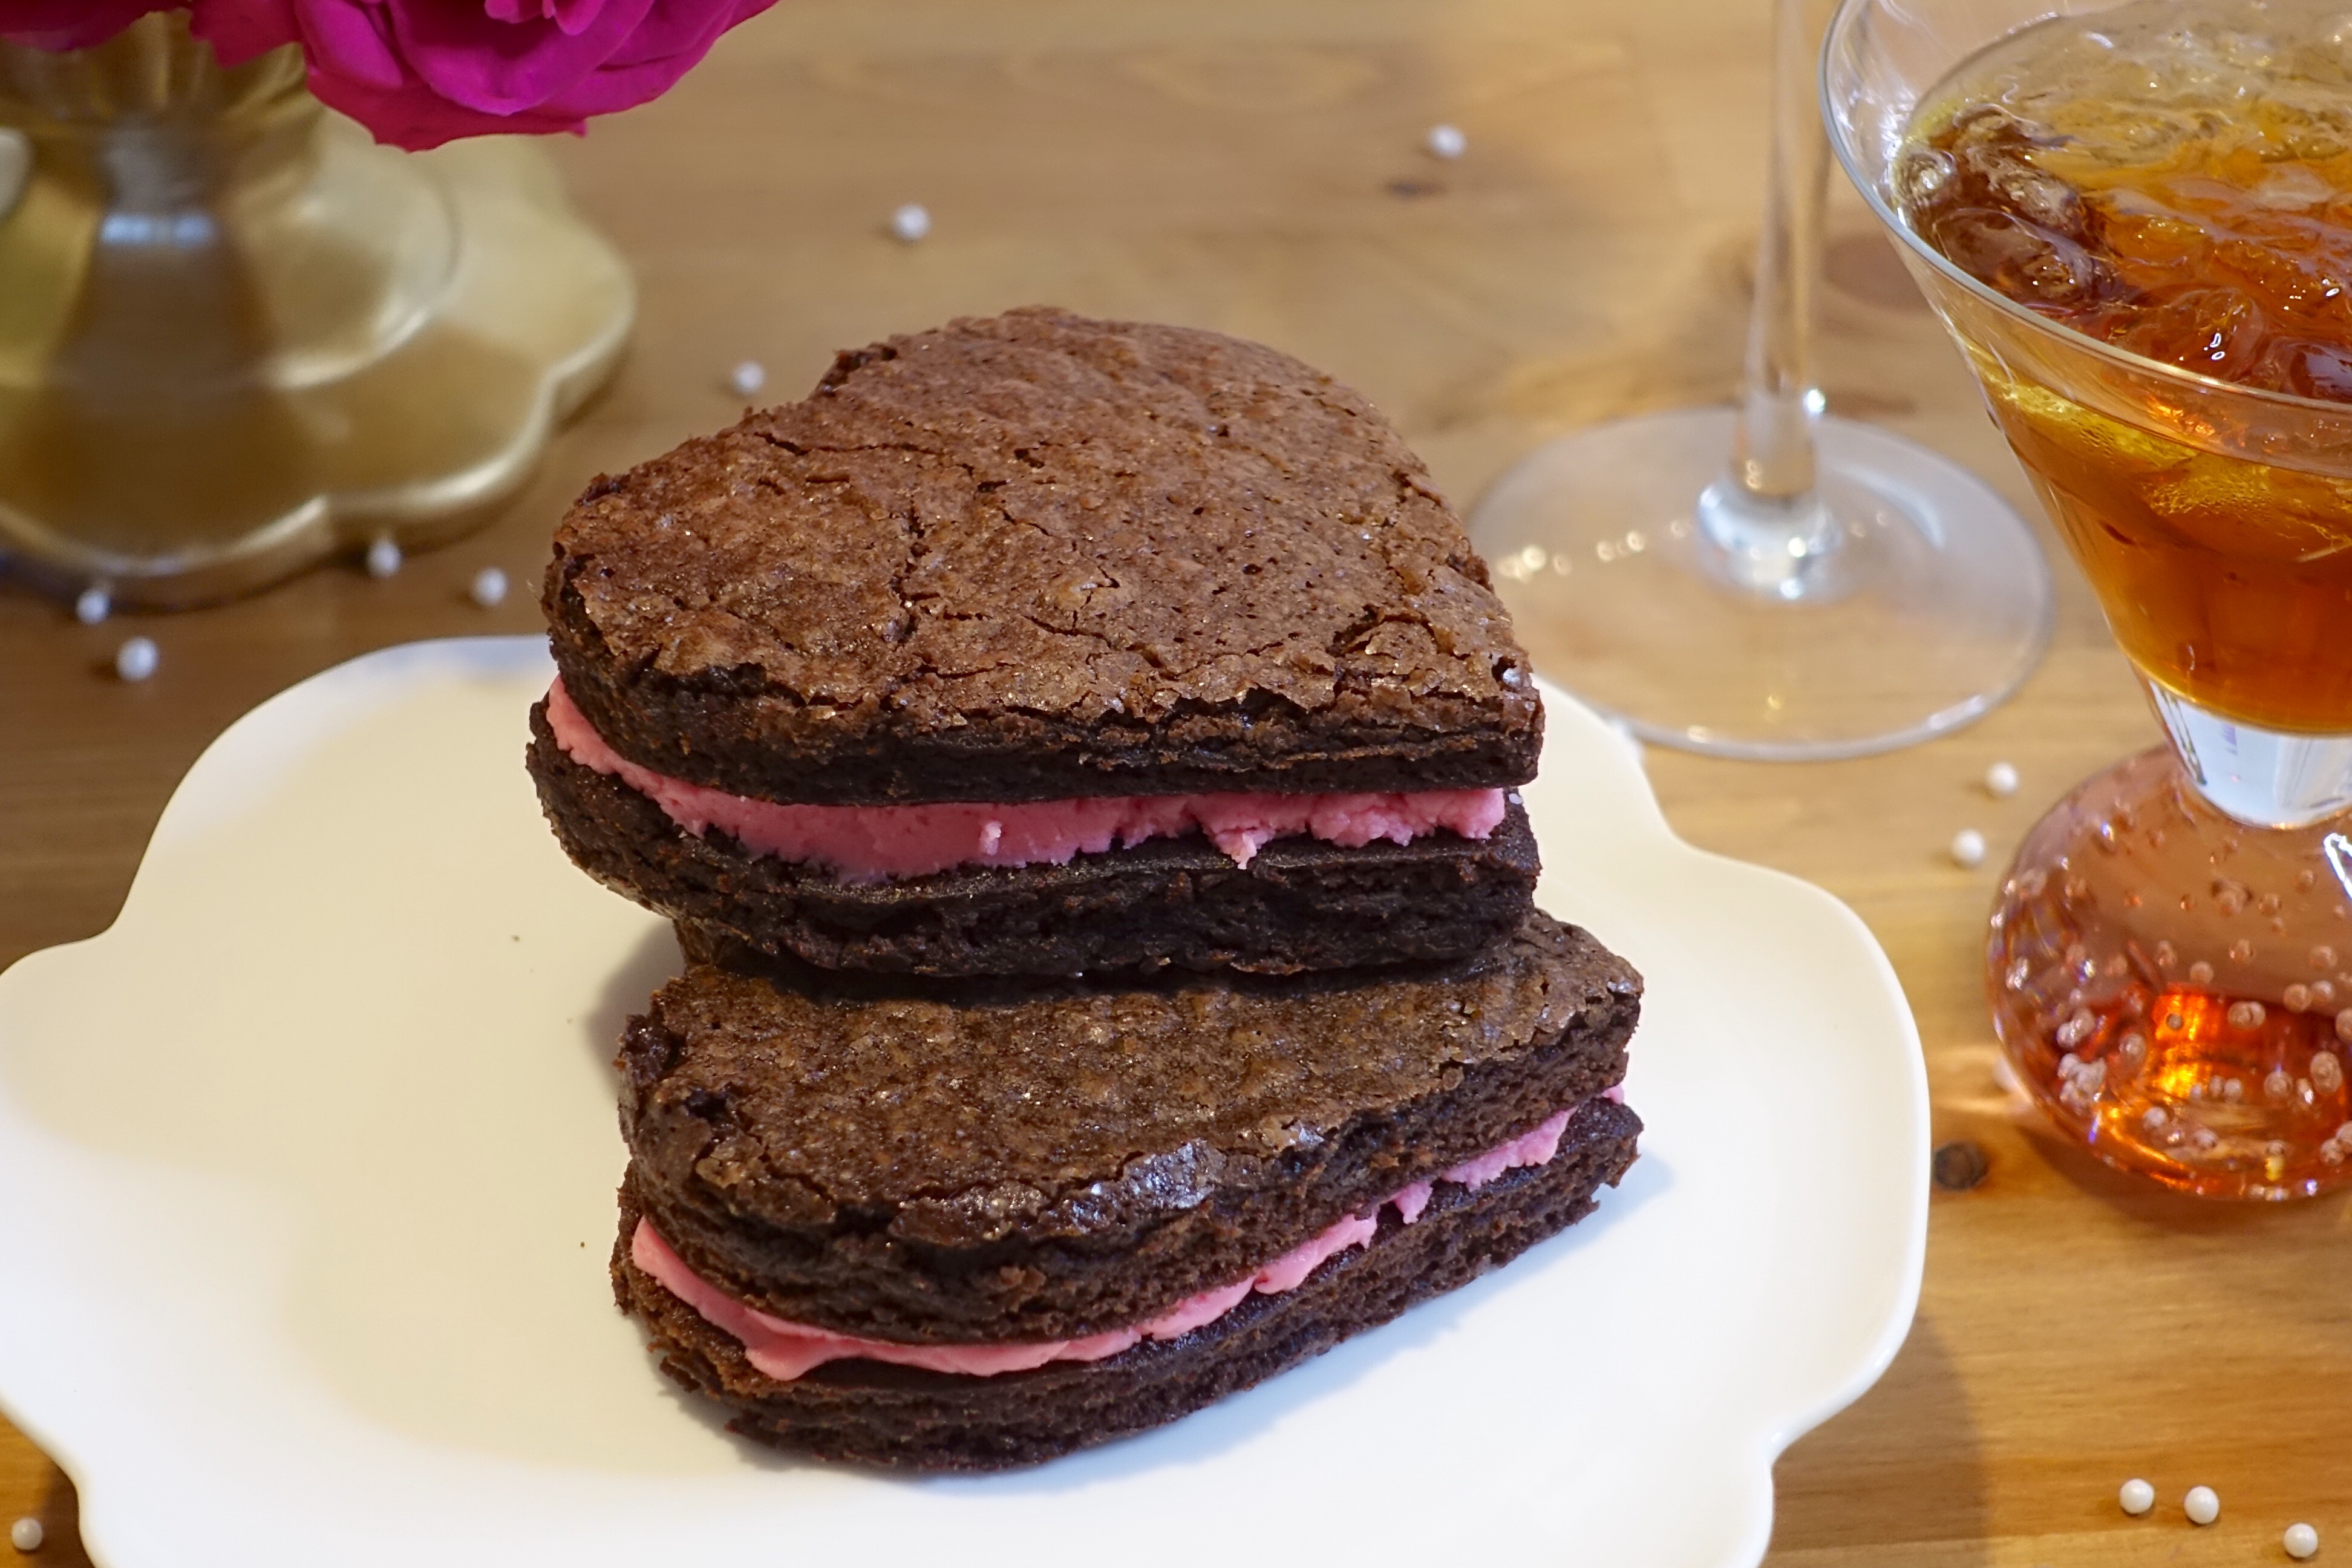

Imagine a brownie filled with oreo cream filling … yes it is just as mouth watering as it sounds! We ate 6 of them! SIX and zero regrets were had. Your mission should you choose to accept: make these, eat these, thank me later!

For the brownie part I just got a box of brownie mix (family sized) and made it according to the directions. I sprayed a 10×16 brownie pan with oil, lined it with parchment paper, and then sprayed it again just to make sure the hearts didn’t stick once I removed them. No one wants a crumbly broken heart, in life nor in theory.
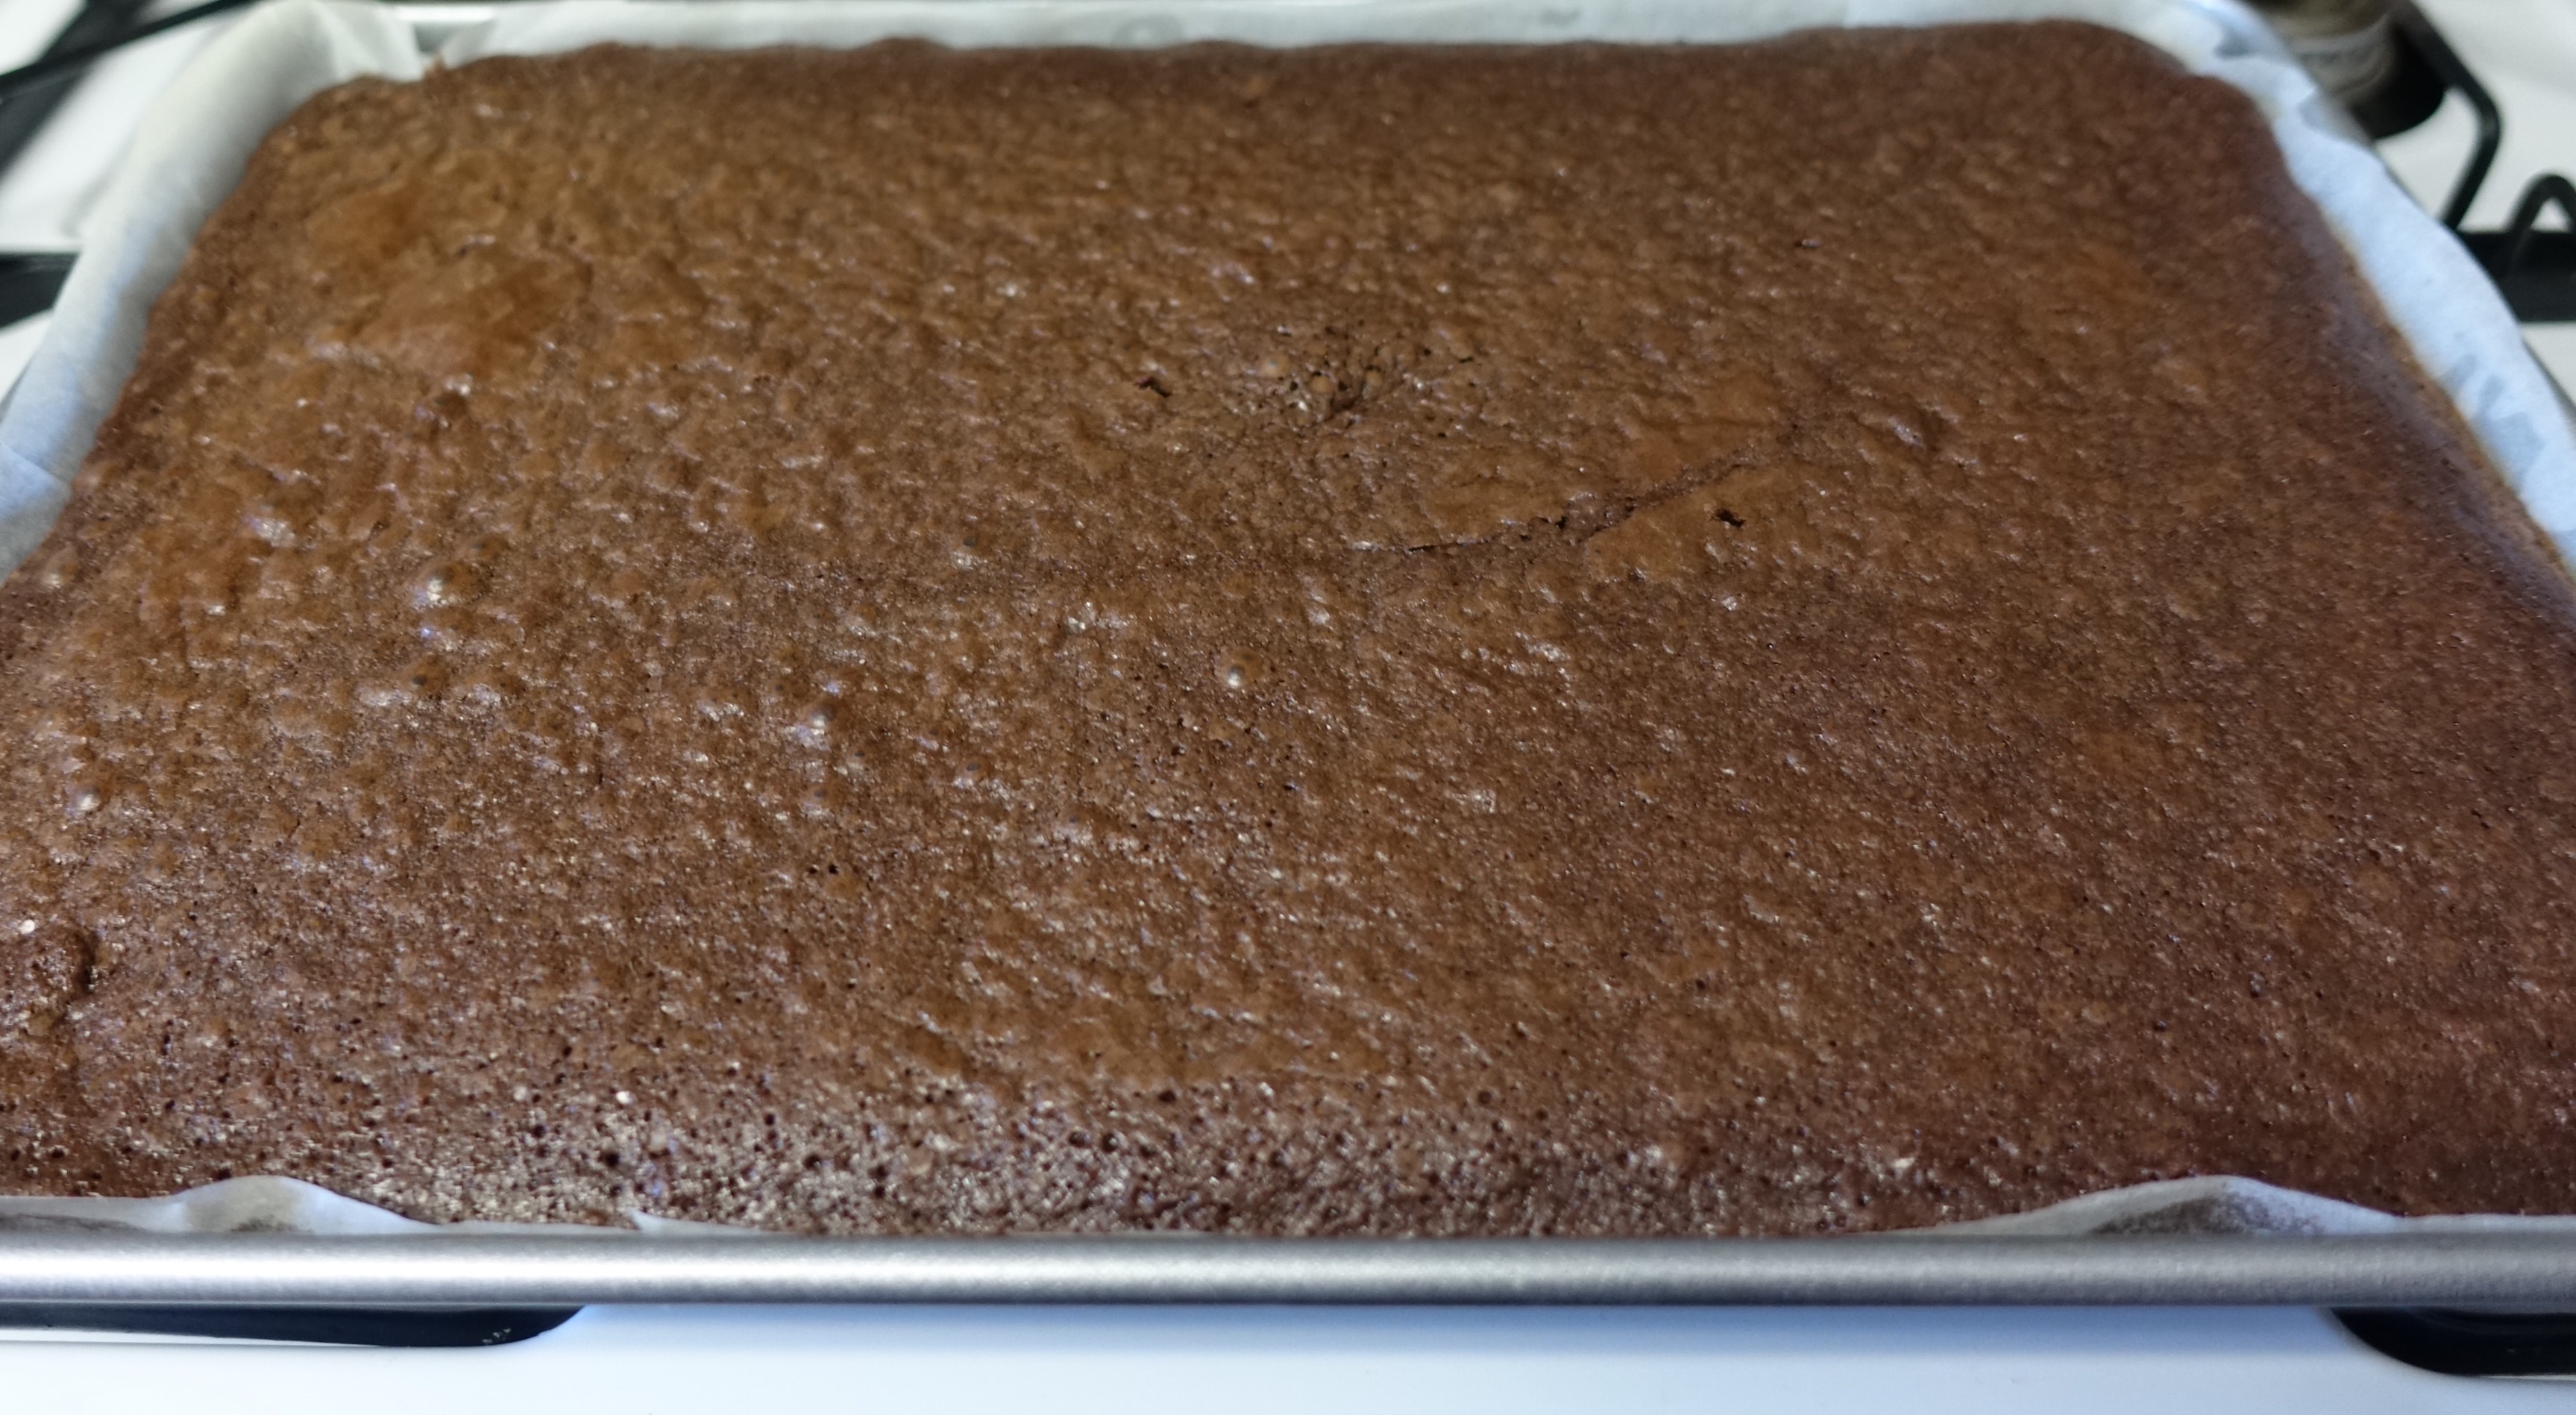

Let the brownies cool before taking a heart shaped cookie cutter to it, and in the meantime make your oreo filling, the ‘bleeding’ part of it. You’ll need:

3 cups powdered sugar
ABOUT 1/2 vegetable shortening
5 tablespoons hot water (you will eye ball this when you make it)
1/2 teaspoon vanilla extract
Red food coloring
1 teaspoon sugar
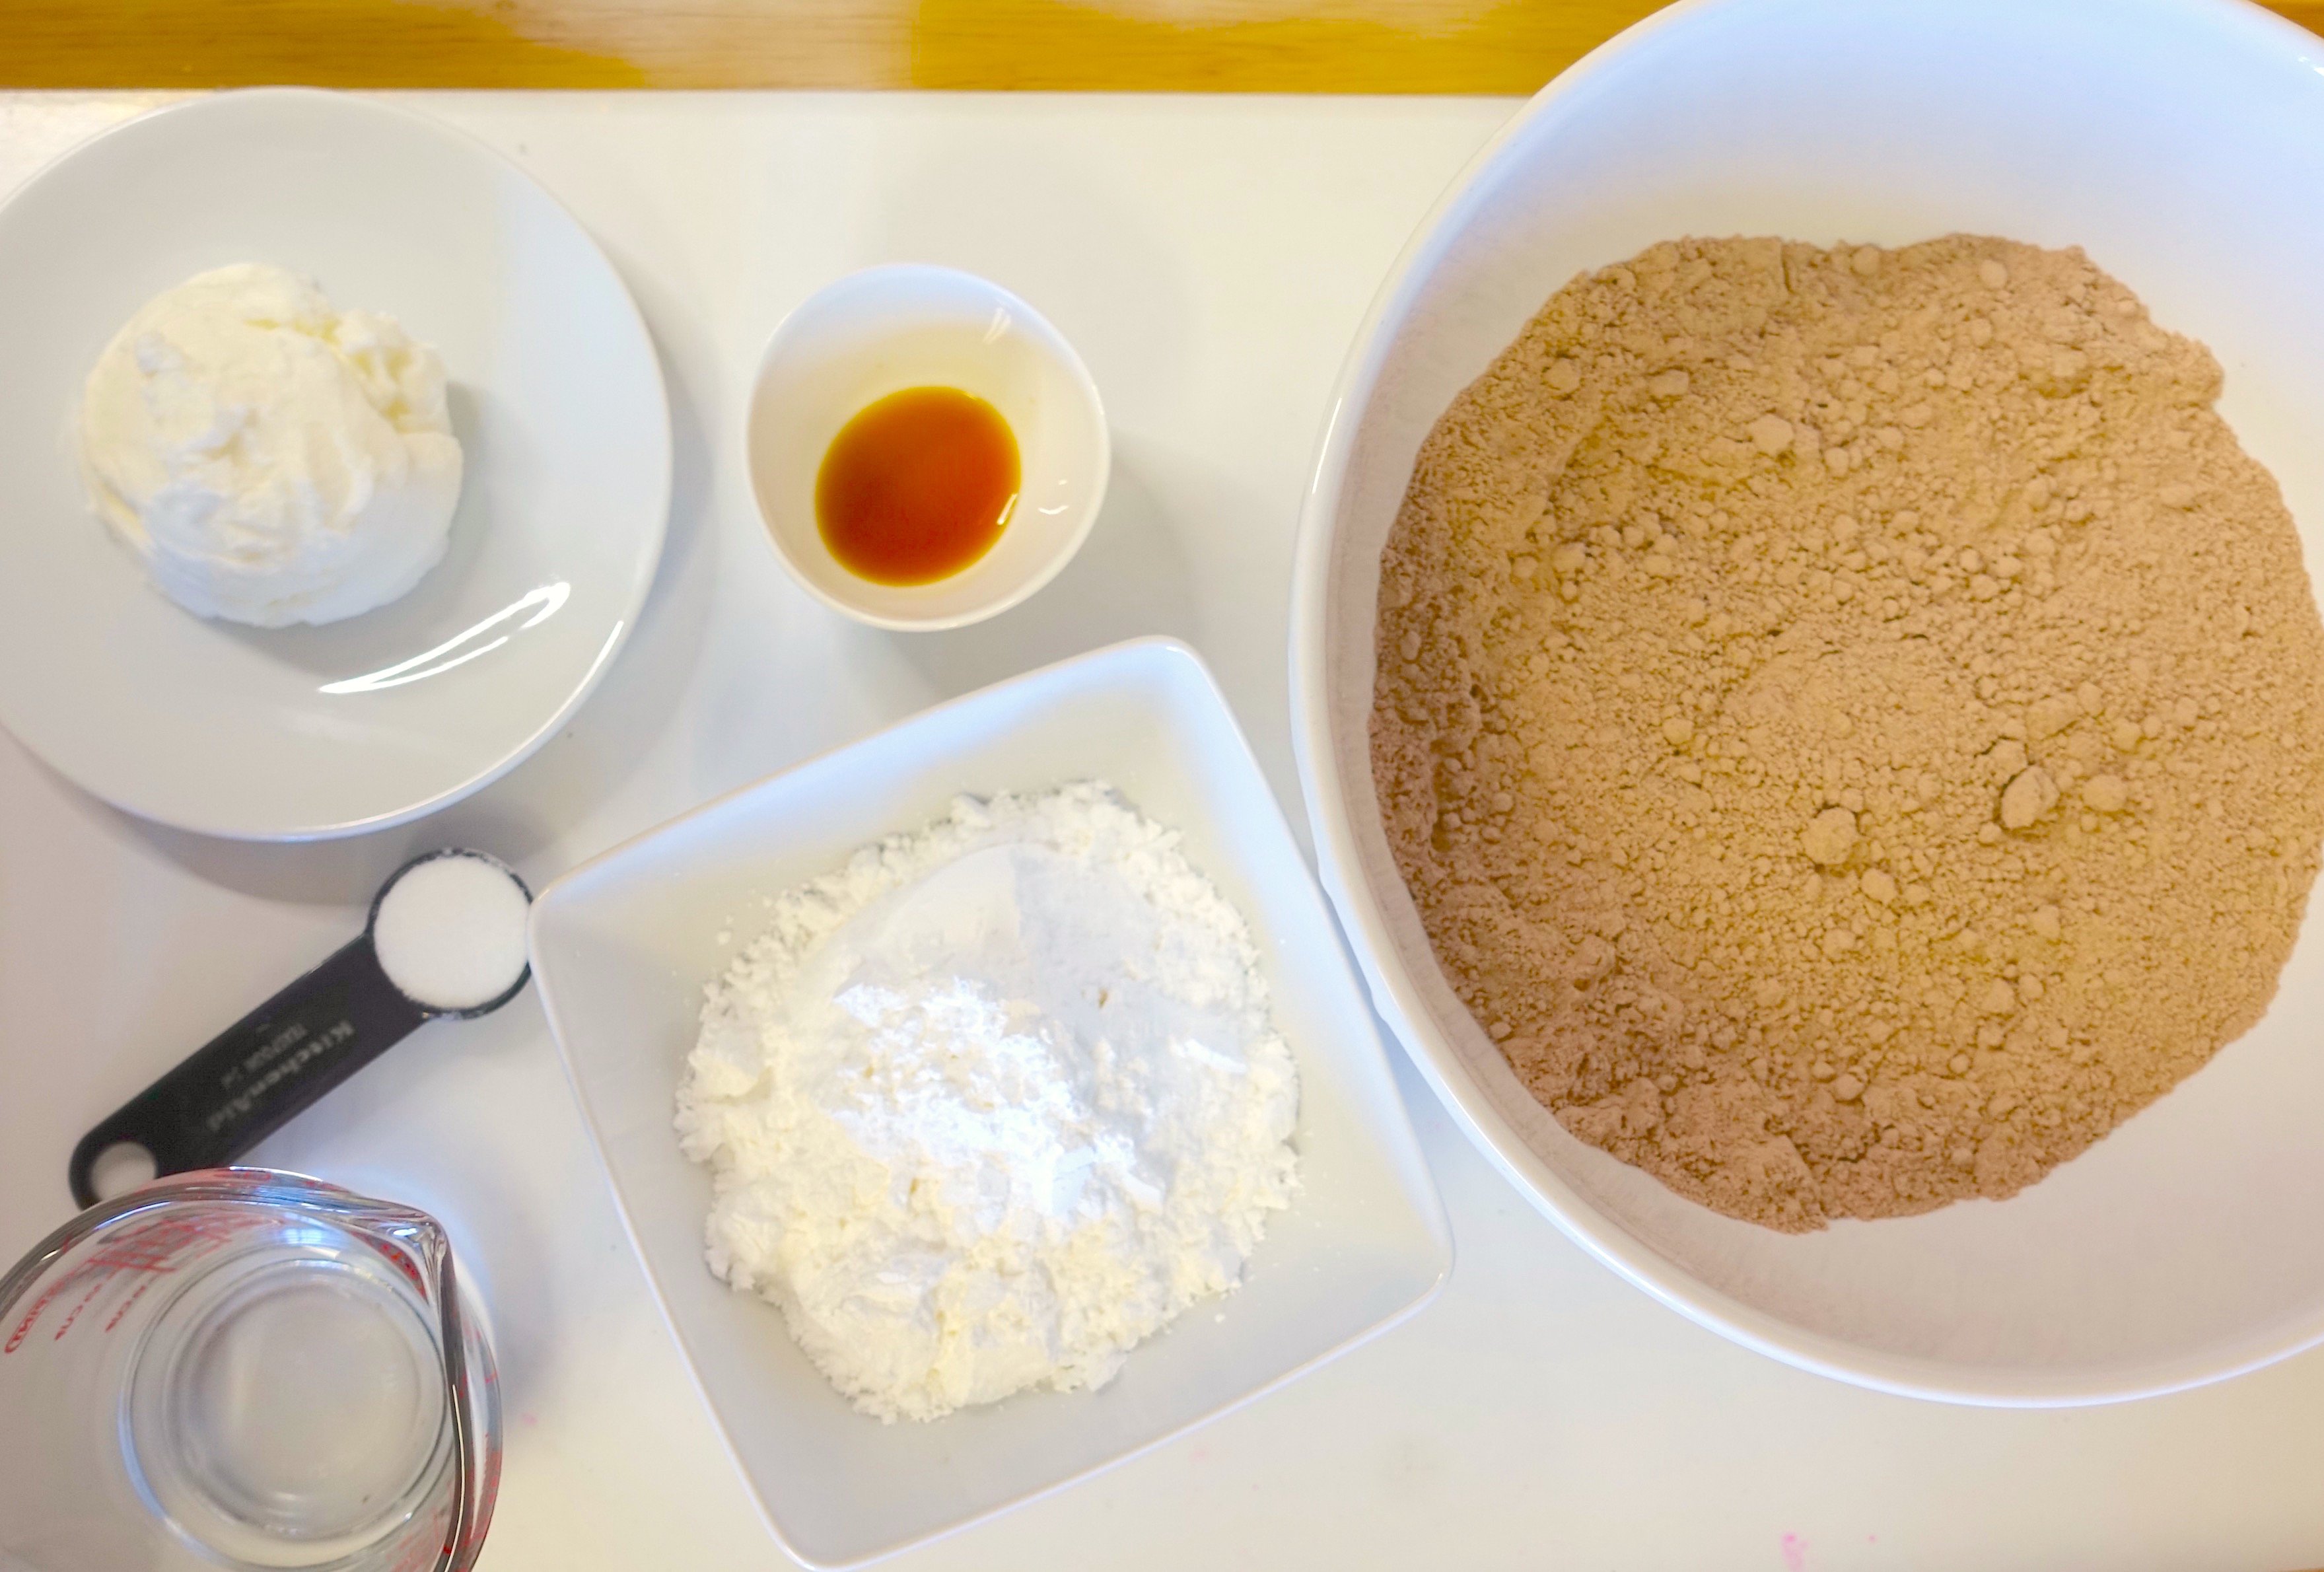

♥ Combine all of the ingredients in a bowl and save adding in the water for last. Start with 4 tablespoons of hot water and if your mixture is too thick then add in 1 tablespoon at a time until you get the desired consistency. Which is pretty thick yet smooth, like an oreo filling would be.

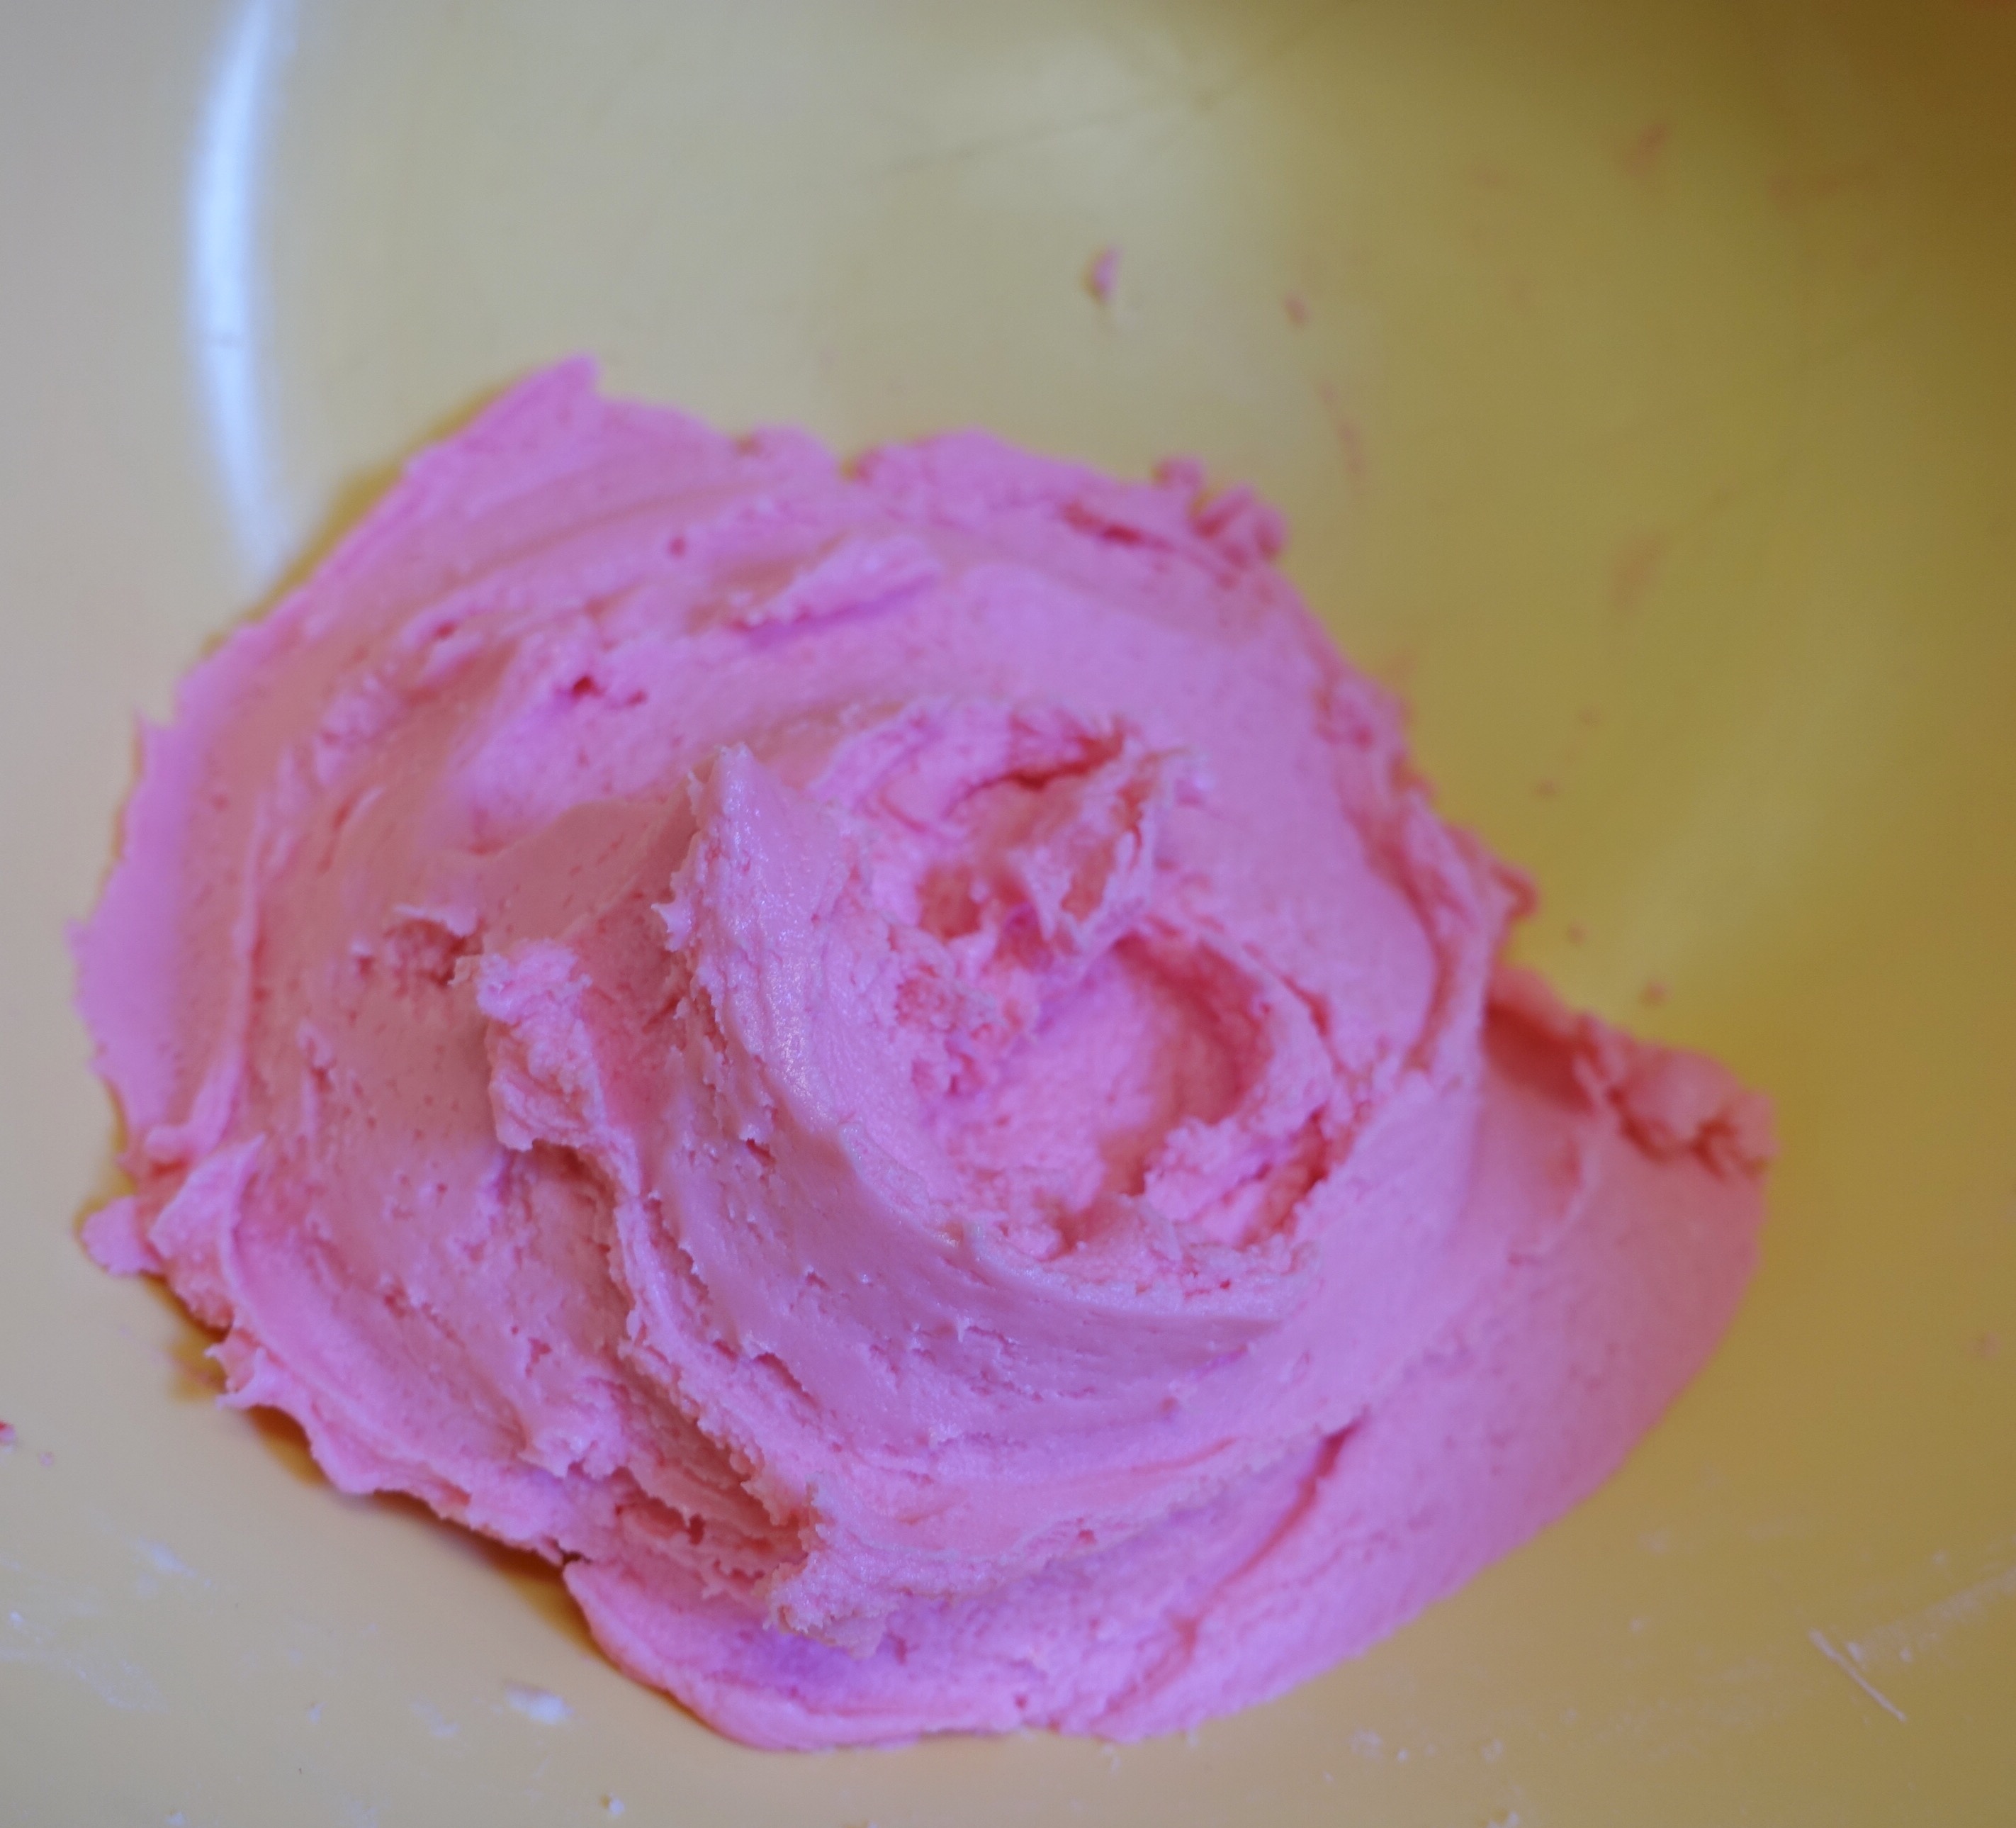
Once you’ve added the red food coloring (I used about 7 drops) you get this really pretty pile of sweetness! I had about half a cup of this just from taste testing! Note: This makes a lot of filling, enough for 2 batches of brownies if you’re using it in this ‘sandwich’ style.

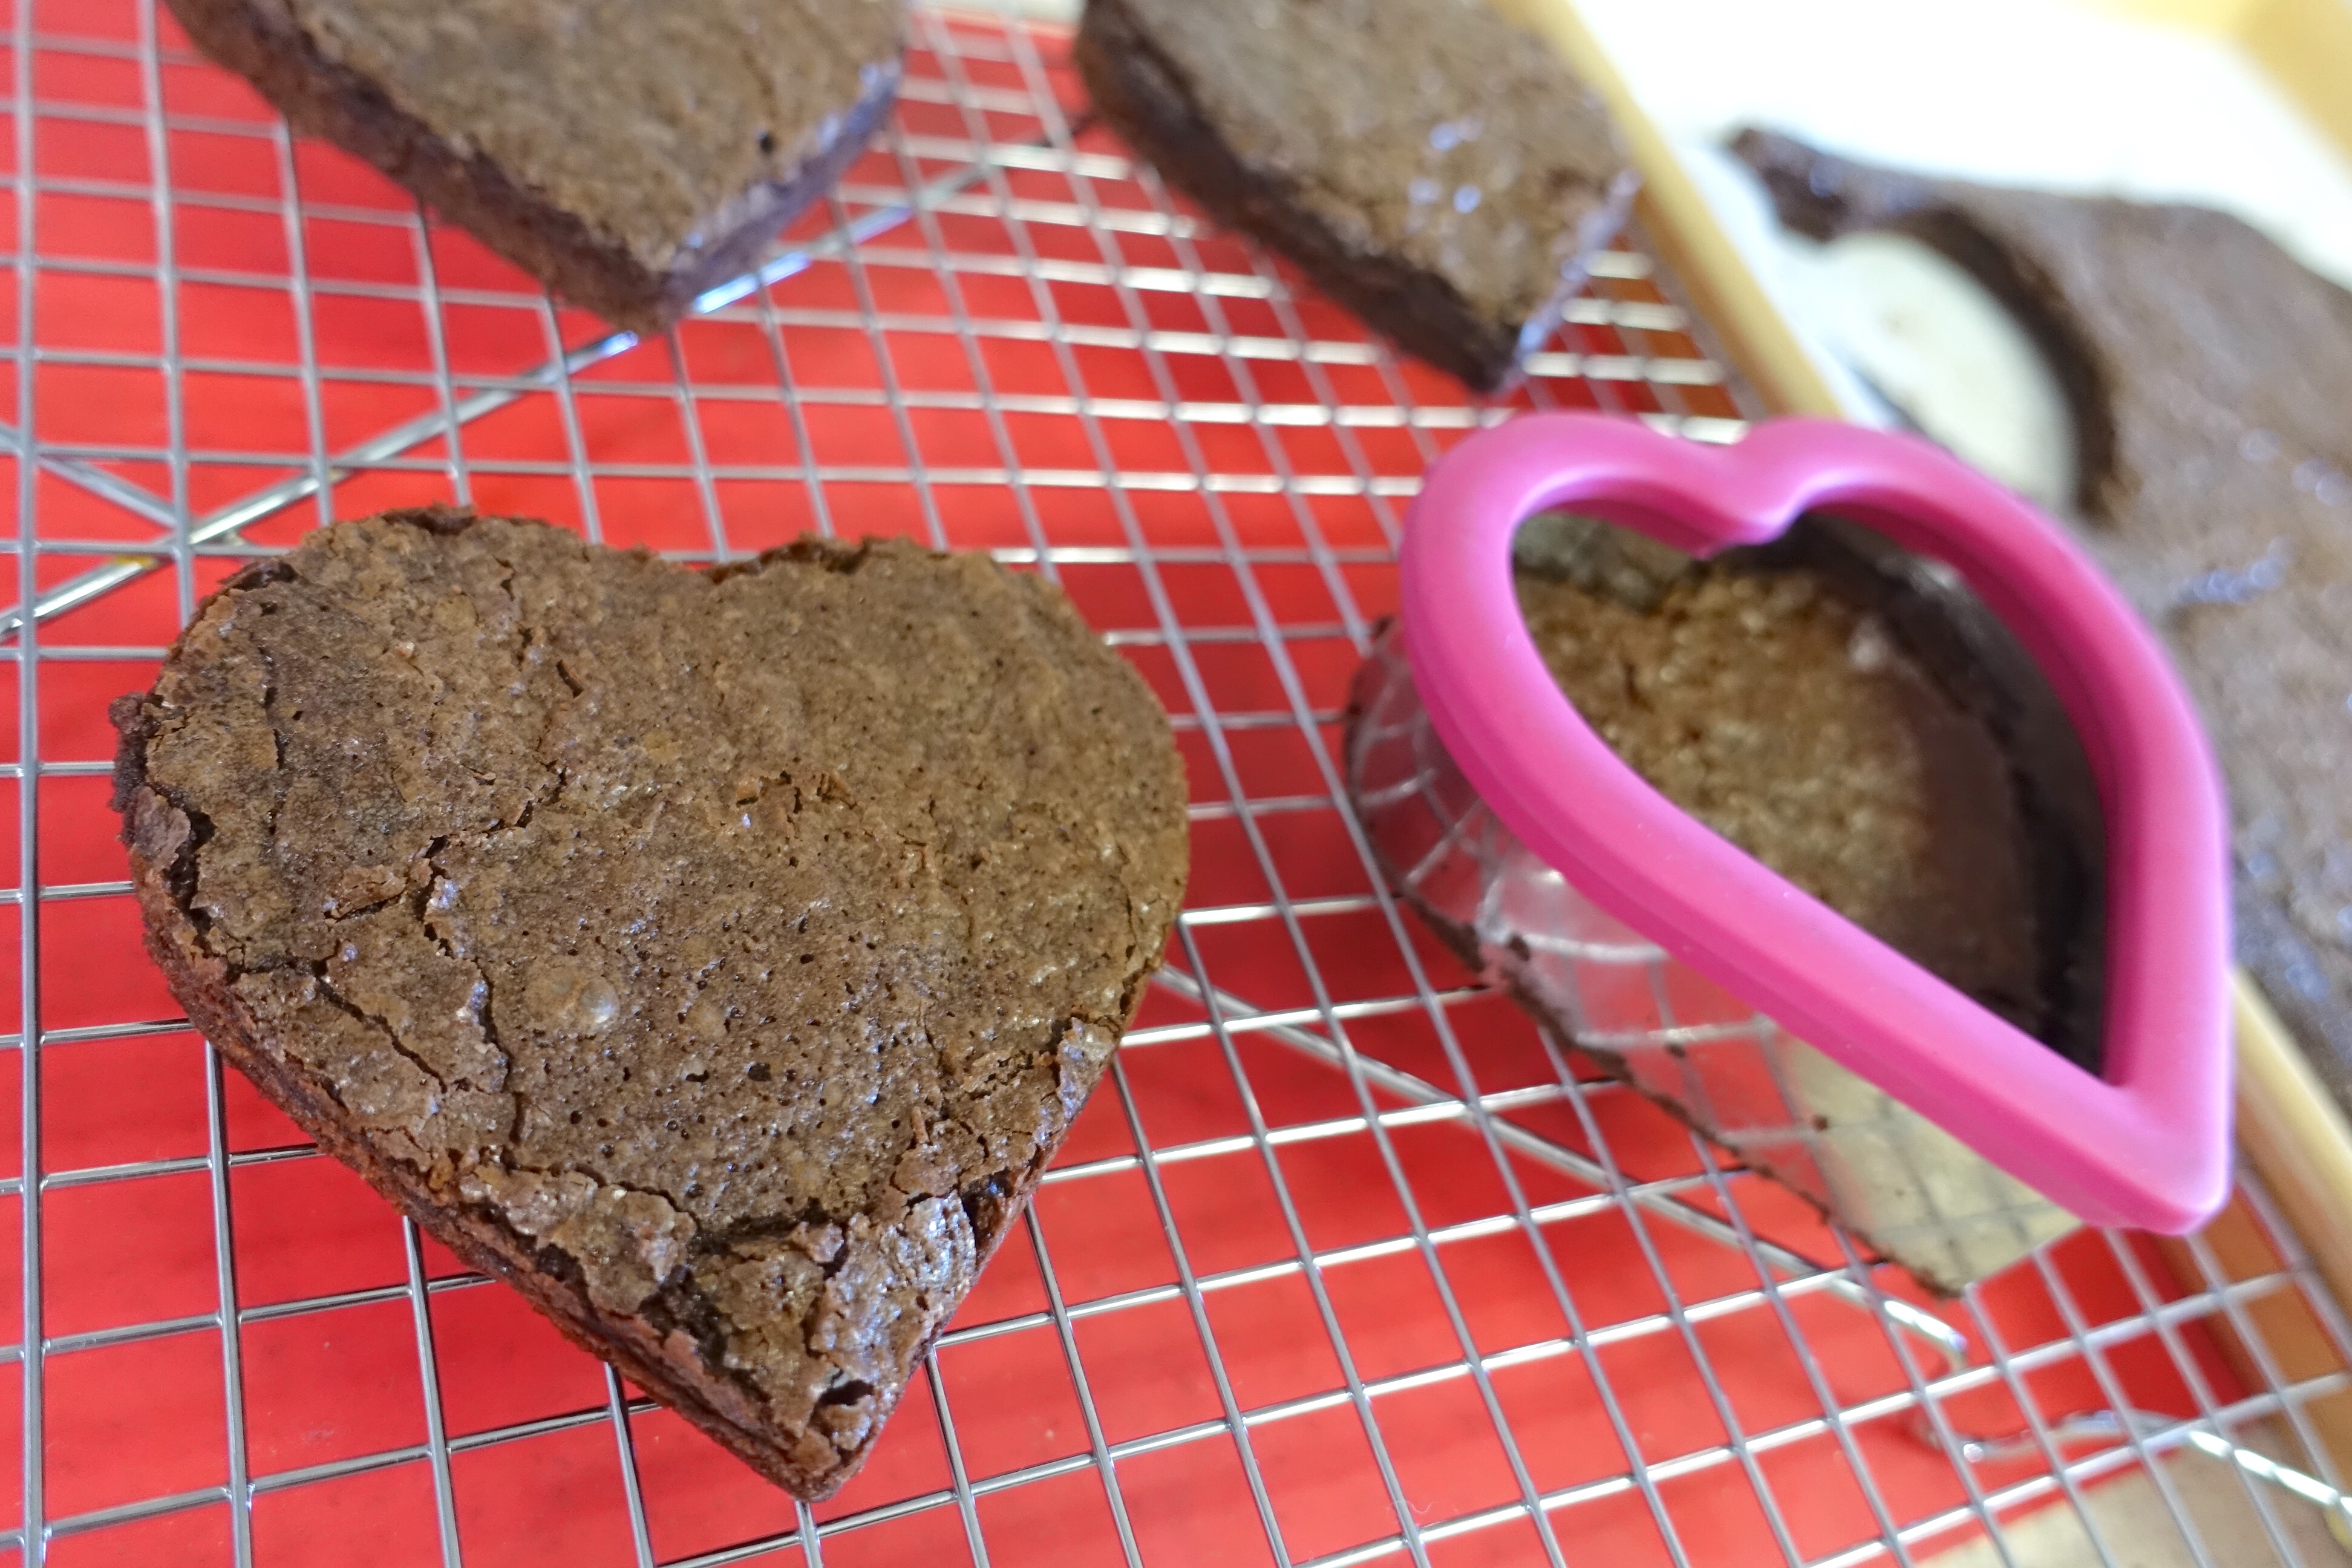
Once your brownies have cooled, take your cookie cutter and remove the shapes until all of your brownie pan has been used up. The brownies will be fairly thin, this is a good thing though because you’ll be stacking them once they’re filled.

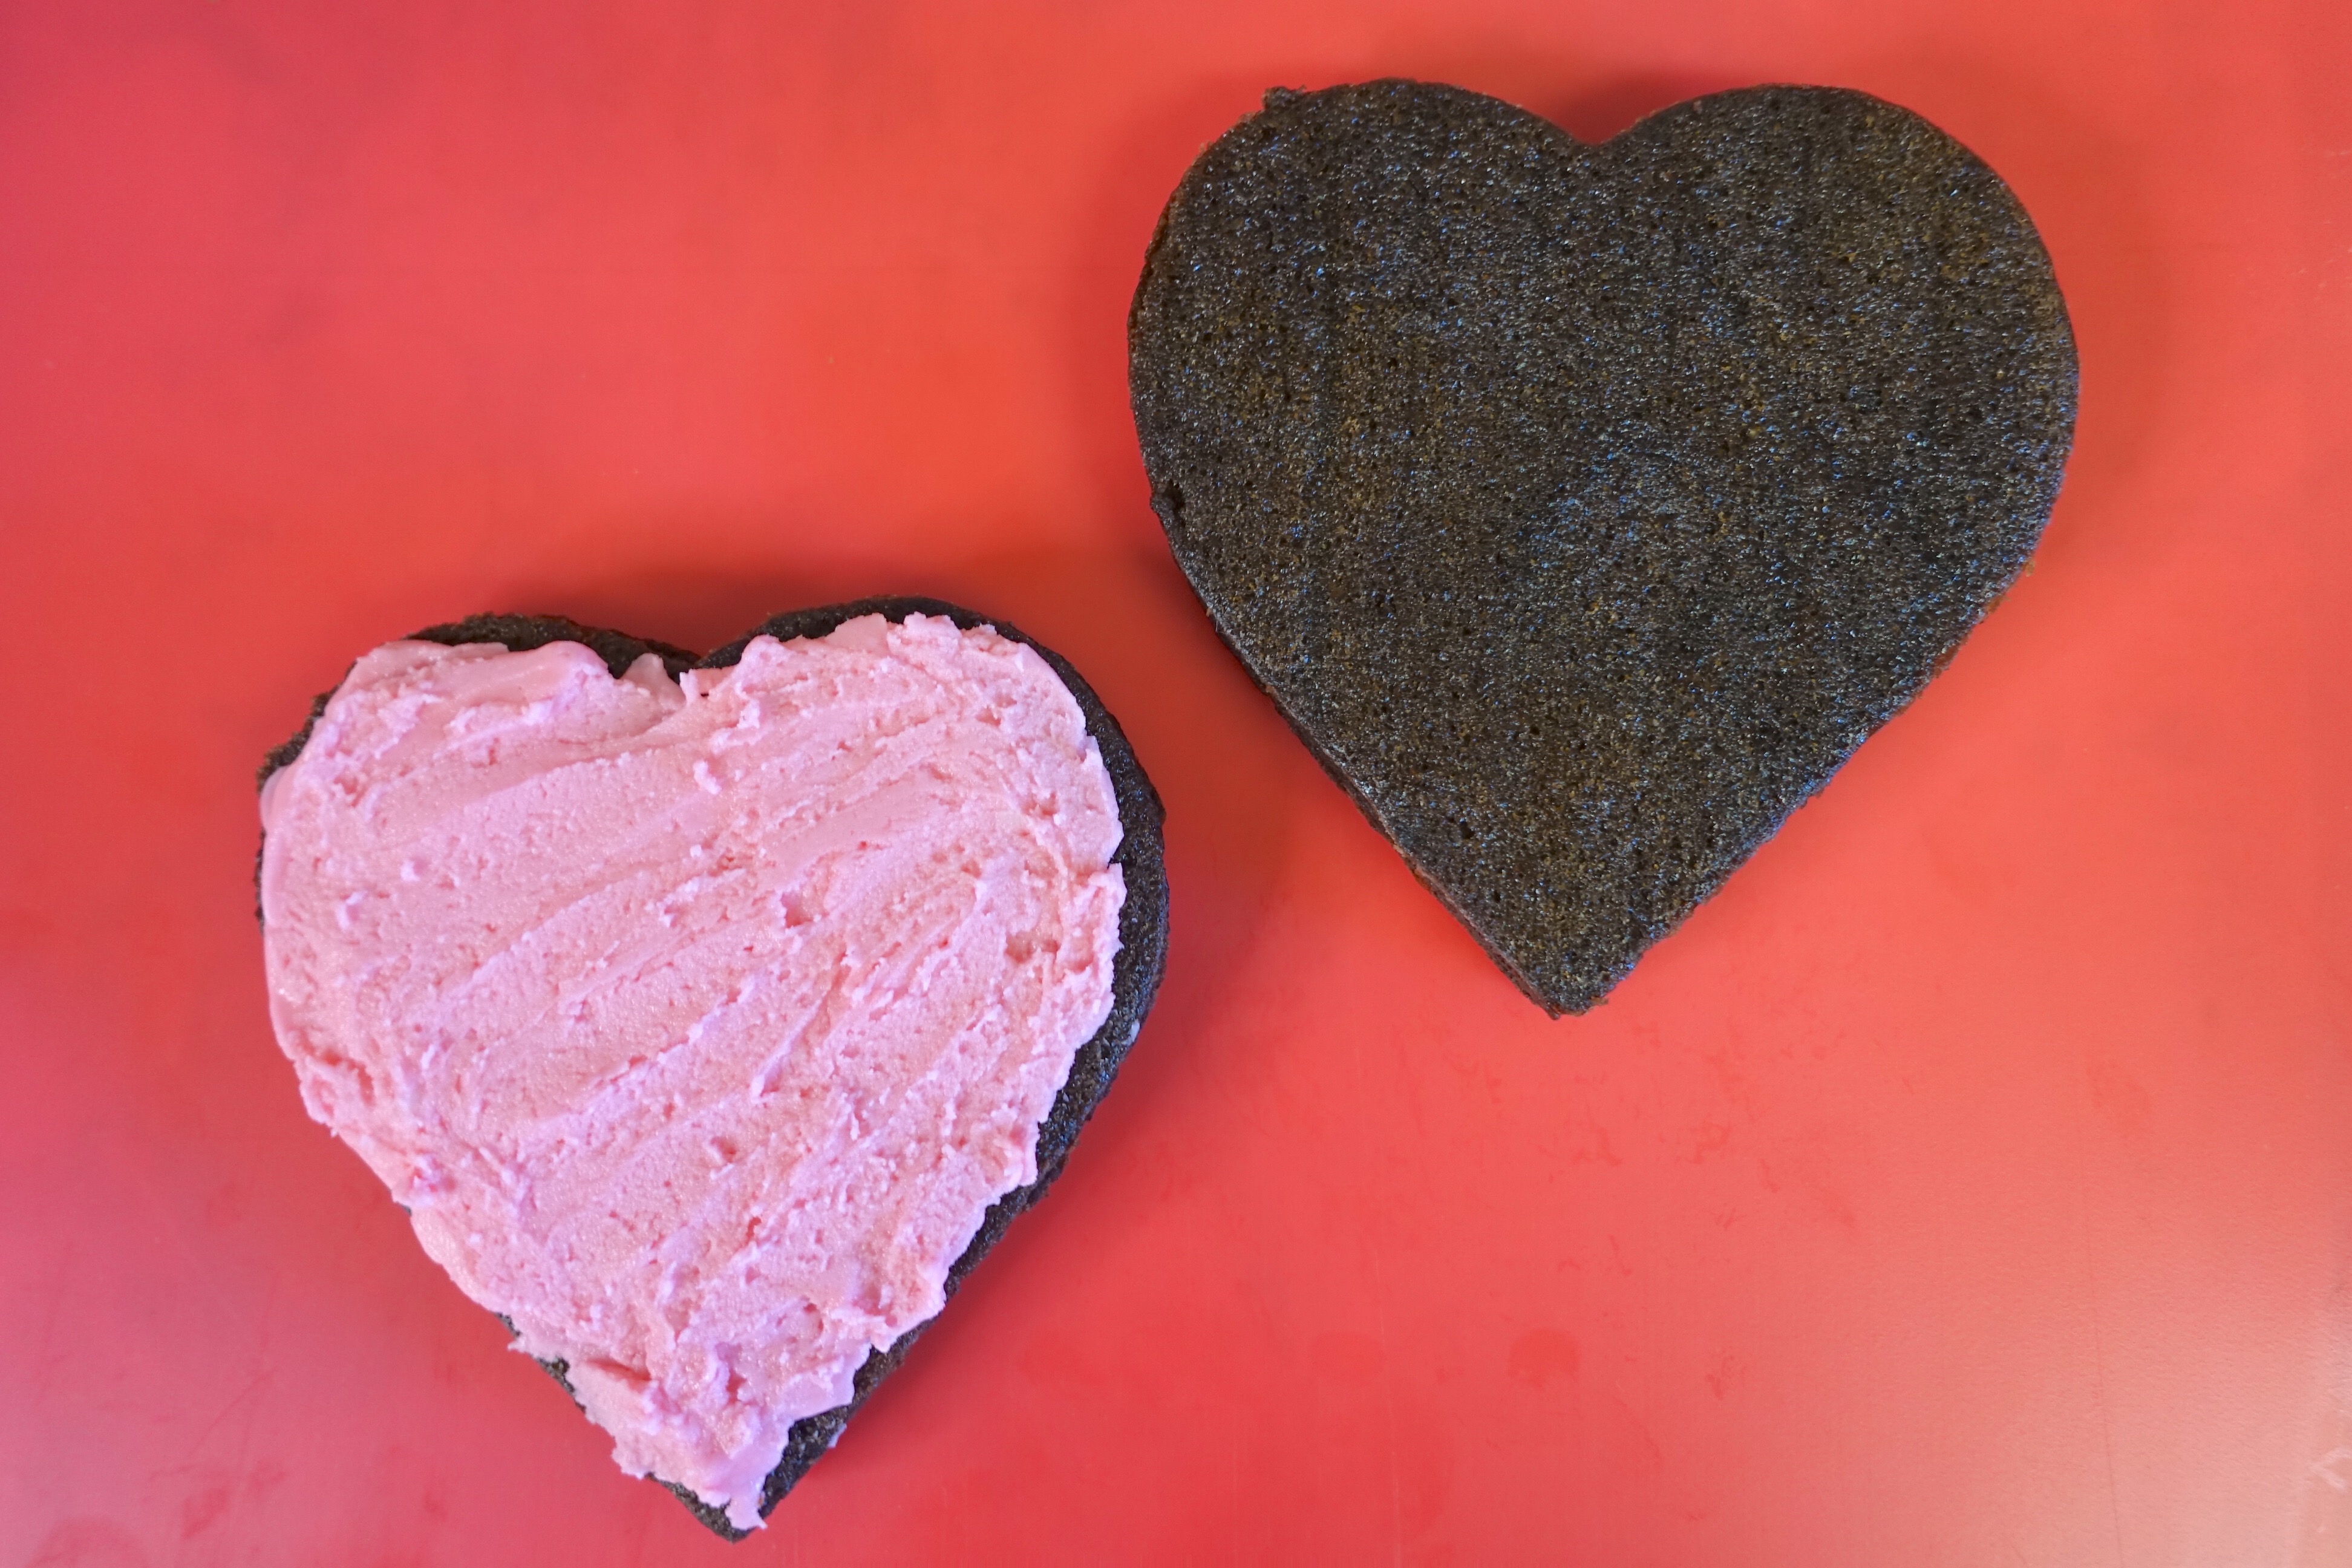
Spread a dollop of the filling between two hearts and then close the heart sandwich by placing the other half on top (smooth side down). Continue with this until you’ve used up all of your heart brownies. You can make the filling part as thick or as thin as you’d like depending on your sweet tooth preference.
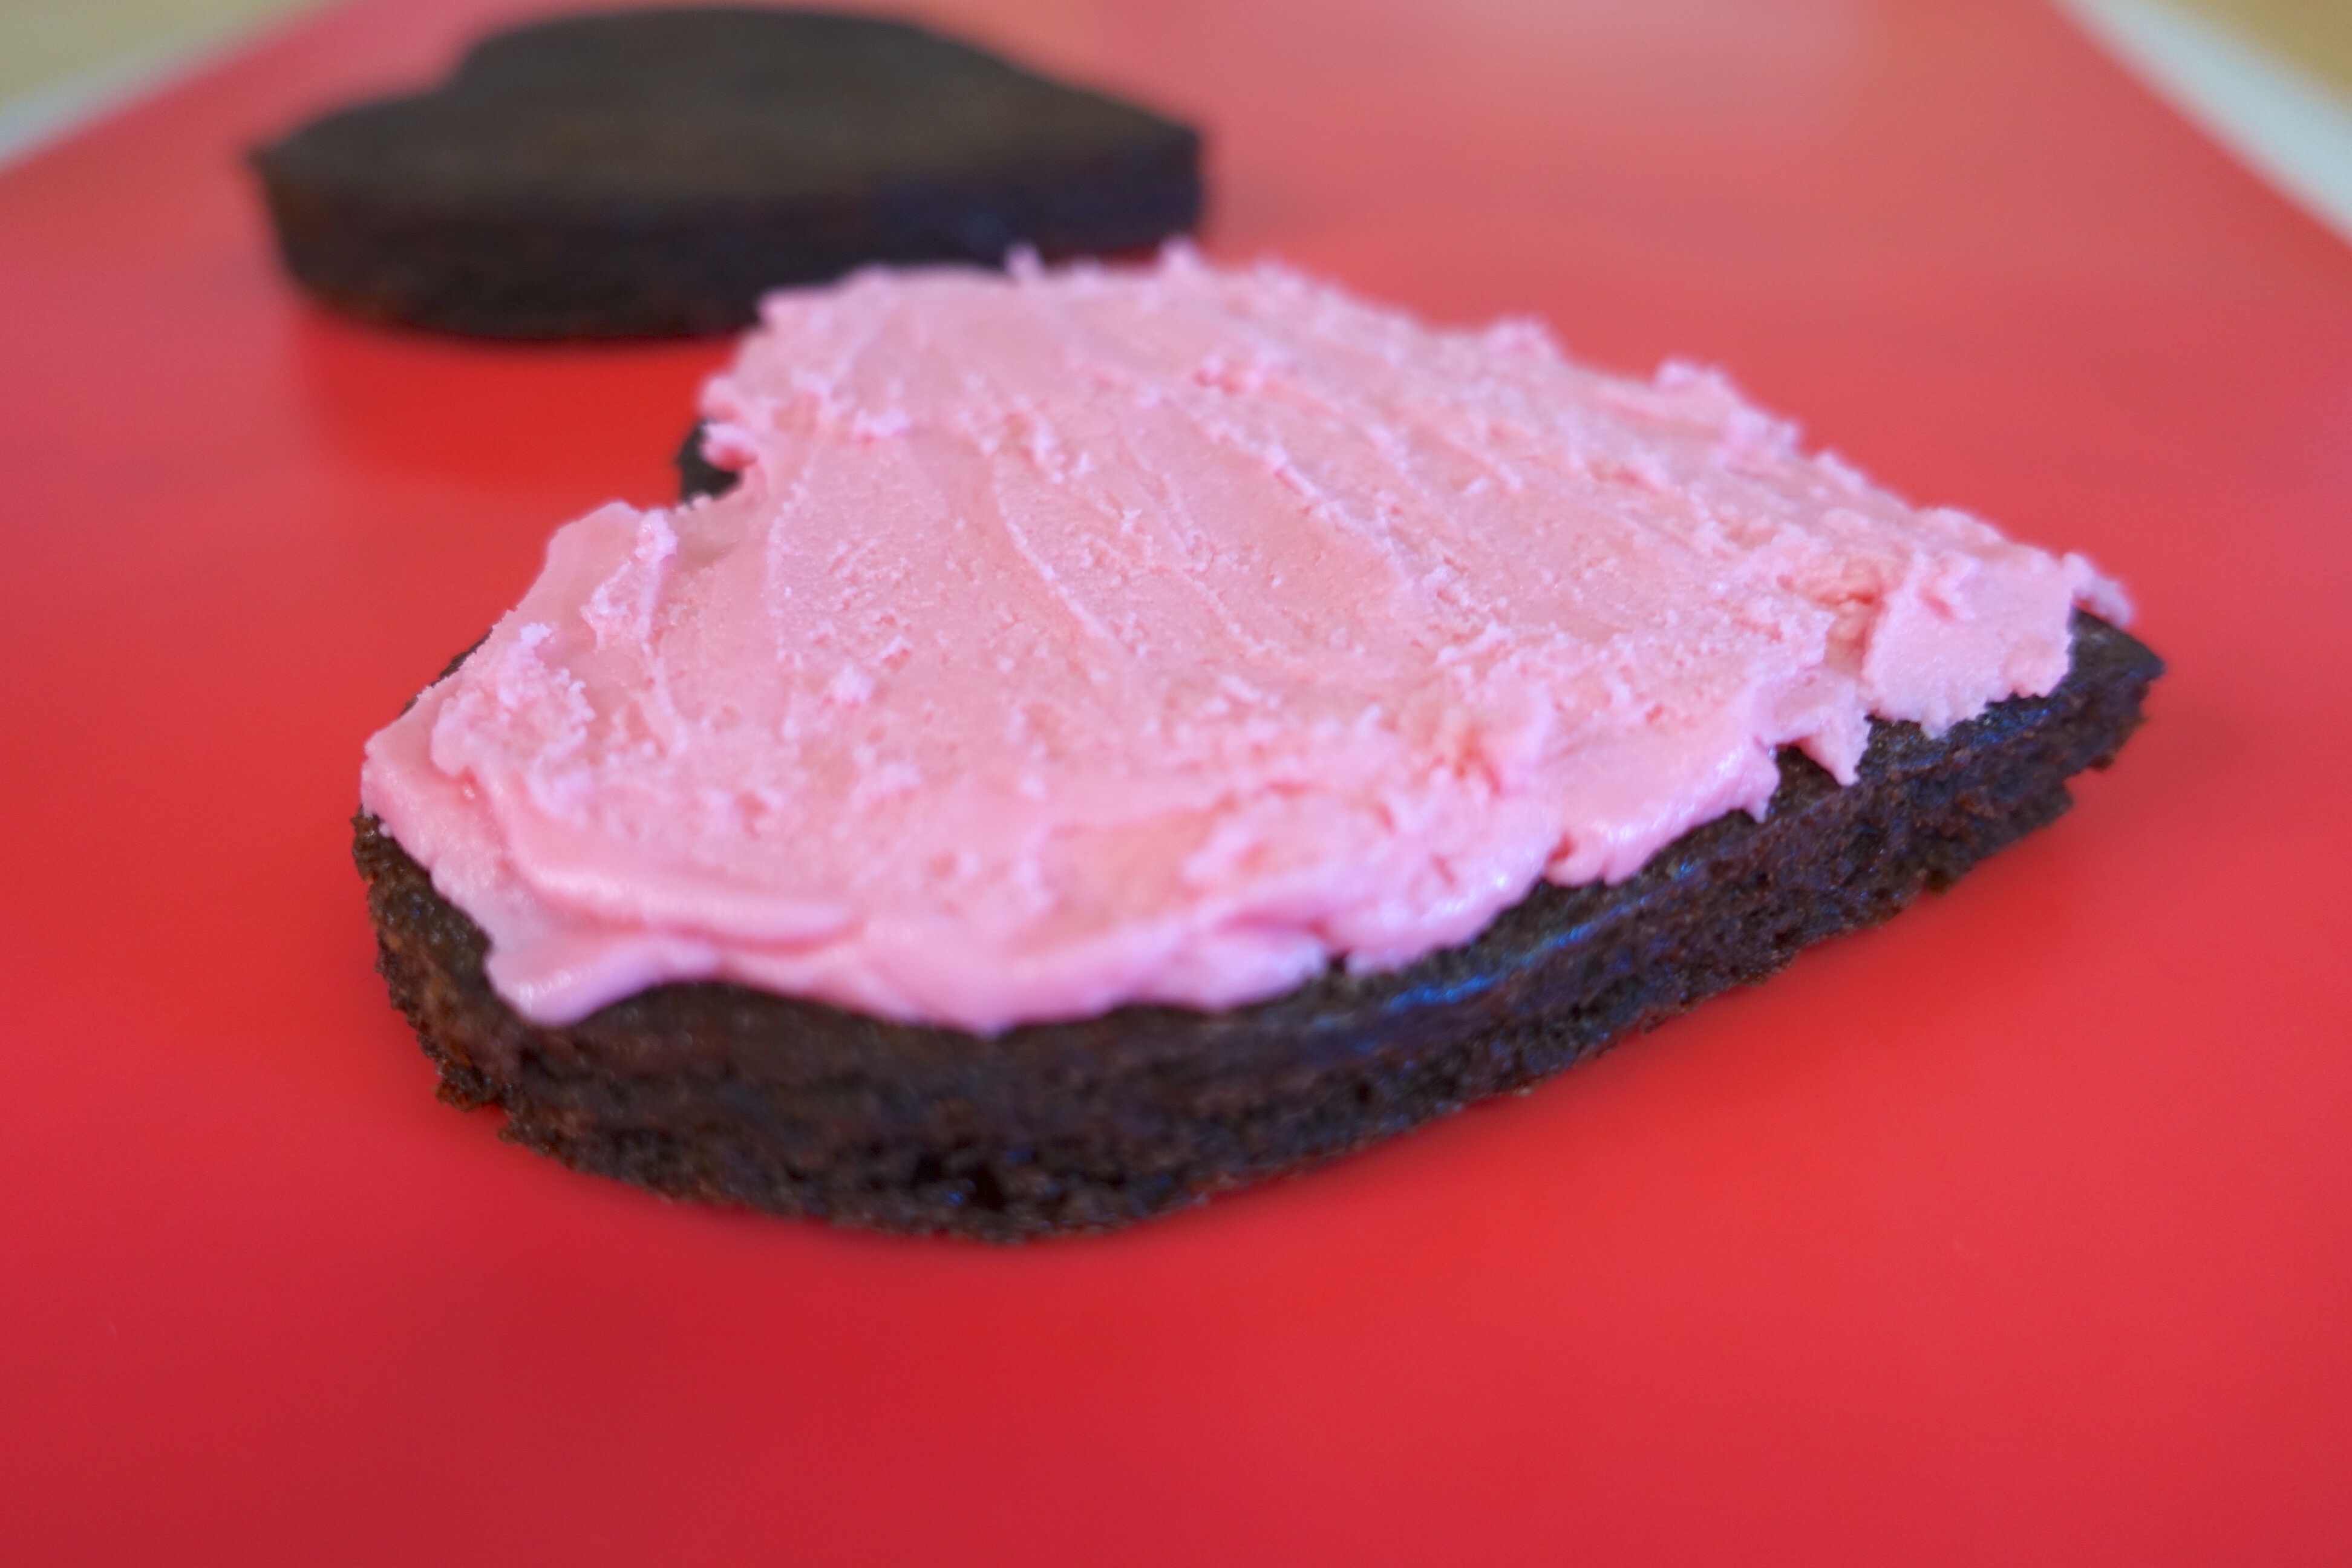

The combination of these two flavors is indescribable, you have to make them for yourself and indulge in order to believe me. It’s a cream filled brownie and the cream is OREO FILLING! Did I say that part enough? Ha! Try it, so so so good!
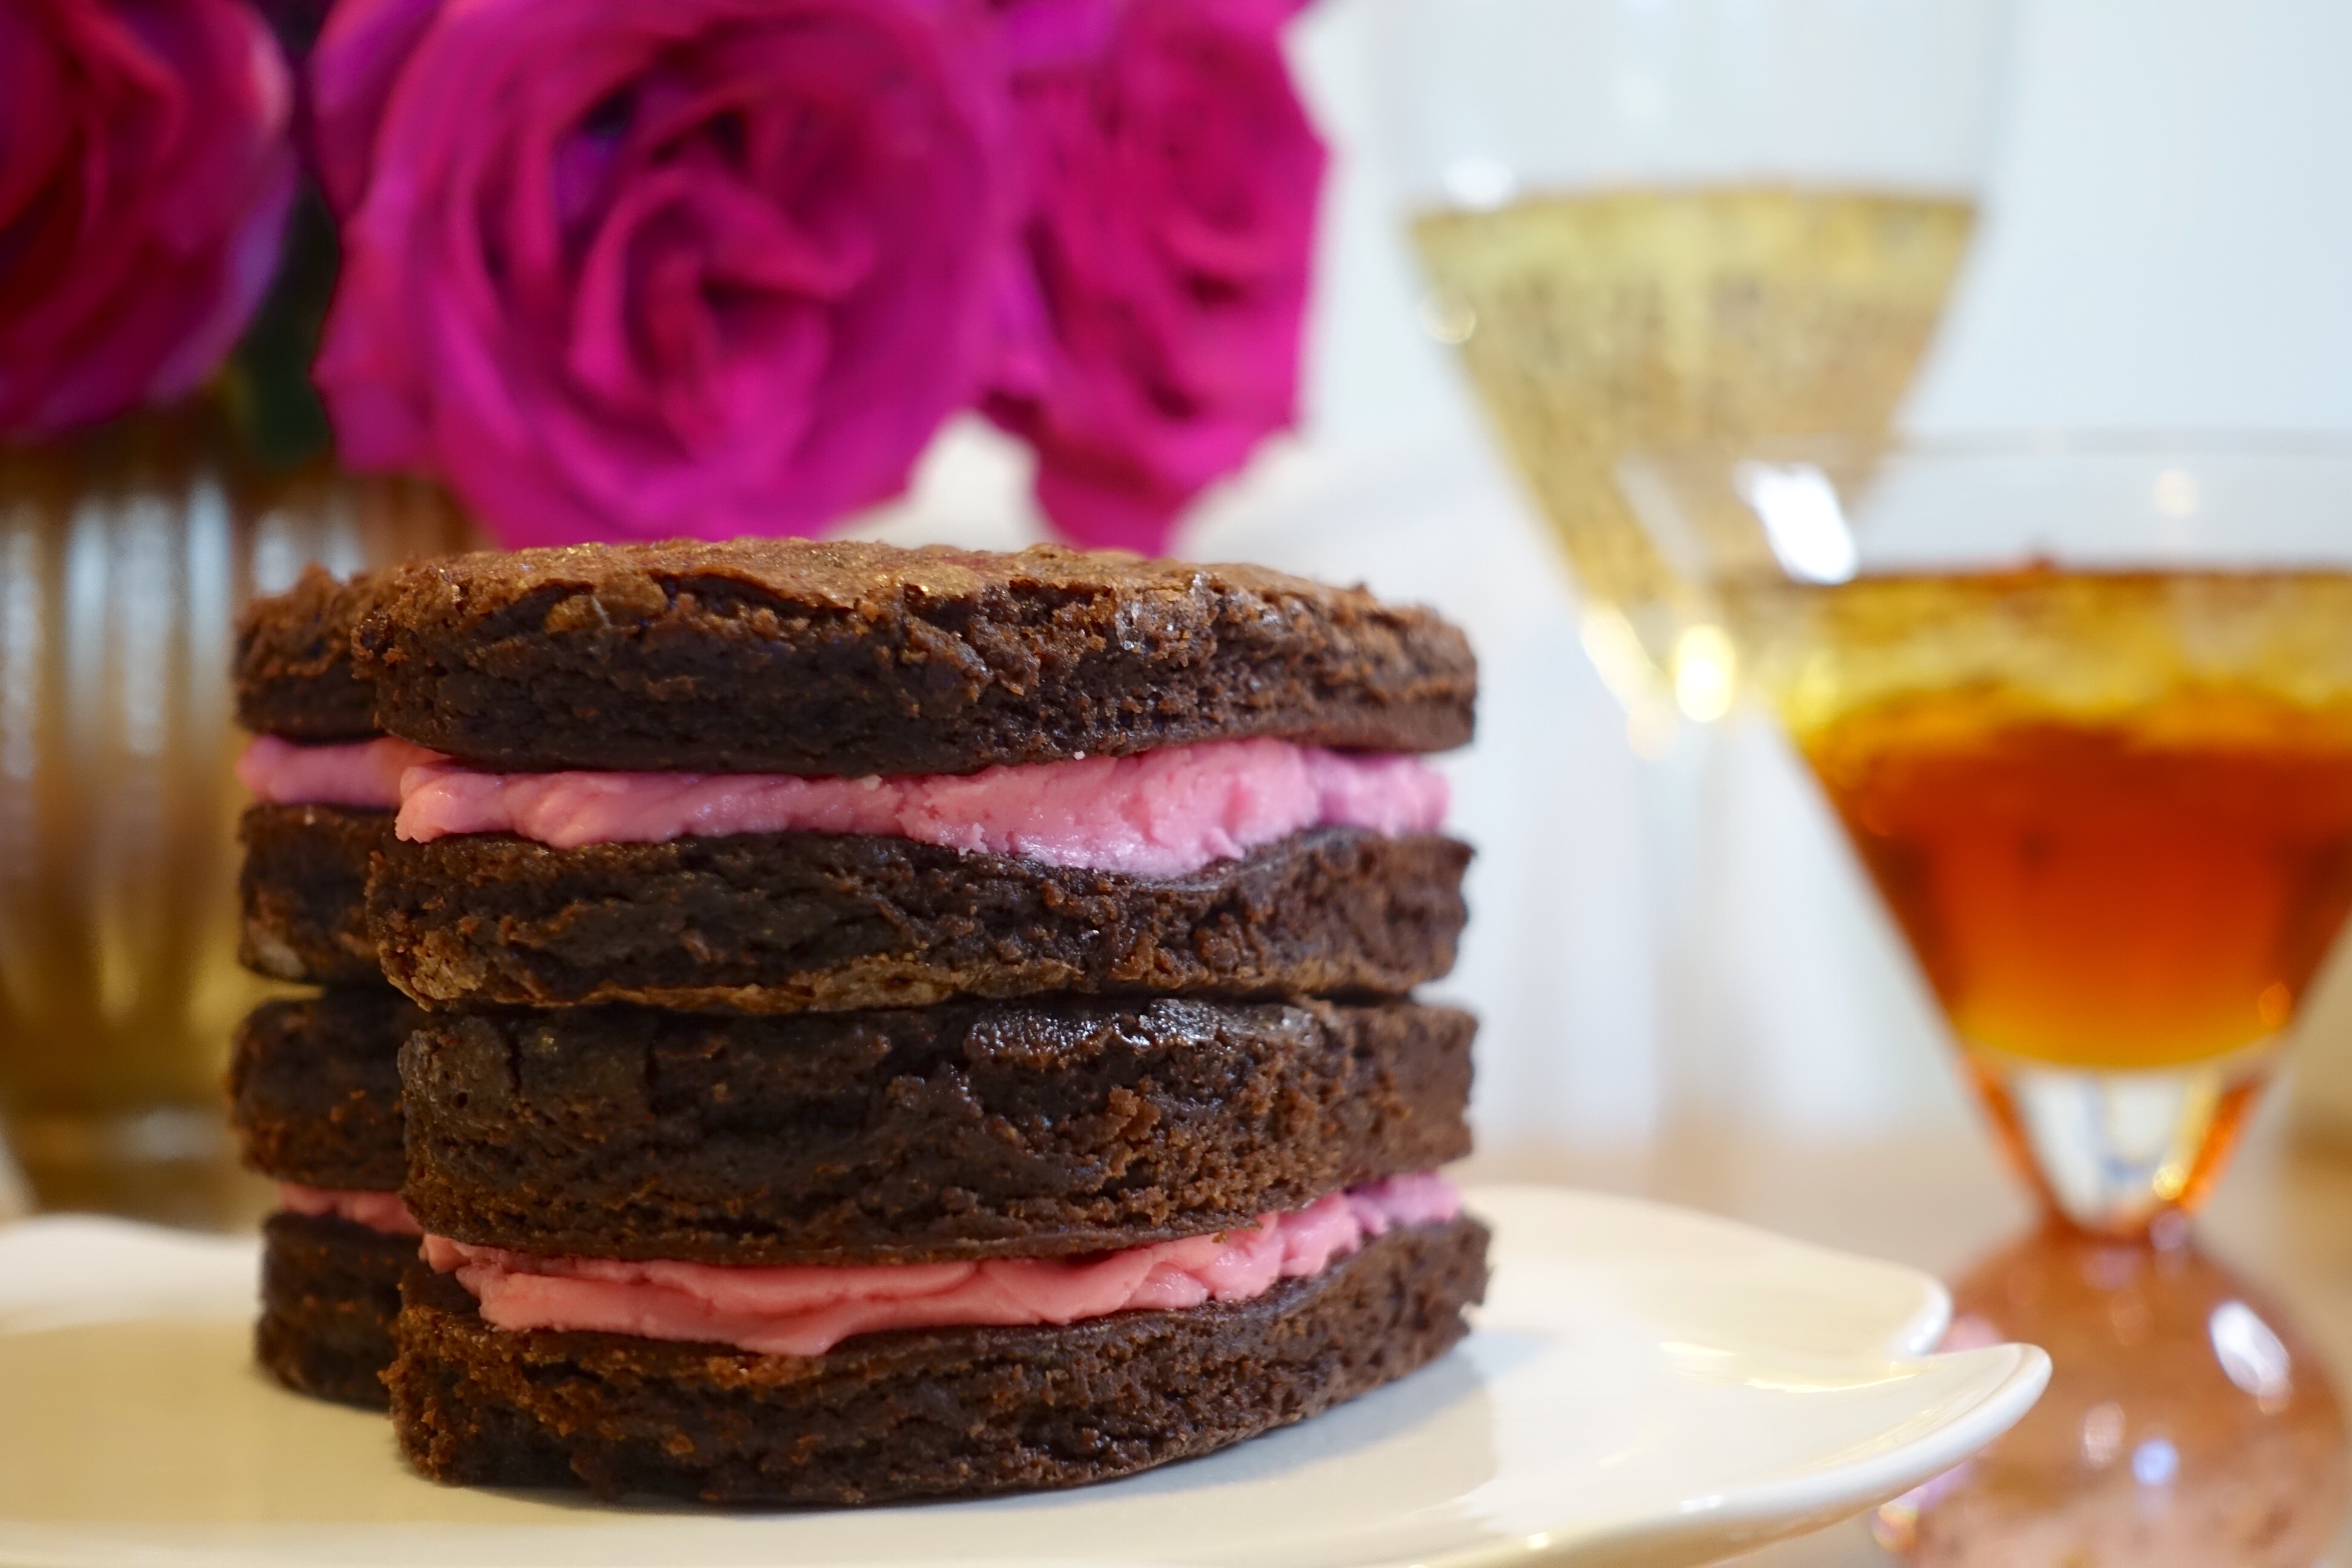
I paired this deliciousness with a “Sour Kiss” cocktail, keeping with the whole ‘Valentine’s Day Shmalentine’s Day’ theme here. It tastes like sour patch candies in a glass! Mix together an ounce of each of these ingredients and enjoy!

Sour Kiss Cocktail:
Vodka
Grenadine syrup
Blue curacao liqueur
Sweet and Sour Mix
Limes

Here is my Pinterest DIY-not Valentine’s Day episode, and if you missed my Galentine’s Day post you can read it here!

What are your plans for this weekend ?!

Go enjoy these recipes and Happy Valentine’s Day from stupid cupid <333


HOLIDAY PARTIES AND WHAT TO BRING!

Office holiday parties, gingerbread house making parties, ugly sweater parties … you’re being invited to SO MANY parties! You’re going to want to bring something to contribute to each of these gatherings and I have you covered! I learned this practice from my mom who would always  say that when you go to someone’s home you bring something to gift the host with. Here are two things you can bring to your next holiday get together that is sure to be a crowd pleaser!


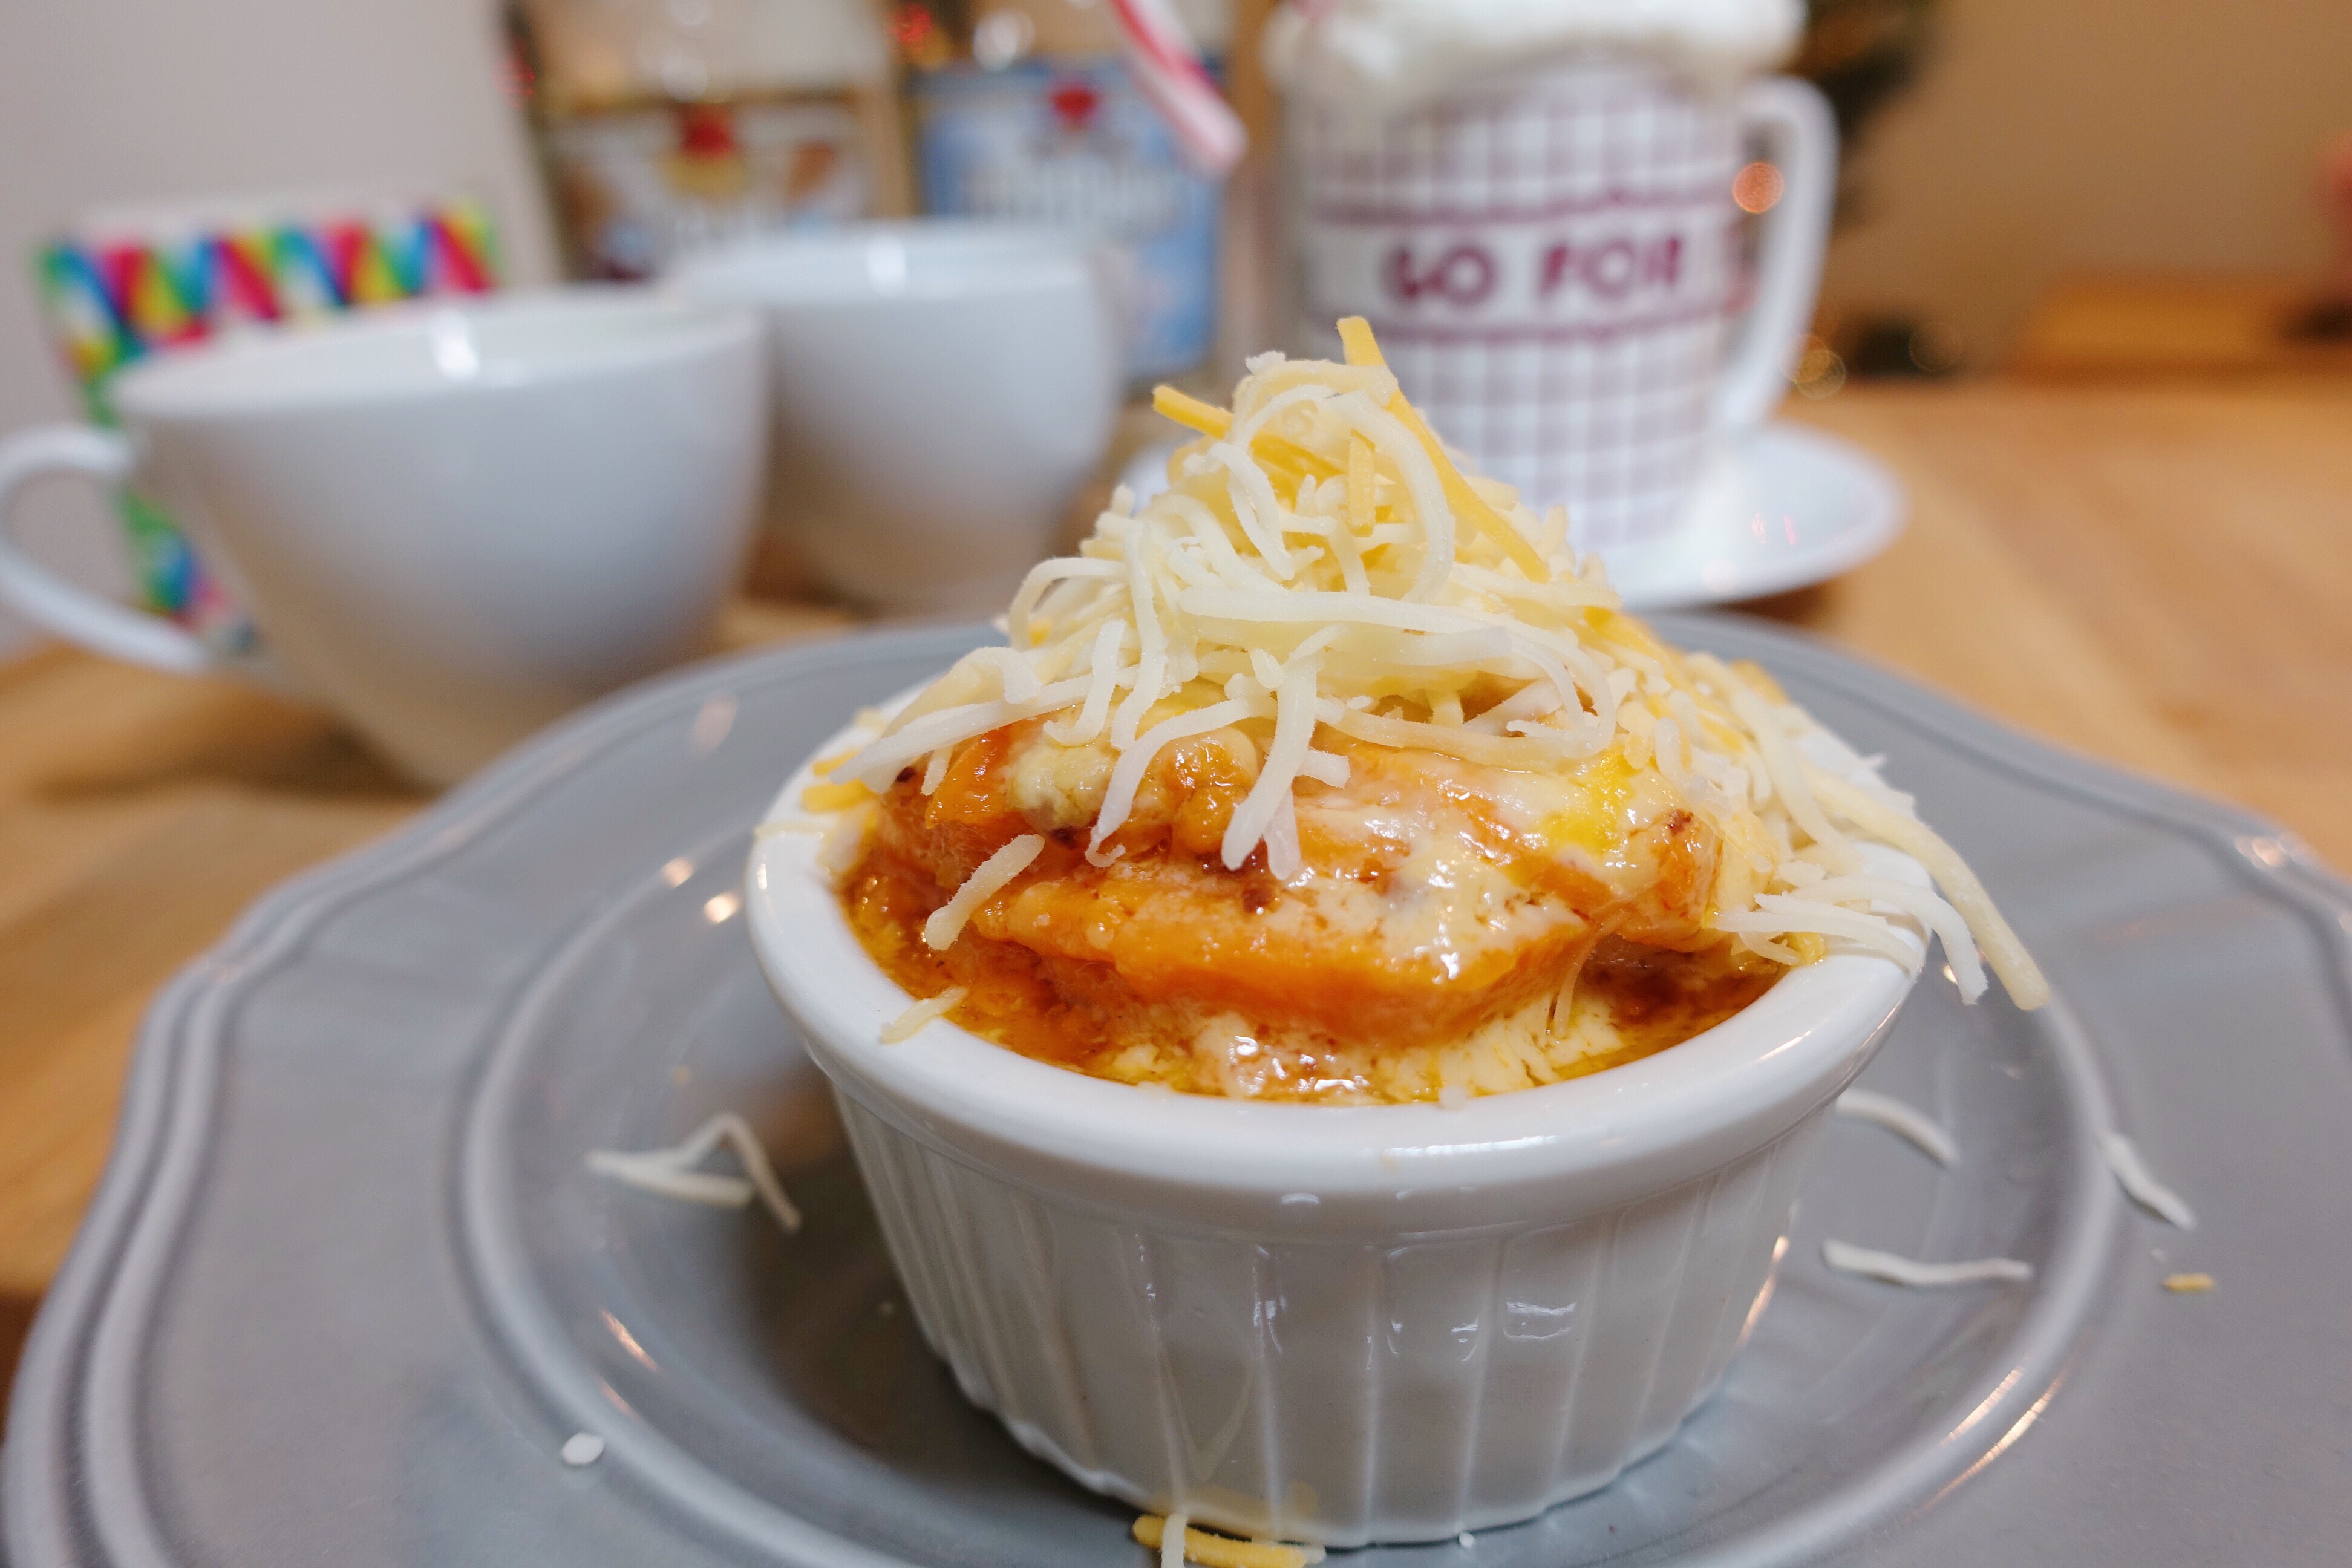
Sweet potatoes au gratin with a spicy chile twist! This is a wonderful side dish to bring if you like the idea of combining the richness of comfort foods with the sweetness of the season. Think sweet potato pie minus the whipped cream BUT marshmallows included! Ummm yumm!! Thank you Bobby Flay! I’ve taken his original recipe and put my own little twist on it!

What you’ll need:
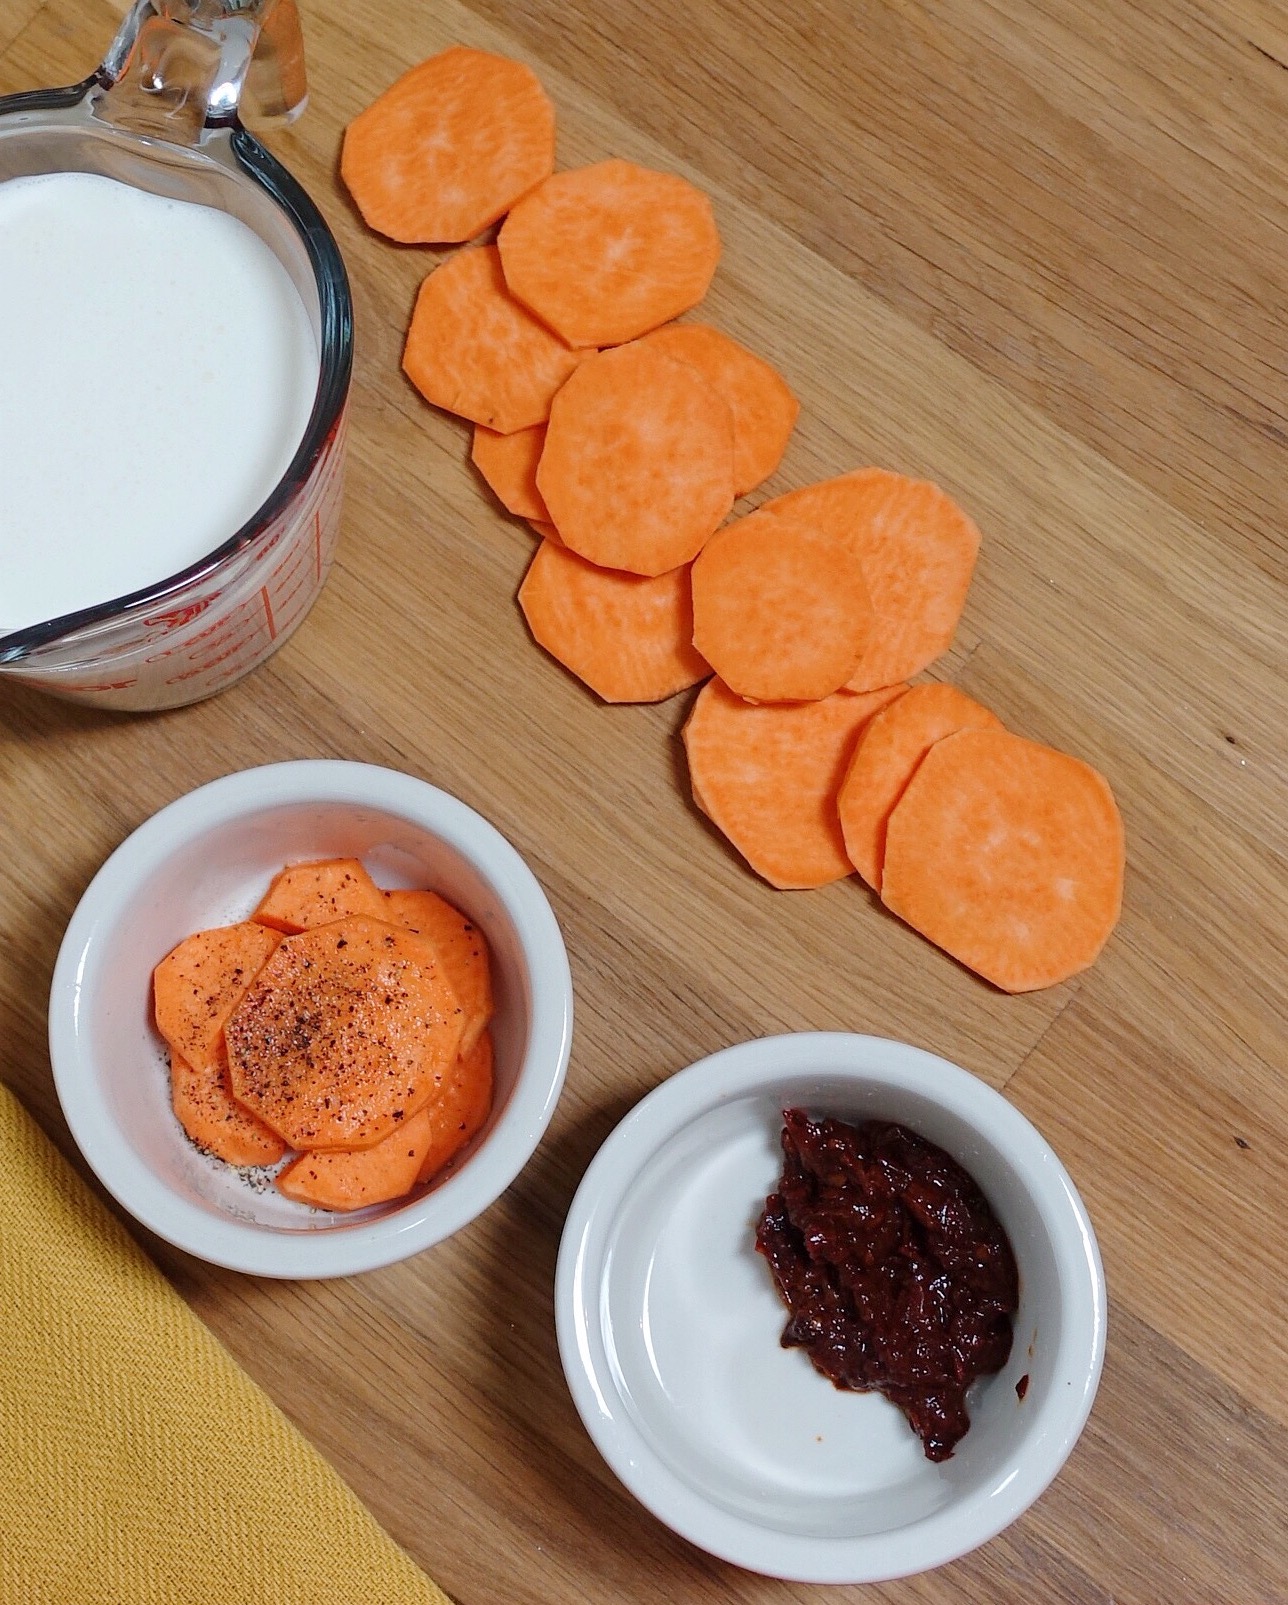
3-4 large sweet potatoes
2 cups heavy whipping cream
1 tablespoon chipotle puree
Fresh ground black pepper
Pink Himalayan sea salt
mini marshmallows
square glass pan or ramekin cups

Method:
Preheat oven to 350 degrees. Separate the chipotle peppers from the oil and place in blender and slowly add in the oil until you blend it to the consistency you like. Add the puree to a bowl and whisk in the heavy whipping cream, salt, and pepper. Set aside. Peel and cut the sweet potatoes into thin rounds and begin layering them into your ramekin cups or glass dish. In between the layers spread an even layer of your chipotle cream mixture, sprinkle a few marshmallows on top, and continue this layering step until all of your potato wedges are gone. Bake in the oven for 1 hour or until the cream is absorbed by the potatoes. ENJOY!!! *note, do not cover this as I learned it will spill over and cause smoke alarms to go off. OR if you do cover it, simply place a cookie sheet beneath your glassware or ramekin cups*


It’s decadent, rich, and comforting! This sweet potato au gratin recipe is perfectly savory!

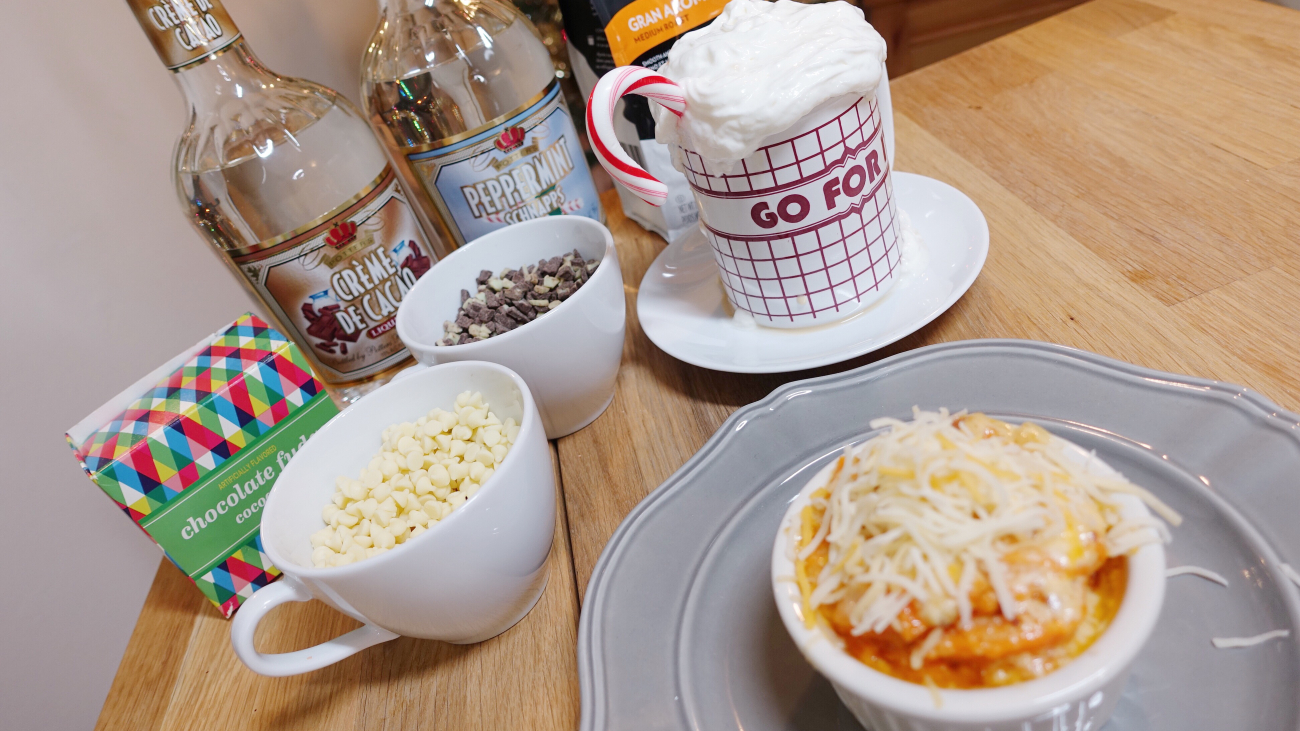
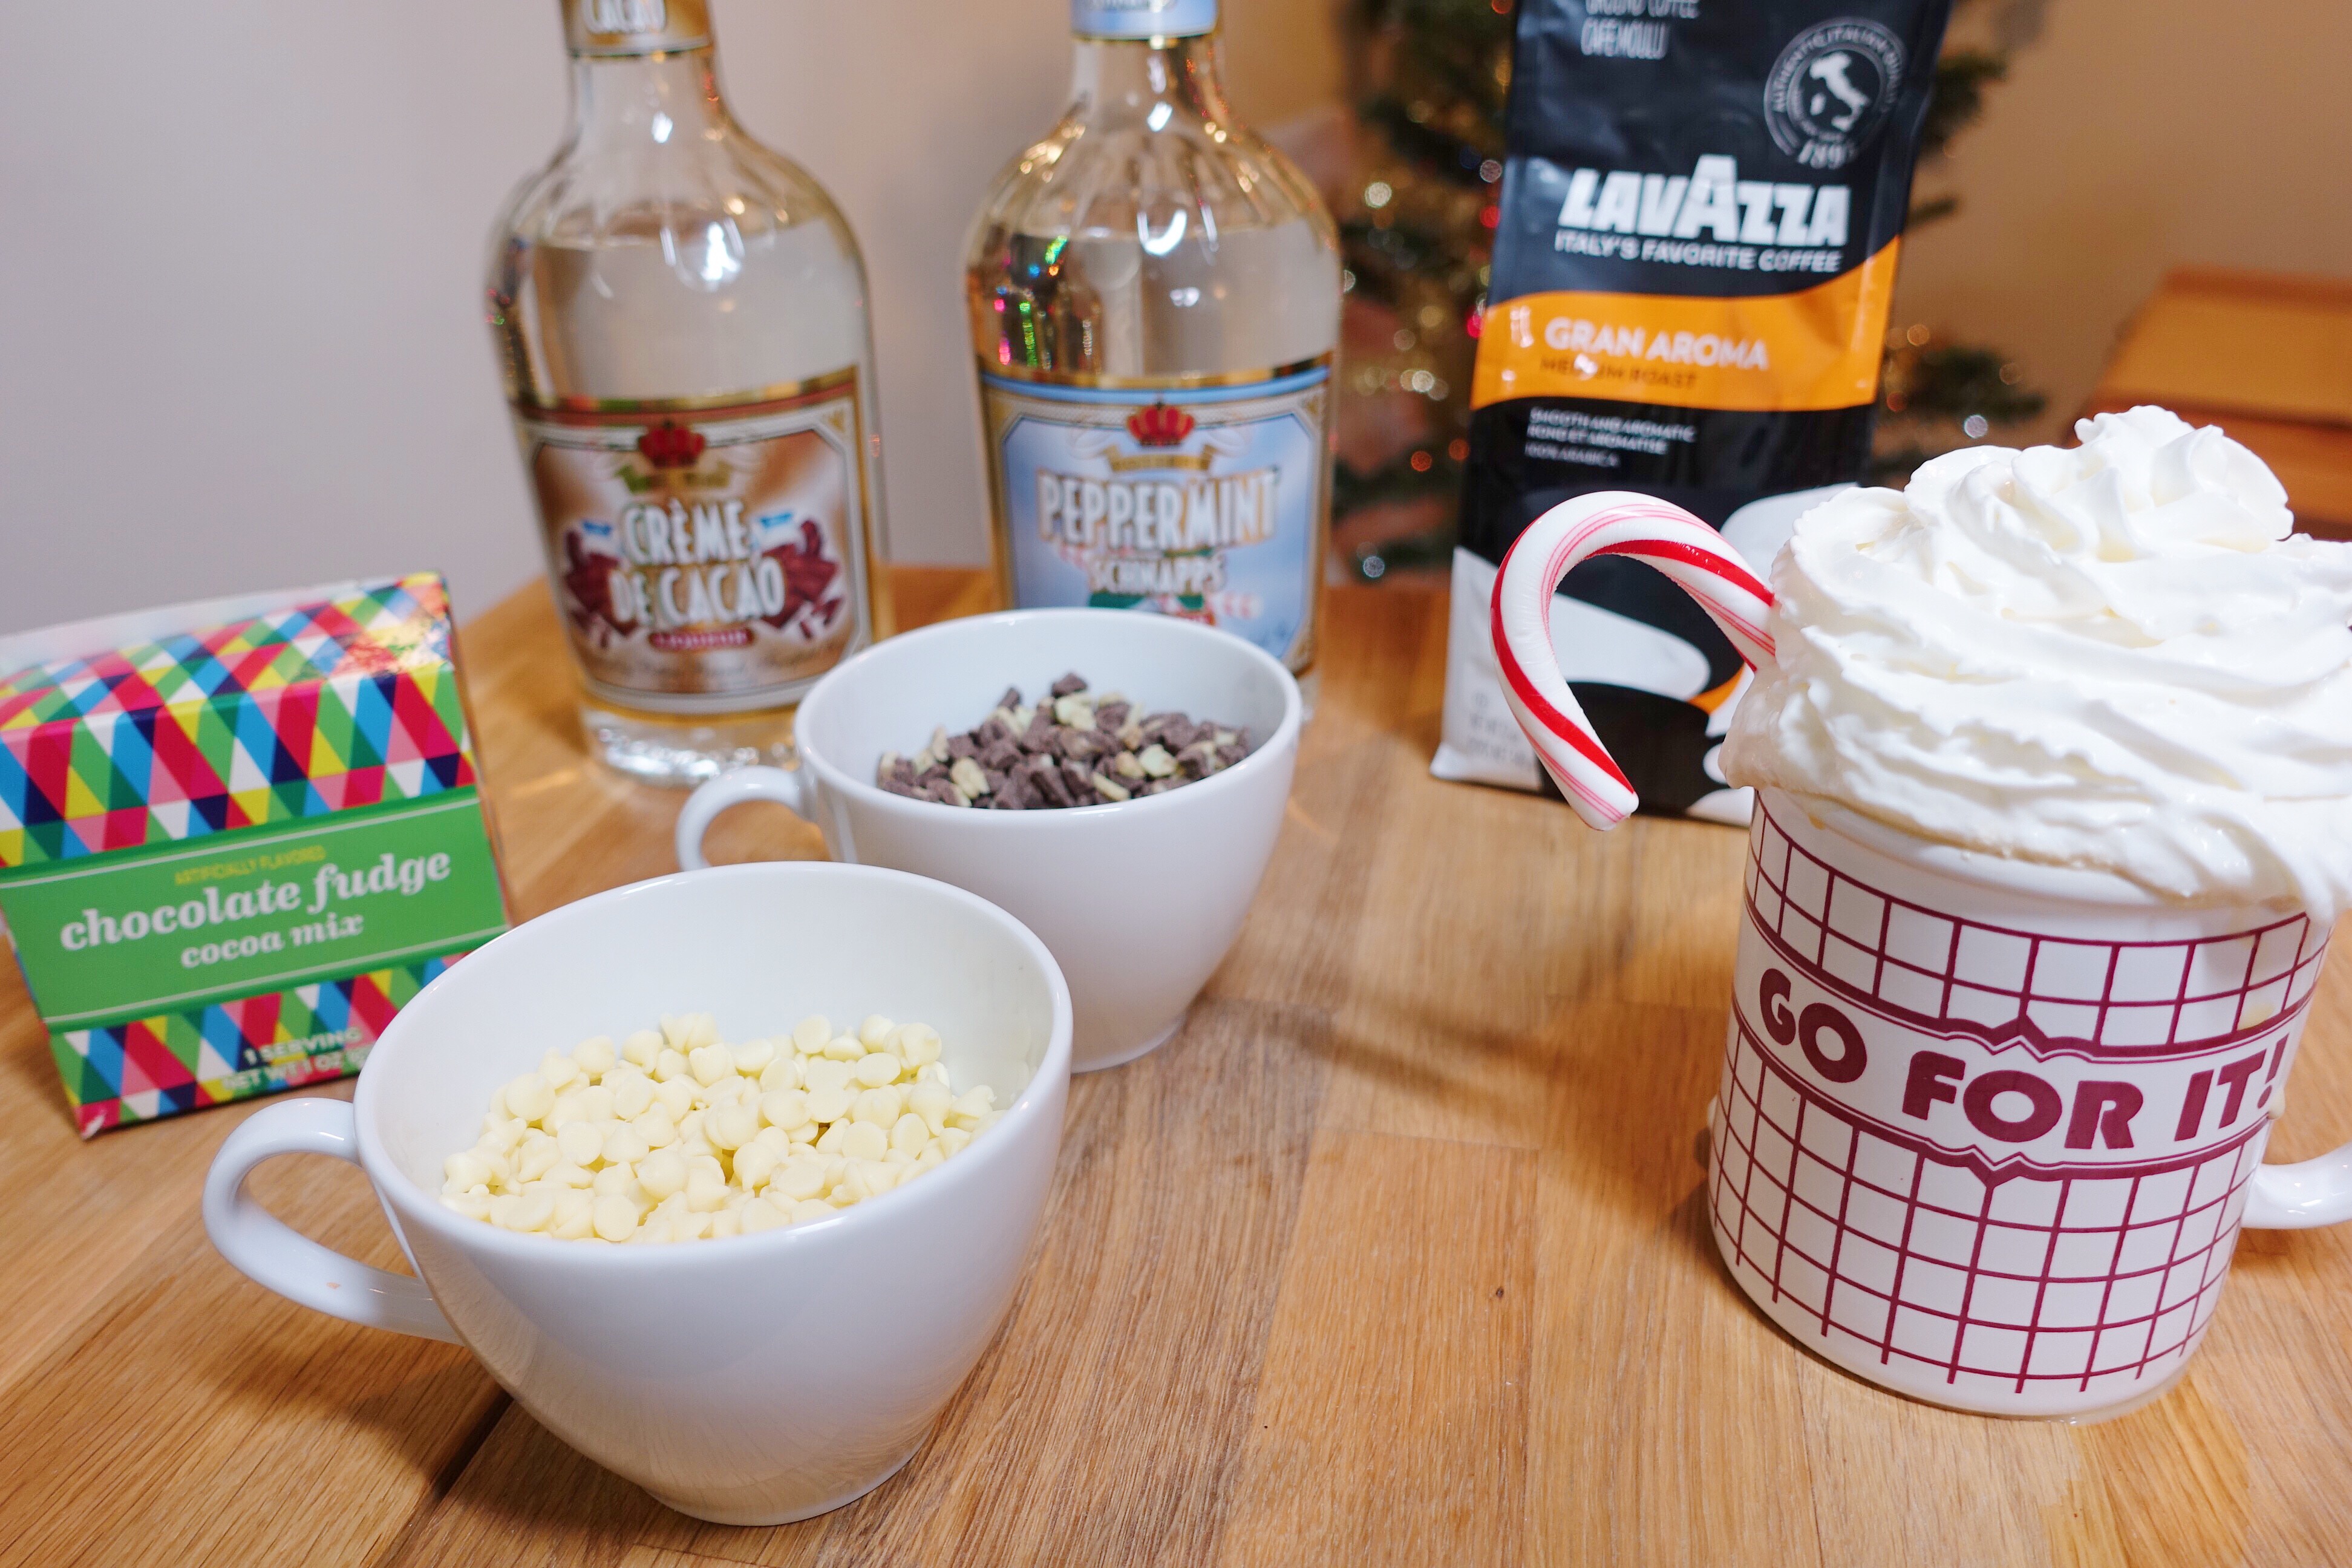
Next up, we’re putting a spin on the traditional hot cocoa drink, I present to you, the world’s BEST adult version, the “spiked hot cocoa latte”! That’s what I’m calling it any way because it has coffee, liquor, AND cocoa! So you’ll all be super keyed up on caffeine, and able to enjoy a night of dancing under the mistletoe! You’ll need to borrow your host’s stove top for this one, but trust me, you’ll be everyone’s favorite by the end of the night! Ha!


What you’ll need:
1 package hot cocoa mix of your choice (1 per cup)
1 tsp Cacao liqueur
Peppermint schnapps
Coffee of your choice
White chocolate chips
Mint chocolate chips
1 cup milk of your choice
Peppermint candy for garnish
Whipped cream

Method:
Make your coffee how you usually do and set it aside (I used my french press). In a small sauce pan add the hot cocoa mix, the milk, and a hand full of both the mint chocolate chips and the white chocolate chips. Warm over low heat and stir until melted and combined. Fill your mug halfway full with your coffee, then add in the hot cocoa mixture until almost full, leaving enough room to add in the liquors. Add in the cacao liqueur and enough peppermint schnapps to almost completely fill the cup. Mix together and top off with whipped cream until your heart is content. Garnish with a candy cane and ENJOY!!!! *if you aren’t of drinking age, please enjoy this drink just the same sans the alcohol!*

I hope you give these recipes a try, they are so yummy, so decadent, and so festive! Give them a go at your next party and TAG me in your squad photo!

What is your go-to potluck dish? Pigs in a blanket? Chips and dip? Tell me!

See you later this week with a ‘how to pack when you’re headed home for the holidays’ post!


PANNA COTTA WITH RASPBERRY SAUCE!


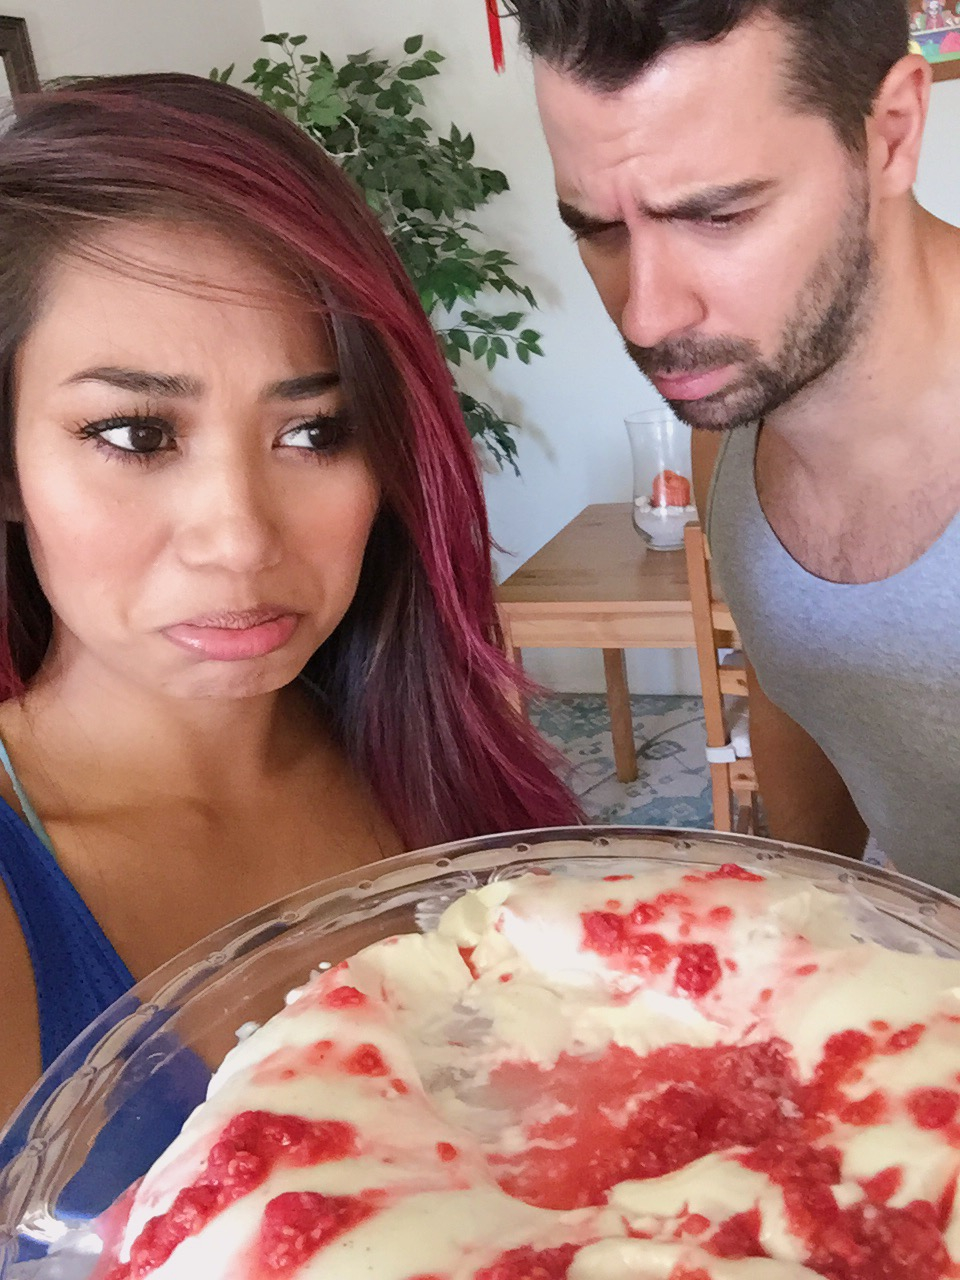
Ok let me just preface this by saying that this attempt was a total fail! The beautiful photo above was actually taken by MrsJpvan2 and it just looks delicious and beautiful right? Well my panna cotta was totally delicious … and totally ugly!

I fully set out to create this yummy scrum-dilly-umptious dessert that my daughter loooves, and instead ended up creating a disaster. Full video of said disaster, tears and all here or watch the video below!

So a couple of things, 1) have proper ramekins and not a bundt. This will all make sense soon, and 2) measure things properly and don’t eye ball them like I did. Again, this will all make sense. But first:

Ingredients:

  • 1 envelope unflavored gelatin (about 1 tablespoon)
  • 2 tablespoons cold water
  • 2 cups heavy whipping cream
  • 1 cup half and half
  • 1/3 cup sugar
  • 1 1/2 teaspoons vanilla extract

I got this super yummy recipe from epicurious and if you’d like to see the original post click here, their description of it is much better than mine considering they properly prepared it. So I gave it a go, not having the correct measuring cups and also ahem not having mini ramekins.

Method:

Sprinkle the gelatin over the 2 tablespoons of water and let it thicken in a small saucepan for about a minute. It will begin to gel up.  Then dissolve the mixture over low heat for about another minute and remove from heat. In another saucepan boil together the half and half, sugar, and cream – this takes about 7 minutes or so. Remove the pan from the stove and whisk in the vanilla and gelatin mixture. OK OK, then you’re SUPPOSED to divide the mixture amongst 8 1/2 cup ramekins, cover, and chill in the refrigerator for 4+ hours.

OK OK, soooo I didn’t have ramekins and knowing what those were at the time was like trying to pronounce it … not happening. So instead I used a bundt cake mold and chilled the mixture in it over night. The next morning it was … how do you say … a disaster!

It fell apart, it flattened, it sunk just as fast as my heart did when I lifted the bundt mold. But the AMAZING and redeeming fact is that it tasted incredible! Minus looking at the hideous blob I had before me, the taste was spectacular! Light, creamy, sweet, and I made a raspberry topping to go with it.

For the topping I just took a package of raspberries and boiled them with some honey and coconut oil until it looked right and tasted right. I plopped it on top and walllaaa! It was boyfriend tested and kid approved! HA!

Try this recipe out for yourself, I know you’re go at it will be much more successful than this. I really am a wonderful cook/baker I promise, it just I swear when the camera is on it becomes a semi-disaster!

What have you made that was a disaster to look at but a party to your taste buds?!?!?!


Jess Lizama


Follow my blog with Bloglovin

HEALTHY LATE NIGHT SNACKS!!!

If this sounds like you raise your hand … Wakes up early to work out, has a protein shake, eats every few hours while making responsible meal choices, 9pm hits and BAM … eats something bad EVERYTHING IN SIGHT!

Sound familiar? Well that is another reason why I jump started #30dayswithJess 2.0! Here are my go-to snacks that are … wait for it … late night consumption APPROVED!

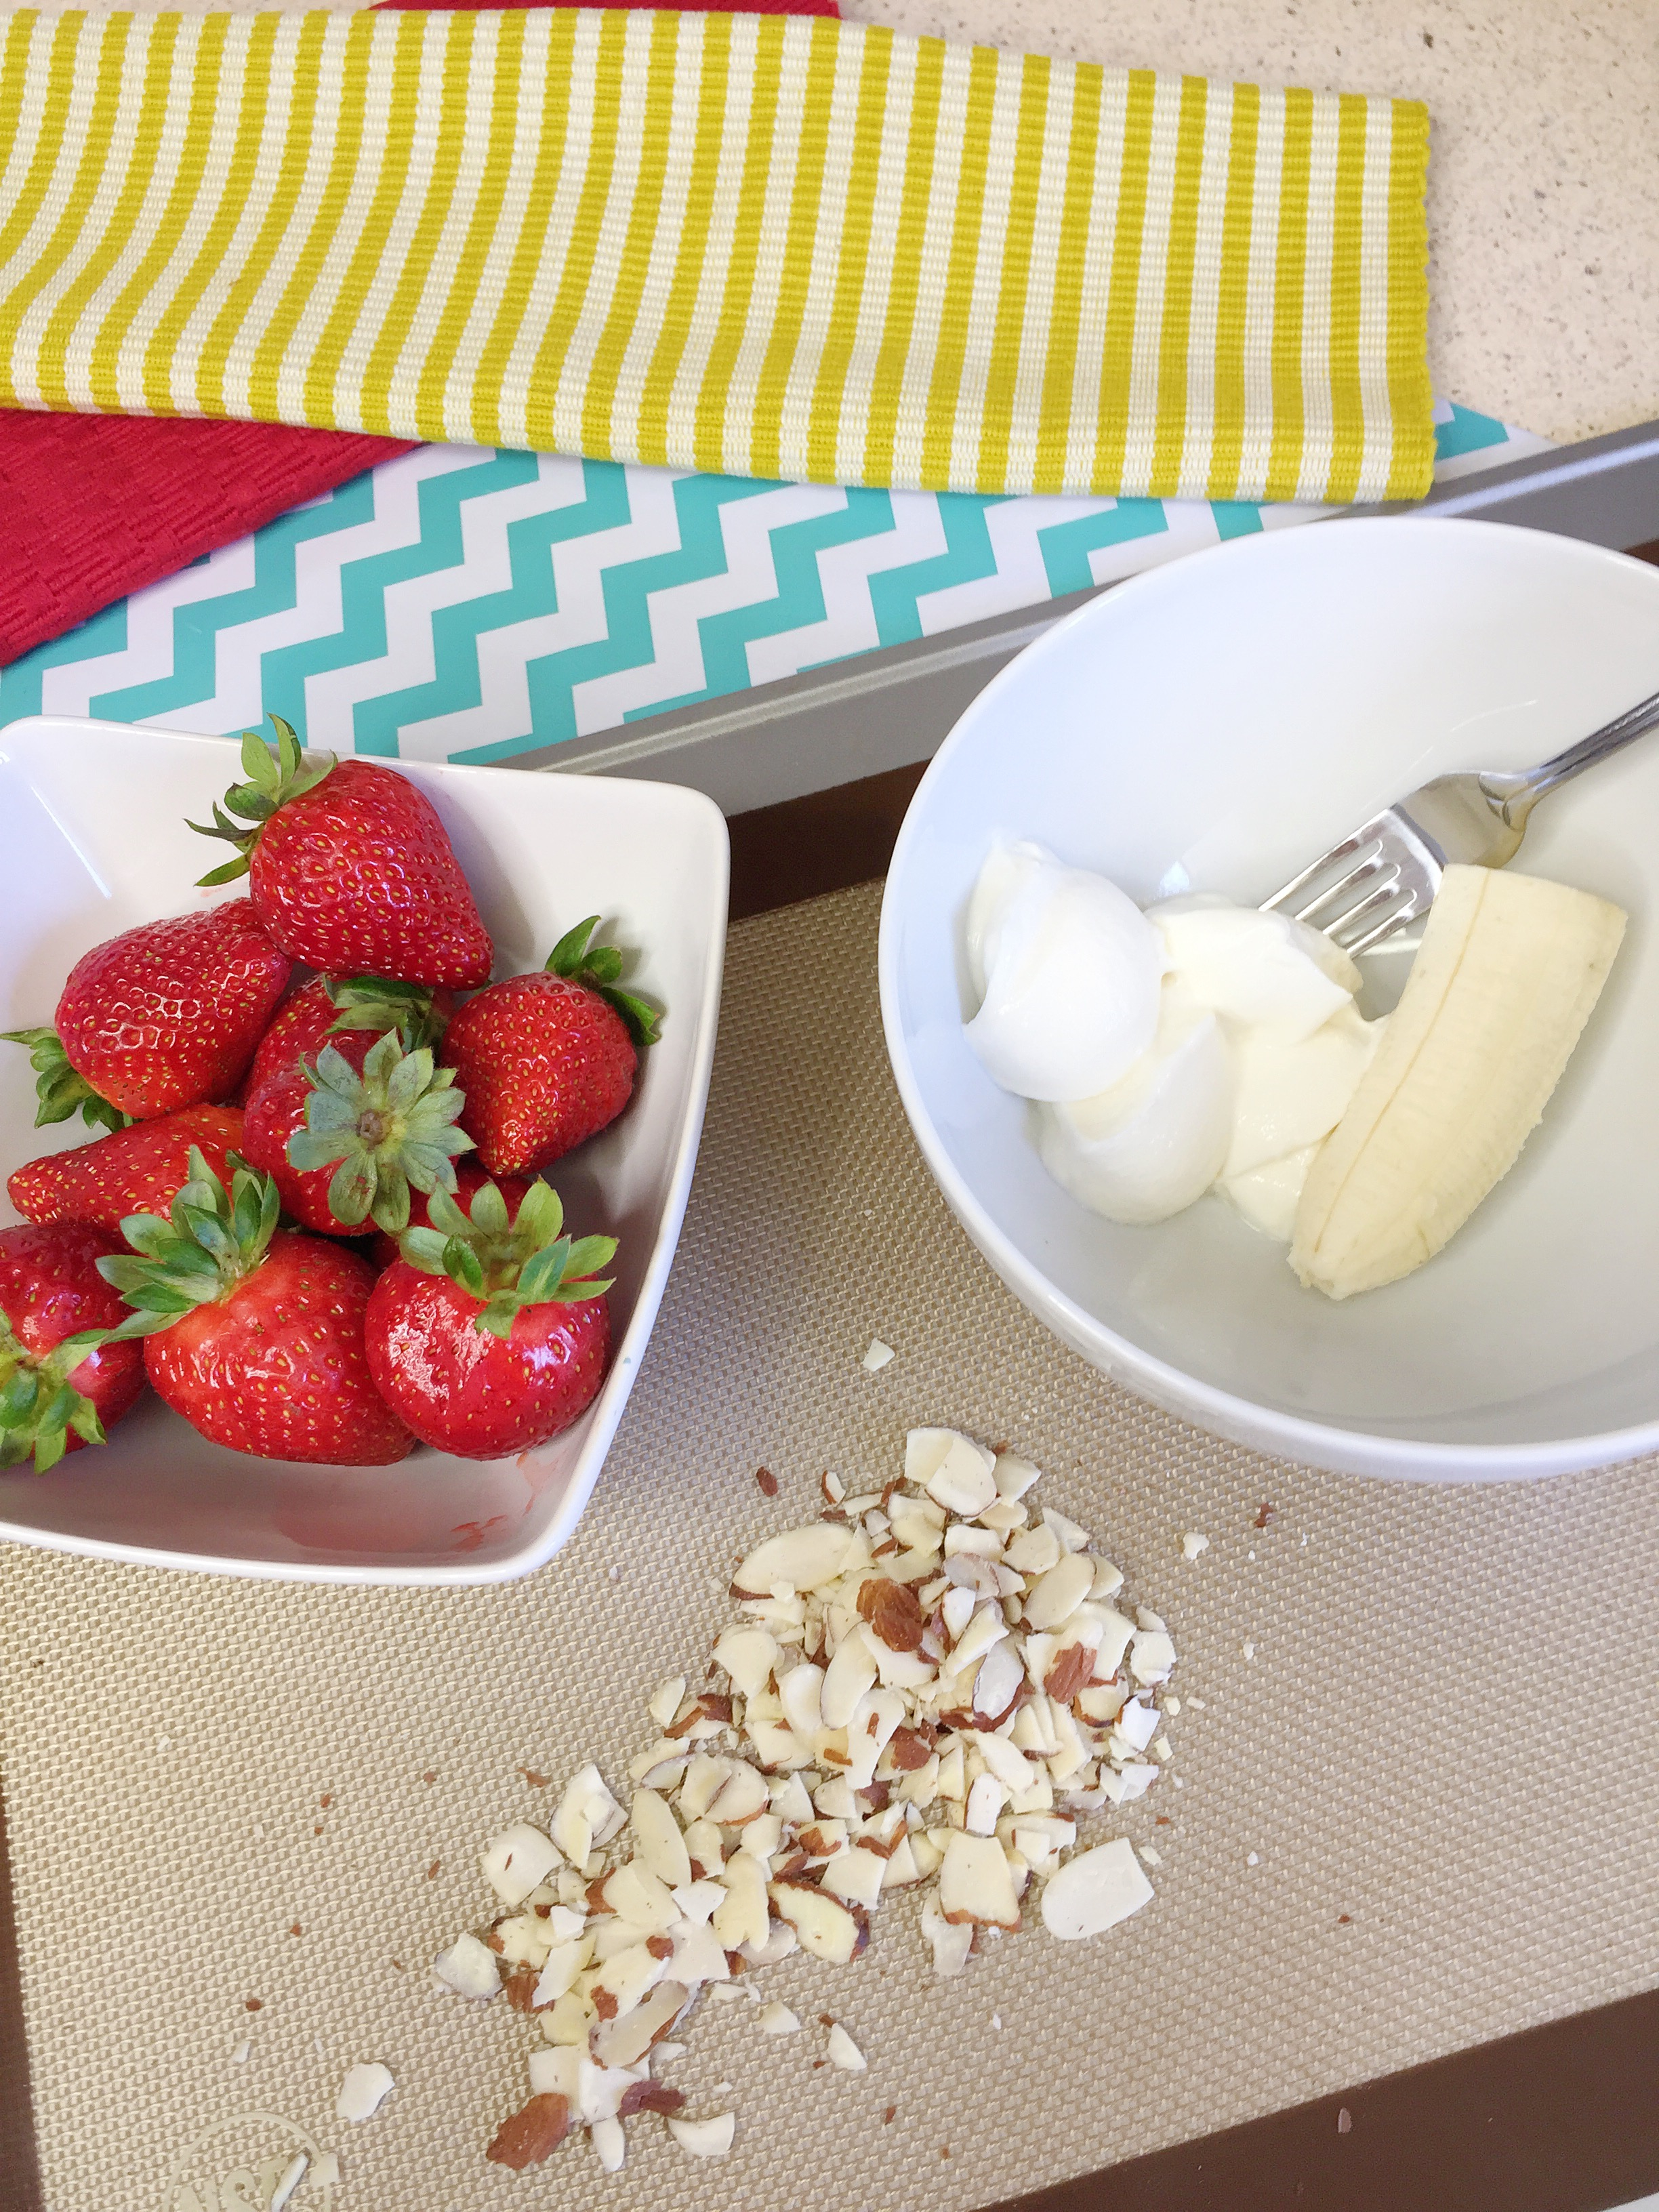
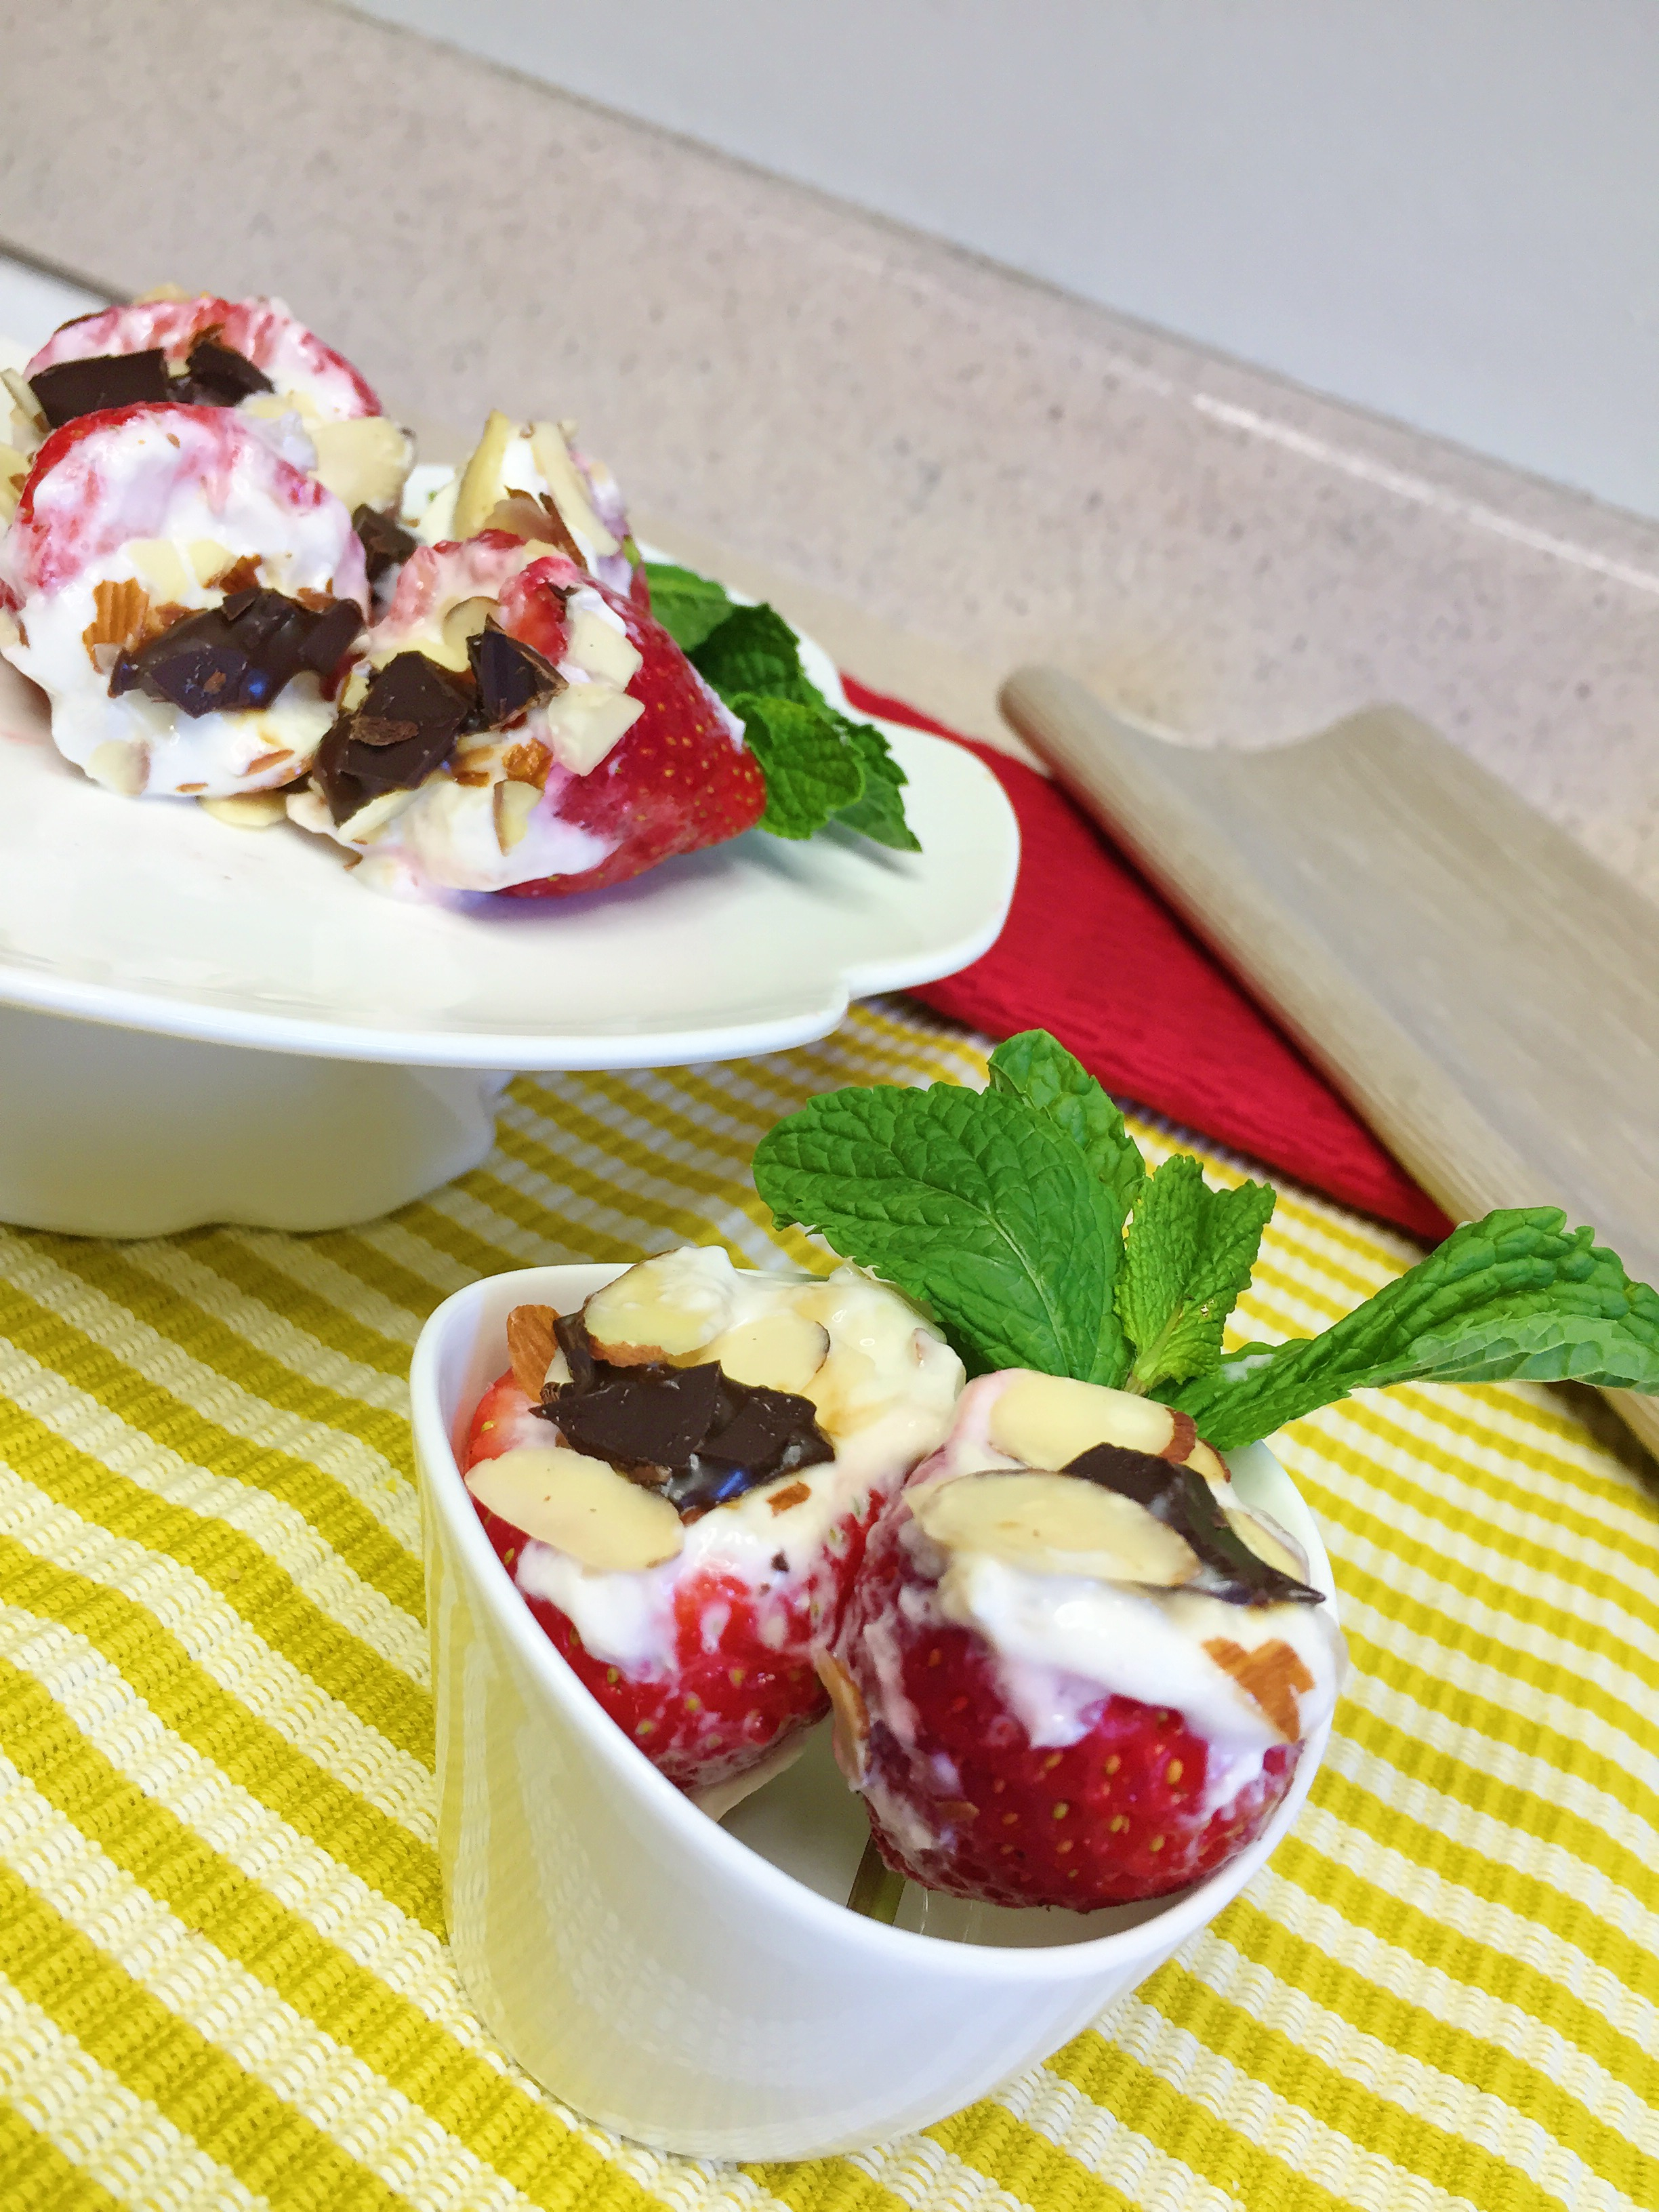
Craving something sweet and savory? Well I have your new favorite treat! Here’s the recipe for frozen yogurt-banana cream filled strawberries – topped with salted caramel dark chocolate pieces! I know, I know, you love me. I love you too!

  • 10-12 strawberries
  • 1 & 1/2 Tablespoons of Blue Diamond sliced almonds
  • 1/2 banana
  • 3 & 1/2 Tablespoons honey yogurt (or any greek yogurt)
  • dark chocolate of your choice (I used salted caramel dark chocolate)

Method:

  1. Smash the banana in a bowl with a fork and add the yogurt until mixed well
  2. Cut the centers out of each strawberry – very carefully, this was tricky for my uncoordinated self
  3. Fill each strawberry with the banana-yogurt cream and top with a sprinkle of sliced almonds.
  4. Place a chocolate piece on top of each strawberry and freeze over-night or until firm. Which ever you have time can wait for! They are messy, but sooo delicious!

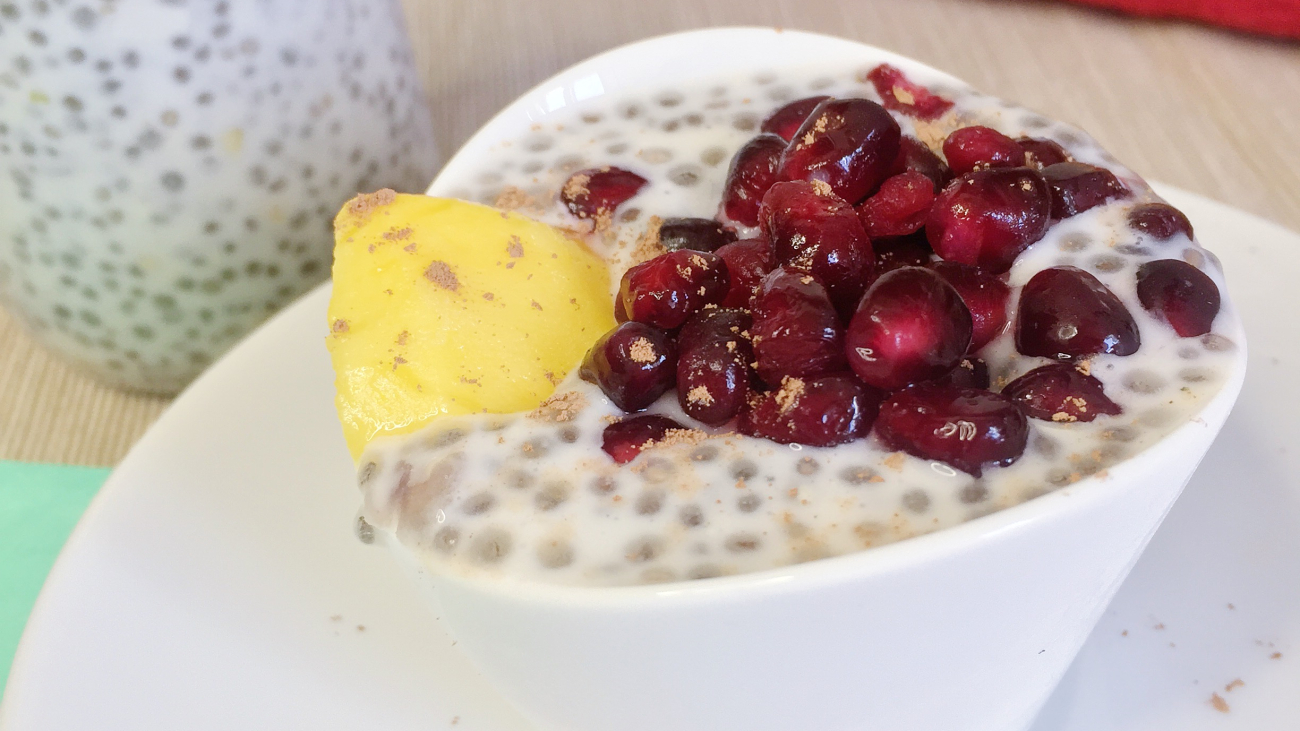
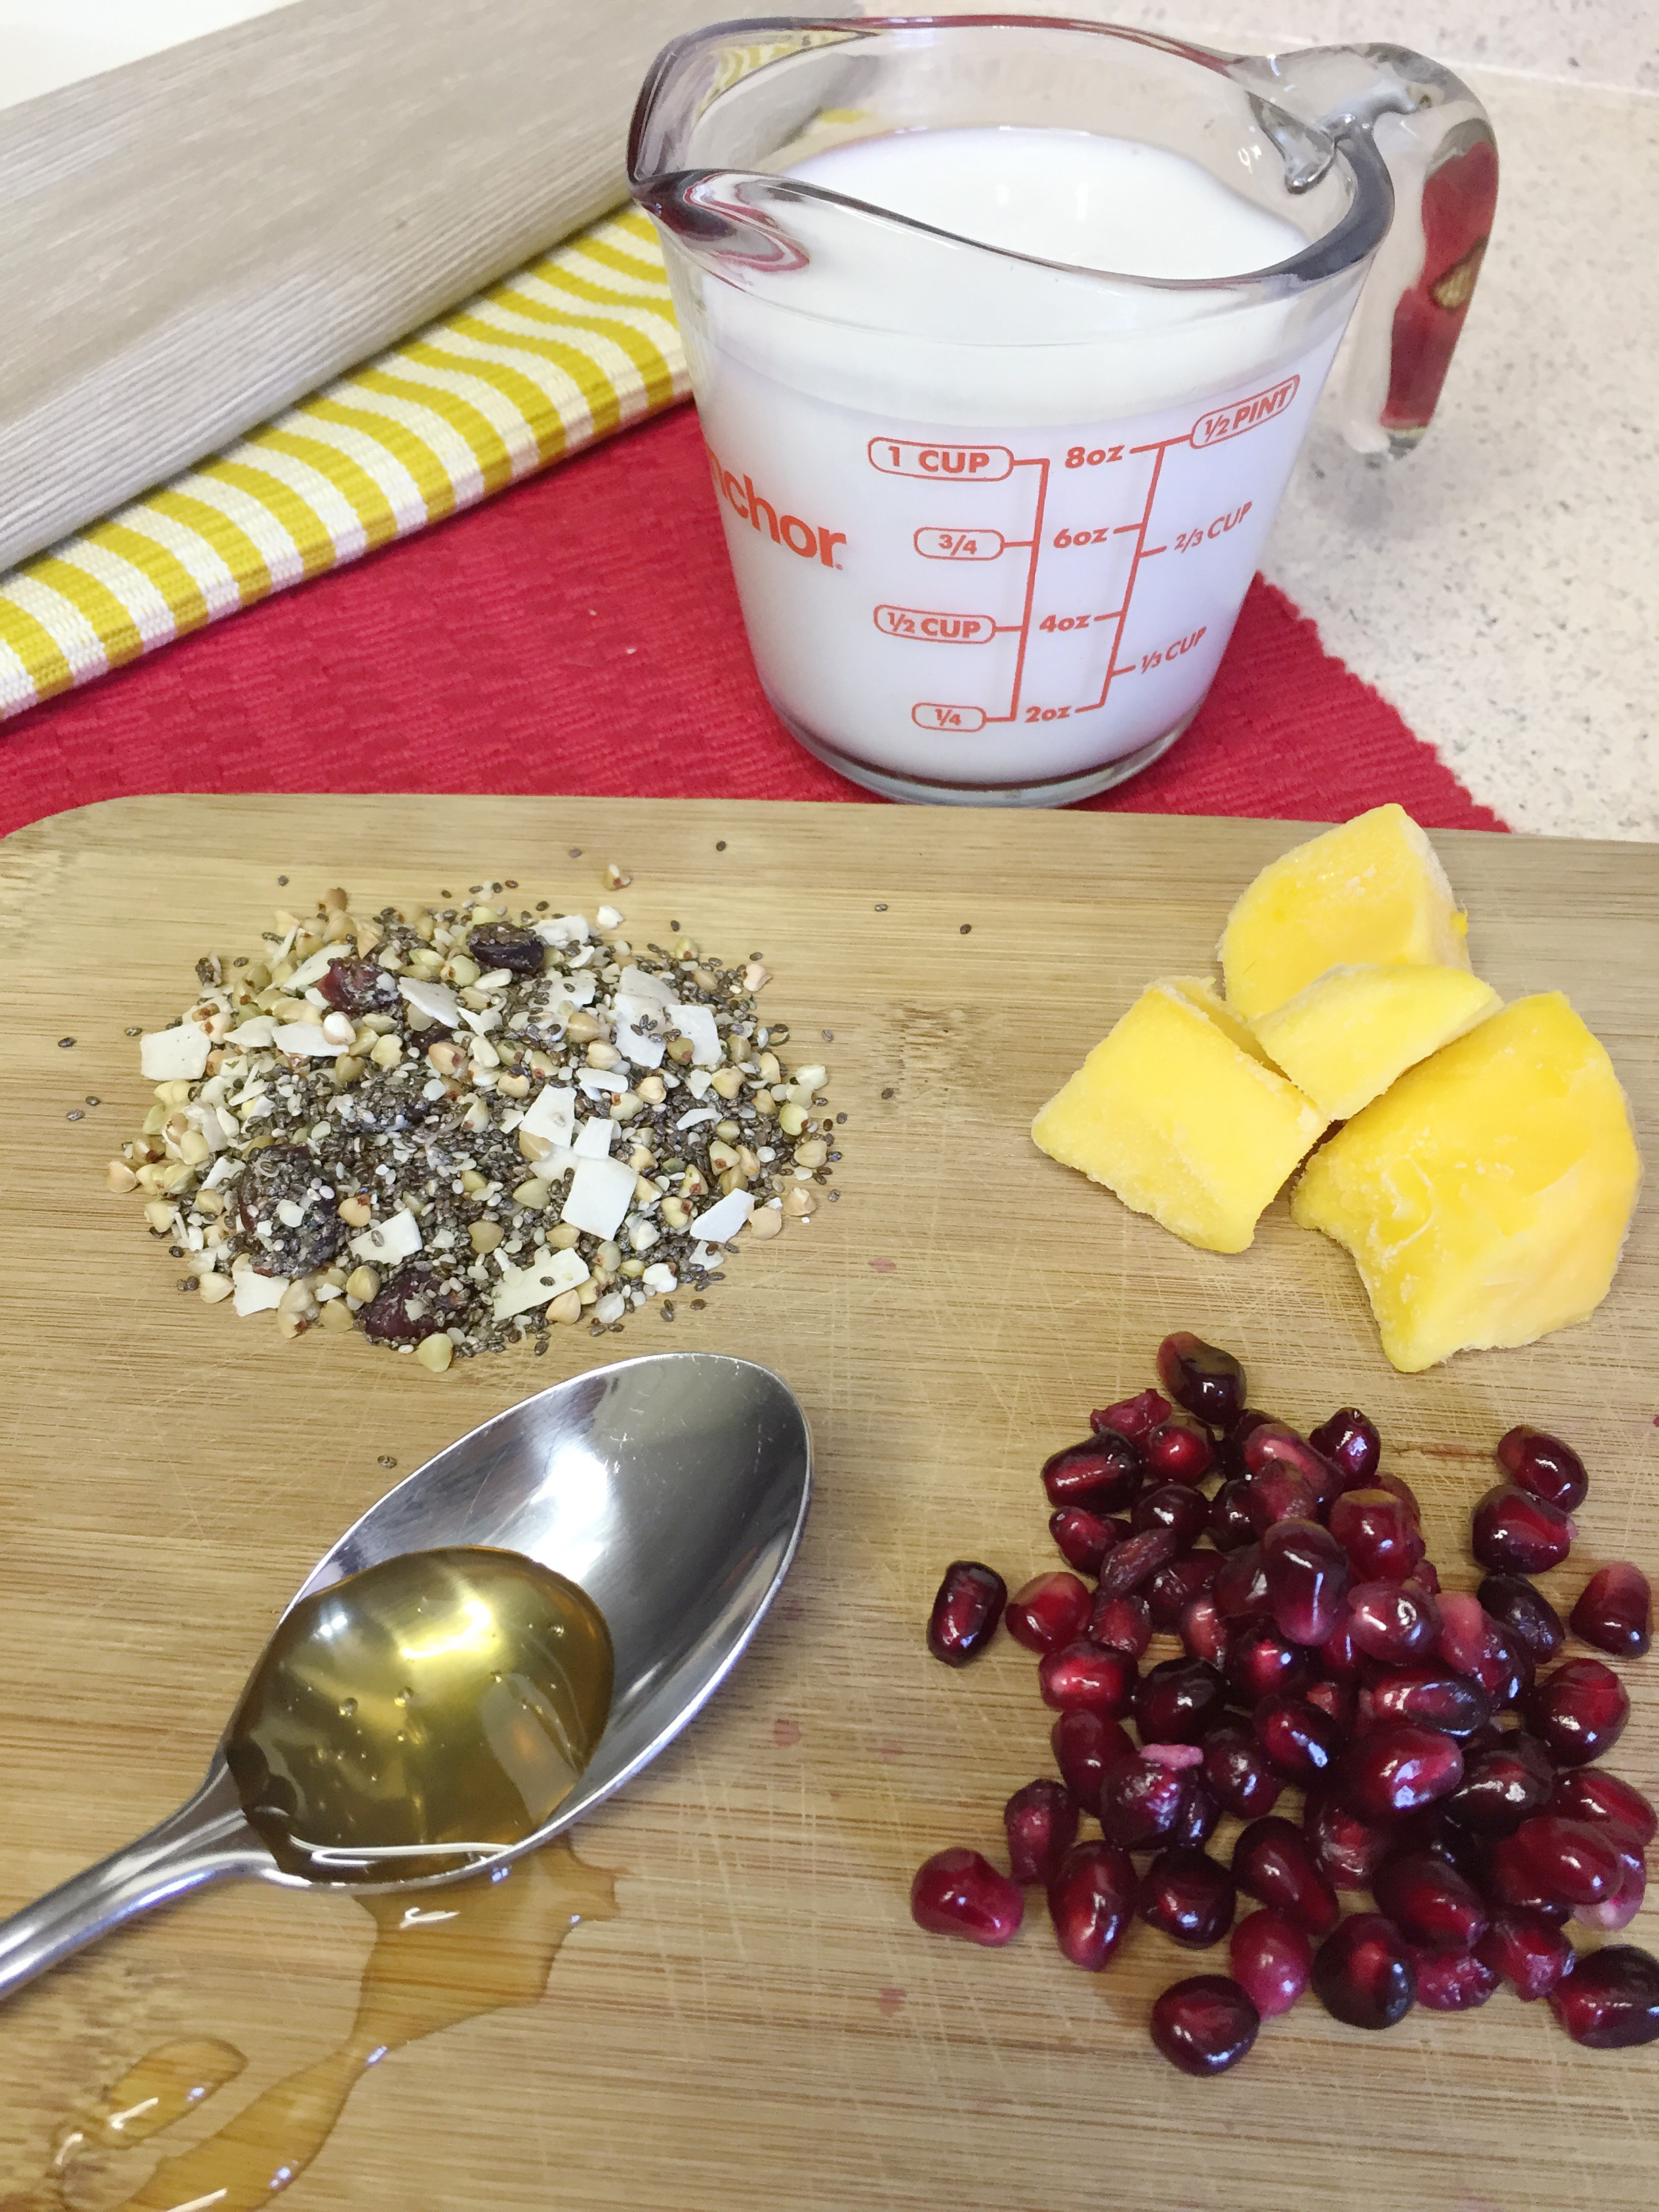
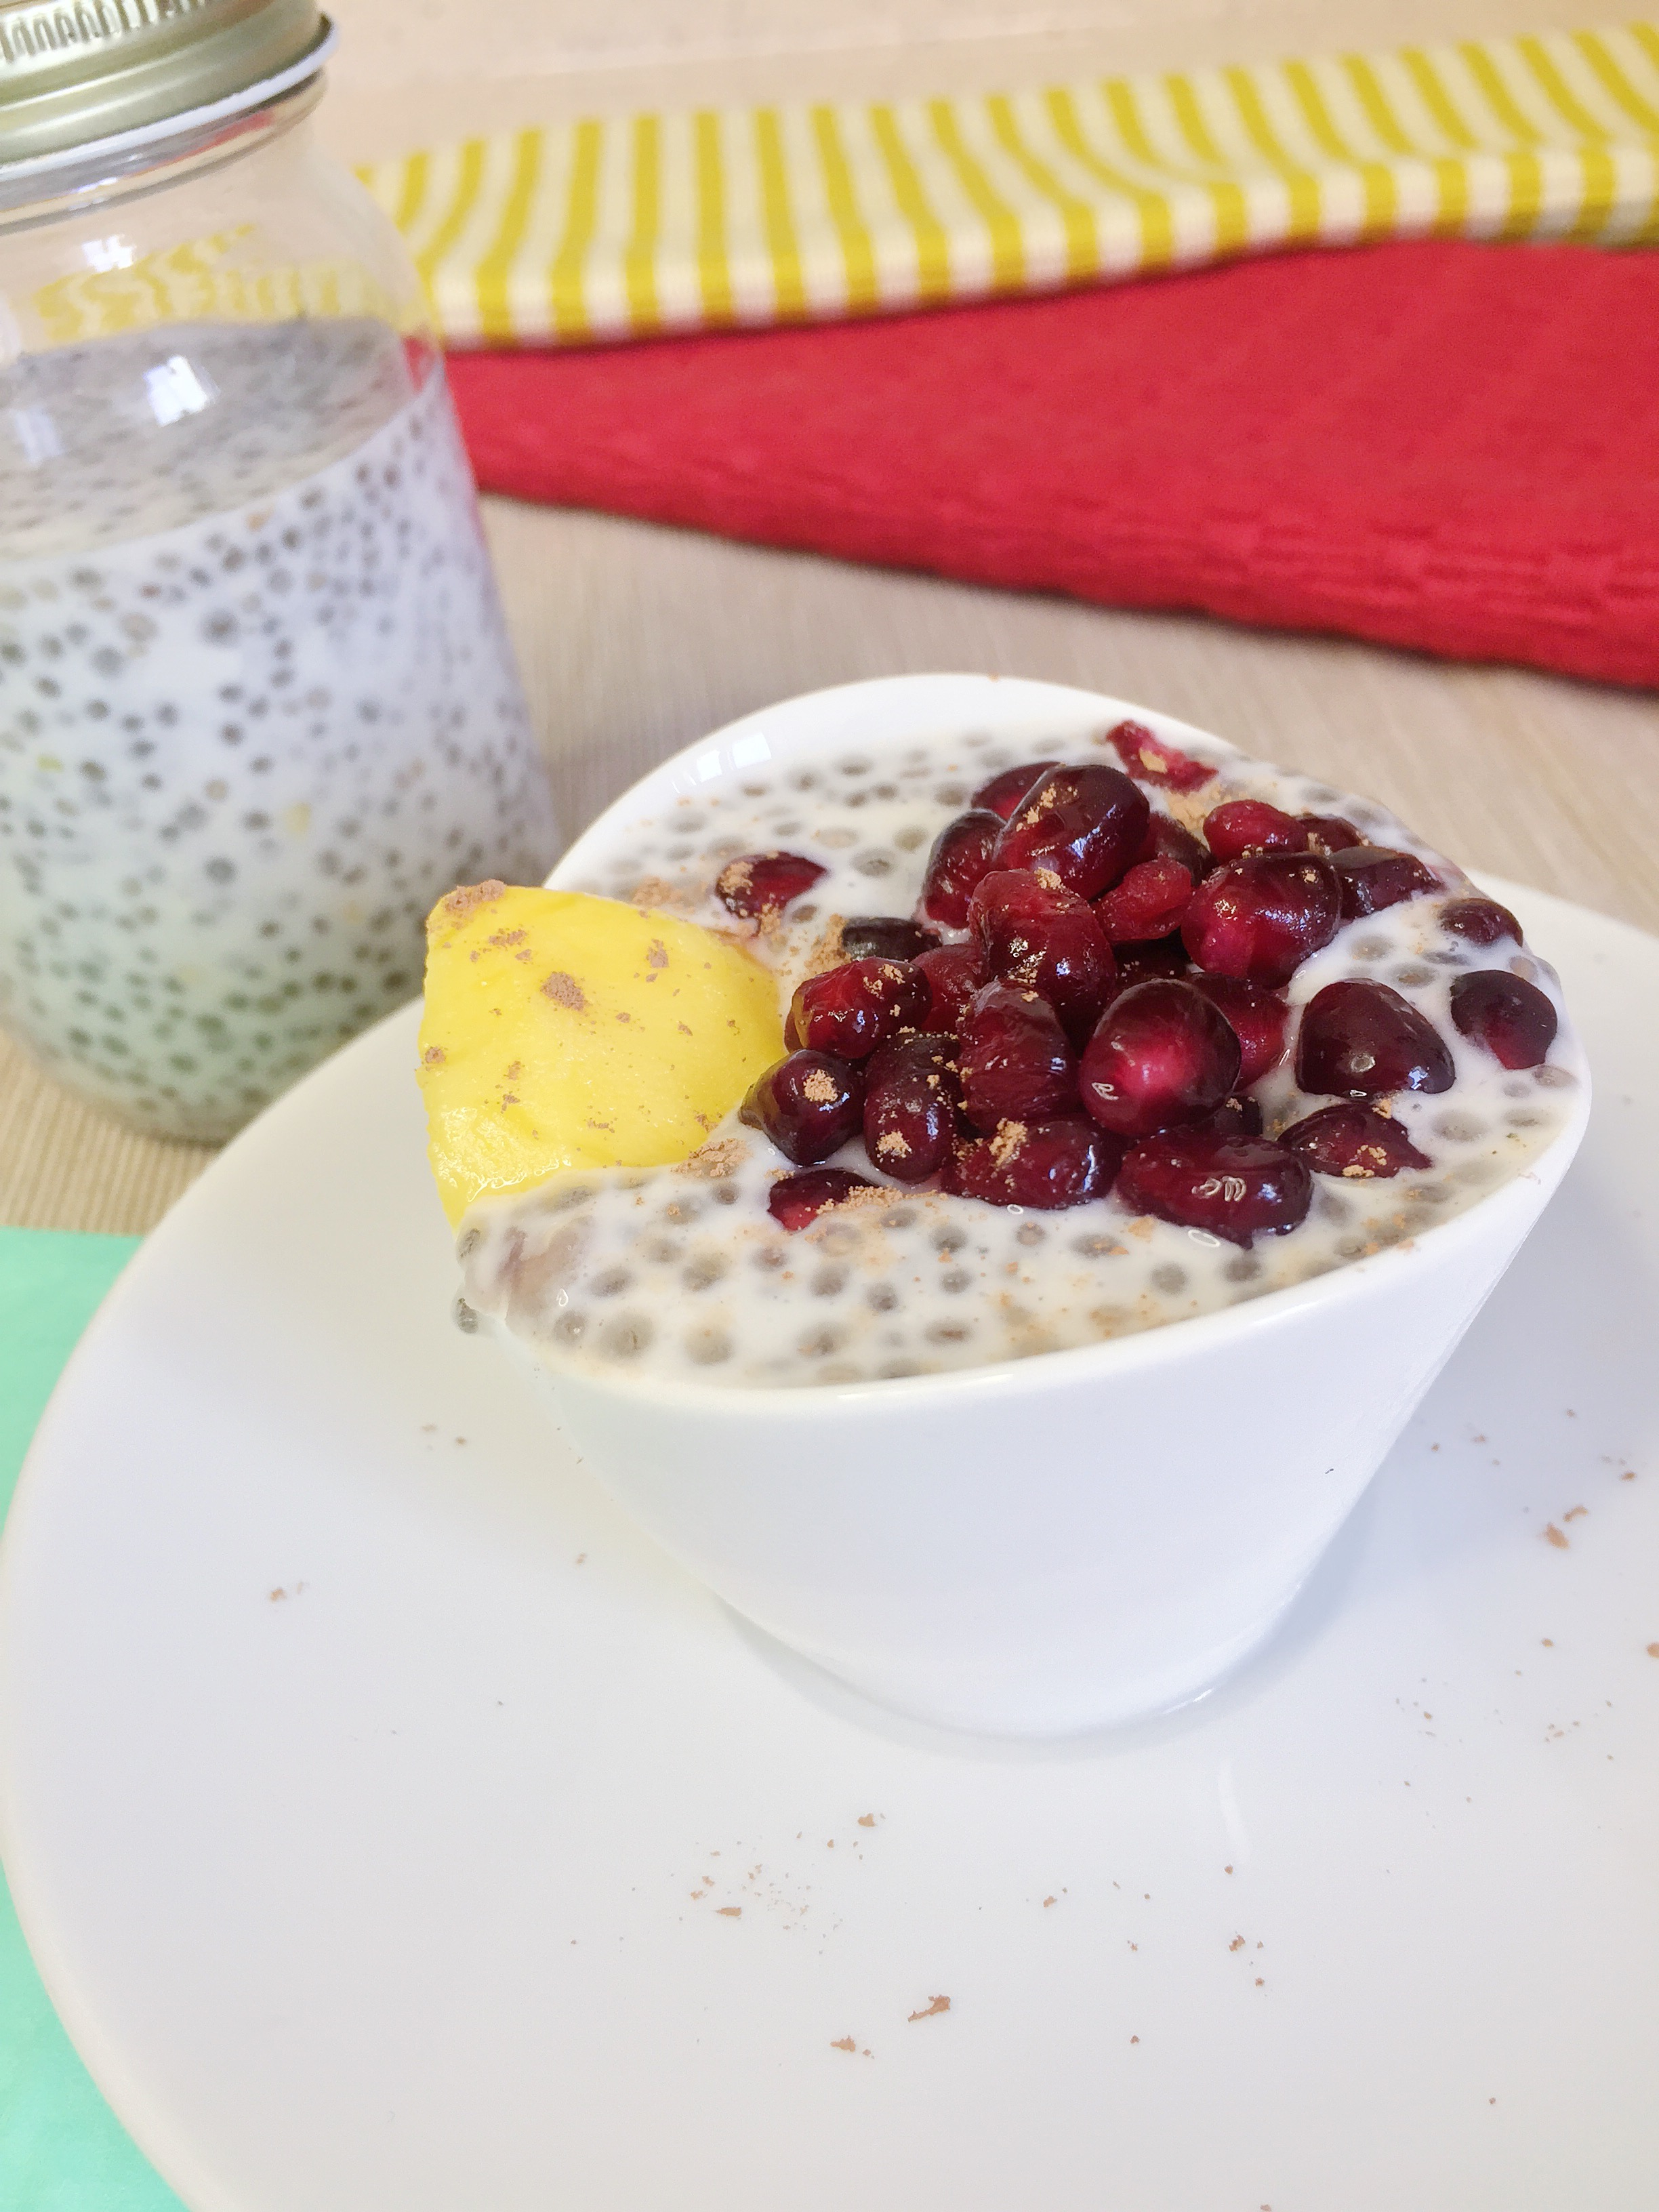
  • For that chocolate pudding crave, try making some chocolate coconut chia seed pudding! It’s so much healthier for you and is packed full of omega 3’s and antioxidants! I topped mine with frozen mango chunks and pomegranate seeds *insert drool emoticon*!
  • 1/4 cup chia seeds (I used a chia seed, buck wheat, and hemp seed mix with cranberries and coconut flakes)
  • 1/2 Tablespoon honey or maple syrup
  • 1 cup coconut milk (almond milk works also)
  • fruit and unsweetened cocoa powder for toppings (I used pomegranate seeds, frozen mango chunks, and 1/4 teaspoon cocoa powder)

Method:

  1. Mix all of the ingredients together in a mason jar with the exception of the toppings
  2. Shake well and refrigerate over night, giving the mason jar a good shake after about 30 minutes to an hour
  3. Once thickened, top with your favorite fruits and cocoa powder for a kick, and ENJOY!

I saved the best for last! When that ice cream craving hits mid-day, or mid-night, you’ll be able to indulge without the bulge. Wow look at my rhymes! Here’s your chocolate cherry ice cream recipe! This ‘ice cream’ is made with frozen bananas, cherries (yes cherries), and peanut butter. Yes you CAN nix the PB, but combining cherries and peanut butter WILL be your newest obsession!

  • 4 frozen bananas (this makes enough for our family of 3)
  • 1 1/2 Tablespoons of peanut butter
  • 1 cup of frozen cherries
  • 1/2 teaspoon unsweetened cocoa powder

Method:

  1. Place the frozen bananas, peanut butter, and cherries into a food processor
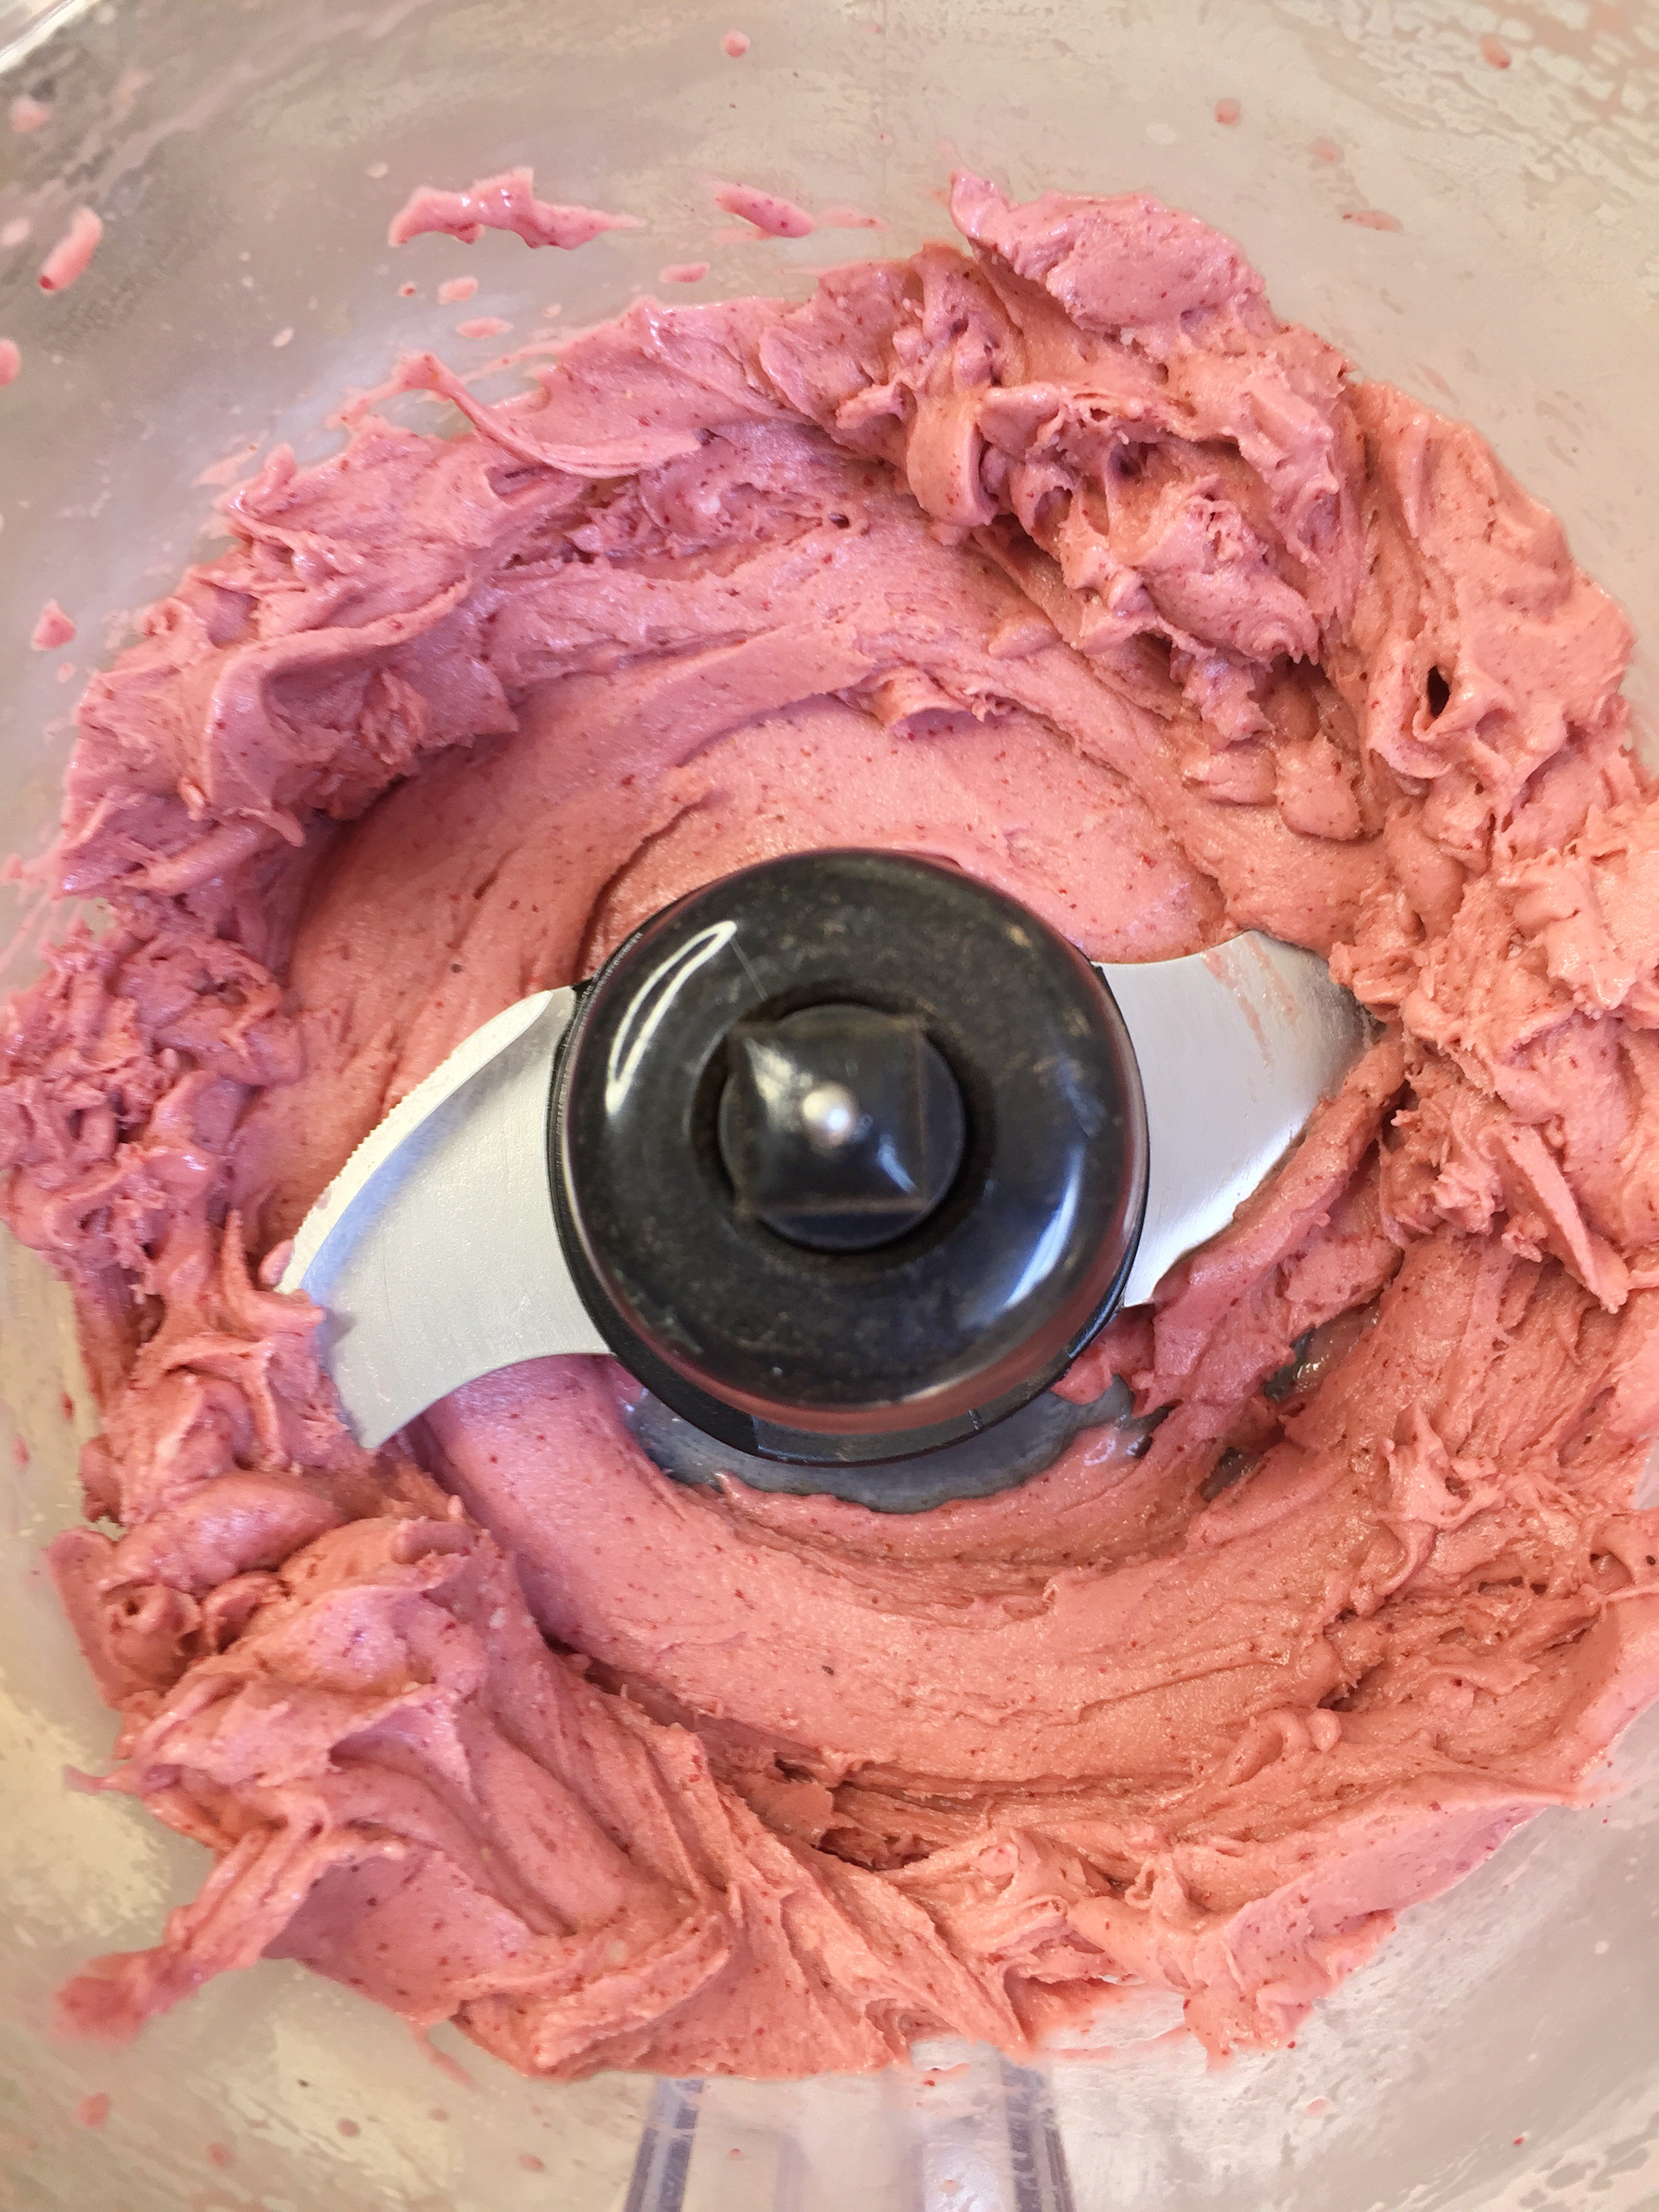
  2. Blend well until smooth and creamy, like ice-cream. It will look like this!
  3. ENJOY!

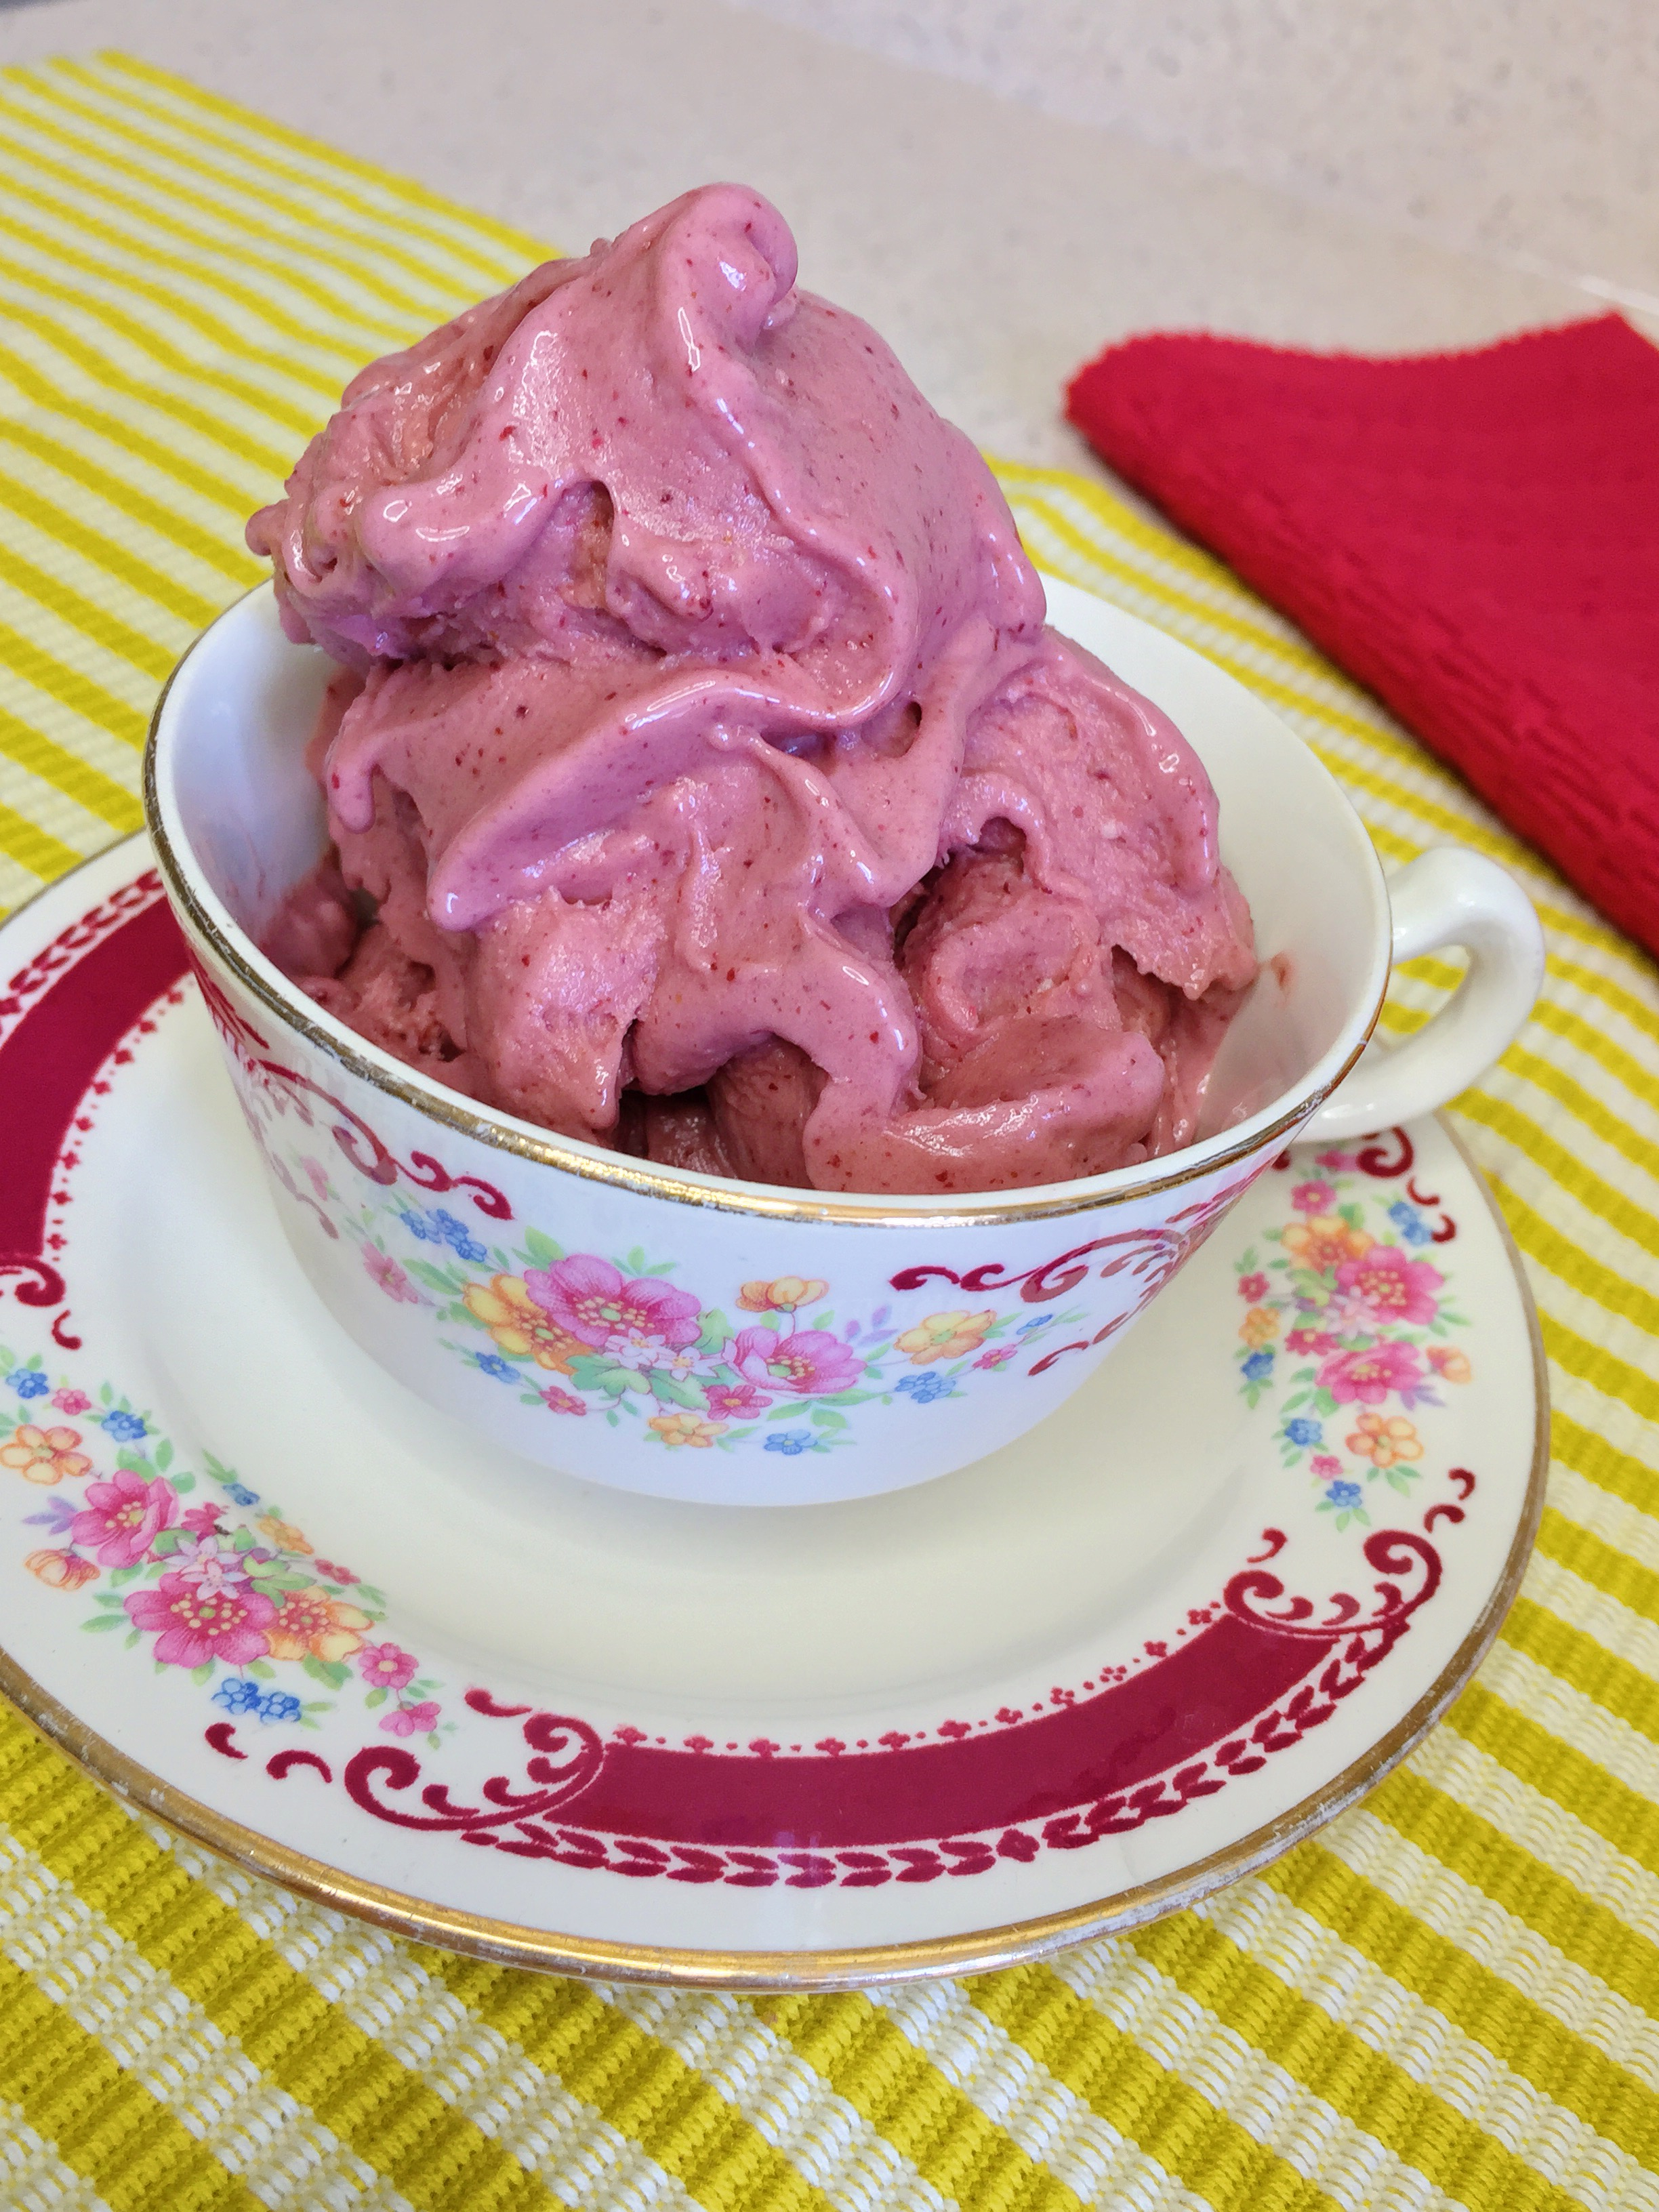
I mean, how stinkin’ pretty is this home-made chocolate cherry ice-cream?! PS if you’re not a peanut butter fan, exclude this ingredient and add in some more frozen berries and you’re set! So delicious! Frozen fruit whipped up to make ice-cream … genius!

So there you have it! My current three most favorite, go-to treats! You can enjoy these any part of the day, but for me it’s all about settling those late night cravings.

I hope you’ve joined us for #30DaysWithJess 2.0, where we share our meal prep ideas, snack recipes, and workouts with each other! I love trying out your recipes too!

Have a wonderful weekend and remember, you can have anything you want! The key is: everything in moderation <3

Jess Lizama

Romantic Metallic Macaroons

The Romantic Metallic Macaron

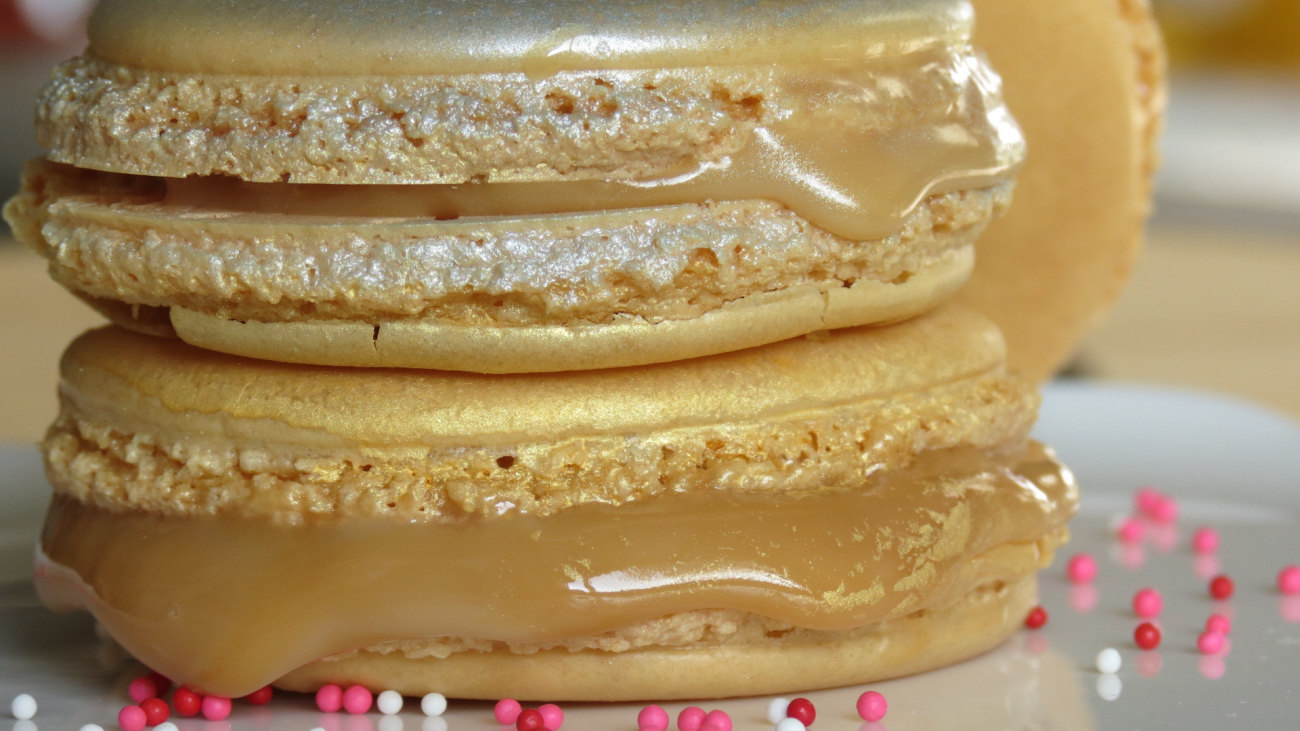
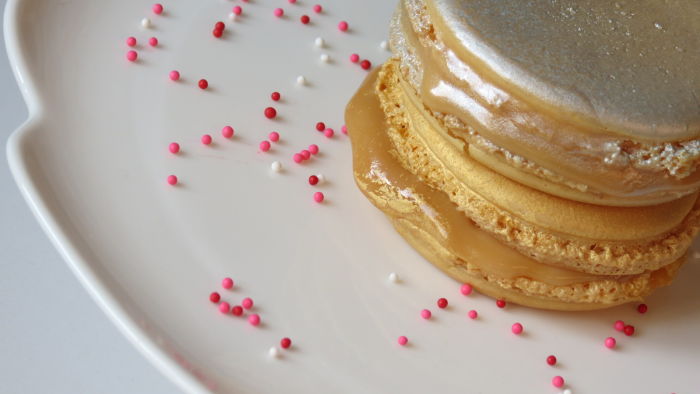
Macarons can totally be romantic right?! You bet! These babies were a labor of LOVE!!! These sweet treats make a perfect dessert or gift idea for this Valentine’s day- for your loved ones and friends! These are salted caramel metallic gold and silver macarons and I get it now why these crunchy, chewy, sweet, and savory treats can be so expensive. This photo was taken this morning after:

  • two trips to Bed Bath & Beyond
  • two trips to my local grocery store (in sweats and tear streaked cheeks)
  • an impromptu trip to Target at 10PM
  • a trip to Michael’s
  • and dumping the entire first batch to start again from scratch at 11PM

macaron love

Let me tell ya, if you’ve mastered the art of making macarons than you’ve mastered an art. Below is a recipe I got from two different places EatLiveTravelWrite and HowToCookThat blogs.

I’ve linked you to the two original recipes if you want to follow their method, HowToCookThat’s blog, saved me from breakdown number two! I won’t list the step by step here since she so adequately displays the ‘how to’s’ over there. Instead I’ll show you what I learned along the way to get these fluffy, chewy, and delicious macarons…..errr take two!

sift it real good!
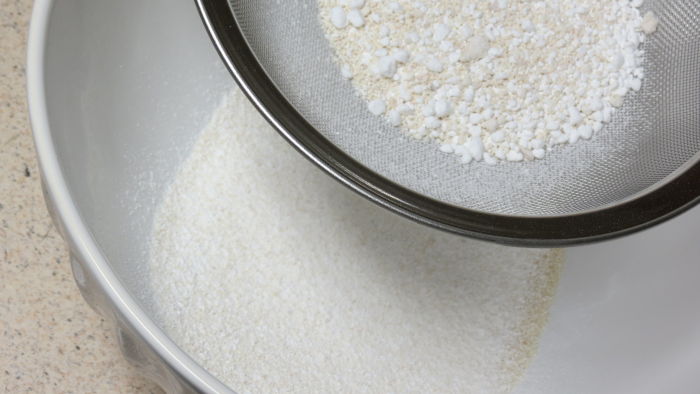
First sift your dry ingredients once twice….trust me on this. And set aside.

I took my egg whites out for about 2 hours before I whipped them into a fluffy mound. Just when you think it’s ready, it’s not…keep on whisking folks! It took me about 15 minutes by hand to achieve what 2 minutes of an electric mixer did.

goldennnn
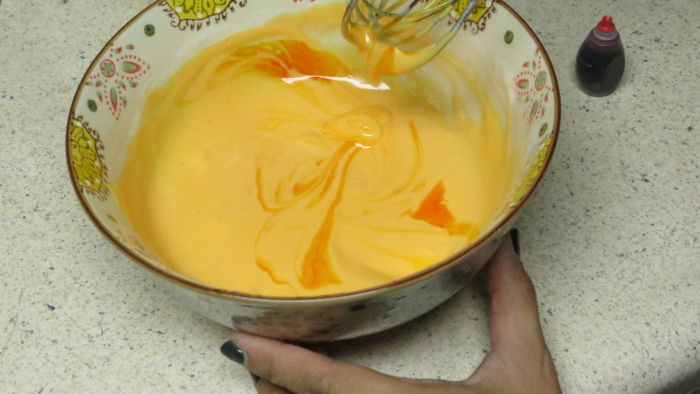
I wanted a golden macaron to fit in with the theme of metallic salted caramel, so I mixed in 10 drops of yellow food coloring with 2 drops of red food coloring.

fold, press, turn, repeat
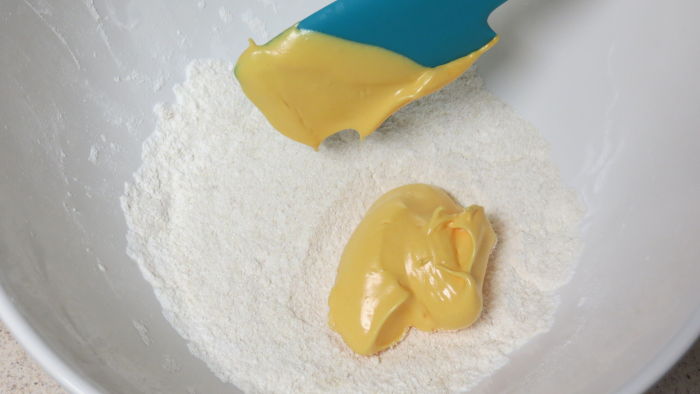
Then I added it into my dry ingredients and folded, press, turn….that’s the method. Fold, press, turn, repeat. Until your mixture flows like lava!

look at the 2 love birds
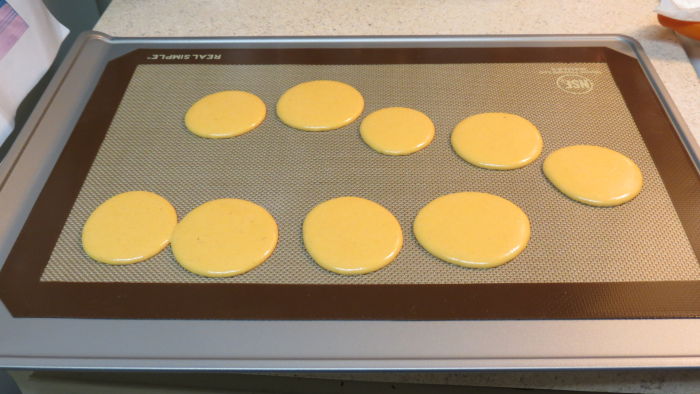
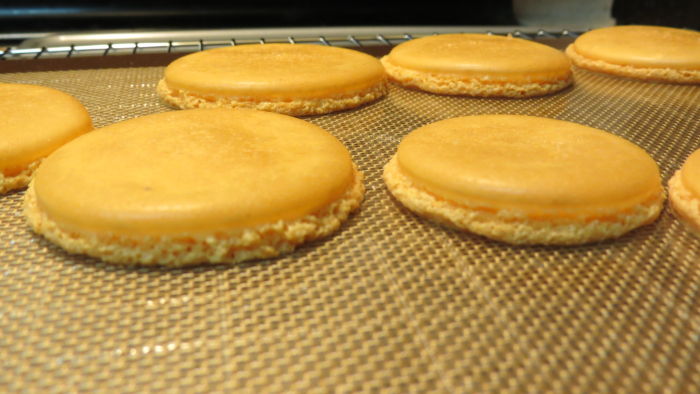
I piped my ‘rows’ of batter into an odd zig zag pattern for some reason, also they were huge like loving lil cookies, some even touching. They will spread so don’t over pipe them out like I did.

those pretty feet though!
Allow them to rest on the counter for about 30 minutes after racking them to release air pockets. This is the time to set your oven to 300 degrees and sprinkle a bit of coarse salt on top of each of them.

tadaaa!
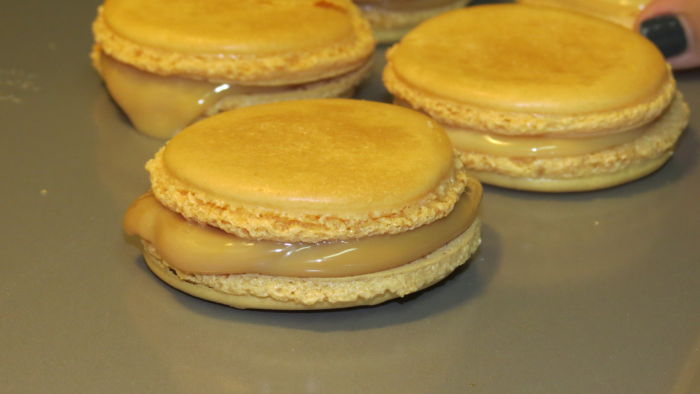
Then pipe out some homemade Dulce de Leche in the centers and sandwhich with another macaron.

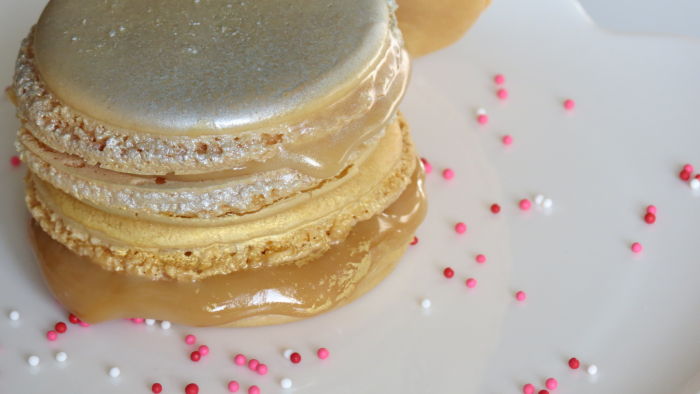
metallic gold and silver salted caramel macarons!

I also got inspired by my friend’s birthday macaroons that were bright gold, so I picked up some cake spray paint in metallic gold and silver and when the macaroons were set, I sprayed them down and above is what I got!

I took a ton of photos with them and then allowed my family to devour them, they were soooo delicious!!! They are chewy and fluffy, they’re delicious and delightful, try them out!

I love to bake but I’d give these a sold 7 in difficulty level haha. Try them out and tag me in your yummy posts! You can make them for events, holidays, and gifts! Happy love day to you and yours!!!
xoxo- Jess


yummy chewy cookie

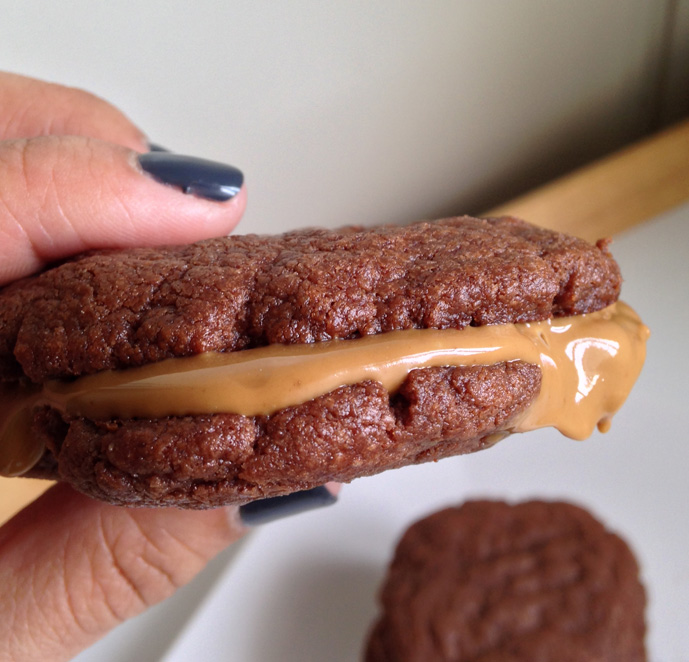
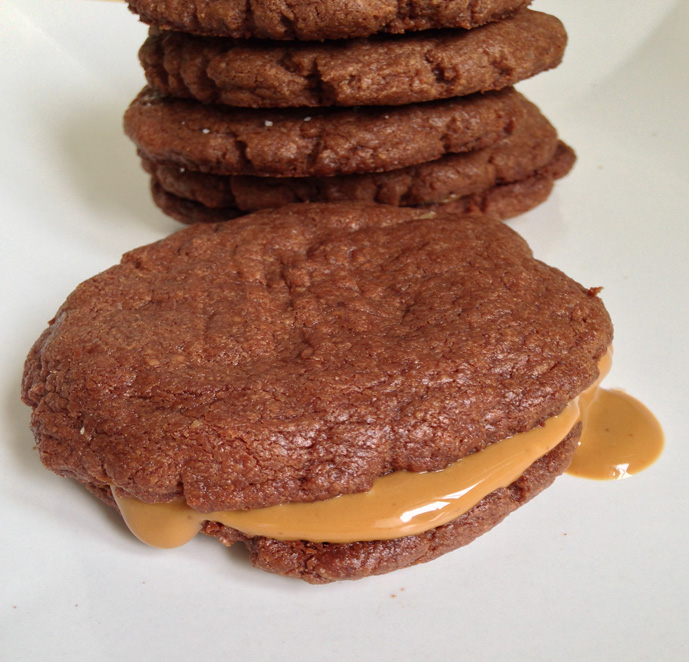
The Cookie Butter Nutella – cookie sandwich

Please do not try to adjust your screen, you read that correctly. Behold! The cookie butter Nutella cookie…sandwich!

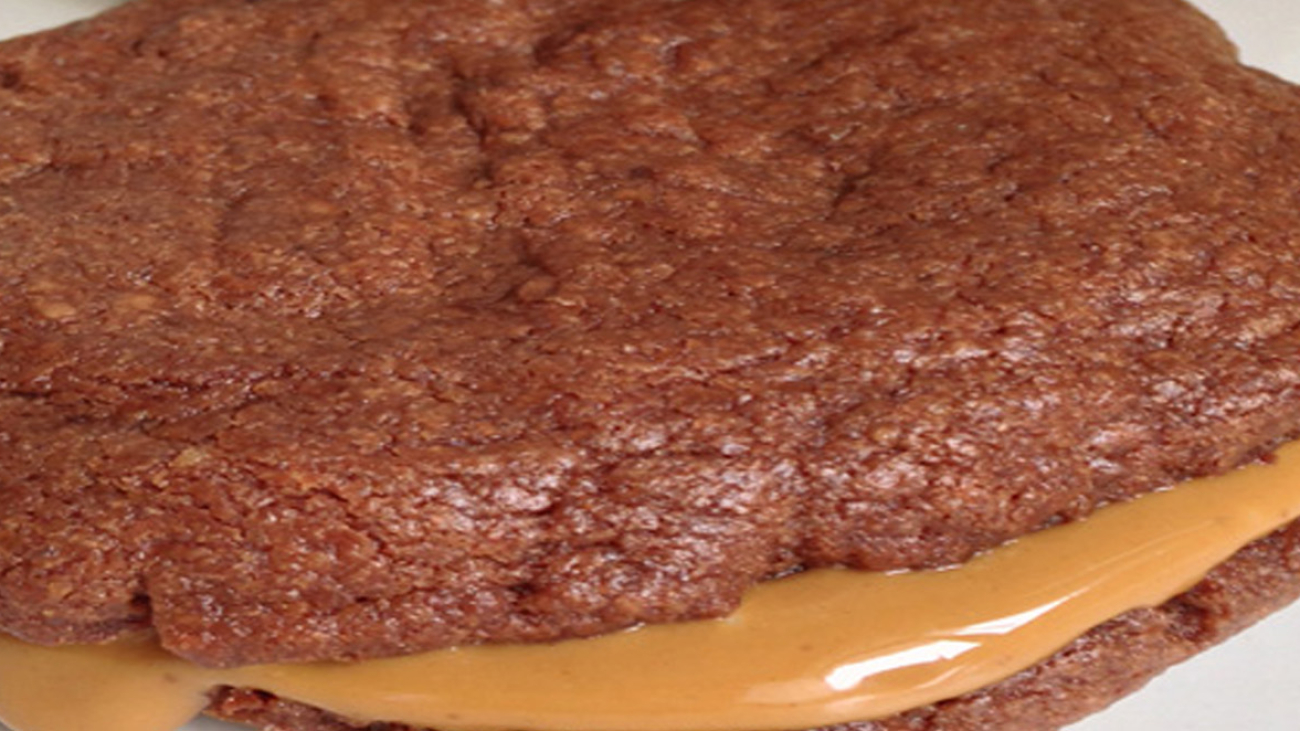
Imagine a Nutella cookie smeared with chunky, crunchy cookie butter, and then sandwiched with ANOTHER Nutella cookie! Oh it happened! Here’s how!

nutella nomsFirst let me preface this by saying that this is NOT exactly the healthiest of recipes, but it’s one of the YUMMIEST! I love cooking and baking in healthy ways, but sometimes you just need a ‘good ol’ chewy goodness’ kind of cookie!

Here’s what you’ll need:

    1. 1 cup of Nutella (you won’t regret it..just scoop it out of the tub with your eyes closed)
    2. 1 egg
    3. 1 cup of flour
    4. 2 tablespoons of sugar
    5. sea salt if you like sweet and savory!
    6. cookie butter if you wanna live a lil! (ps cookie butter changes everything!!!)


The method:

In a bowl combine all of the ingredients together except for the salt and cookie butter
Spoon rounded tablespoons of the cookie dough onto an un-greased cookie sheet 2 inches apart
Bake for 8-10 minutes until the cookies are set
Allow them to cool for a few minutes before transferring to a wire rack
Sprinkle with sea salt or smother cookie butter in between two of them and enjoy!!!!

Nutella Cookies!All the credit and love goes to @lina_fit who posted this yummy little number on Instagram sans the cookie butter. I fell instantly in love with the recipe…it had me at Nutella.

Try these out, tag Lina and I on Instagram when you’ve regained consciousness from all of the goodness, and have a rockin’ rest of your weekend!

xo-

Jess