
The other day I realized we have waaaay too many candles in the house. Out of the desire to make something simple with my hands and steer away from our candle-overload problem, this little DIY came about. I’d always read about making your own smudge stick and seen so many Pinterest DIY’s but I’d never taken the plunge and just did it. So I finally decided that would change and just went for it, and it was super easy and inexpensive!
Aside from being visually appealing and all around lovely, smudge sticks are a fantastic way to get any indoor or outdoor space cleansed, energized and smelling great. They’ve been used in sacred rituals for centuries and I kind of hold a little place in my heart for them because they’re magical and so easy to make.
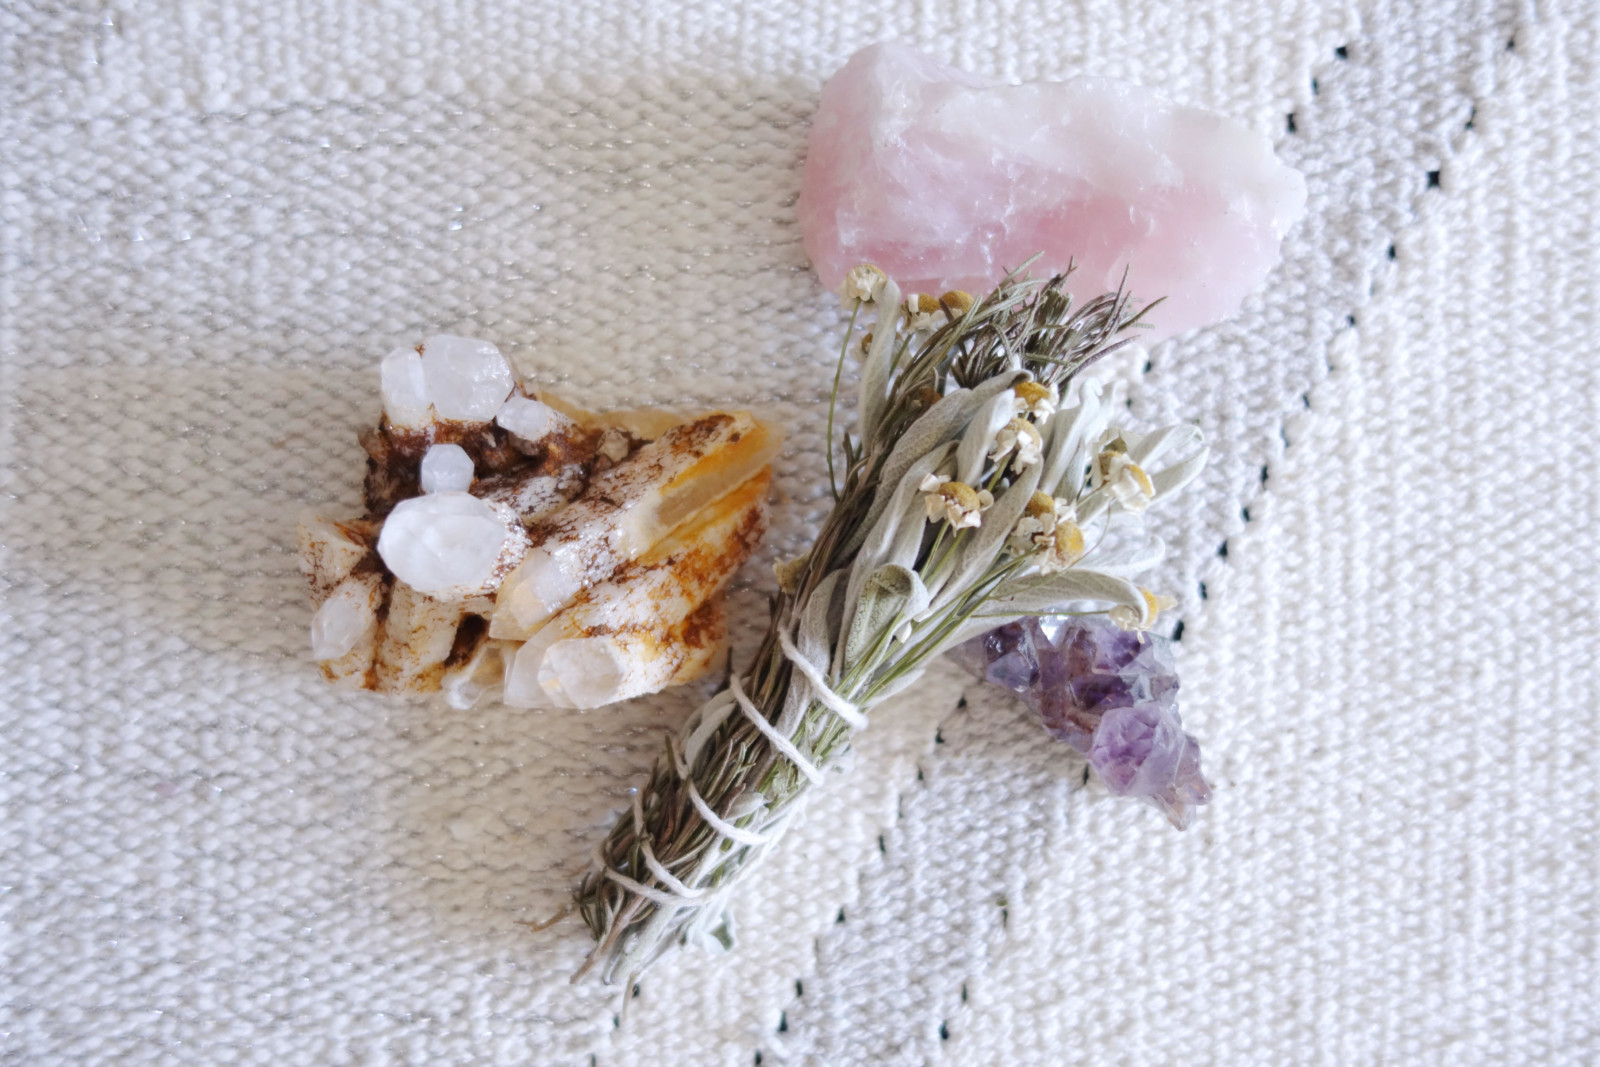
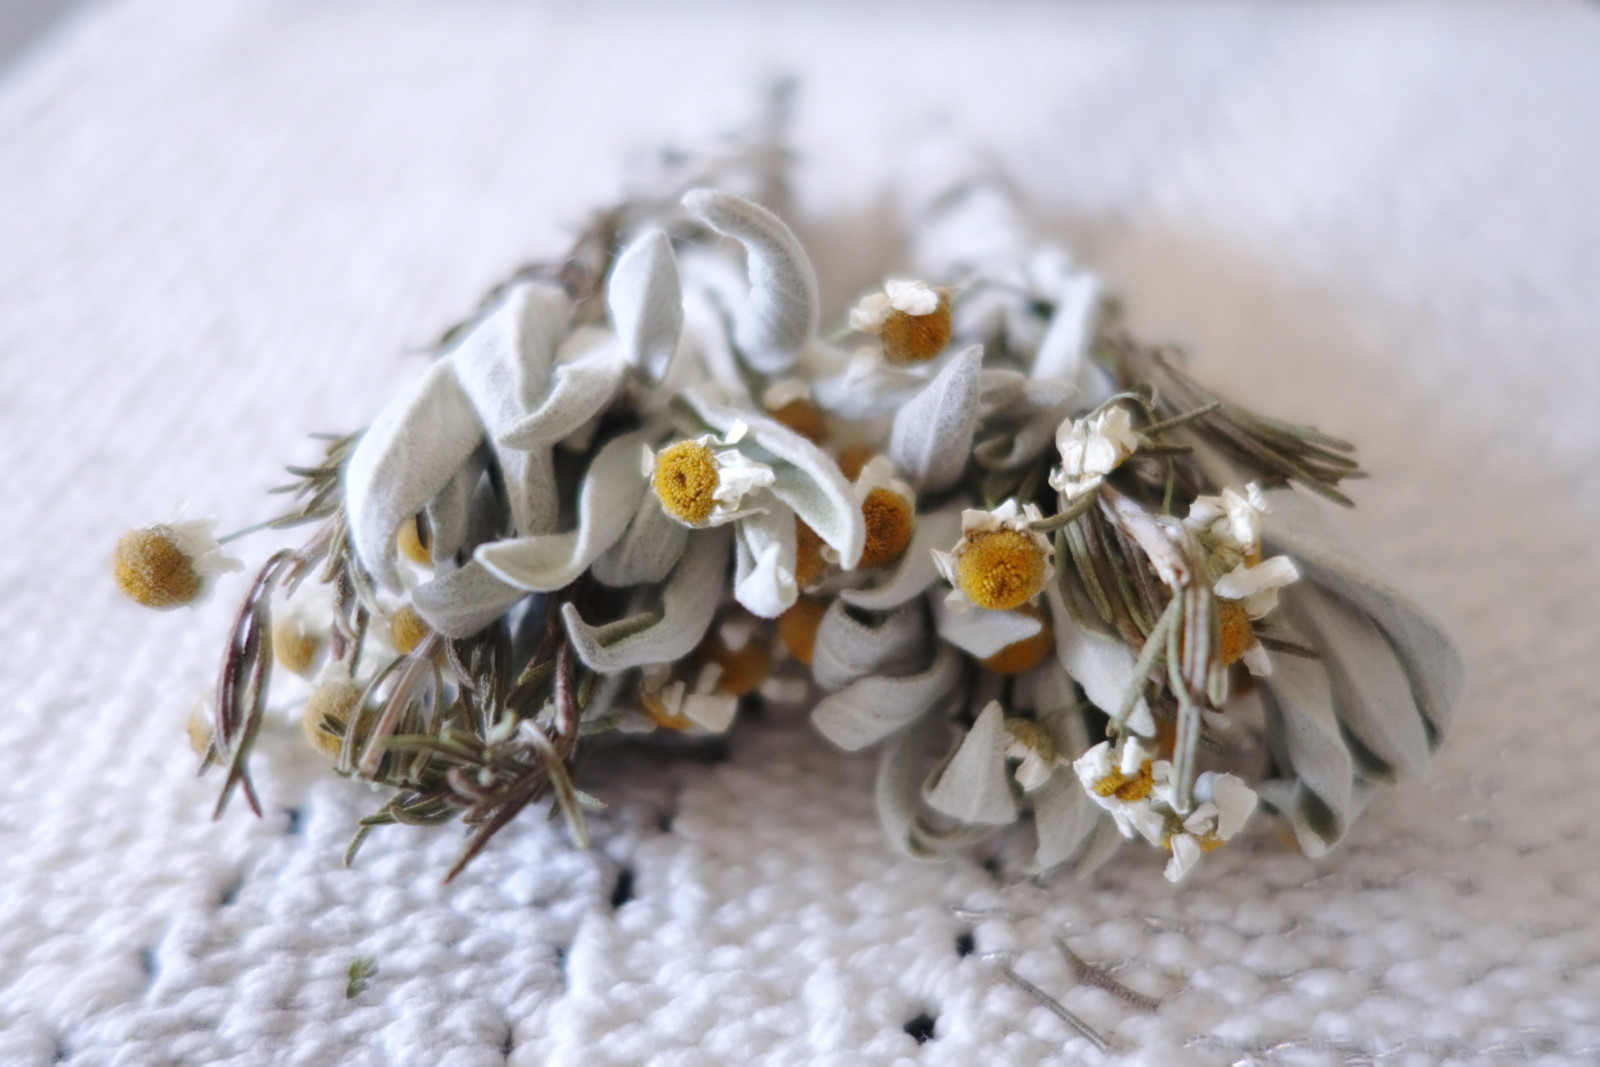
I used those little pre-packaged white sage and rosemary sprigs from the fresh produce section because they were easy to find and inexpensive. You’ll only need one package of each herb you choose, because one package will be enough to make at least two smudge sticks. You can switch it up and add cedar, sweetgrass or any other herb that you please. Flowers are a great idea too, they’ll add some color and smell wonderful, so I also added chamomile to mine. Roses, lavender and pretty much any flower with soft, bendy petals will work. You wouldn’t really wanna use tulips, for example.
What You’ll Need:
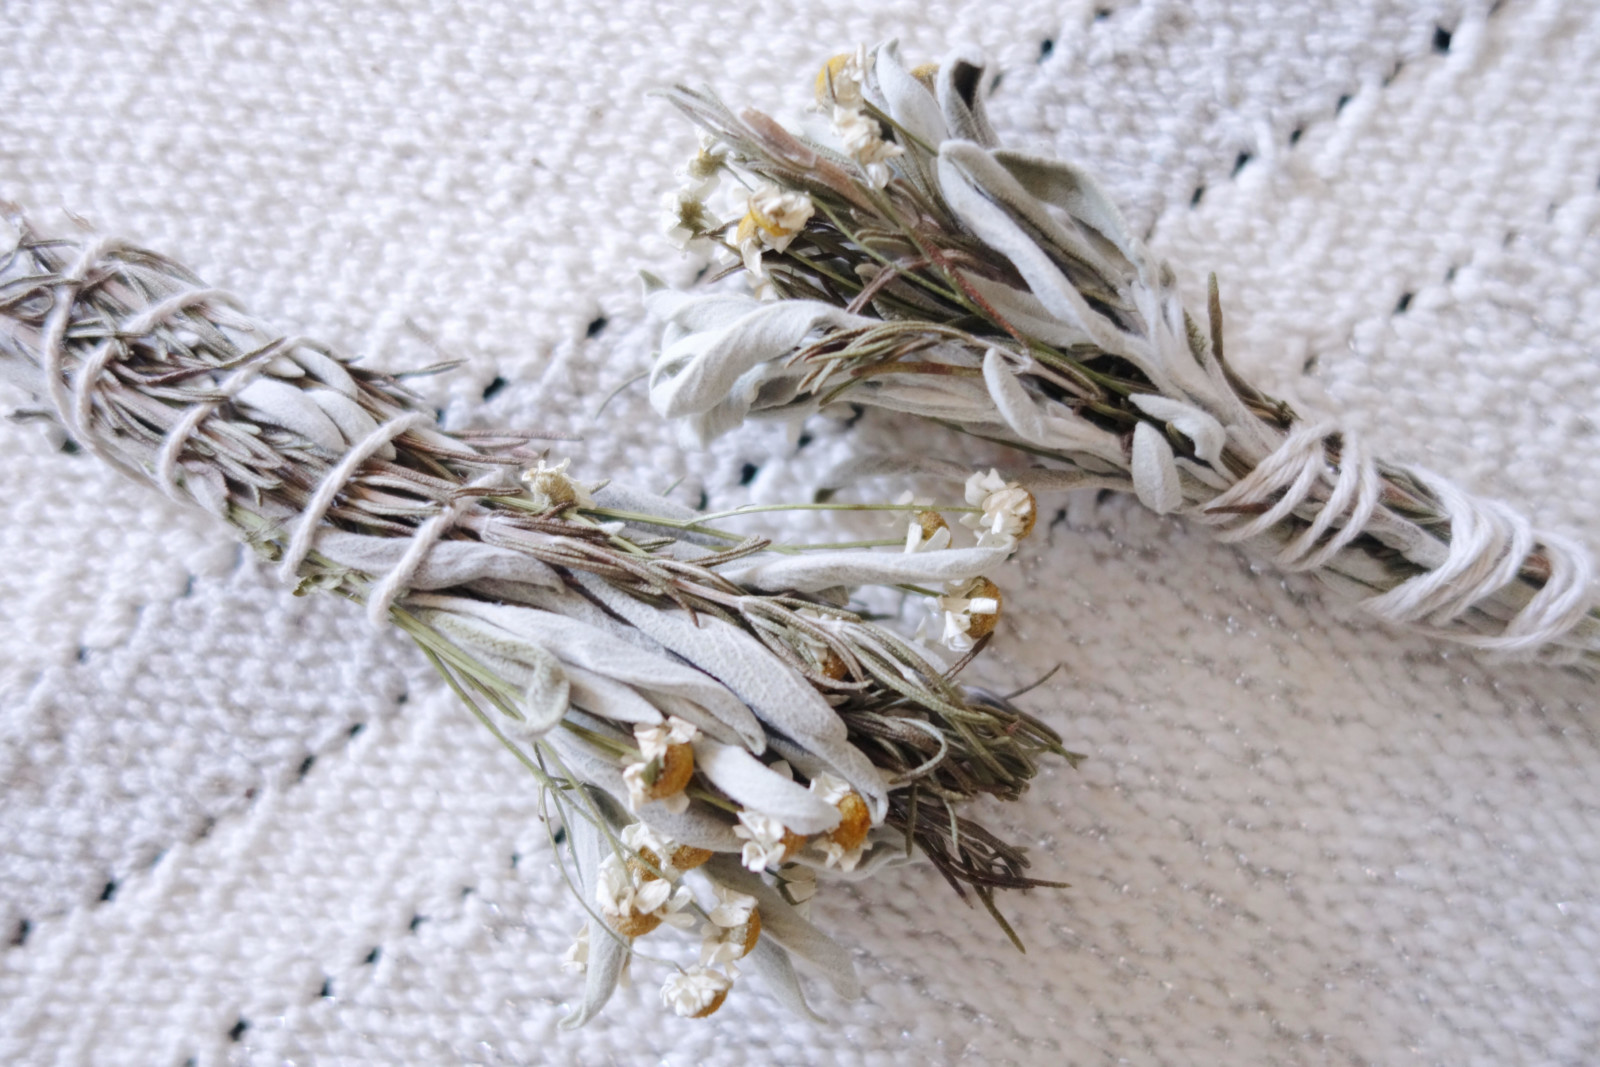
It’s really as simple as you’d think. Take your herbs and flowers and arrange them however looks best to you. There really is no messing up with this one, because it’s going to look beautiful and smell so good. You can’t even be mad at that! You may have to cut the ends and modify them to match one length. When you’ve used up all your herbs or you’re content with how it looks, wrap it in twine and tie it up nice and safe. Voila! A beauty is born.
As far as letting the herbs dry out, I hung mine upside down for about a week and a half. When they’re all dried up, they’re set to be used. Burn them in your space or outdoors for a good energy cleanse, give them as gifts or put them in the bathroom for whenever someone lays a stinky one. They even work as decor, just lying around on the coffee table.

Corrine