THE PERFECT SMOKEY EYE WITH CIATE’S OLIVIA PALERMO PALETTE!

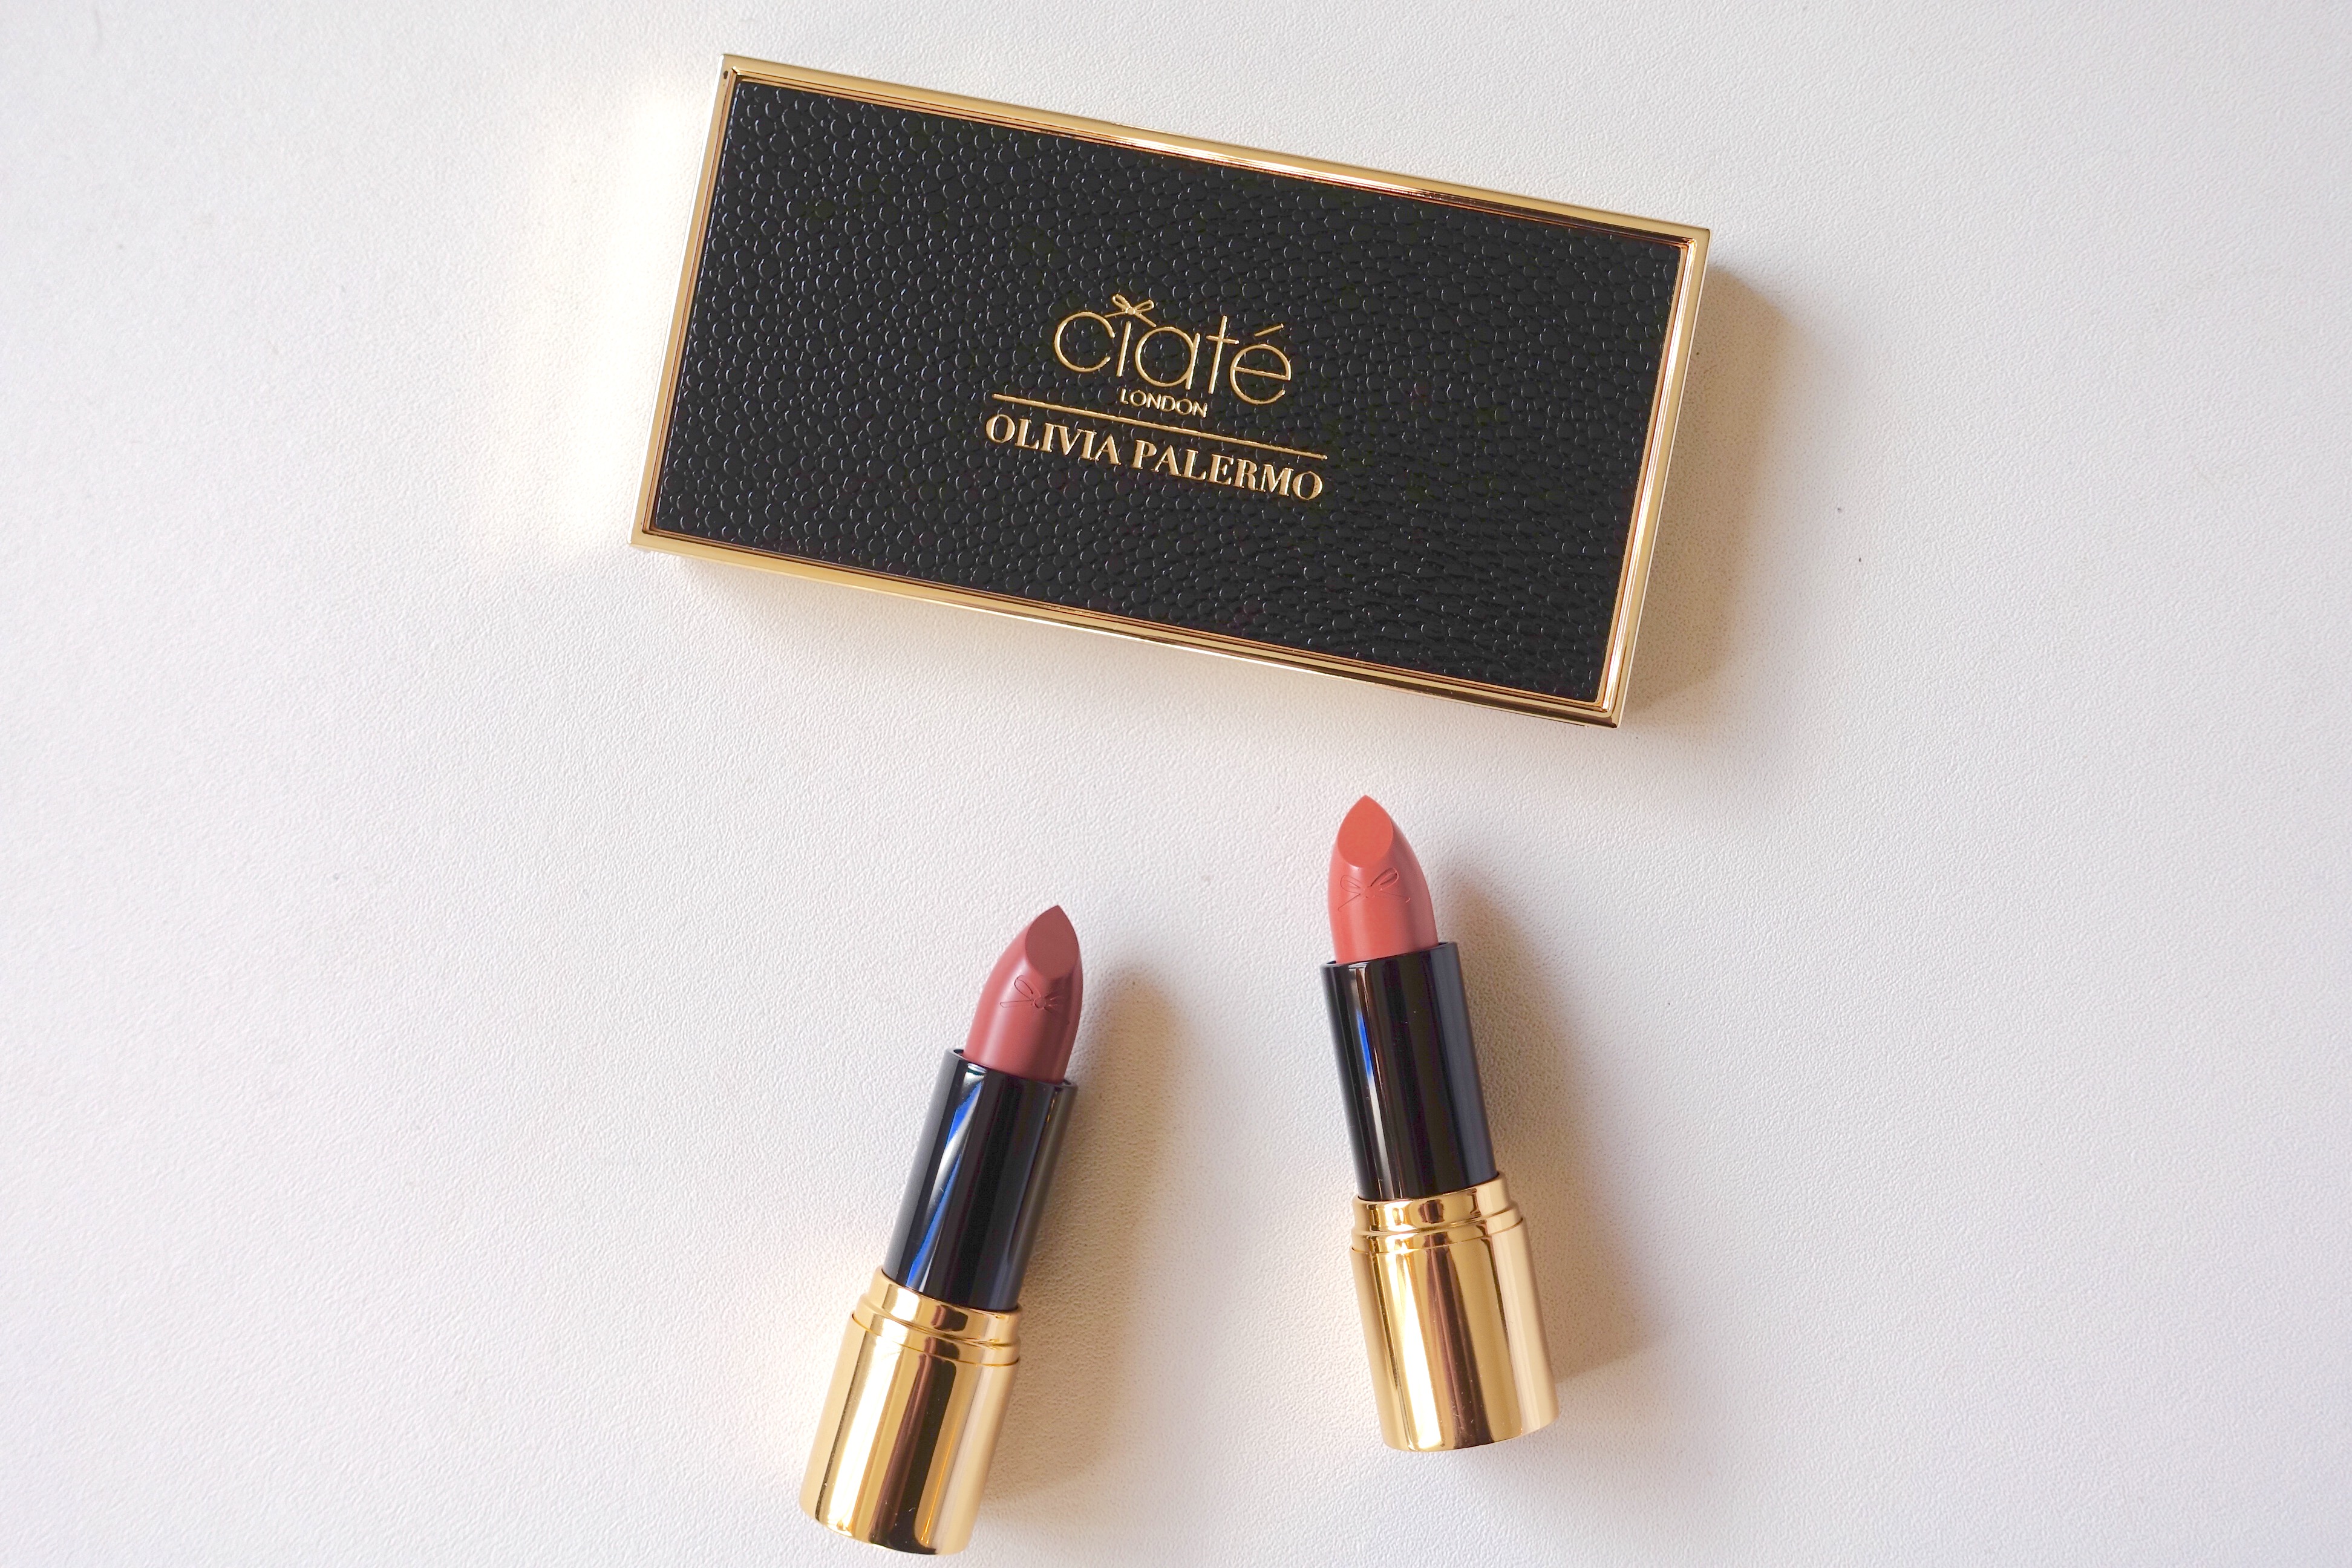
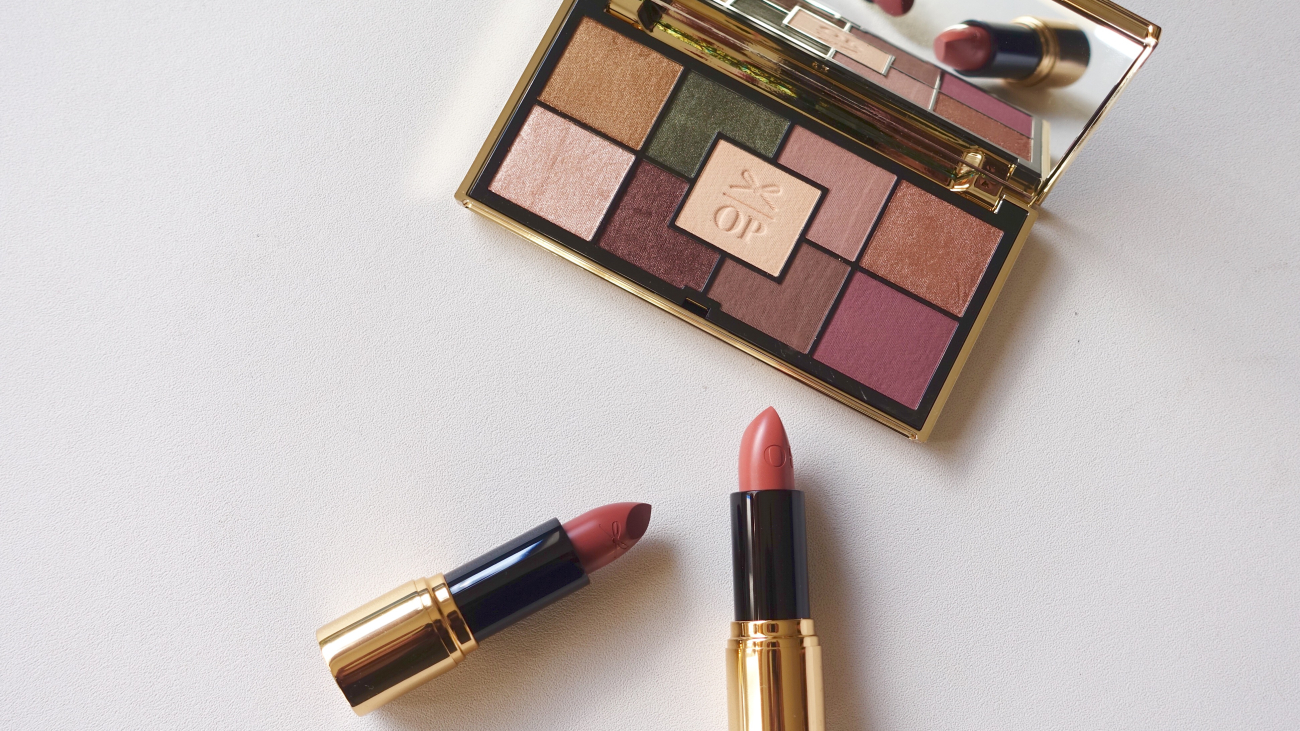
This is the easiest and most beautiful ‘smokey eye’ look that can be transformed from day wear to date night! Using the Ciate London’s Olivia Palermo palette – which by the way has the most beautiful textured packaging – and a few of my favorite products you can get this look in just a few minutes!

The eye shadows in this palette are rich and highly pigmented so you can really play with the intensity of whatever look you’re going for.

Since I’m using multiple shadows I want to prime my lids so that the colors don’t crease or fade. I use my fingertips to rub that in from my lash line to my brow bone, and remember that a little goes a long way!


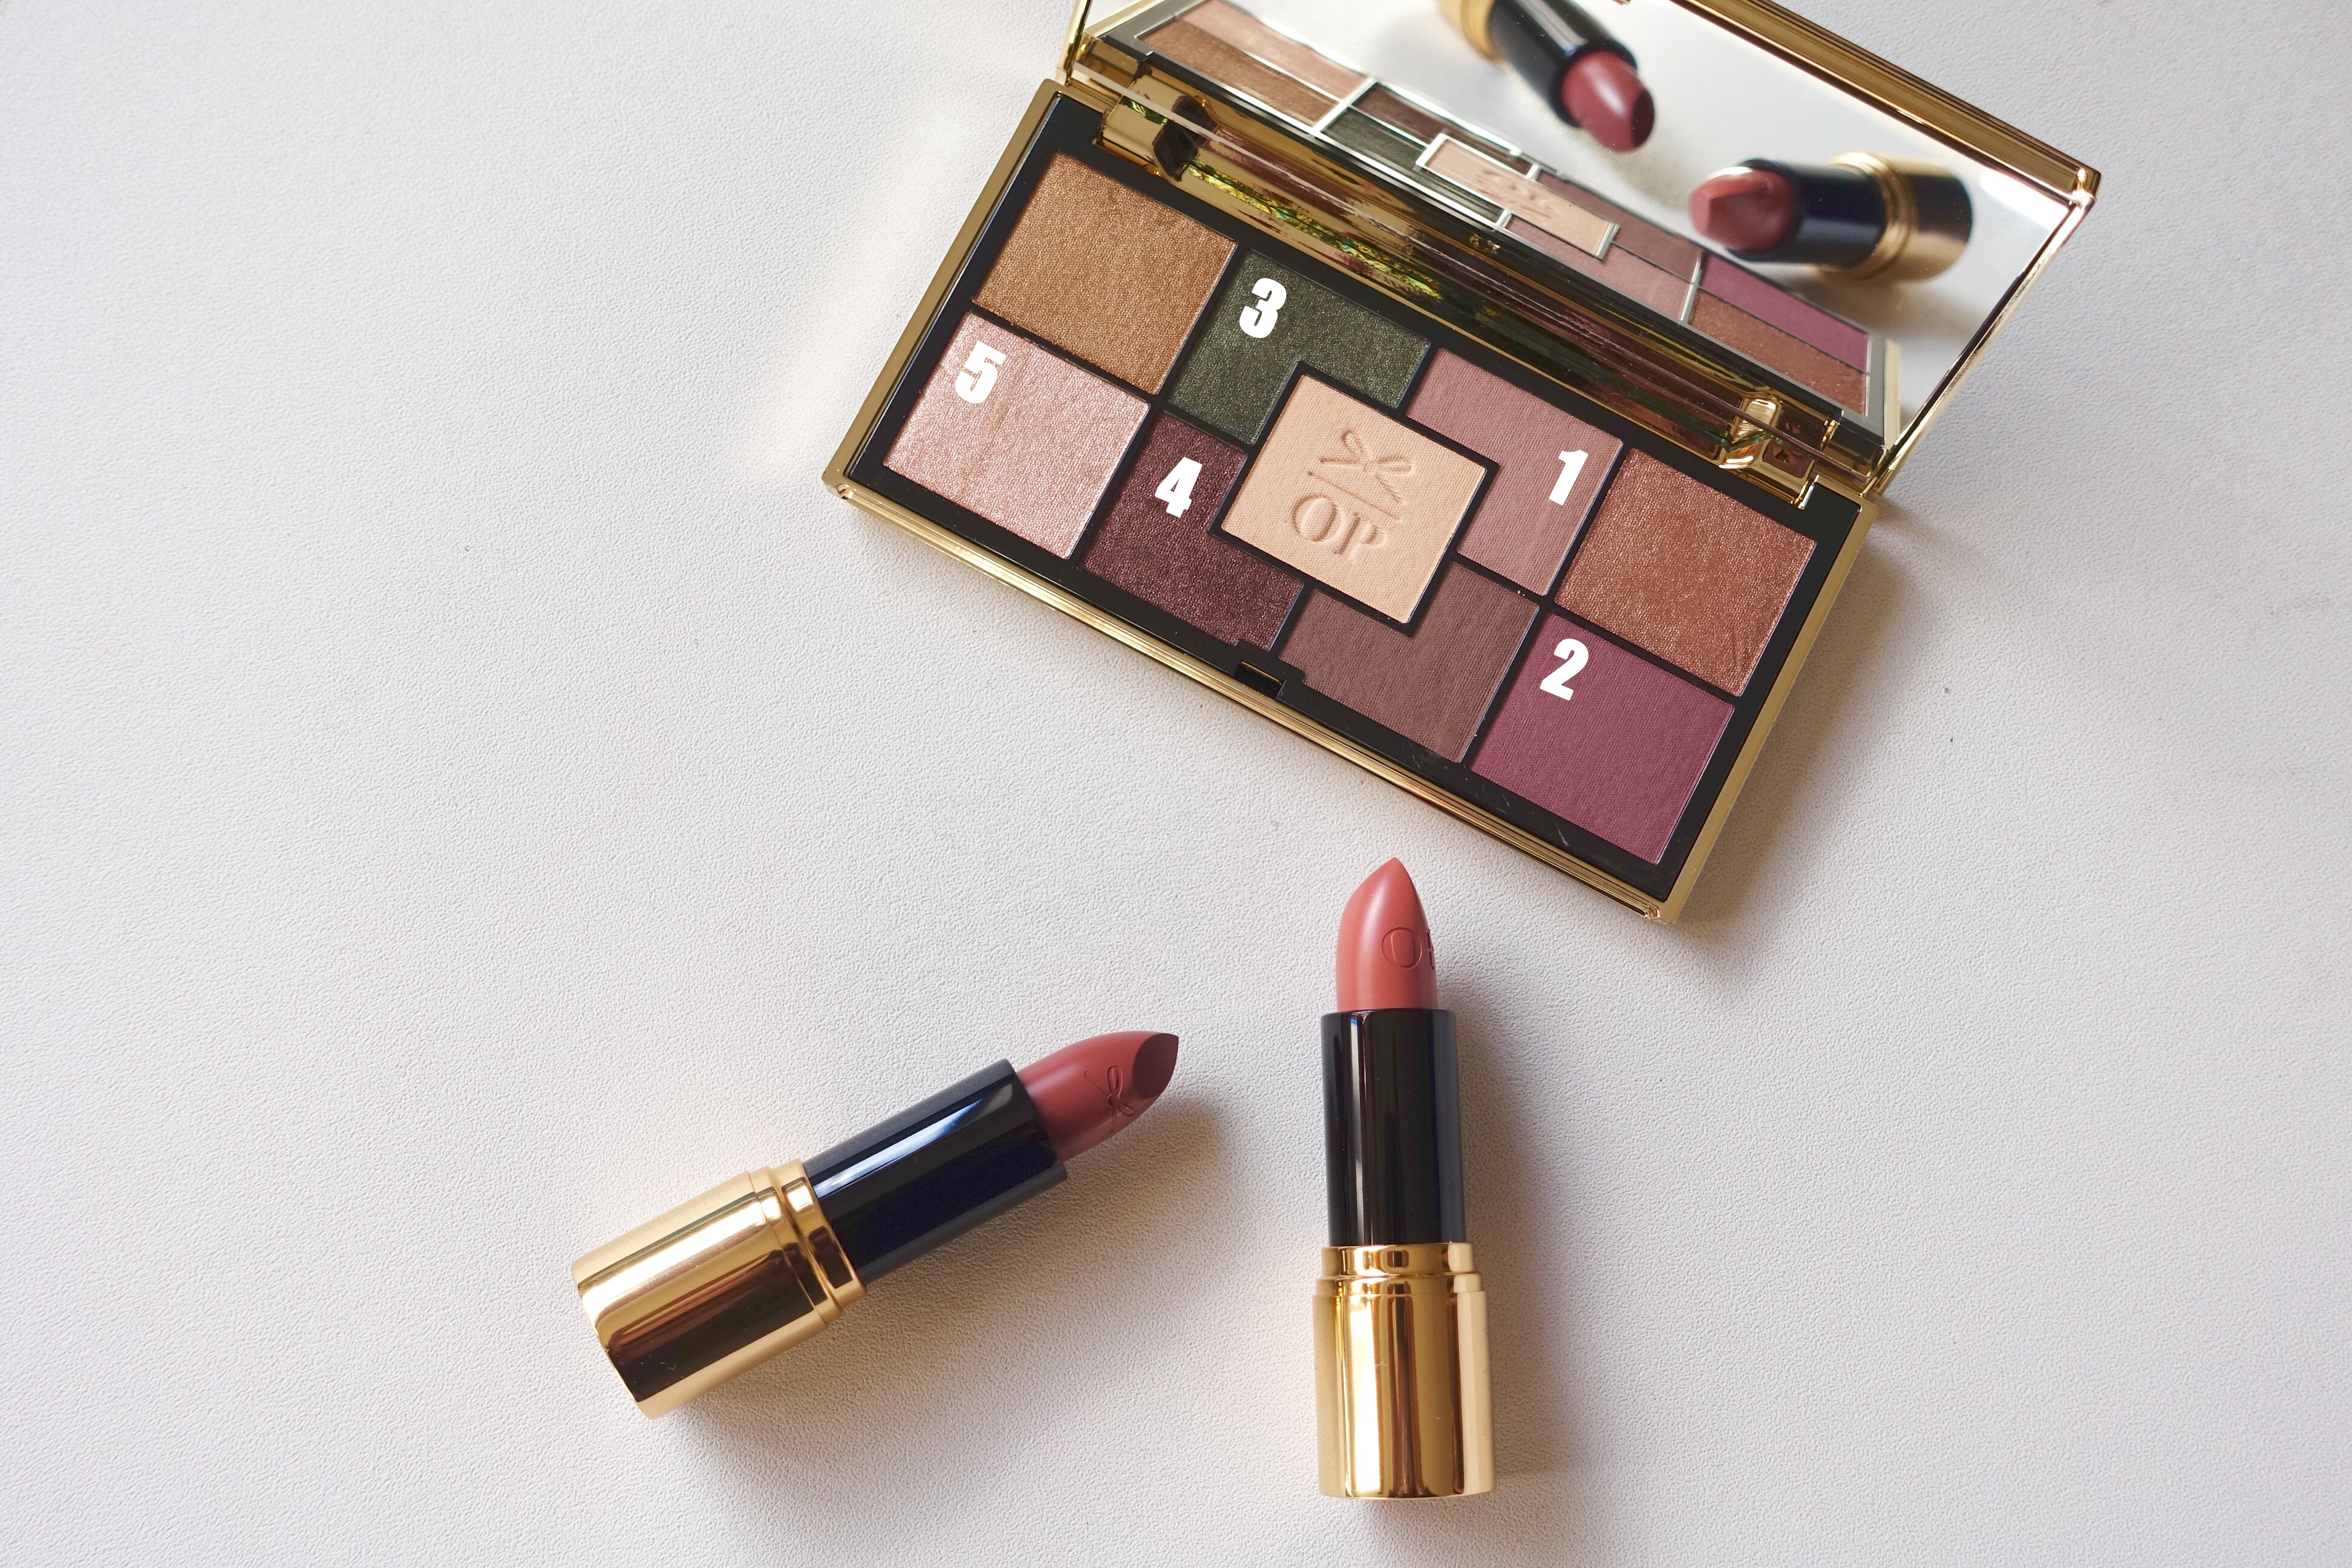
Using a crease brush and #1 in the palette, pack the color on from your lash line up into your crease, creating a wash of color and a nice base with this matted light purple.


Adding dimension now, load up a short dense brush with this darker burgundy/purple #2 color. Start from the middle of your lid and apply the shadow right over that base color, only working the color into the outer half of your lid- from your lash line into your crease.


Using the same brush and the #3 color, a shimmery hunter green, create a cat eye effect drawing the shadow up and out, from your outer lash line up toward your temple. Don’t drag it out to your temple, but use this as a reference of direction, drawing it up like a wing.


Continue to blend that color into your crease, stopping at the halfway point on your lid. I like to focus my darker colors in this outer half of my eye so that you really get that intense ‘cat eye’ effect without going full smokey-eye over your entire lid.


Use your concealer brush to wipe away any fall out and to emphasize that line of color we drew for a clean look.


I like to use a fluffy brush to kind of marry all of the colors together and blend away any harsh lines.

Using an angled brush I dipped it into the #5 shimmery taupe color and applied that below my brows onto my brow bone for a nice highlight.


Then using a pencil brush or liner brush alternate between #3 and #4, the hunter green and burgundy color to line your lower lashes. I used the burgundy along the lower lashes of my inner eye stopping midway, and the hunter green for the other half getting as close to my lower lash line as possible.


With one of my favorite felt liners I lined my upper lash line winging the line out at the end, kind of flicking the line out along that cat eye we drew earlier with the green.


Apply your mascara as you would and then complete your foundation routine per the usual 😀

Tada! That’s the finished look and now you’re ready for date night or girls night! This could easily be turned into a day time look also! To see this tutorial in action here’s my video below, subscribe to my channel for more how-to’s and what-to-do’s like this! <3

Besides the sleek and elegant packaging that this palette offers, the colors can be easily stacked upon one another for more dramatic wear, or used with a lighter hand for a classy day time look.

I layered two lipsticks from this collection, Truffle and Praline, for a rich yet natural looking lip. Truffle is a rich pinky/nude color and Praline compliments it so well with its deep burgundy tones.

Try this look out and TAG me when you do! Have you tried this palette out yet or any other collection from Ciate London? What does your go-to smokey eye look like?

I love that this beauty look lasted all day and all night and the colors stayed vibrant and true throughout!

BLEEDING HEART OREO BROWNIES – A VALENTINE’S BEST NIGHTMARE

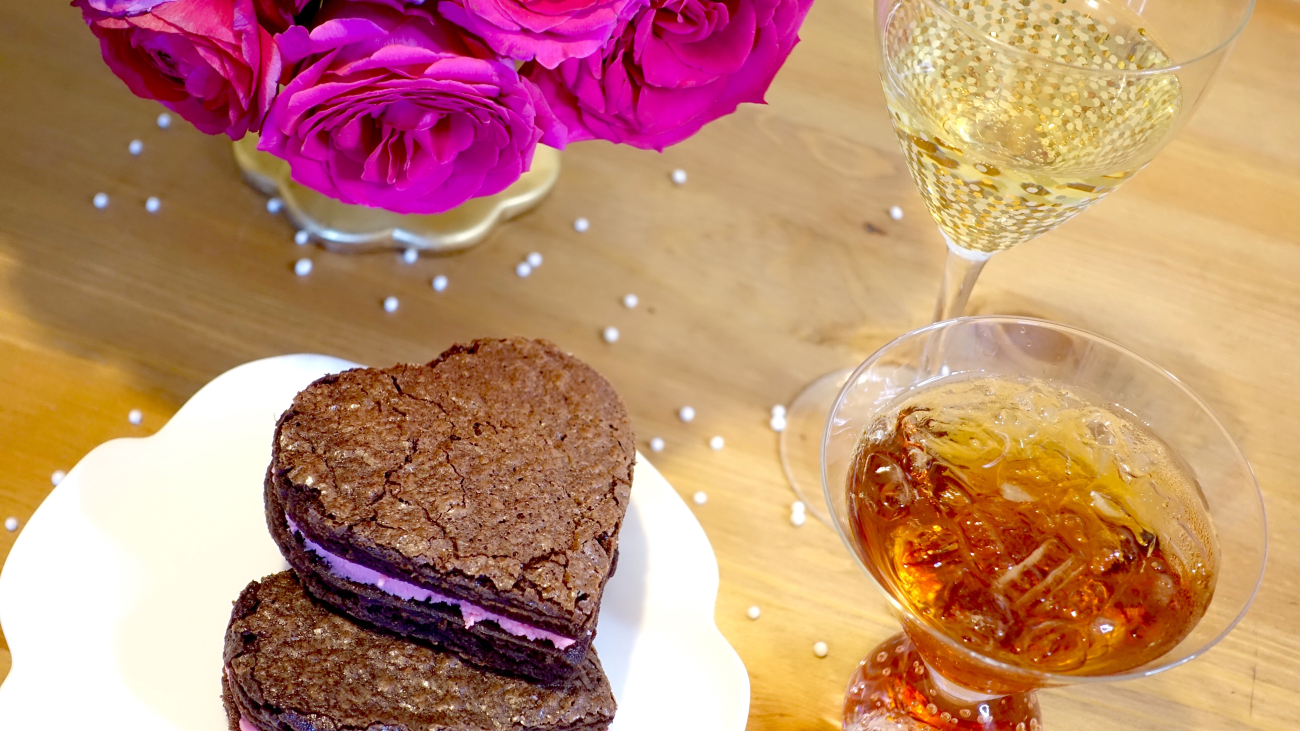
Happy Valentine’s Day! I hope you’ve been enjoying all of the themed recipes and videos that I’ve been posting lately, all in the name of love! Well this is for anyone who thinks today’s celebration is more of a corporate holiday … anyone who thinks today can suck it … and anyone who loves oreos. And brownies!!! We’re making “Bleeding Oreo Brownie Hearts” because everyone deserves a reason to love Valentine’s Day. Even if it’s for desserts and ‘the day after’ chocolate sales!


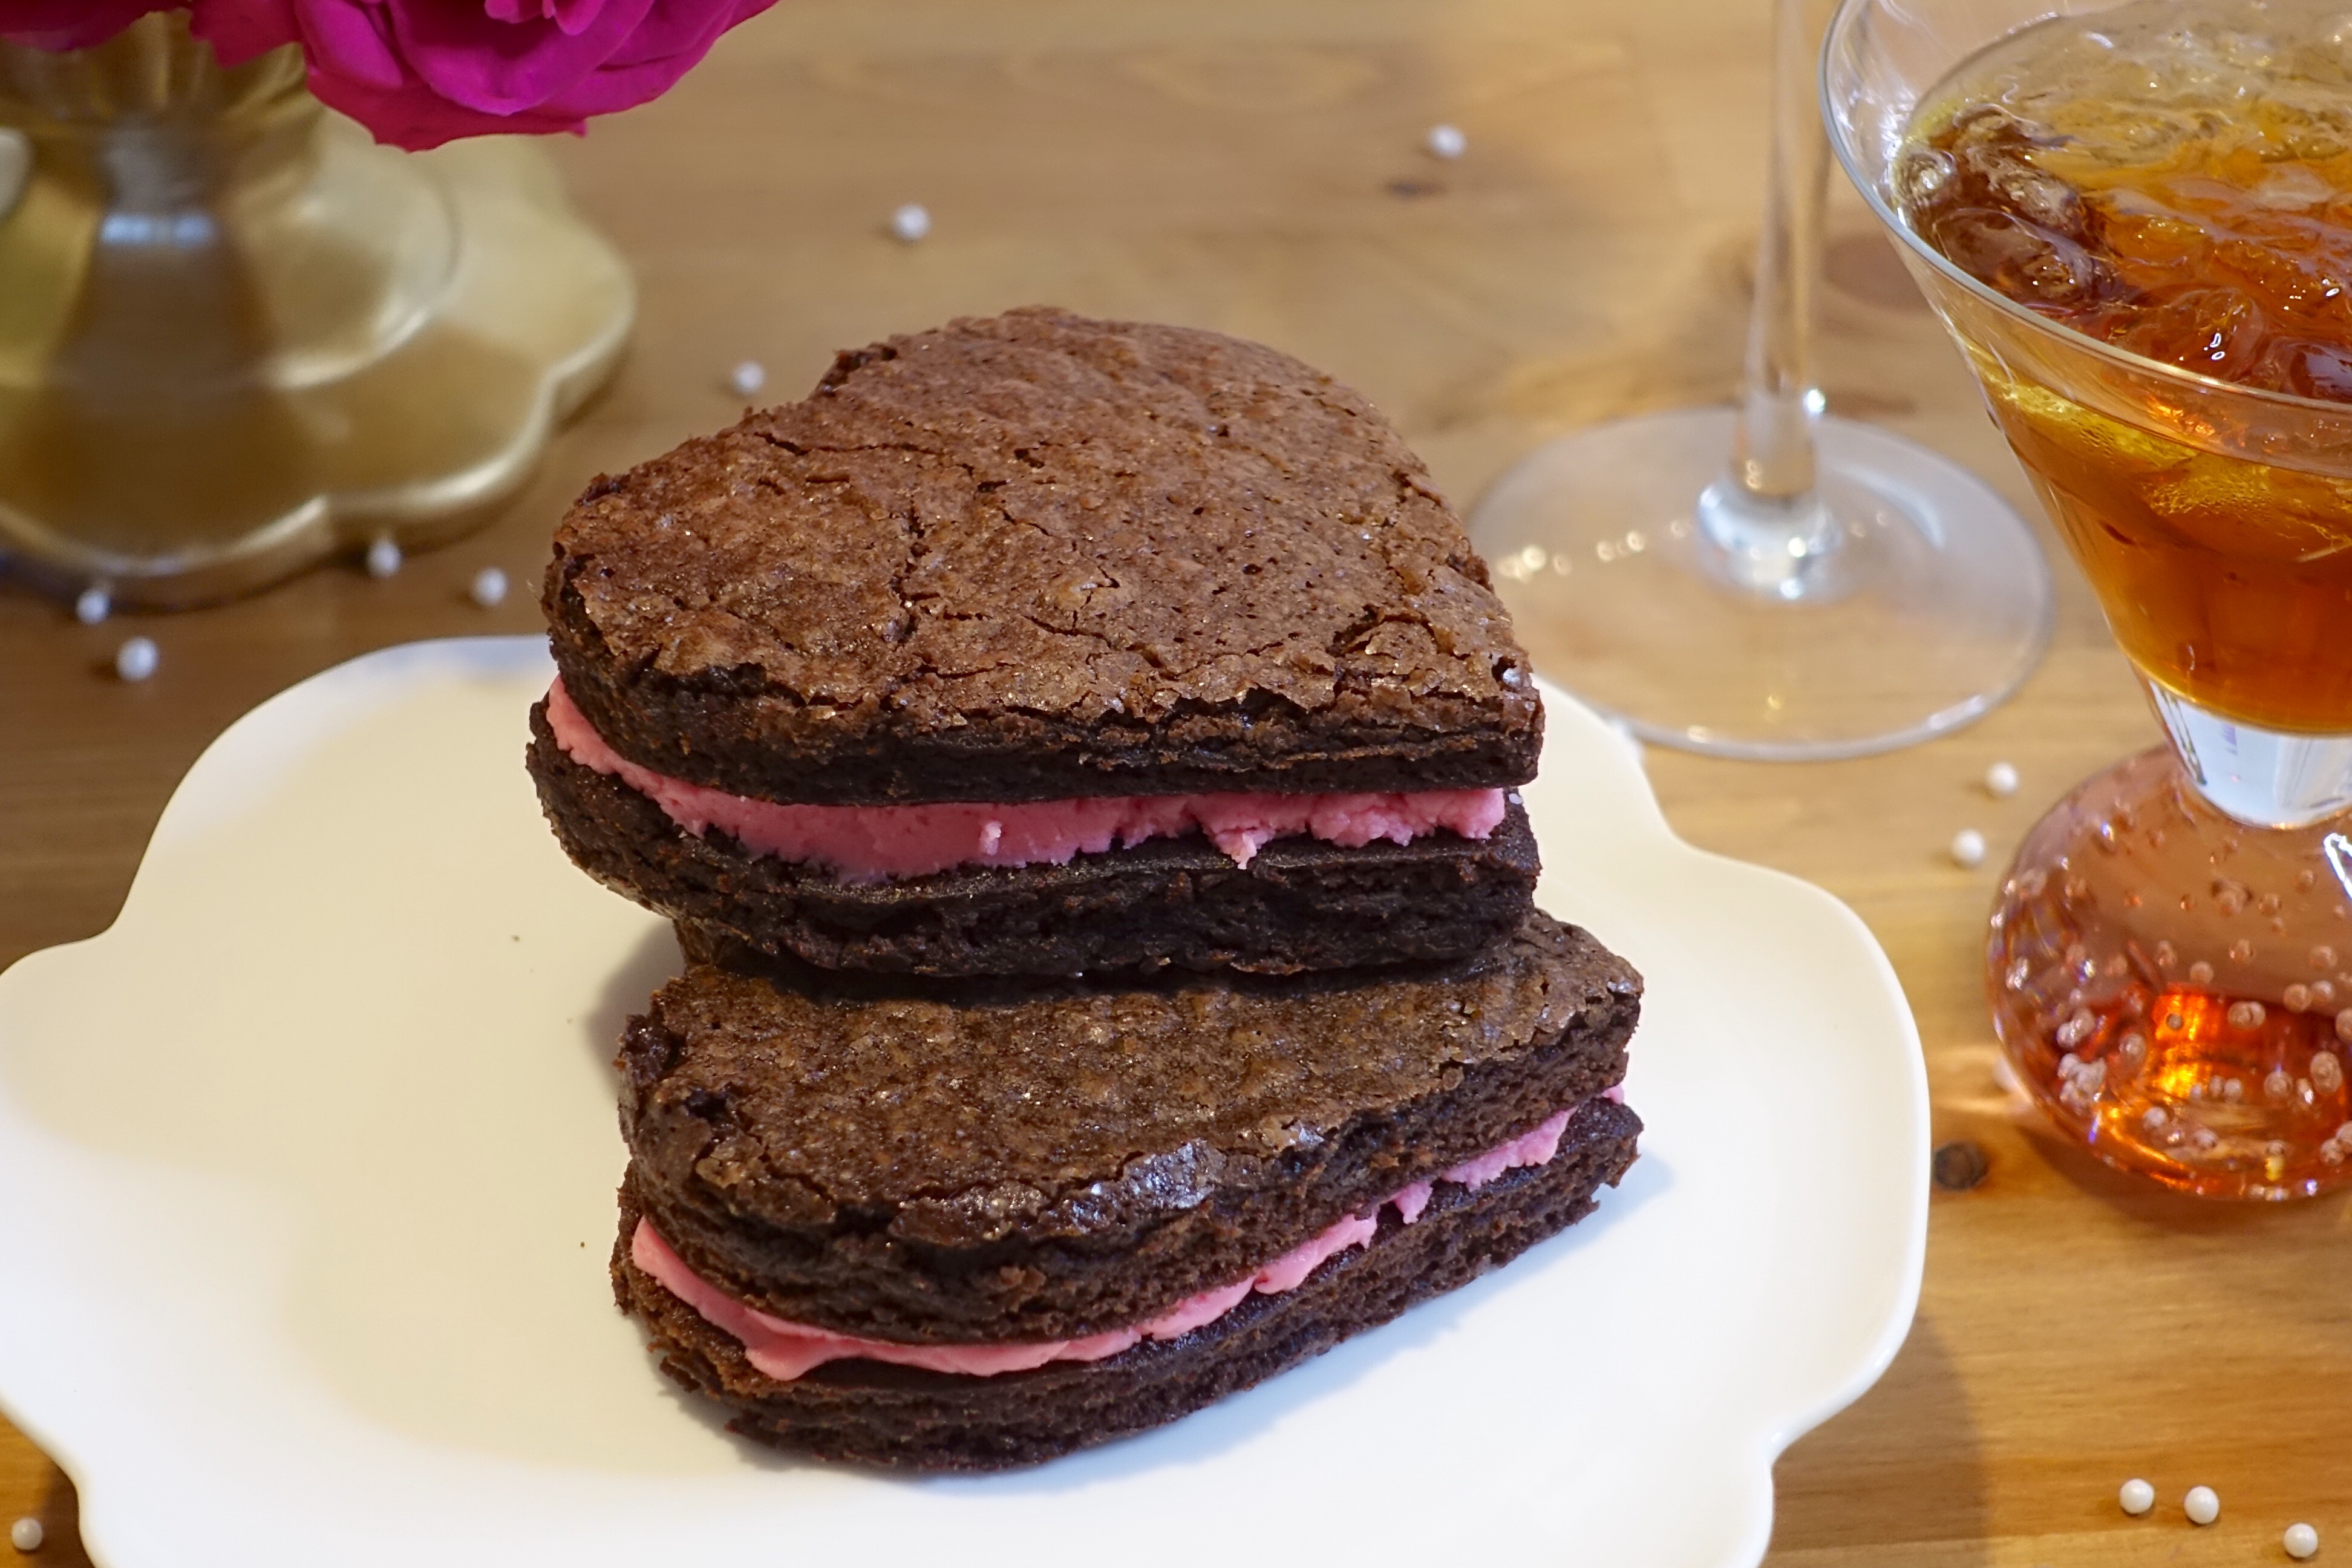
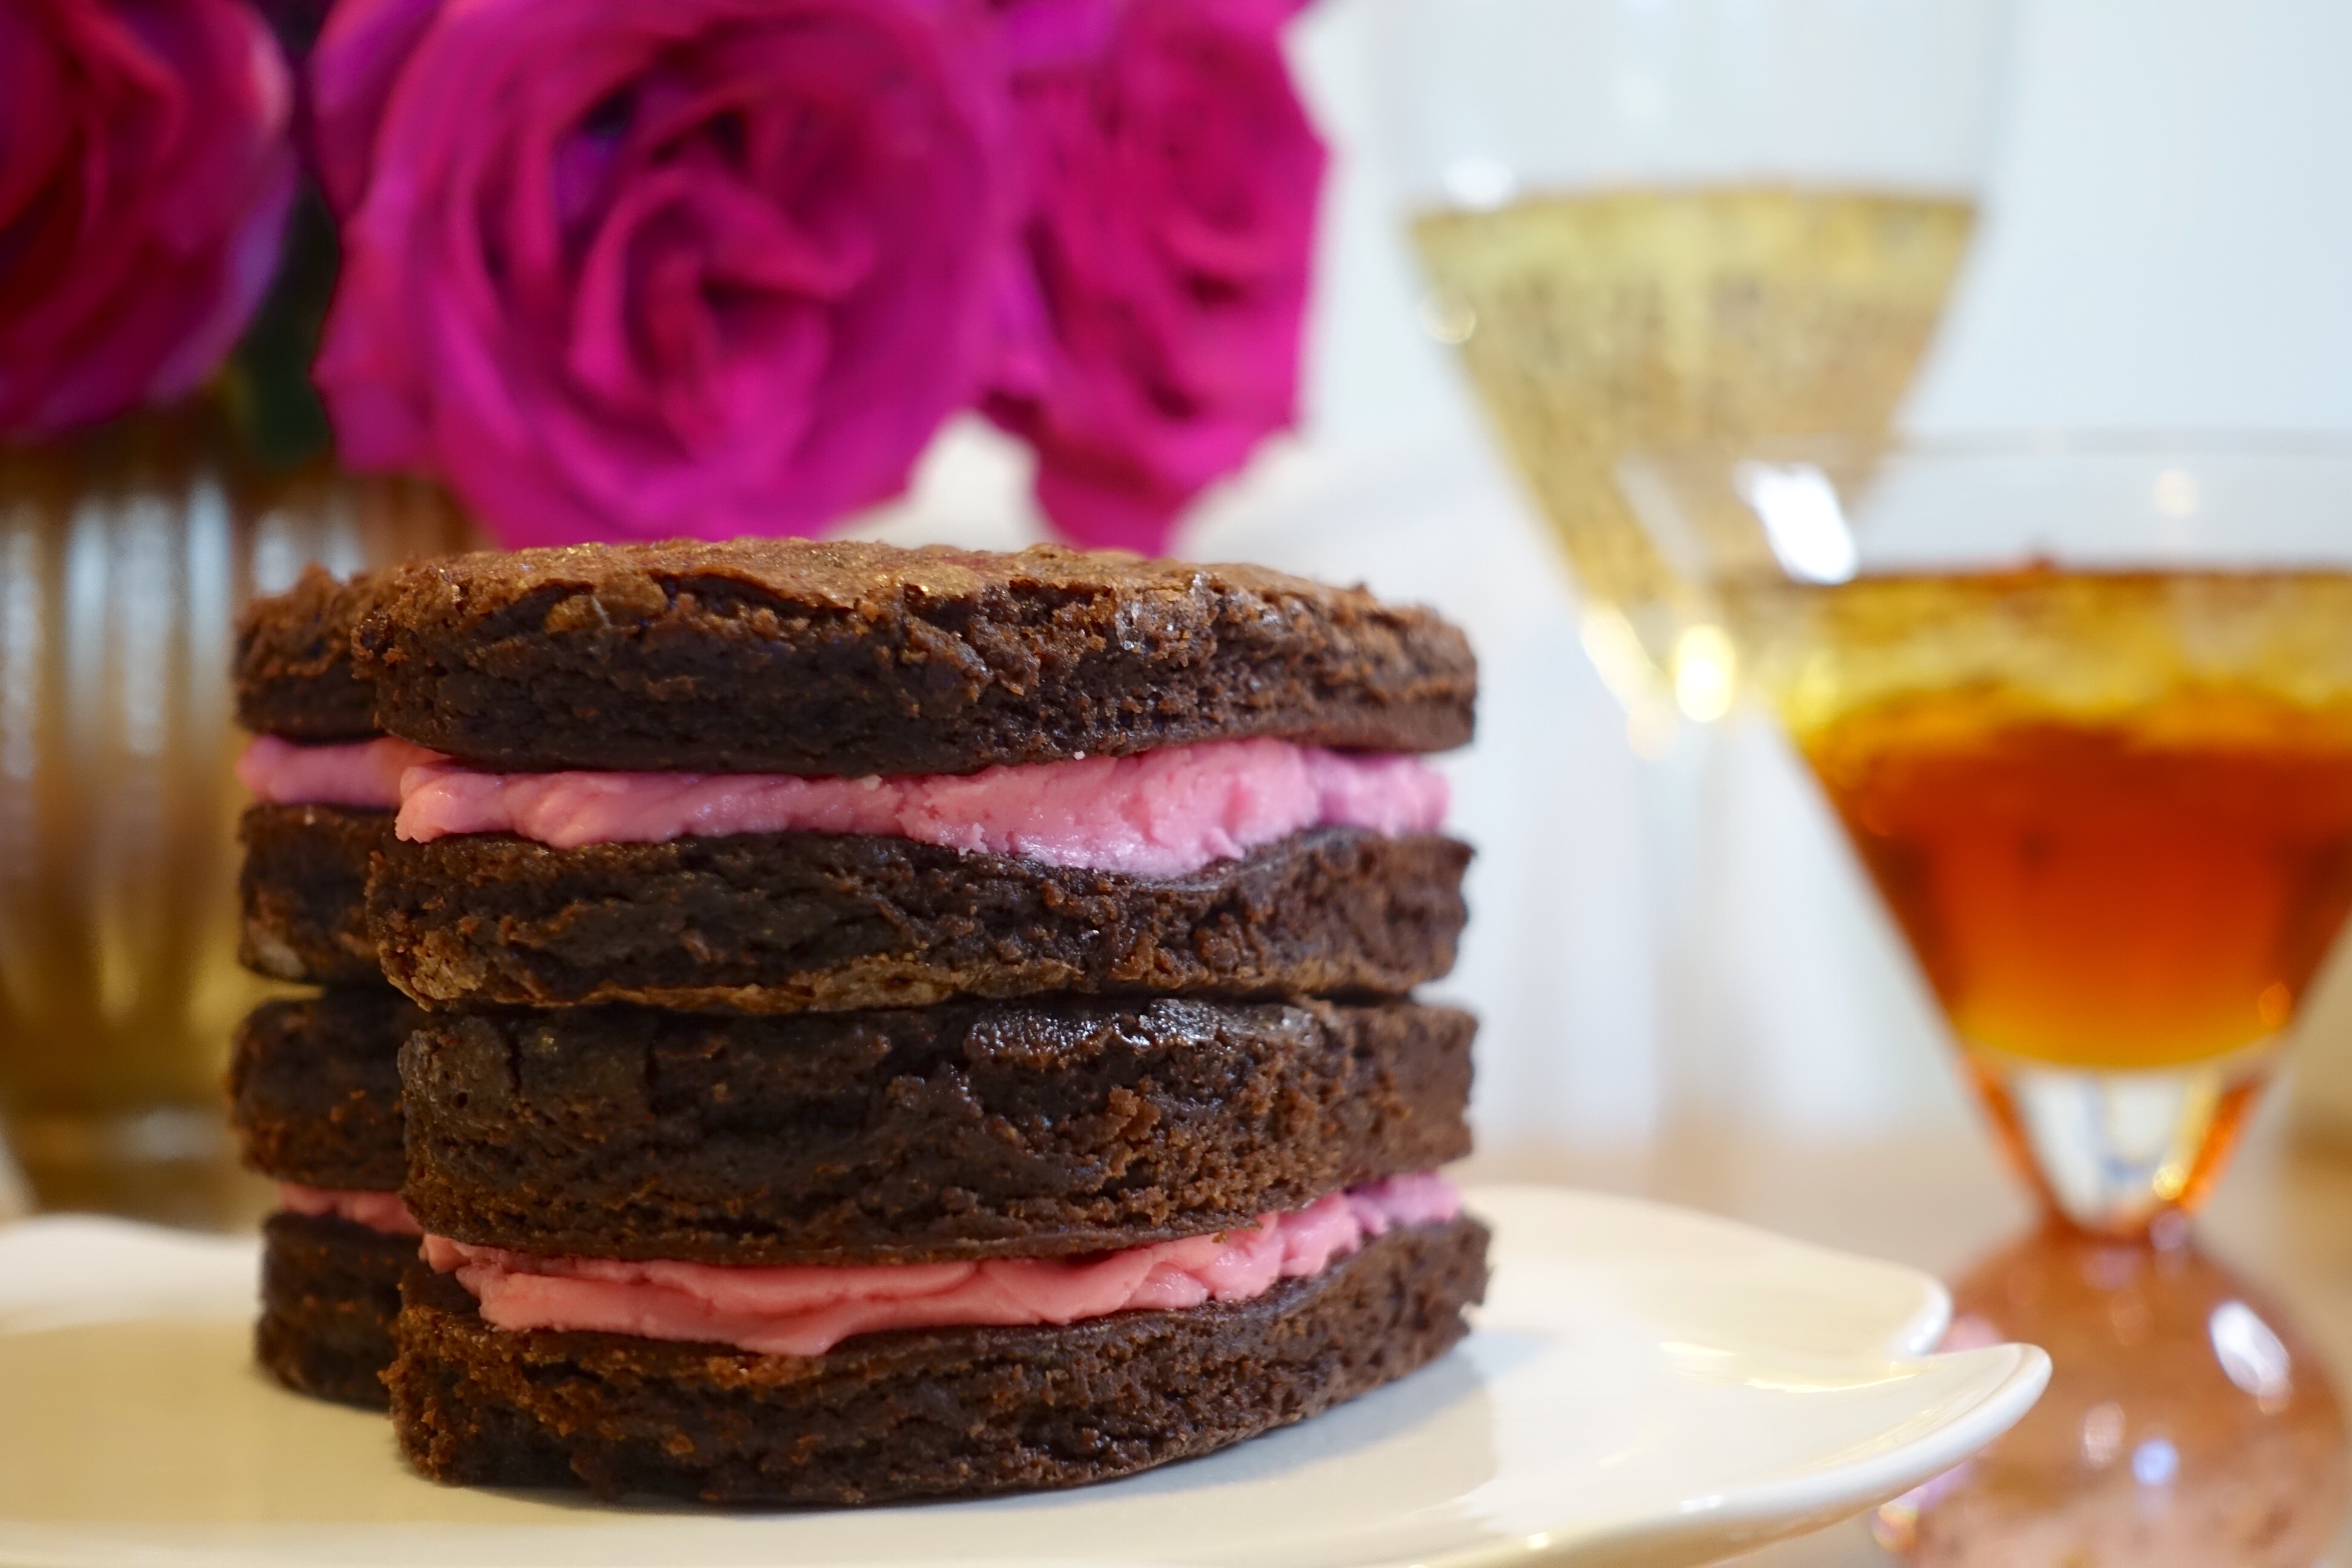
Imagine a brownie filled with oreo cream filling … yes it is just as mouth watering as it sounds! We ate 6 of them! SIX and zero regrets were had. Your mission should you choose to accept: make these, eat these, thank me later!

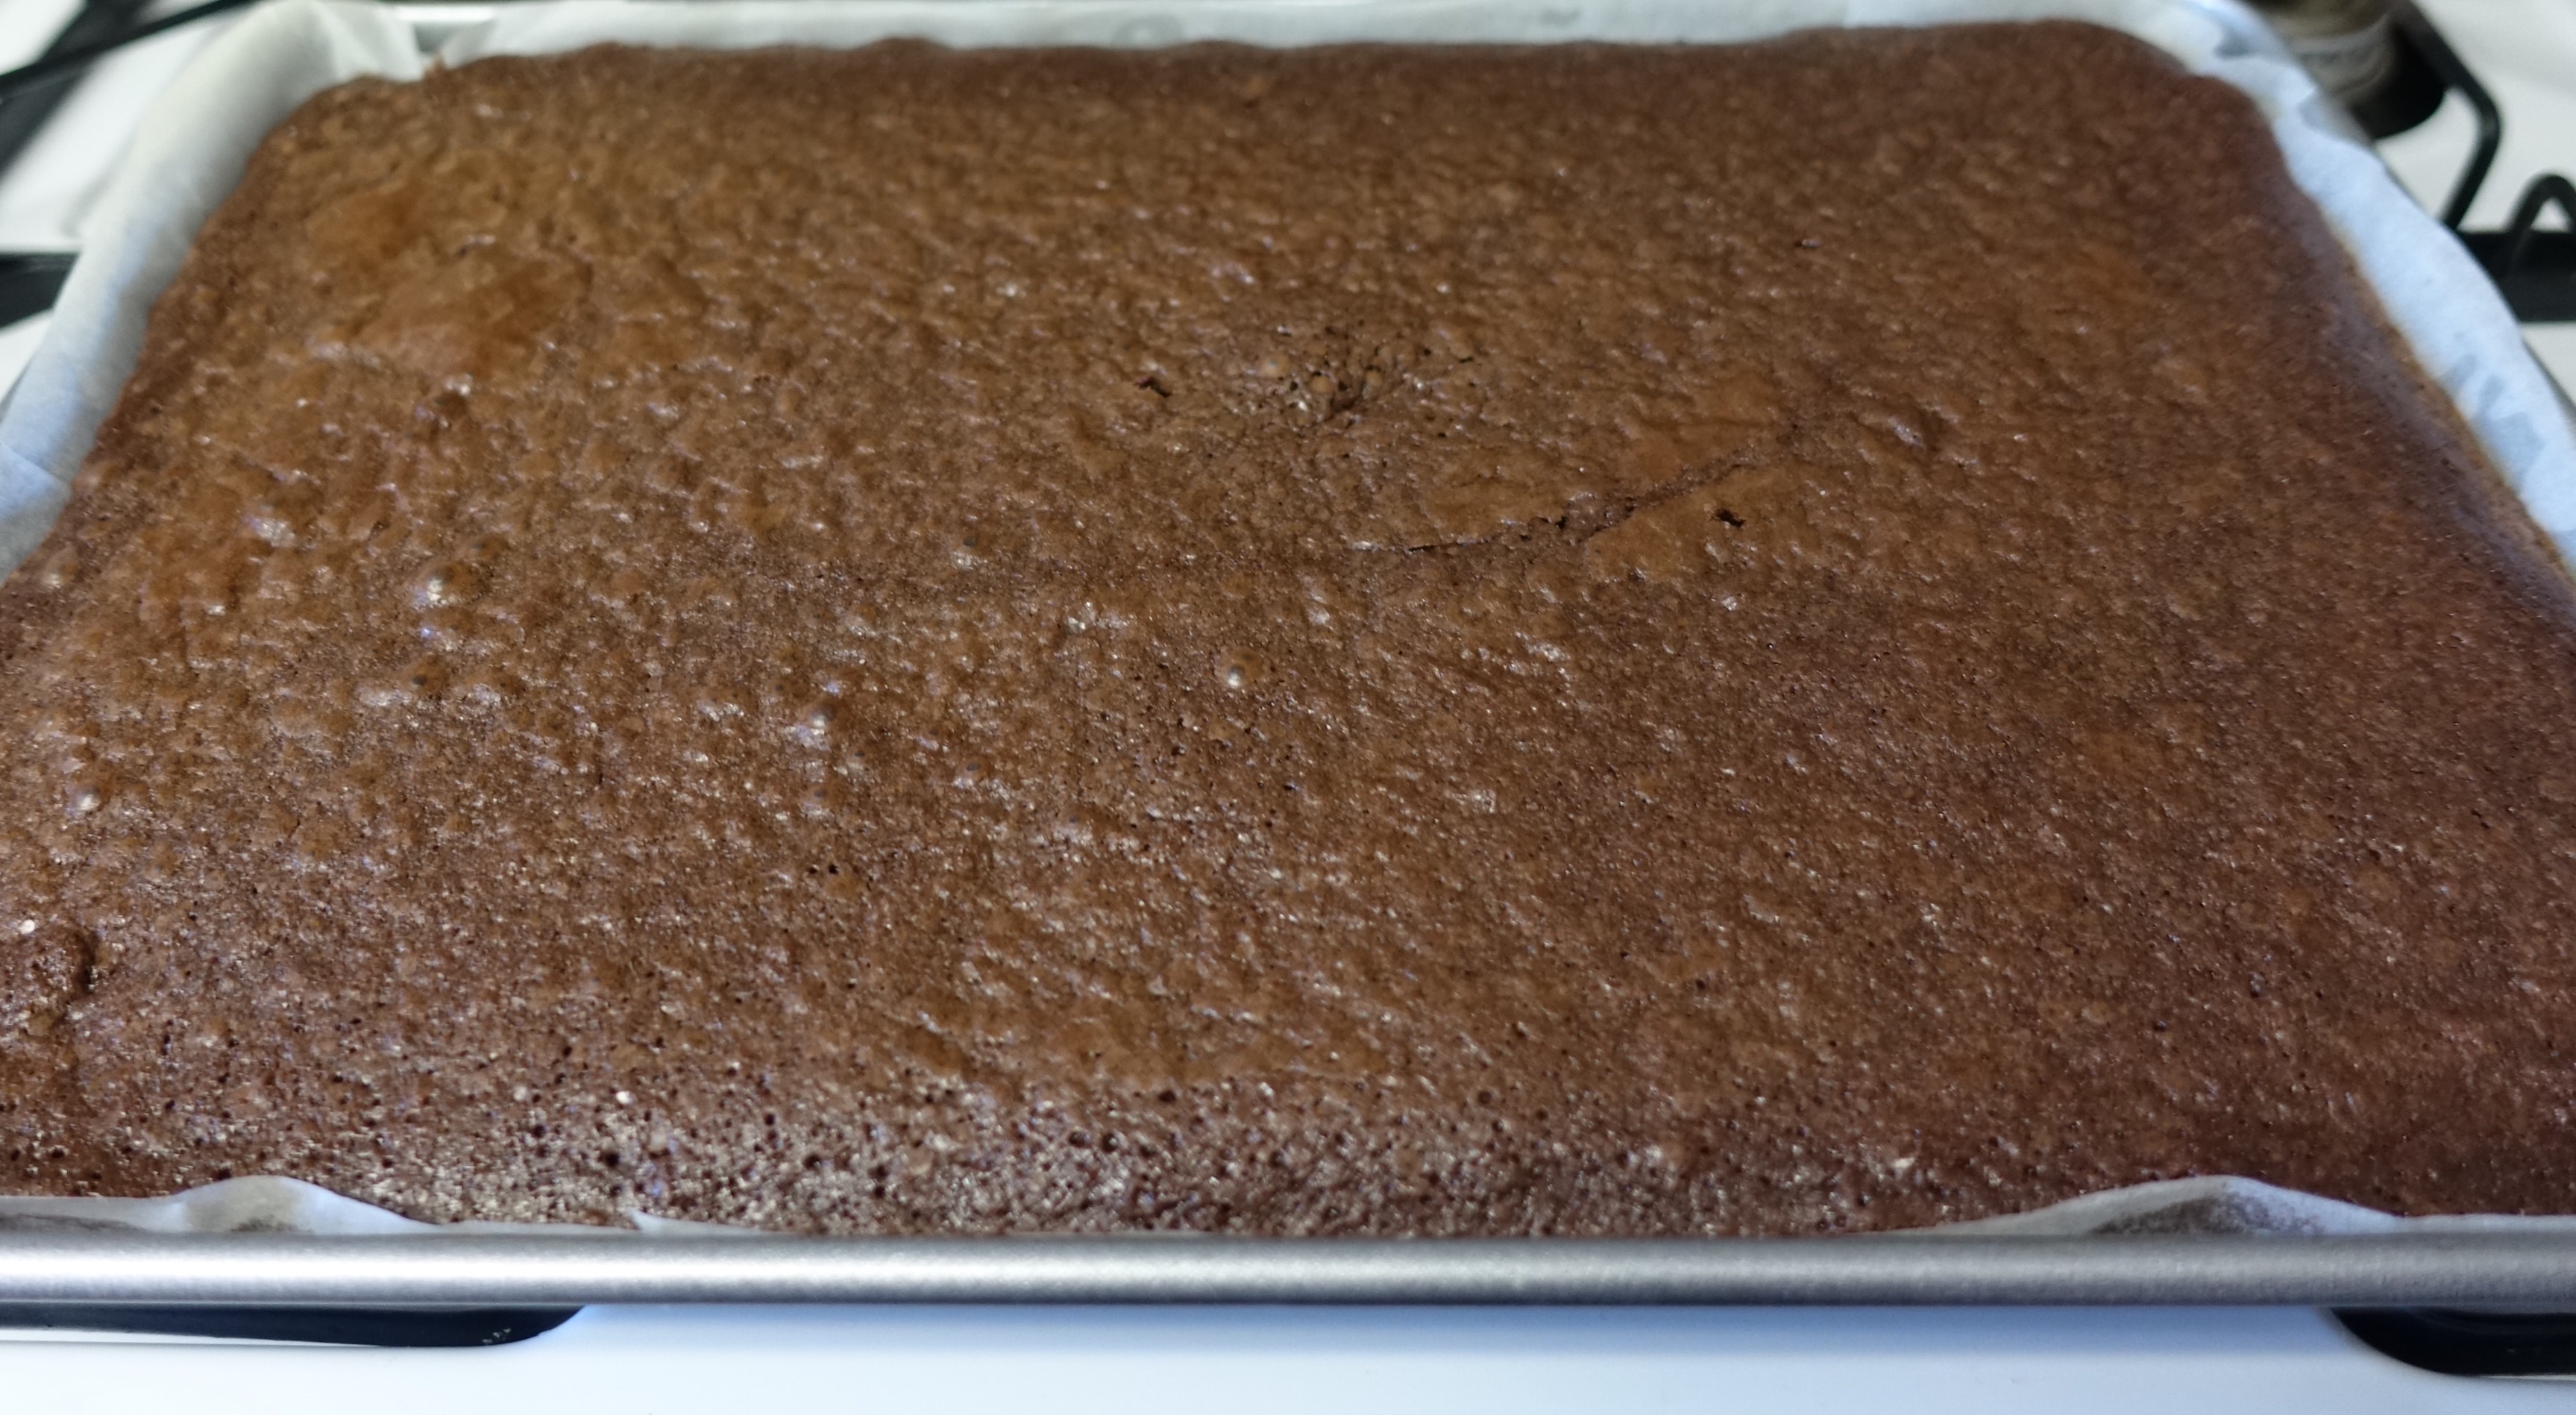
For the brownie part I just got a box of brownie mix (family sized) and made it according to the directions. I sprayed a 10×16 brownie pan with oil, lined it with parchment paper, and then sprayed it again just to make sure the hearts didn’t stick once I removed them. No one wants a crumbly broken heart, in life nor in theory.


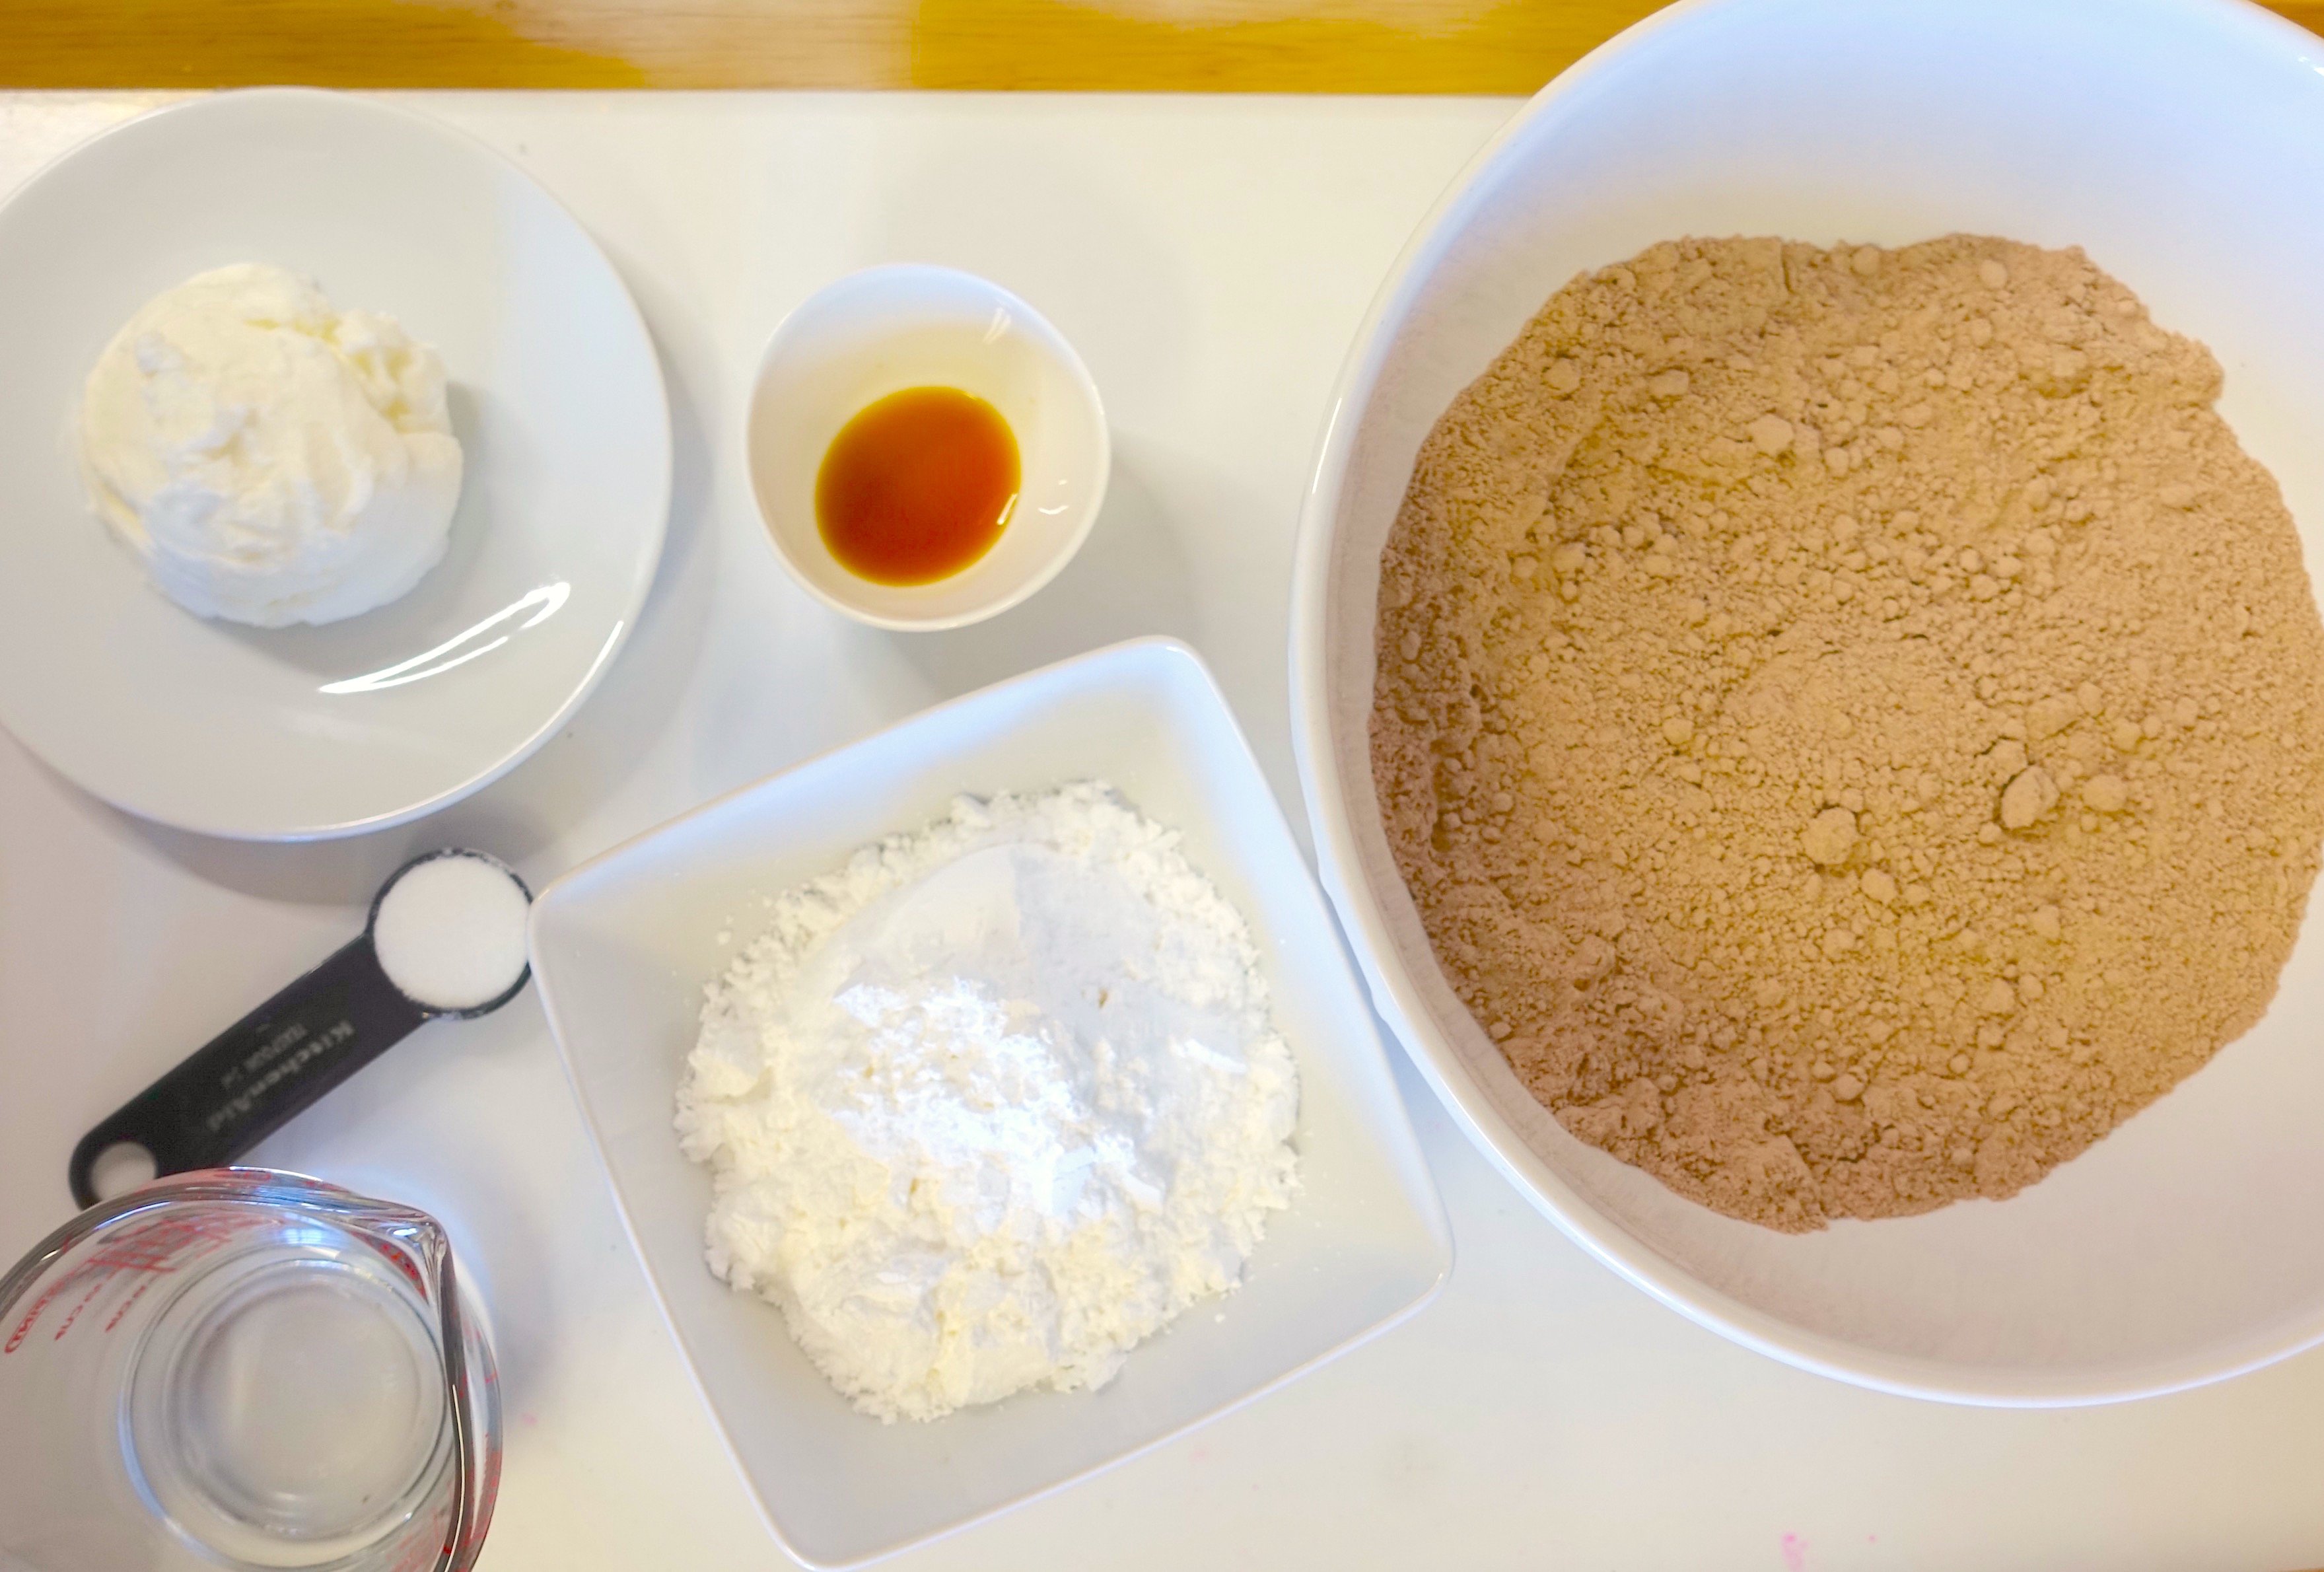
Let the brownies cool before taking a heart shaped cookie cutter to it, and in the meantime make your oreo filling, the ‘bleeding’ part of it. You’ll need:

3 cups powdered sugar
ABOUT 1/2 vegetable shortening
5 tablespoons hot water (you will eye ball this when you make it)
1/2 teaspoon vanilla extract
Red food coloring
1 teaspoon sugar


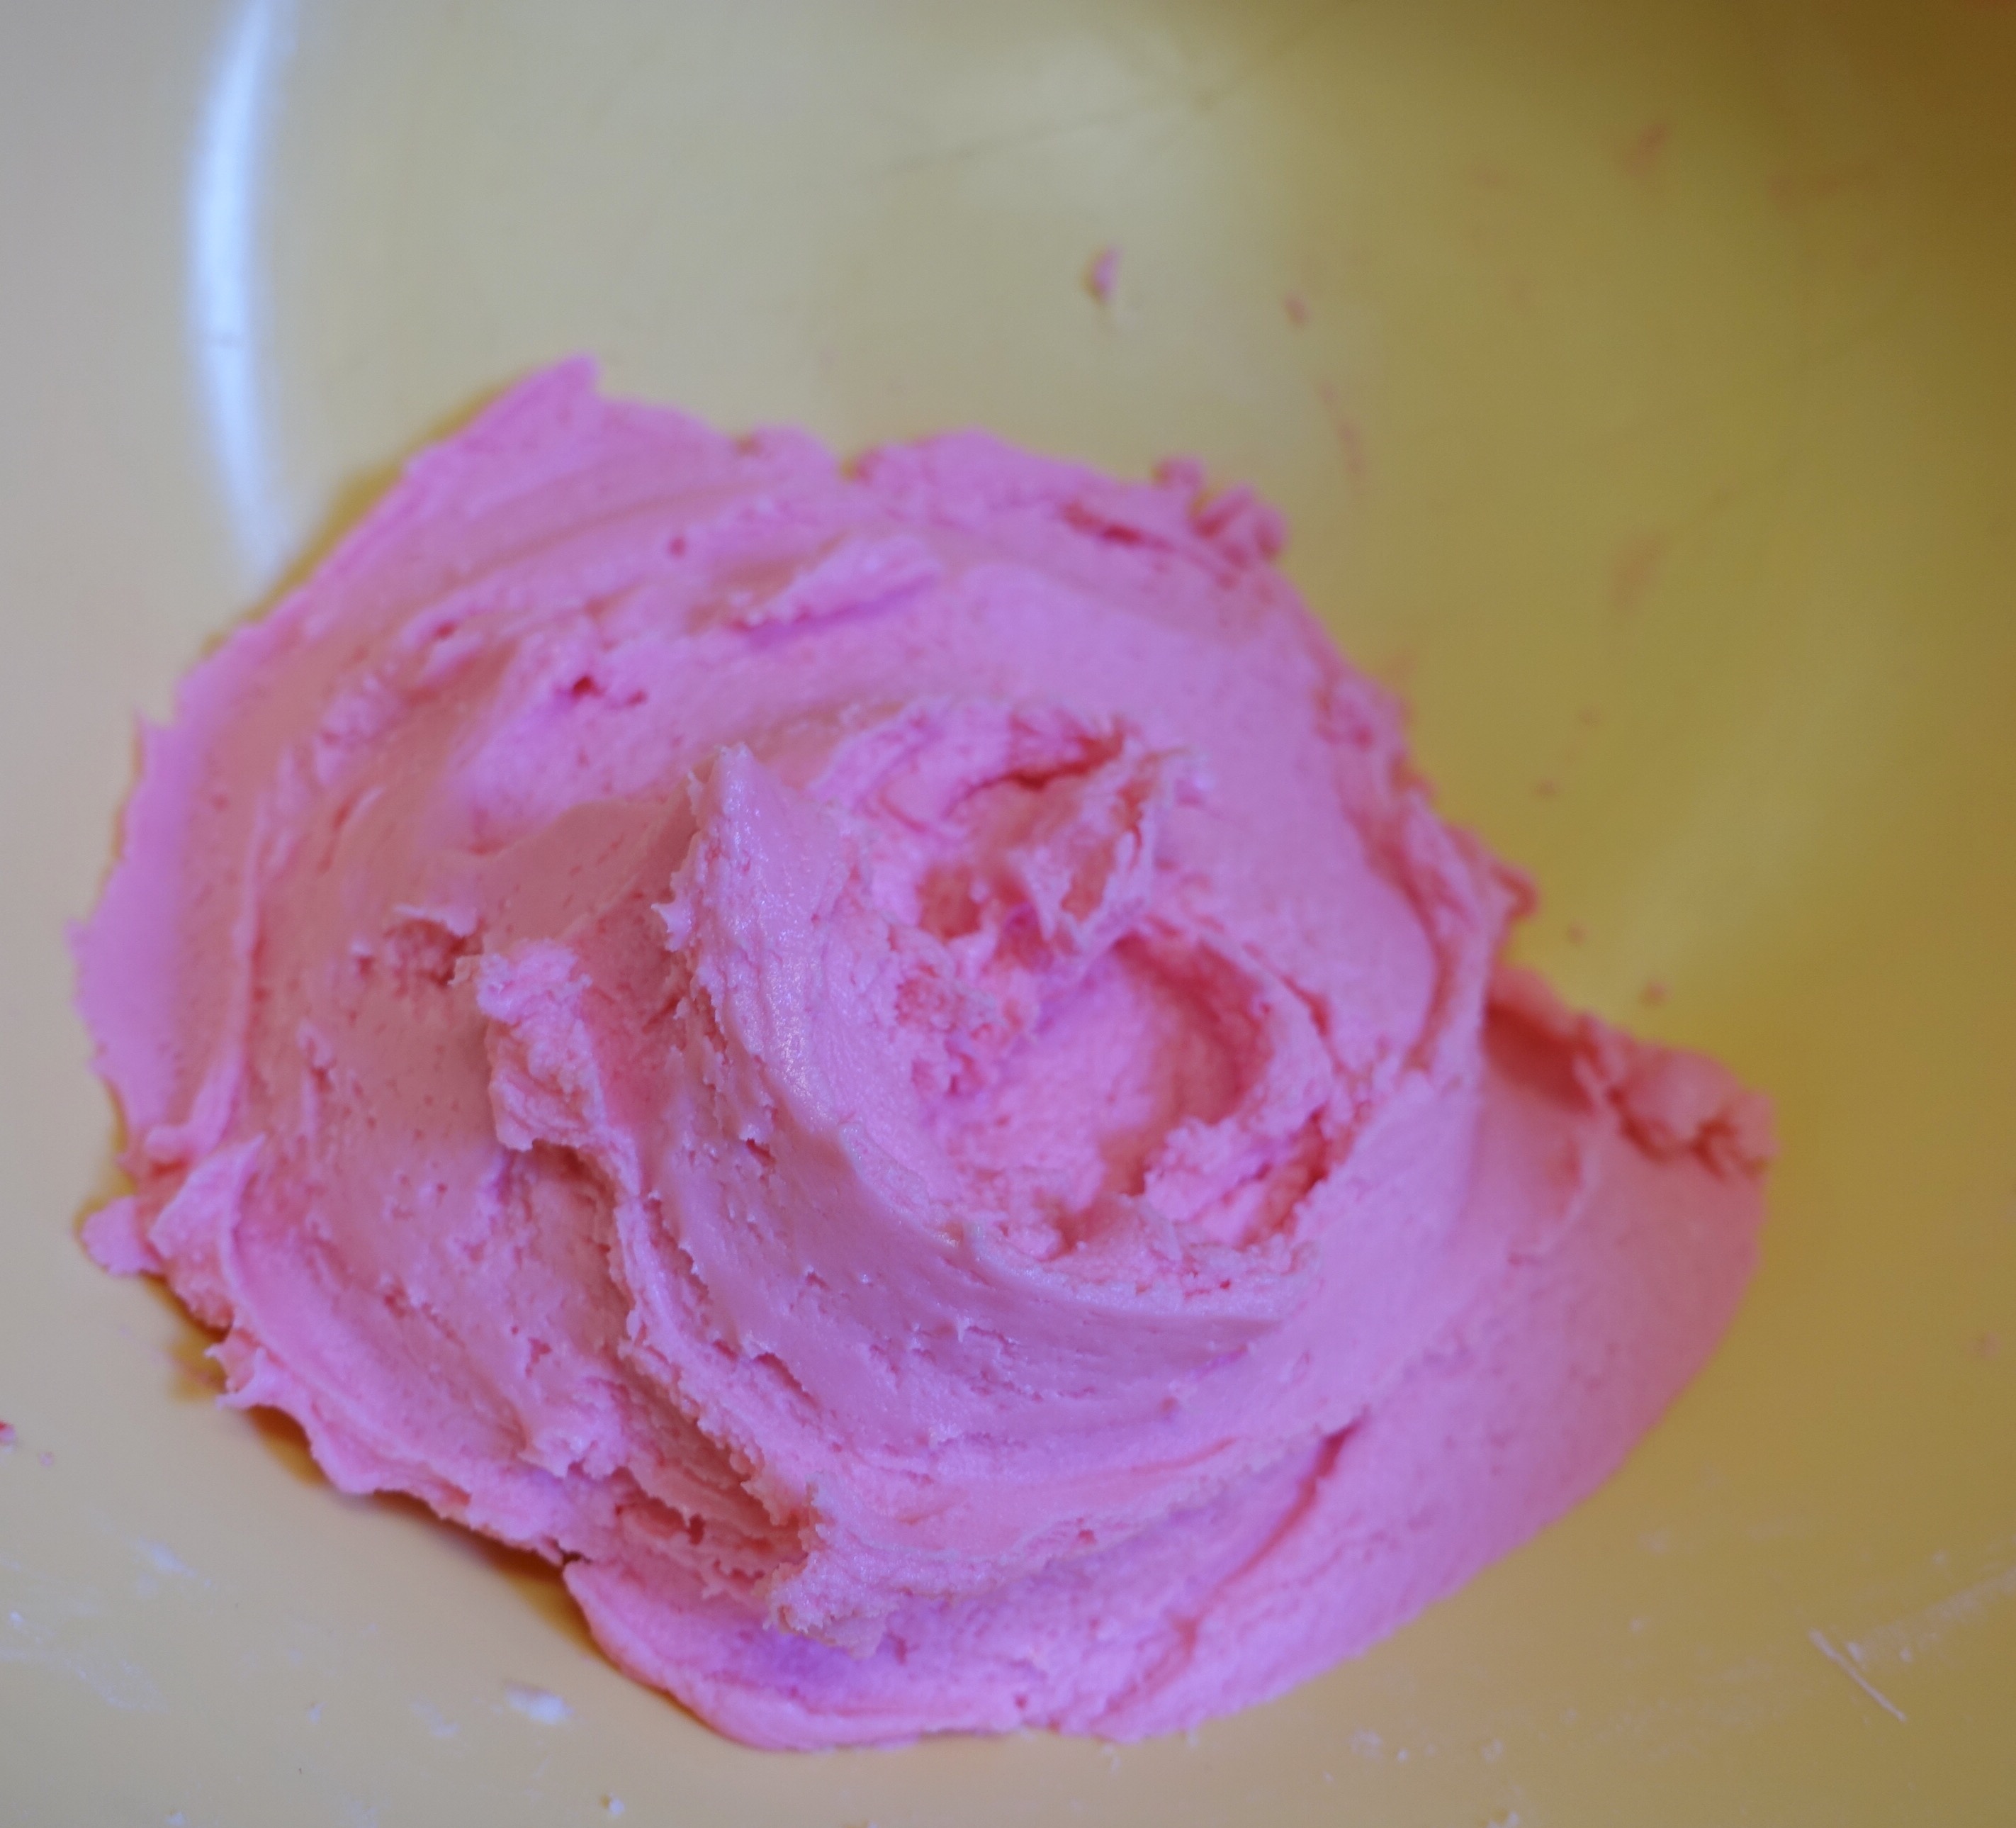
♥ Combine all of the ingredients in a bowl and save adding in the water for last. Start with 4 tablespoons of hot water and if your mixture is too thick then add in 1 tablespoon at a time until you get the desired consistency. Which is pretty thick yet smooth, like an oreo filling would be.

Once you’ve added the red food coloring (I used about 7 drops) you get this really pretty pile of sweetness! I had about half a cup of this just from taste testing! Note: This makes a lot of filling, enough for 2 batches of brownies if you’re using it in this ‘sandwich’ style.


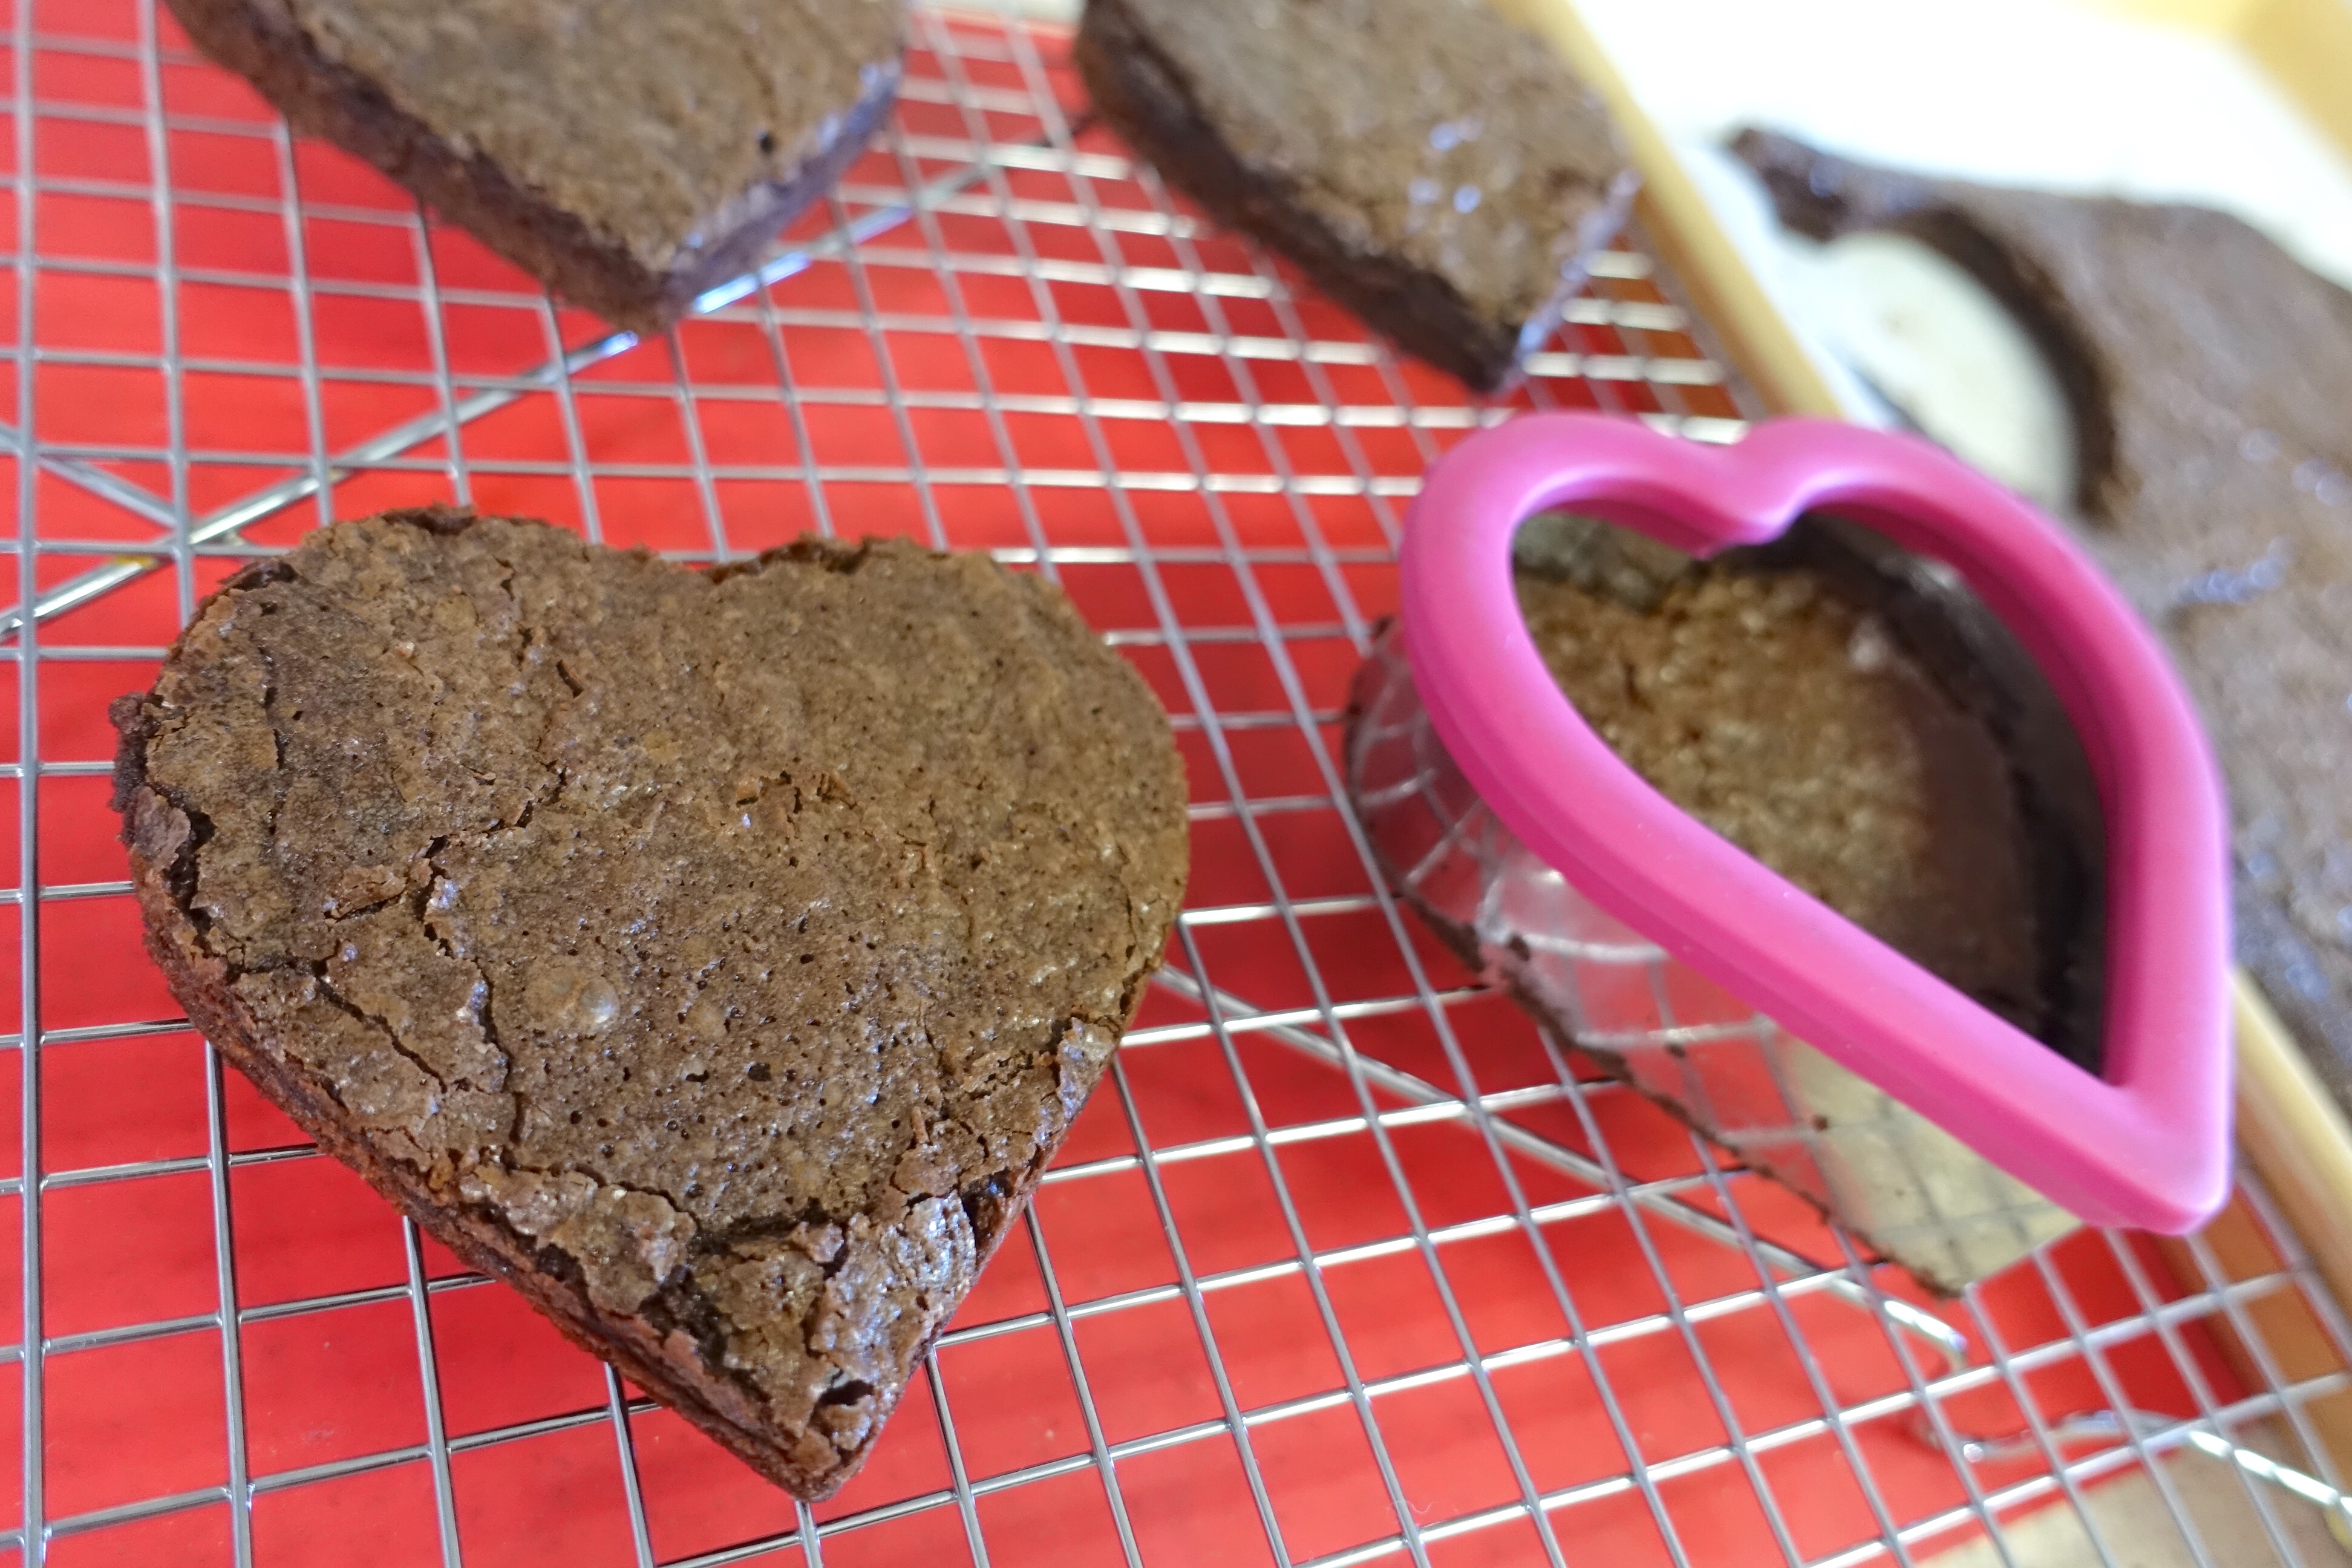
Once your brownies have cooled, take your cookie cutter and remove the shapes until all of your brownie pan has been used up. The brownies will be fairly thin, this is a good thing though because you’ll be stacking them once they’re filled.


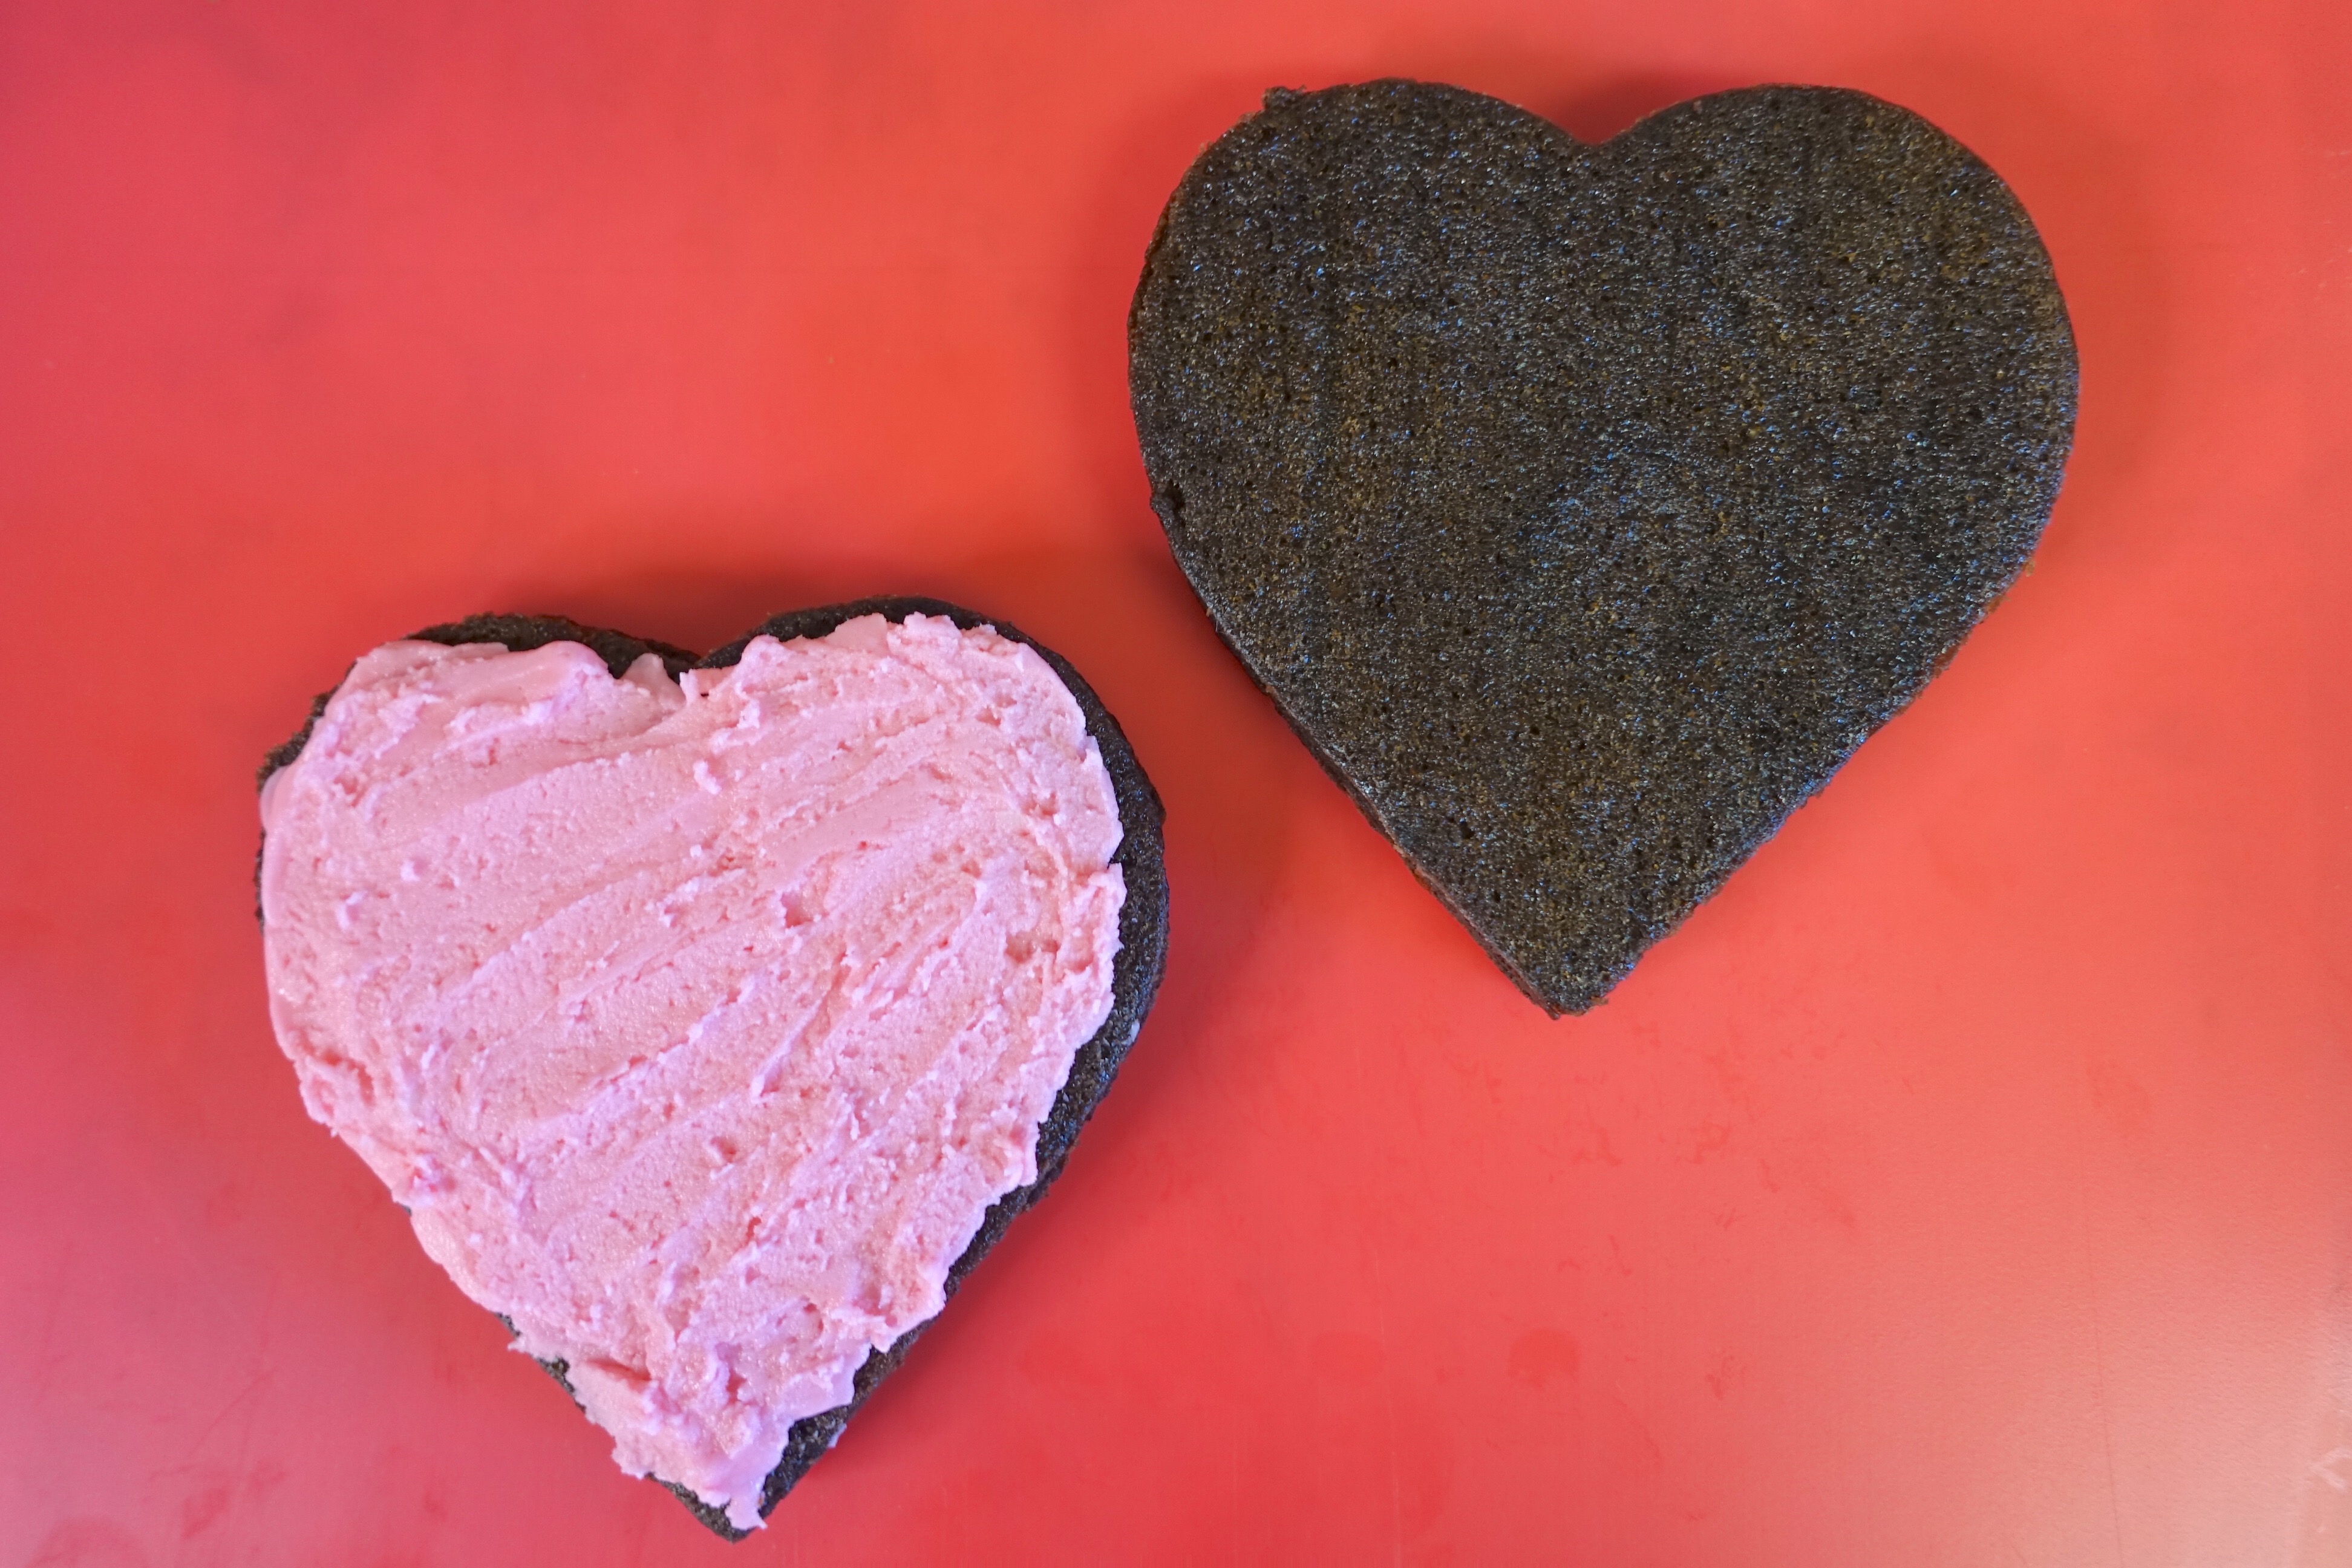
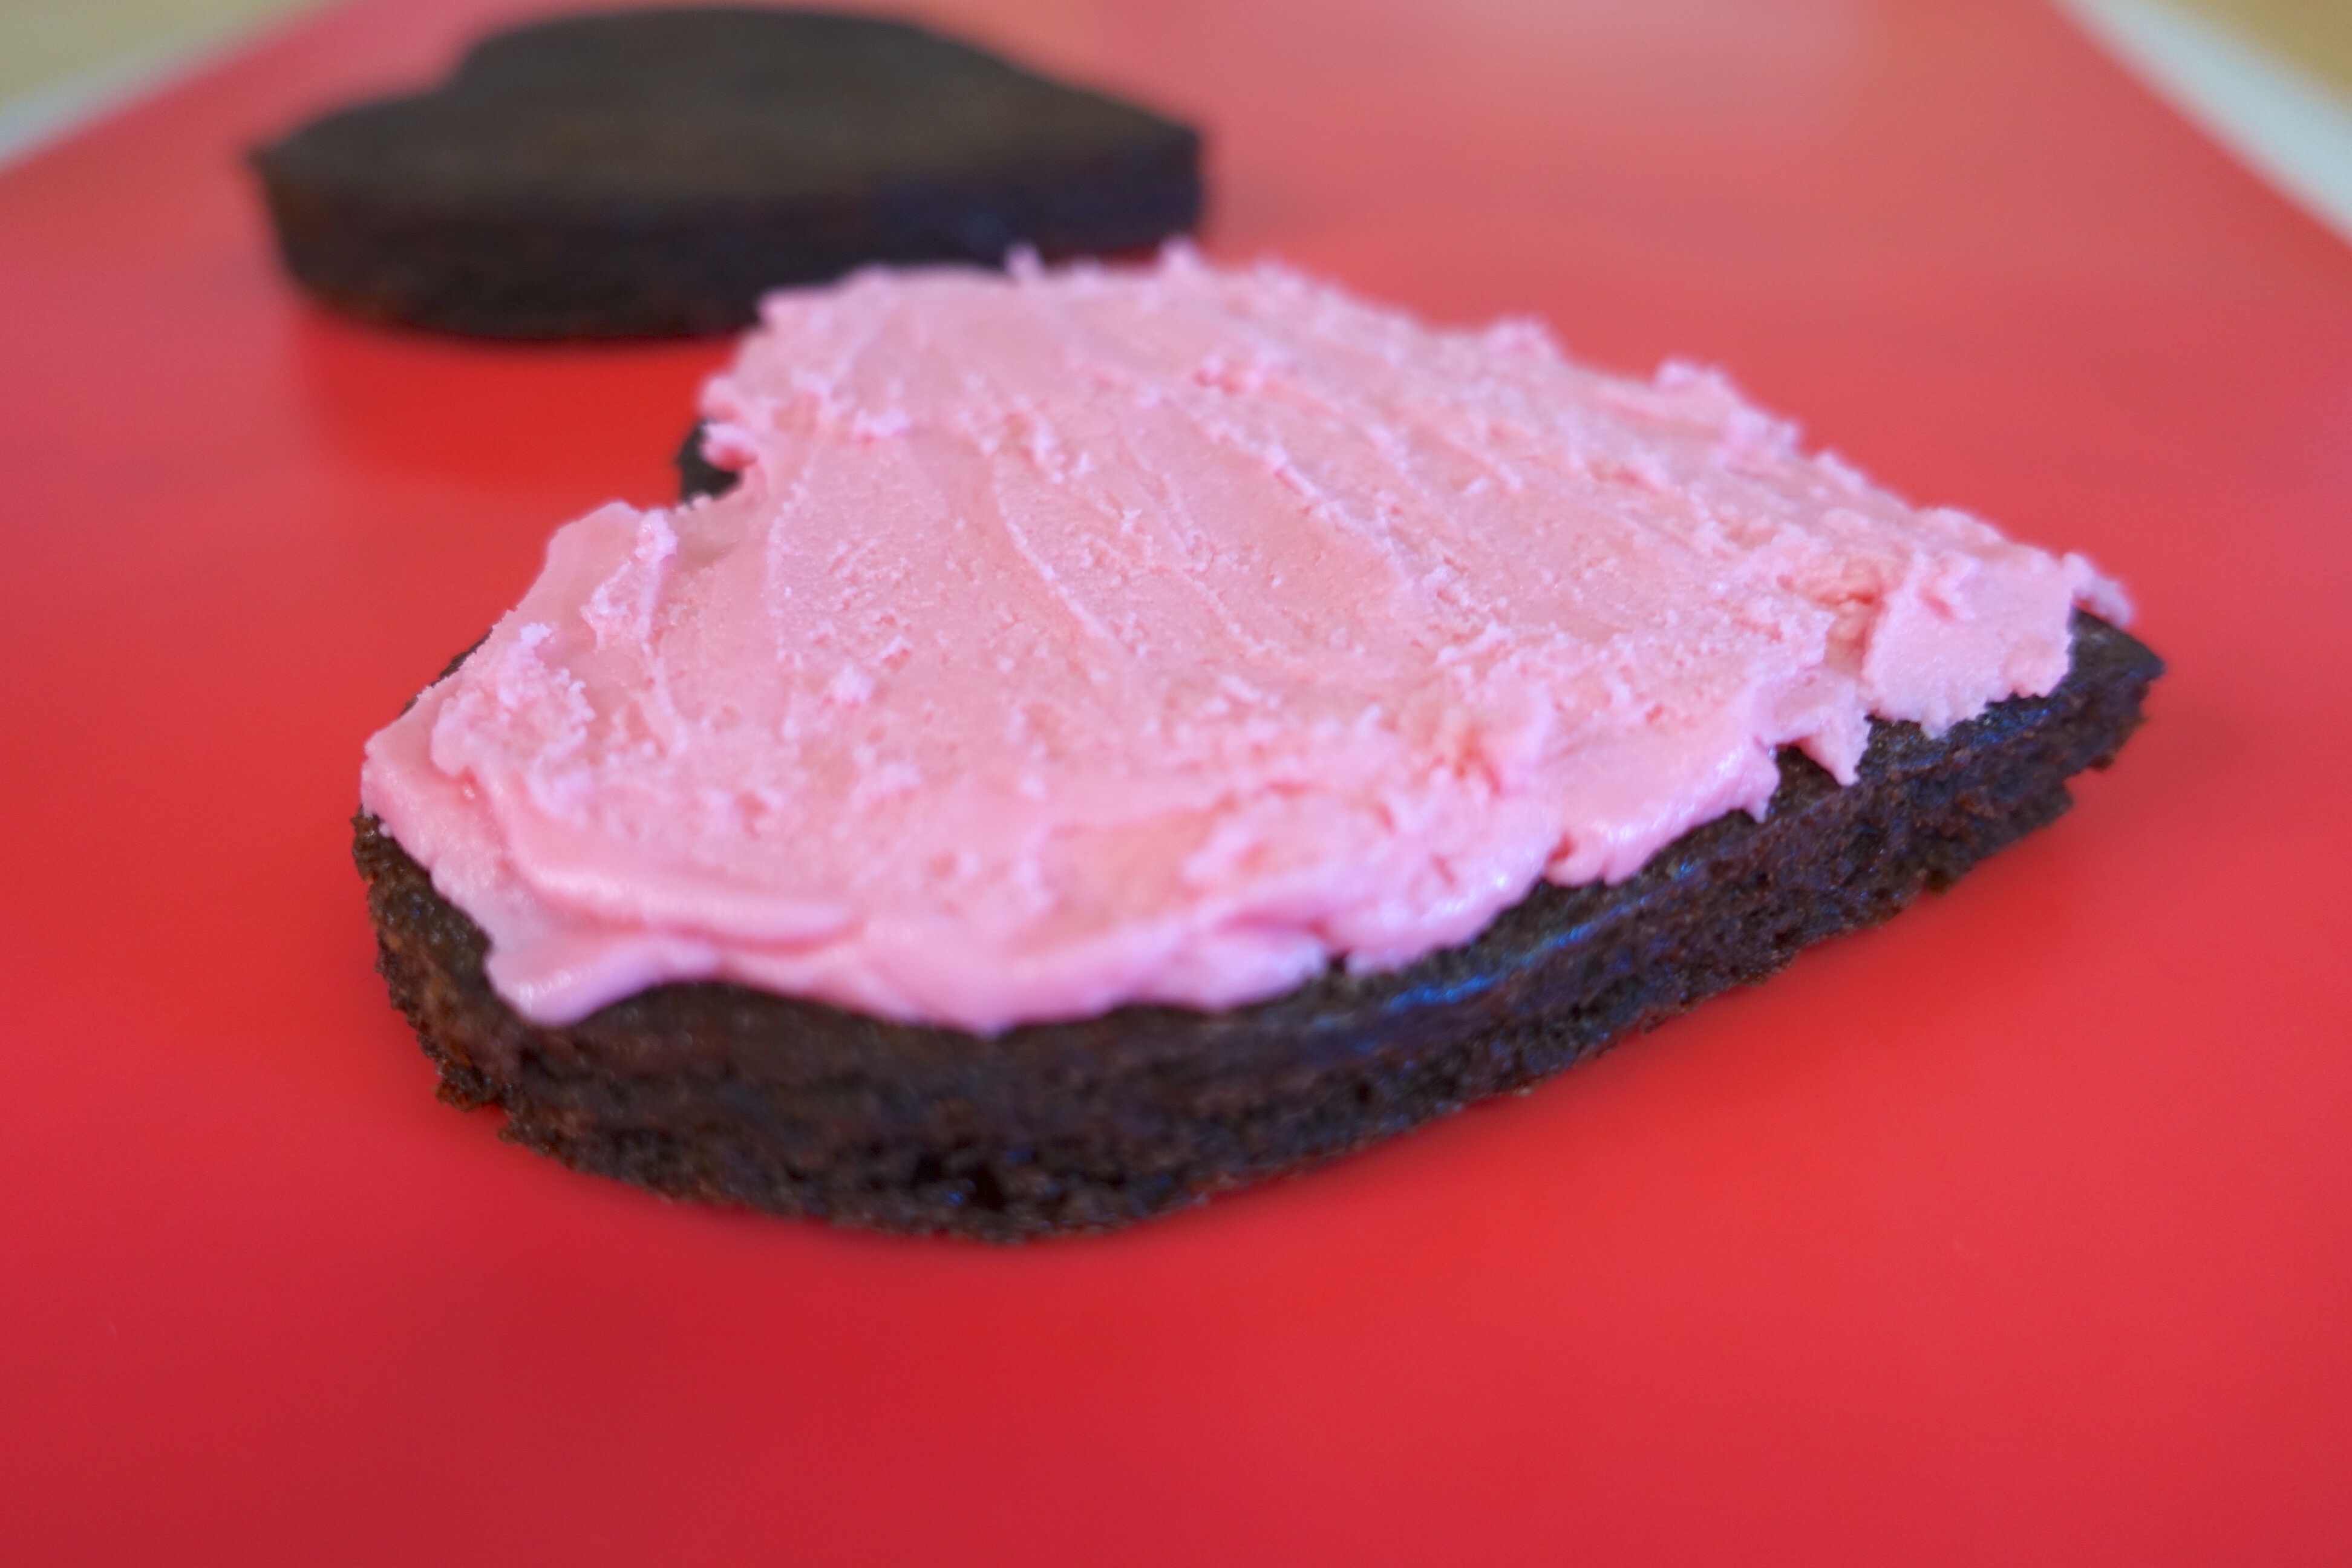
Spread a dollop of the filling between two hearts and then close the heart sandwich by placing the other half on top (smooth side down). Continue with this until you’ve used up all of your heart brownies. You can make the filling part as thick or as thin as you’d like depending on your sweet tooth preference.


The combination of these two flavors is indescribable, you have to make them for yourself and indulge in order to believe me. It’s a cream filled brownie and the cream is OREO FILLING! Did I say that part enough? Ha! Try it, so so so good!

I paired this deliciousness with a “Sour Kiss” cocktail, keeping with the whole ‘Valentine’s Day Shmalentine’s Day’ theme here. It tastes like sour patch candies in a glass! Mix together an ounce of each of these ingredients and enjoy!

Sour Kiss Cocktail:
Vodka
Grenadine syrup
Blue curacao liqueur
Sweet and Sour Mix
Limes

Here is my Pinterest DIY-not Valentine’s Day episode, and if you missed my Galentine’s Day post you can read it here!

What are your plans for this weekend ?!

Go enjoy these recipes and Happy Valentine’s Day from stupid cupid <333


MY TRUTHS ABOUT GETTING MARRIED

Let me preface this with ‘my’ truths, ha, thought I should put that out there! So I recently wrote an article about the conscious choices we make in regards to what we do and don’t share publicly about our lives. Much of our audience has watched Joe and my relationship grow, but from a distance as we’ve been very private about it. Well on Christmas Eve Joe proposed to me in front of his entire family and I ugly cried through it y’all. It’s been 5 1/2 years and I think we’re finally ready to open up about our future plans, why we haven’t been so open until now, and what we think about sharing your life with the internet.

People are either all for marriage or all opposed, or so I’ve been hearing, and today I’ll explore both sides of it. Personally however, I was somewhere in the middle, yes leaning more towards the “if you’re a bird I’m a bird” mentality, I mean I’m a hopeful romantic. But I’m also the girl who’s been married before so I’ve got issues with marriage whether you see them or not. When I was 18 I married Corrine’s father. That didn’t last forever and I’m a “make it work no matter what, marriage is forever” kind of person, so that was ouchy. After the dust settled though, I knew that eventually I did want to get married again. If the right man came along and changed my mind about this forever business I’d do it, besides, I’m a hopeful romantic remember? Regardless of my feelings, I also didn’t want us to feel pressured into getting married just because it was the ‘next step to take’, even IF I’ve wanted to marry Joe since our 1st date! *more on that soon*

So many people get married for the wrong reasons. You reach a certain age or you date someone for a certain amount of time, and all the sudden everyone and their mother wants to know when are you finally going to tie the knot- especially your own mother. Don’t get me wrong, marriage can be AMAZING, but the pressure to do so is not so amazing.

Here’s the ‘opposed’ side of me. There are people who get married because they think they have to, it’s all that’s left to do… shit or get off the pot kind of thing, or the ‘oh crap we’re pregnant’ kind of deal. There are also those kinds of people who marry for opportunity and those situations are too heated for me to touch on in just one post, so I’ll save it. Then there’s those who do it because they want that huge wedding that is for everyone ELSE except for them. So firstly, shout outs to all my happy couples out there wed or not wed, and secondly, through all the BS and past mistakes I’ve made myself, I wanted to get married because I’d finally found my person, who is my life partner, best teammate, biggest cheerleader, and ride-or-die best friend when we have it all or nothing left. You sure do learn a lot when you get it wrong the first time. If you can’t be best friends with your partner, what do you have after the buzz from the wedding planning and honey mooning settles off?

With my first marriage I learned a lot about myself. I learned that I needed to grow up (a crap ton), that I was co-dependent (a crap ton), and that I had ZERO clue about who I was or what I wanted outside of this other person (#baggage). Mind you, I had a little human looking up to me for life coping skills, all the while- I myself was trying to learn how to navigate through life.

Here’s the ‘all for’ marriage side of me. Today looking to the future, I can confidently say (17 years later whew) that I love the person I’ve become, I love the man I’m with, and I love how healthy our relationship is. No relationship is perfect, but I think we work because I’m the hot head and he’s the calm and logical one. I’m the loud mouth and he’s there to shut me up when I irrationally roid out. I can get down with marrying that! Also, when he’s having a crap day I can be the rock for him too, and lastly, (and this is a big one) we’re not allowed to go crazy at the same time! Rock Paper Scissors for that if you have to! Life is too short to fight and it’s also too short to be with someone you really don’t like as a person.

So if I could share with you one thing about being in a relationship; not just being engaged or getting married, but being in a healthy relationship- it’s that the only person you can control is you. No one will ever change just because you want them to, and when you aren’t a whole person (we all have baggage don’t we now) you can’t expect someone else to fill that void. Marriage is a big deal and it should be the happiest of moments, not a forced or uncertain one. Lets be real though, I’ve been putting the pressure on Joe for like 5 years! When ya know ya just know!

This post somehow turned into a self-help for the emotionally-unavailable/ rant on love, but the point is that your relationship and your kind of love, is nobody else’s to judge or weigh in on. So you do you and don’t let marriage posts (like this- oh it’s about to get lovey) or FaceBook updates, make you feel like you aren’t a cool kid or hurried into doing something that you aren’t ready for. Also the point of this post was to share with you that we’re ready to share! The pressure of having a big wedding is big (I write these for me too), but we’re going to do it our way and I can’t wait to show you!

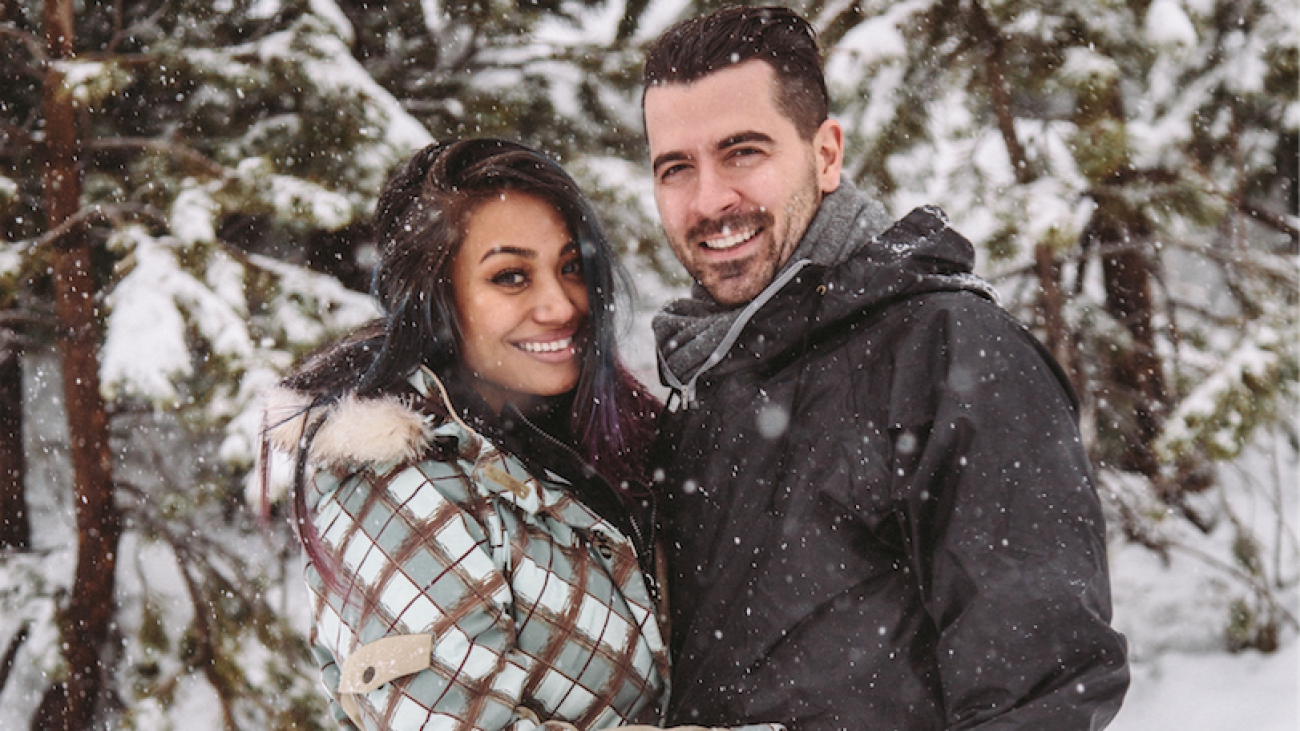
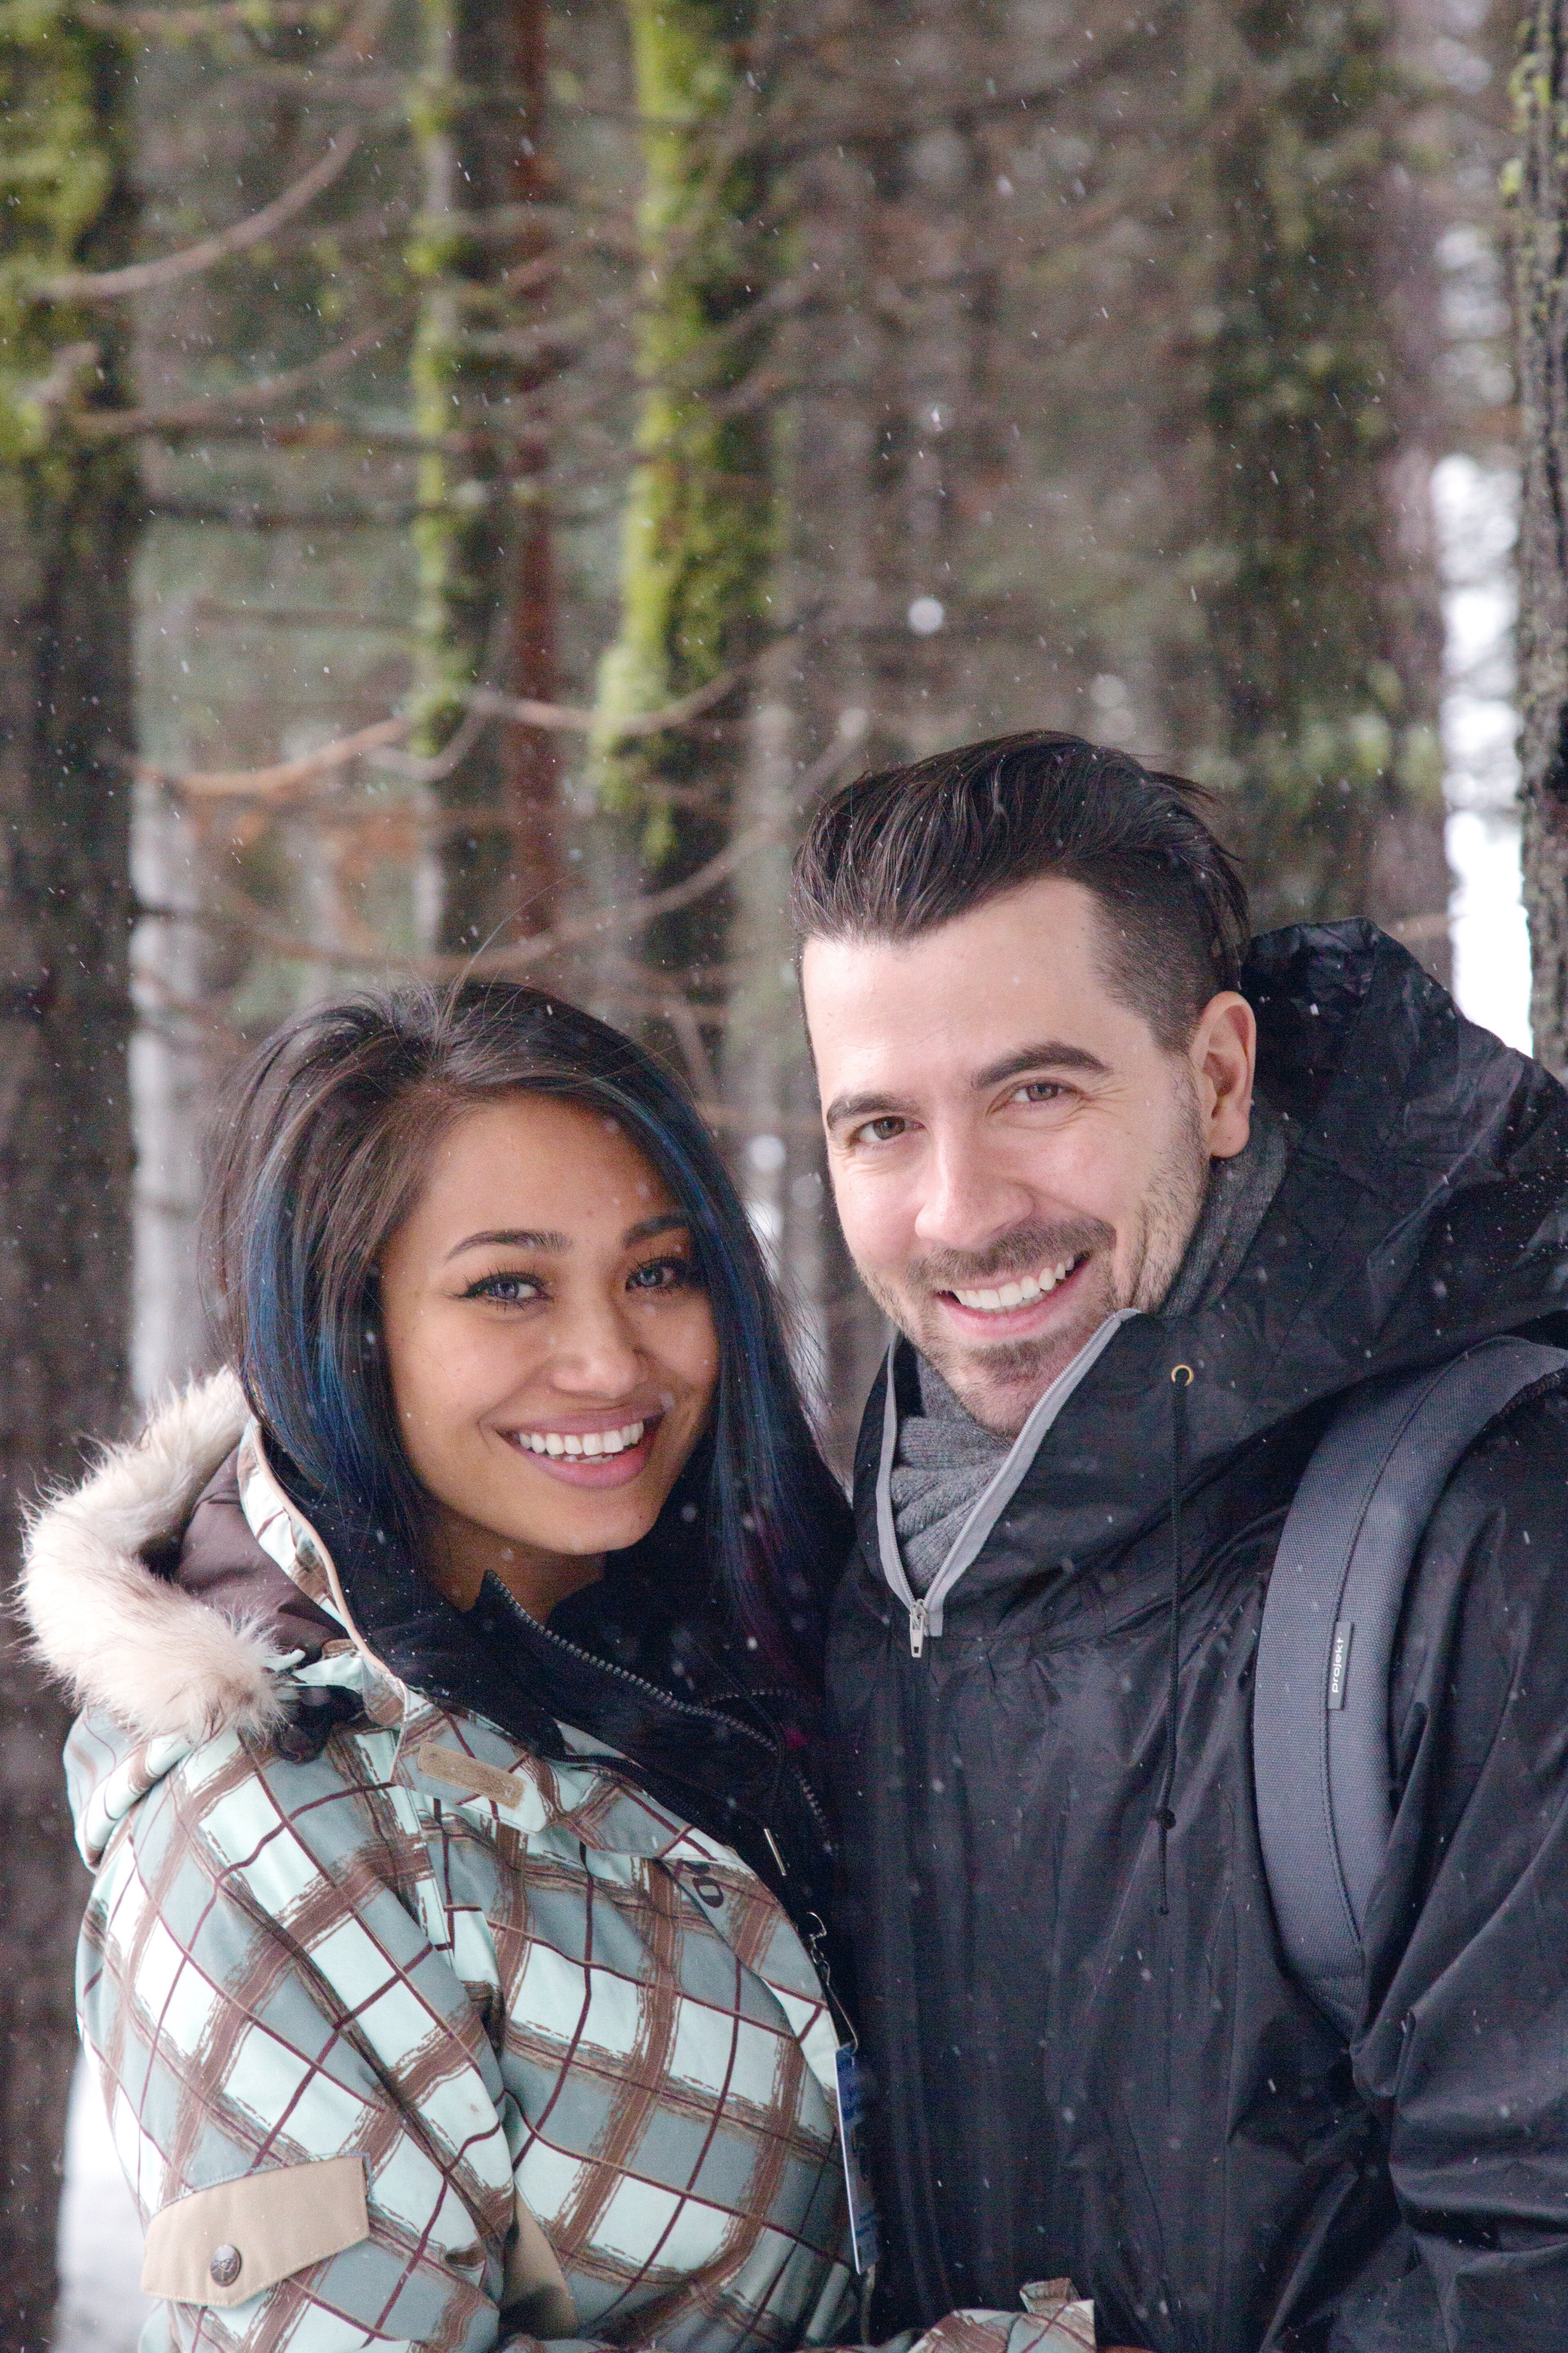
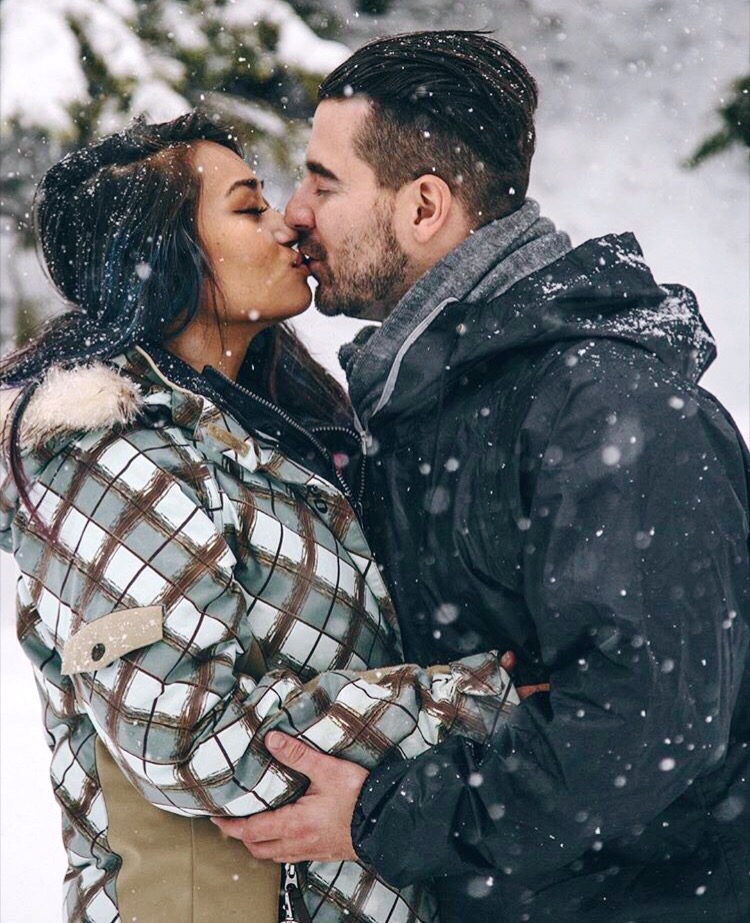
We’ll be answering questions on my YouTube channel about our wedding plans soon! I’ll also be creating posts for you here along the way in reference to my DIY happenings, or mishaps you be the judge, and posting my tips on how to stay sane because planning a wedding can be a BIT overwhelming! So until then, here are some photos we had taken while we were in Yosemite last weekend. Pre-engagement photos if you will, that we did spontaneously with our new friend Karl who just so happens to be an uber talented photographer! Thank you Karl for hiking up hills with us during the blizzard! Ha! You guys can check out his work here and give him a follow on Instagram!

Just before the moment pictured above, I fell into a 3 foot pile of snow and then jumped out of it to have that photo taken <3

Awww, just a couple of love birds in a snow storm. That is the metaphor for our life!

I hope you’ve enjoyed this rant of mine about love and my thoughts on marriage and unity. My heart is full and I feel content in my life for the first time in my life, and I’ve been here before, in this marriage place. So if you’re going through hell, keep on moving. *thank you dear country song for that one*

Boy oh boy is writing therapeutic!

SO, is marriage something you’re for or against? If you’re currently married, what’s one secret you can share with other couples? If you’re neutral on the subject, what do you think the hubbub is all about, this whole woohoo we’re getting marries stuff! I got all deep about the pressure of it all, so lets hear it!

I’ll see you later this week with my first wedding “Pinterest DIY-not” post! Oh Lordy, here we go! Wheeeee!!! PS if you’re a bird I’m a bird. Whew that was a wordy one.


THE BEST AND FASTEST FOUNDATION ROUTINE!

For those times that we’re in a rush to get out the door, or when we’re forced to be in a mega-rush *ahem, shout out to my fiancé*, this foundation routine will meet those deadlines! Do you like how I’m referring to one of our morning rituals like it’s an employee of ours? Ha, well it is because it’s work!

Every few weeks I switch up my foundation routine, varying slightly depending on the weather, my mood, and how much time I’m given! Today’s post is all about my most recent “stay all day, look fab all night” routine. It’s quick, it’s simple, and it requires just a few minutes in the morning – but those few minutes will have you feeling and looking like a goddess! Pssst, no one will ever know that you didn’t spend forever getting ready <3 This is our super power.

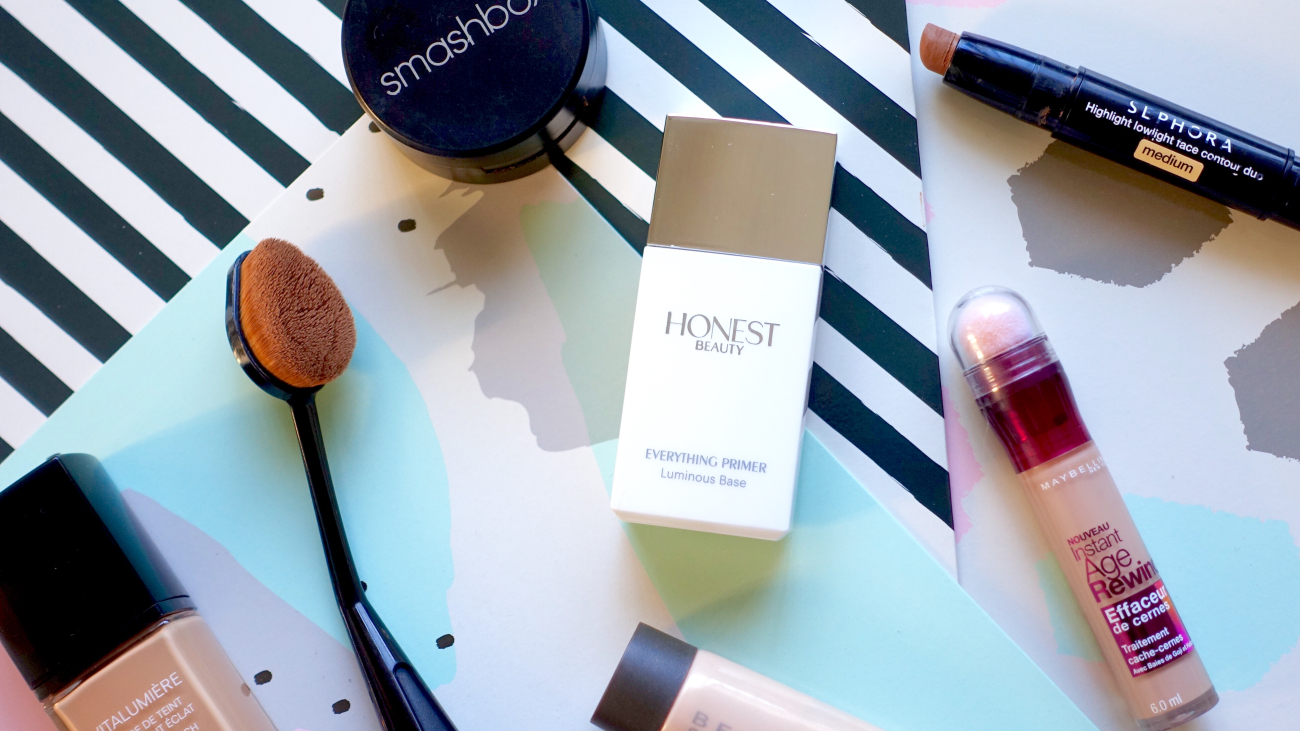
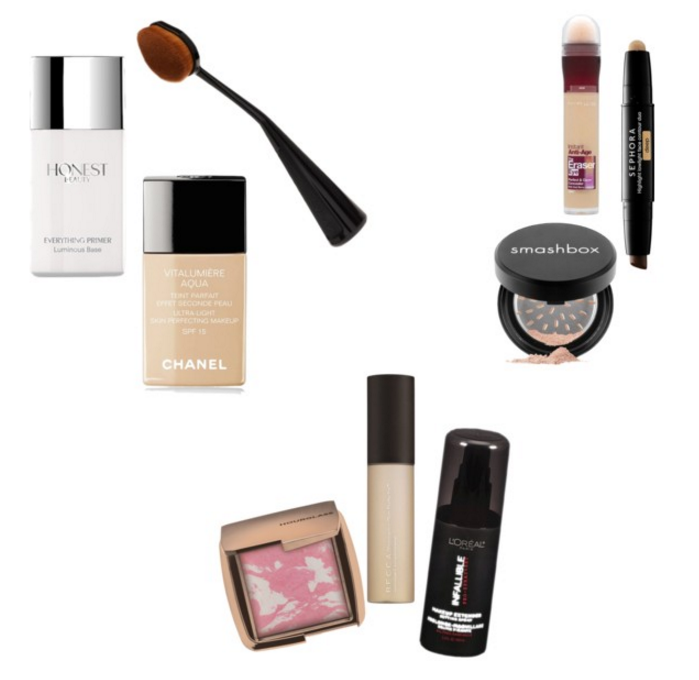
1. Prime and prep– you need a good base for your foundation so that it glides on smoothly and evenly. This primer is one of my favorites, it’s hyaluronic acid based, illuminating, and light as a feather!
2. Foundation is the foundation– I’m funny I know. So everyone has their favorite whether it’s a cream, powder, or liquid. This happens to be in my top 3. It’s buildable, offers up great coverage, and still manages to look ultra natural
3. Brush it or leave it – the most convenient way for me to apply foundation to my skin is with my fingertips, but I’ve read so many reviews on this brush that I decided to give it try! I have to say, it’s hands down one of the best brushes ever; it has dense bristles, feels like cashmere against your skin, and gives you an airbrushed finished look
4. Conceal how much sleep we don’t get– my friend Ashlee introduced me to this little gem; it glides on smoothly, I love the precision of the pen, and it doesn’t crease hallelu
5. Powder up– I have dry skin so I don’t usually powder my entire face. So to make sure the concealer under my eyes doesn’t slide around, I use a fluffy brush to swipe on a setting powder and this one is finely milled enough that it’s not cakey at all
6. Contour– I’ve seen some people really go to town with contour and I’m not a huge fan of it, I think it alters the face a bit too much than what I’m comfortable with. Subtly contouring your face is flattering however, I usually do the hollows of cheeks and my nose. Subtle is sexy in my opinion but hey, opinions are like armpits
7. Set it and forget it– once all of your makeup is on, spray it, set it, and then you’re good for the entire day on through the night! This one is awesome and adjusts to the temperature of you skin. Don’t ask me how, I think it’s Science or something
8. Make ’em think you’ve just ran up a flight of stairs– oh that naturally flushed look. Well I’m not trying to run up any flights of stairs any time soon so I’ll stick to my rouge. This one is light enough as to not make you feel like Raggedy Ann, but bright enough to give you that healthy glow
9. Shine bright like a diamond– illuminators have been all the rage lately and I’m all in! I love how natural this cream is; you shine, but not like a fairy dumped her bag of sparkles onto your face, more like you’re an angel who’s descended just to run errands and make it to Trader Joe’s before the rest of the world

See! You can do all of that in just FIVE minutes! Maybe even less if you move fast! I mean, we’re magical, I believe in you!

I’ll link you here so you can see all of these steps in action over on my YouTube channel, subscribe to me if you haven’t already so that I’m not just making videos for my mom please and thank you. I love you mom.

What’s your go-to foundation routine? Is it a mineral powder, liquid, or a cream kind of regimen? 

See you soon for some Pinterest DIY happenings … or mishaps if you know me <3


YOSEMITE SNOW DAY AND HOW TO GEAR UP!

If you’ve been following my adventure series than you know I’ve been on some pretty awesome excursions these past few months!

Our latest explorations brought us to Yosemite, CA with our good friends Esther and Jacob of Local Adventurer, who invited us to join them on a snow-shoeing snow-day extravaganza! Before hopping into the car and excitedly making our way from the sun to the snow though, I of course, had a meltdown … WHAT WAS I GOING TO WEAR?!?!?!

We live in L.A. so we’ve become a little lot accustomed to our ‘clear skies, perfect 75 degree, surf and swim’ conditions. So to prepare for what was predicted to be a winter storm with 10+ inches of snow and icy roads, I told myself, “meh, five layers will be fine!”

I searched high and low for good deals on the internet for a few reasons, 1) I had t-minus 4 days to get my butt in gear, literally 2) if you haven’t been in the market for snow gear lately, insider-tip: they’re expensive! 3) I’m not an insider so I have zero clue what I need, where to get it, or what I will actually use verses what I will buy just because it’s CUTE, hashtag Wanderlust.


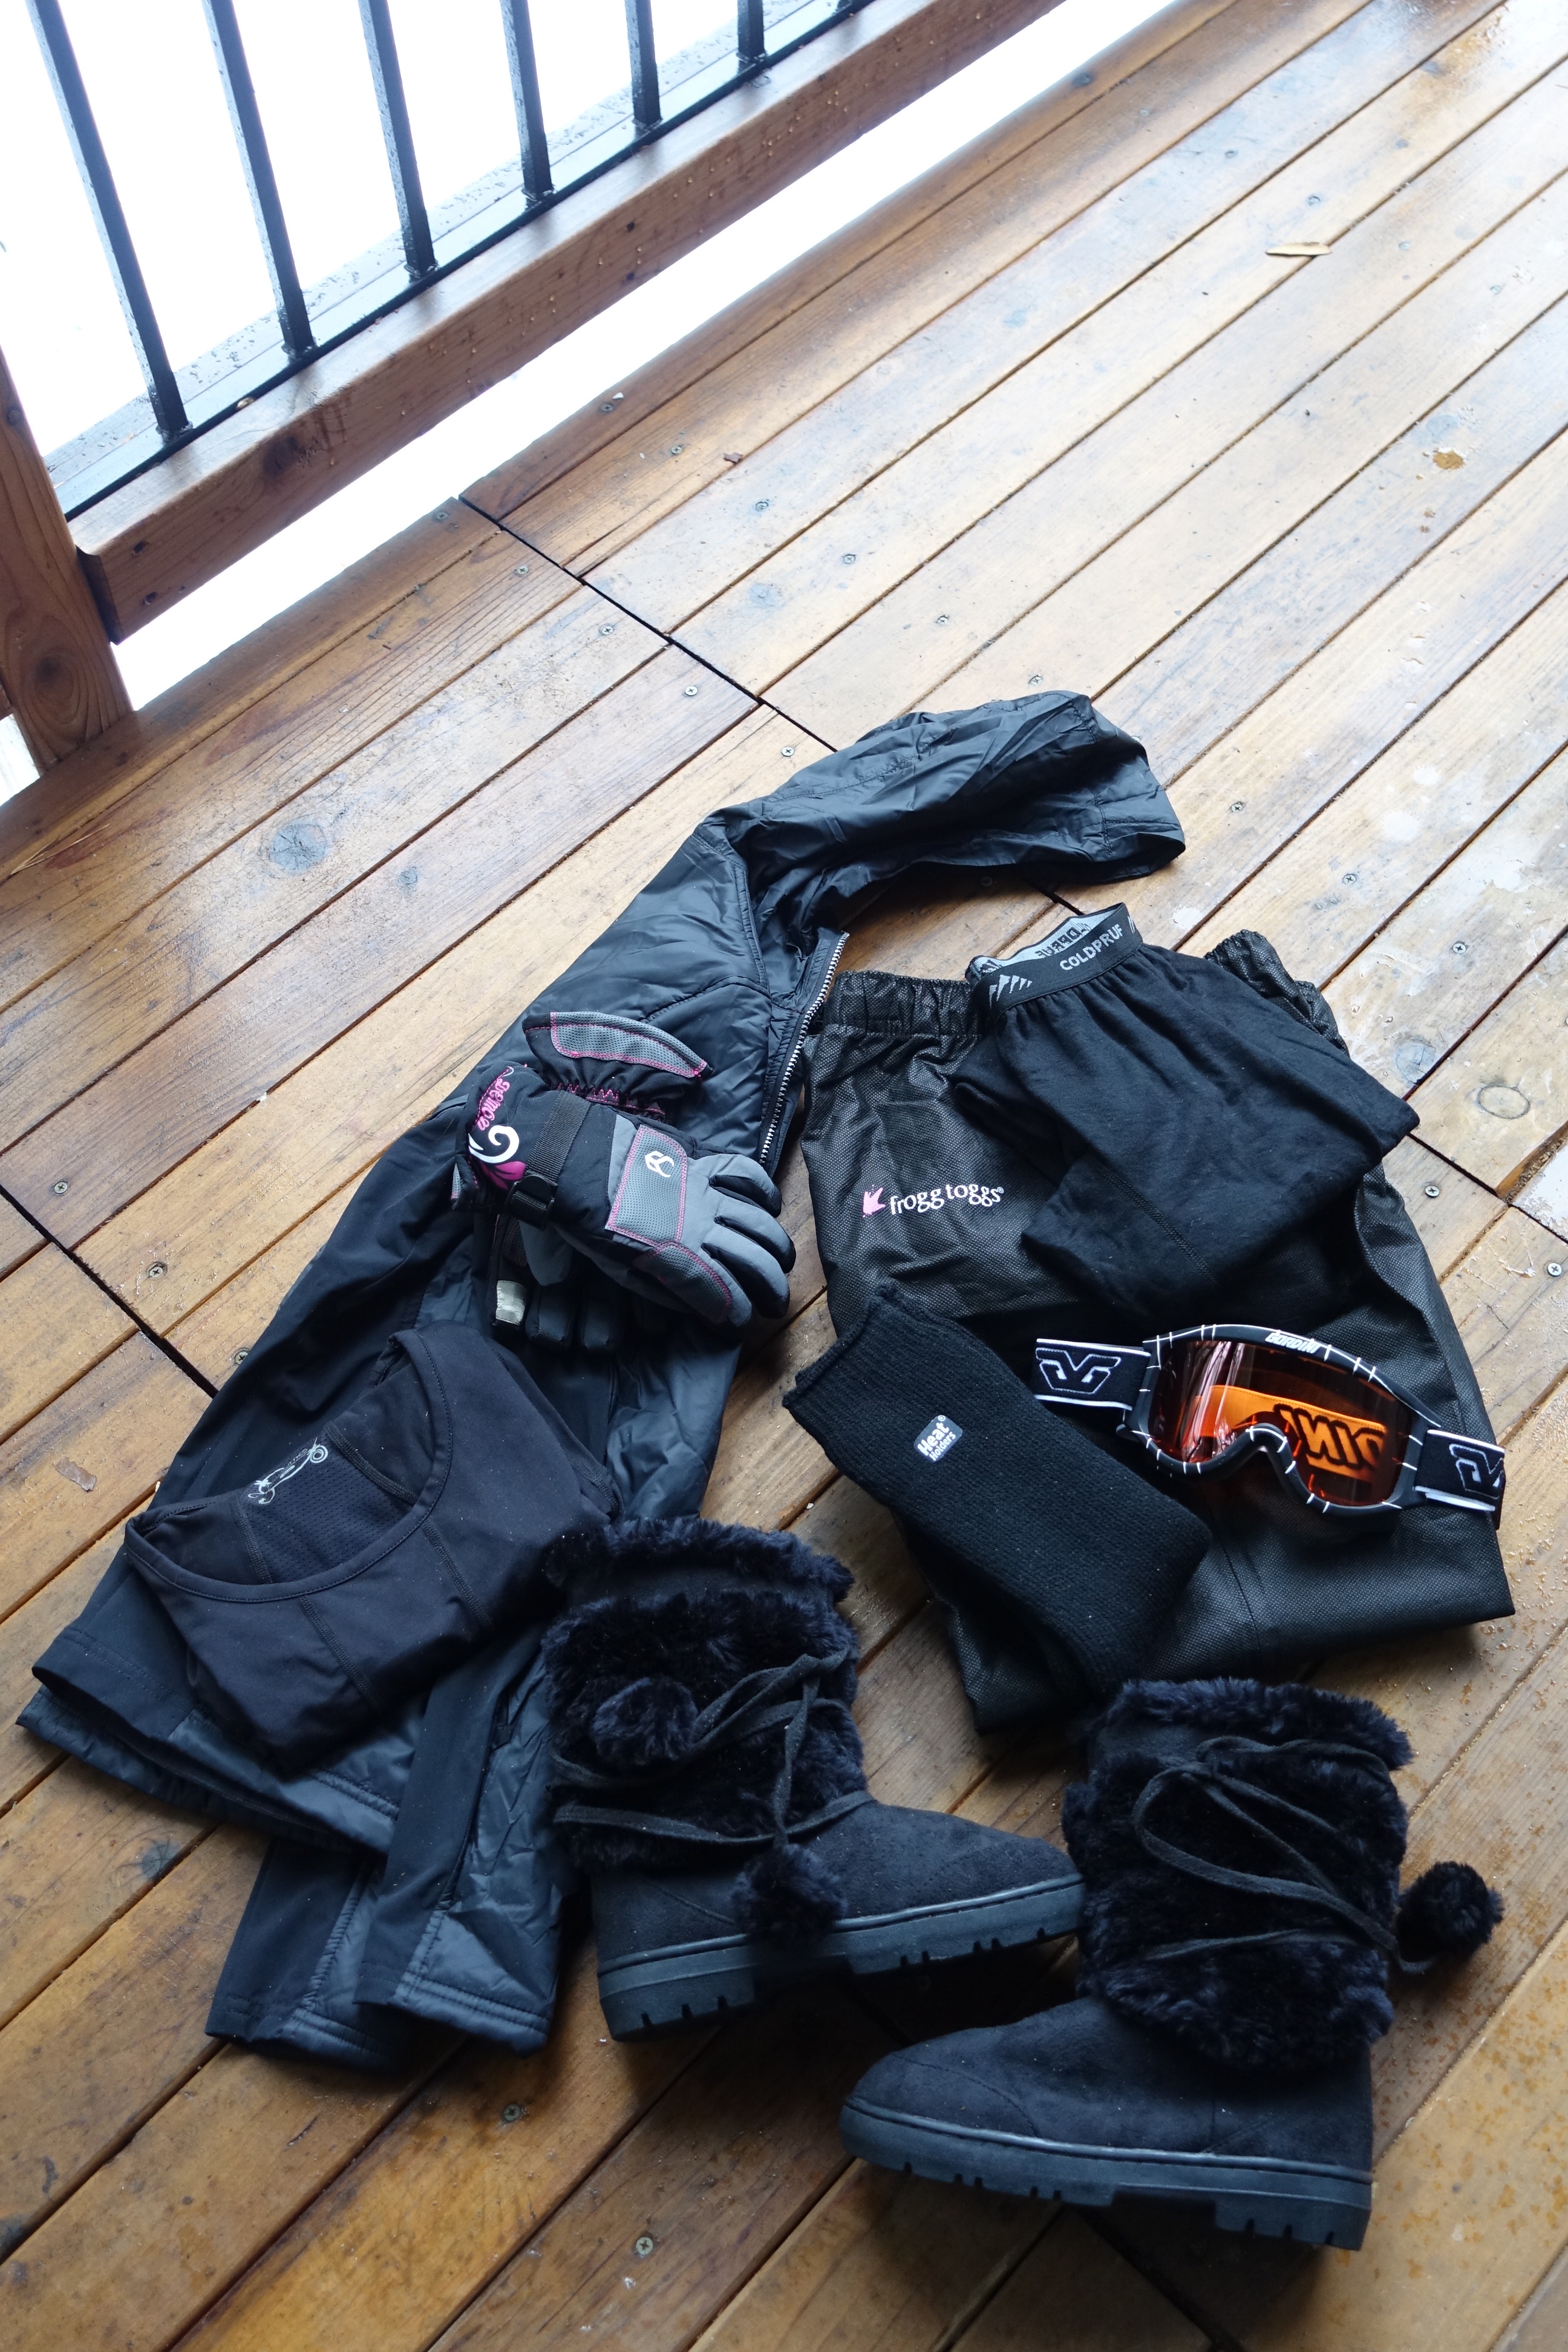
So this is what I ended up purchasing, and I have to say, I did pretty good! *high fives self* I got most things on sale and on time (hallelu Amazon Prime)! I also got a few things in child sizes because, cheaper. I’m a size 5 1/2 in women’s shoes so that makes me a child size 4! Pro tip: you can apply this kind of calculation for purchasing Uggs and other expensive shoes that you’d like to pay 30-50% less for.

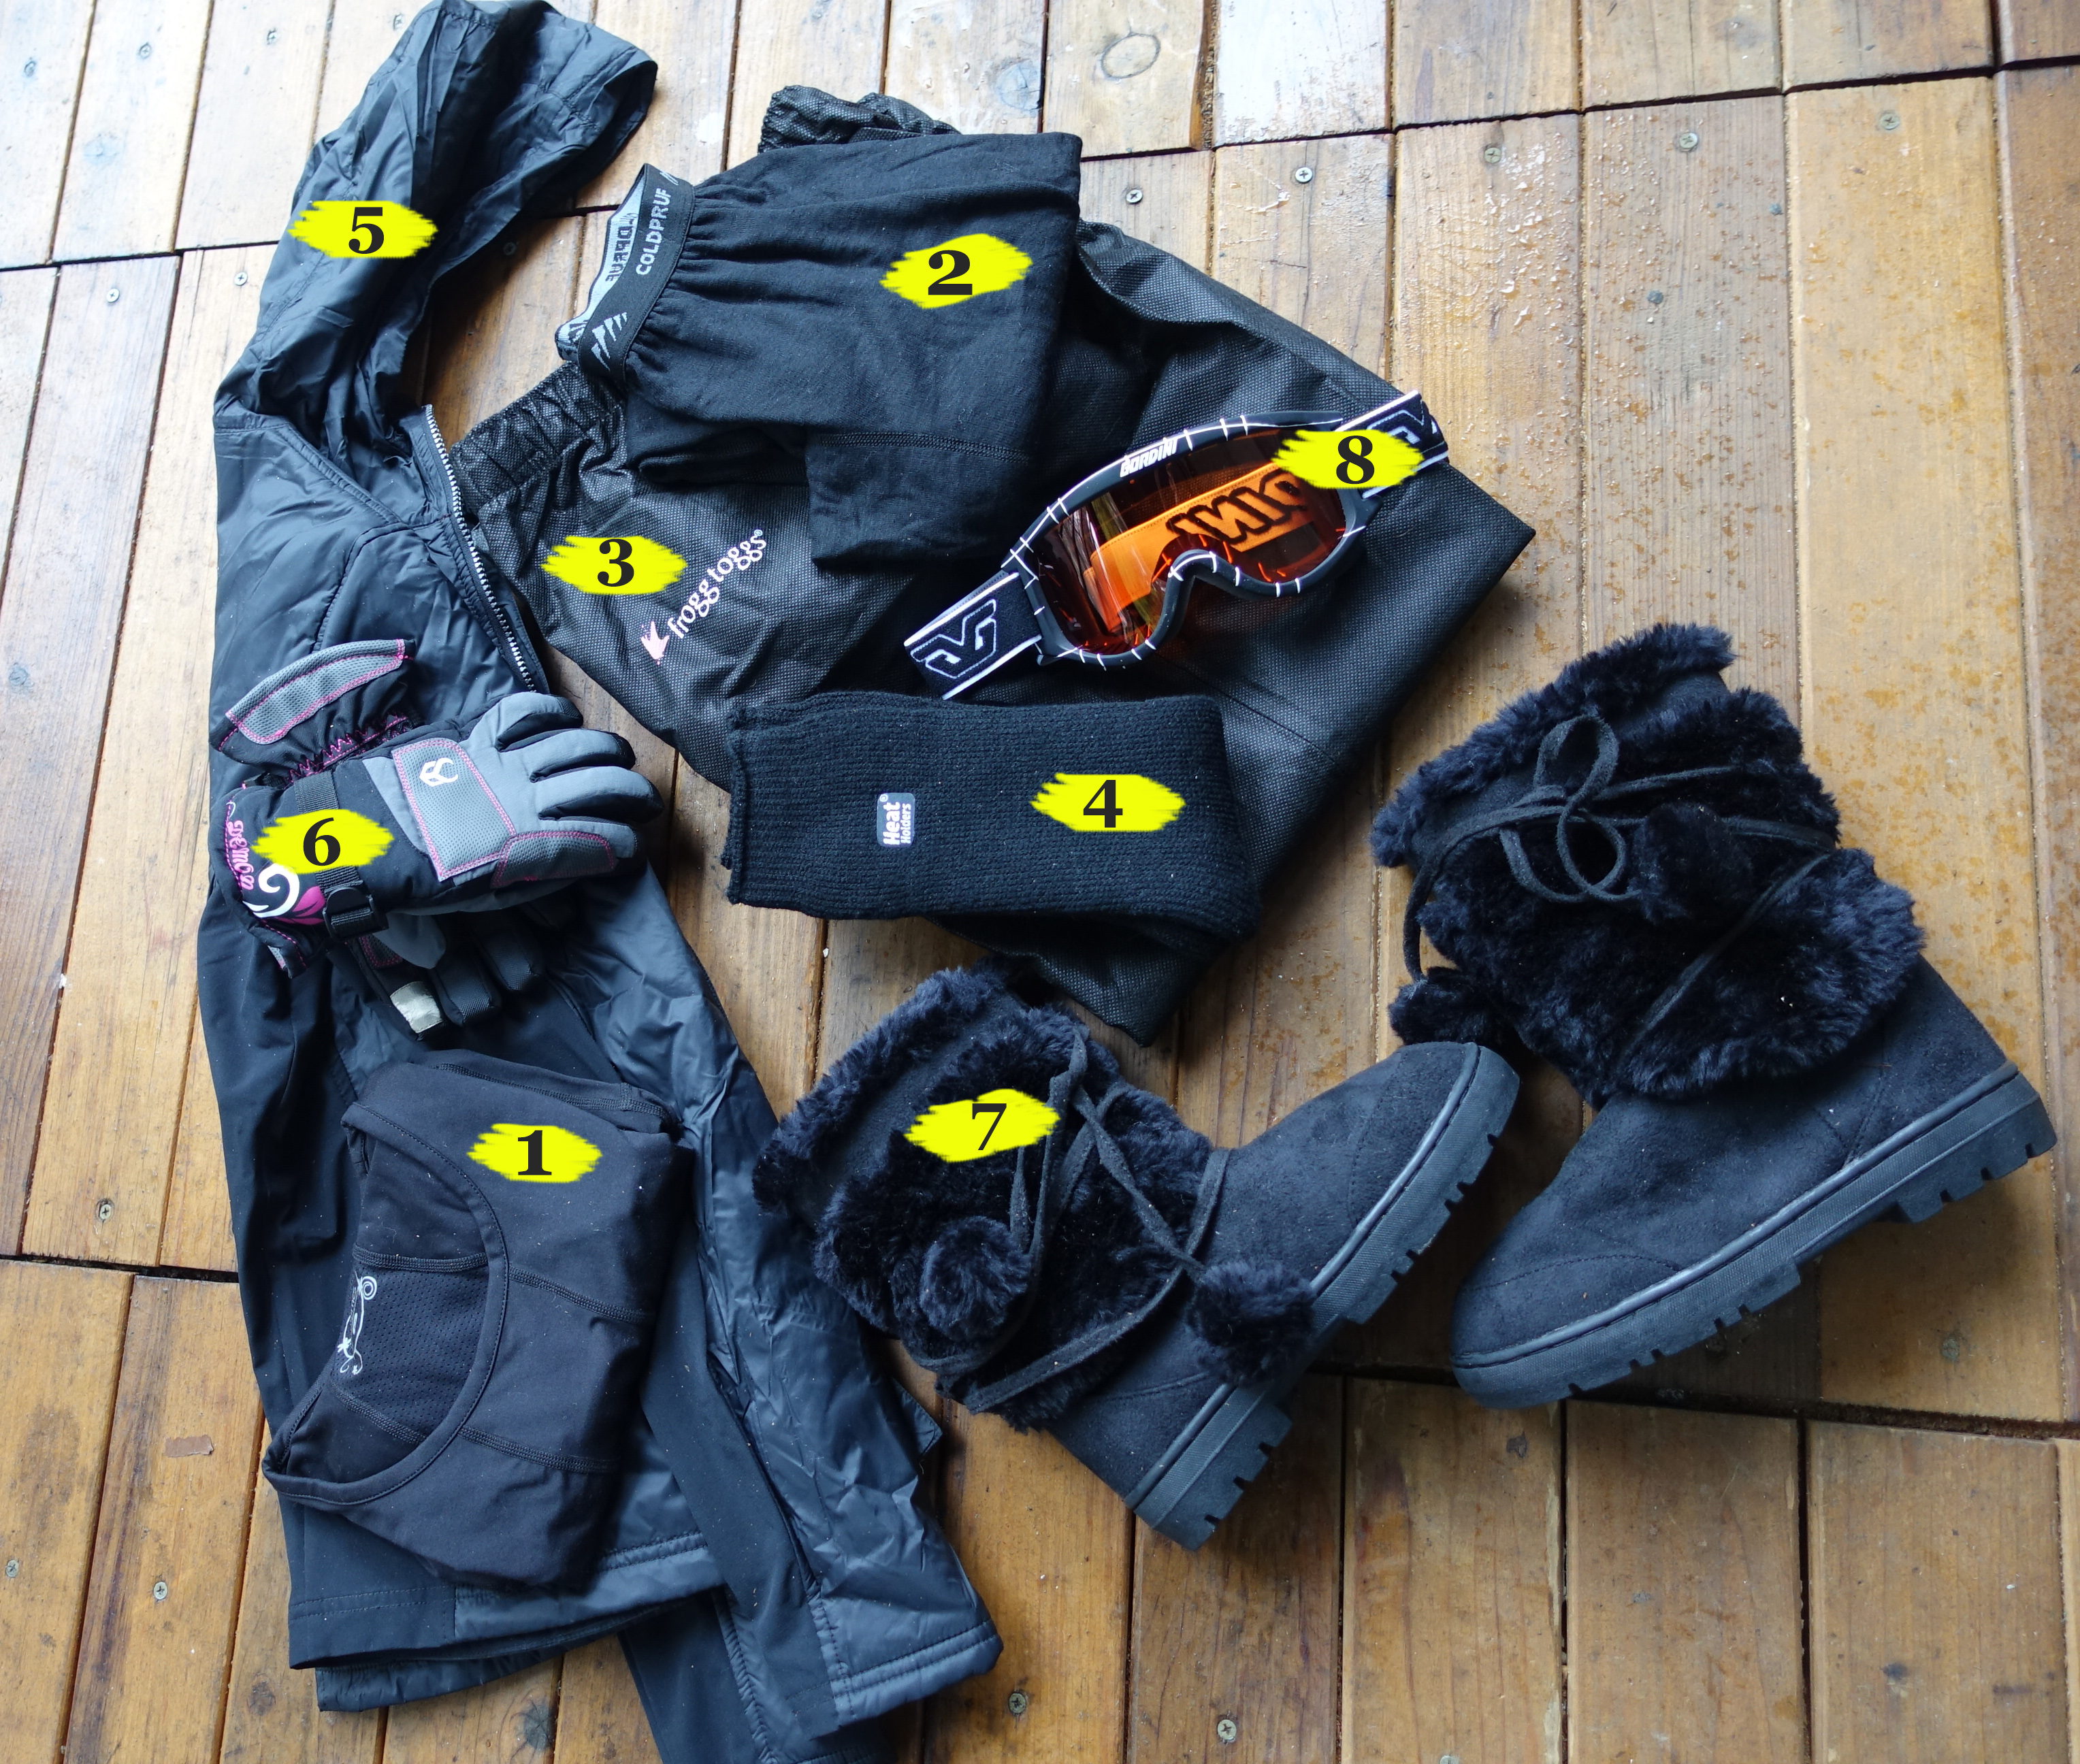
I didn’t know how ‘active’ we’d be on this trip and a lot of the gear was labeled ‘low to moderate’ activity. How does one quantify the level of activity snowshoeing will bring? So I assumed it wouldn’t be THAT strenuous (1st lie I told myself). So I layered up (pictured below), featuring the bottom layer, and I also wore some tights underneath and a huge winter coat over top.

1. weatherproof thermal shirt 2. thermal bottom layer 3. waterproof pants 4. thermal socks 5. lightweight waterproof jacket 6. waterproof gloves 7. winter snow boots 8. snow googles

Emphasis on waterproof for as much of the apparel as possible because when snow melts it becomes cold ice-water. You don’t want that pressed up against your skin when changing isn’t an option (oh you’ll be cute with less layers they said, it’s not that cold they said. Hashtag Wanderlust).


Well here I am, all geared up, layered up, and ready to go! How cute are Esther and I?! This is us attempting to throw a snow ball. Jacob snapped a few photos of us and then we all frolicked in the snow until we were ready to go inside to thaw out.

Snowshoeing with everyone this weekend in this snowy winter wonderland was wonderful! Also, it was a workout! Midway through the hike up a hill (that felt like it was an 80% incline but was probably not steep at all, 2nd lie I told myself!) I removed two of my layers and rolled them up into Joe’s backpack and honestly I was just fine for the rest of the trip. Blame it on sweaty me, huffing and puffing up the hill, but I didn’t need the extra layers at all.

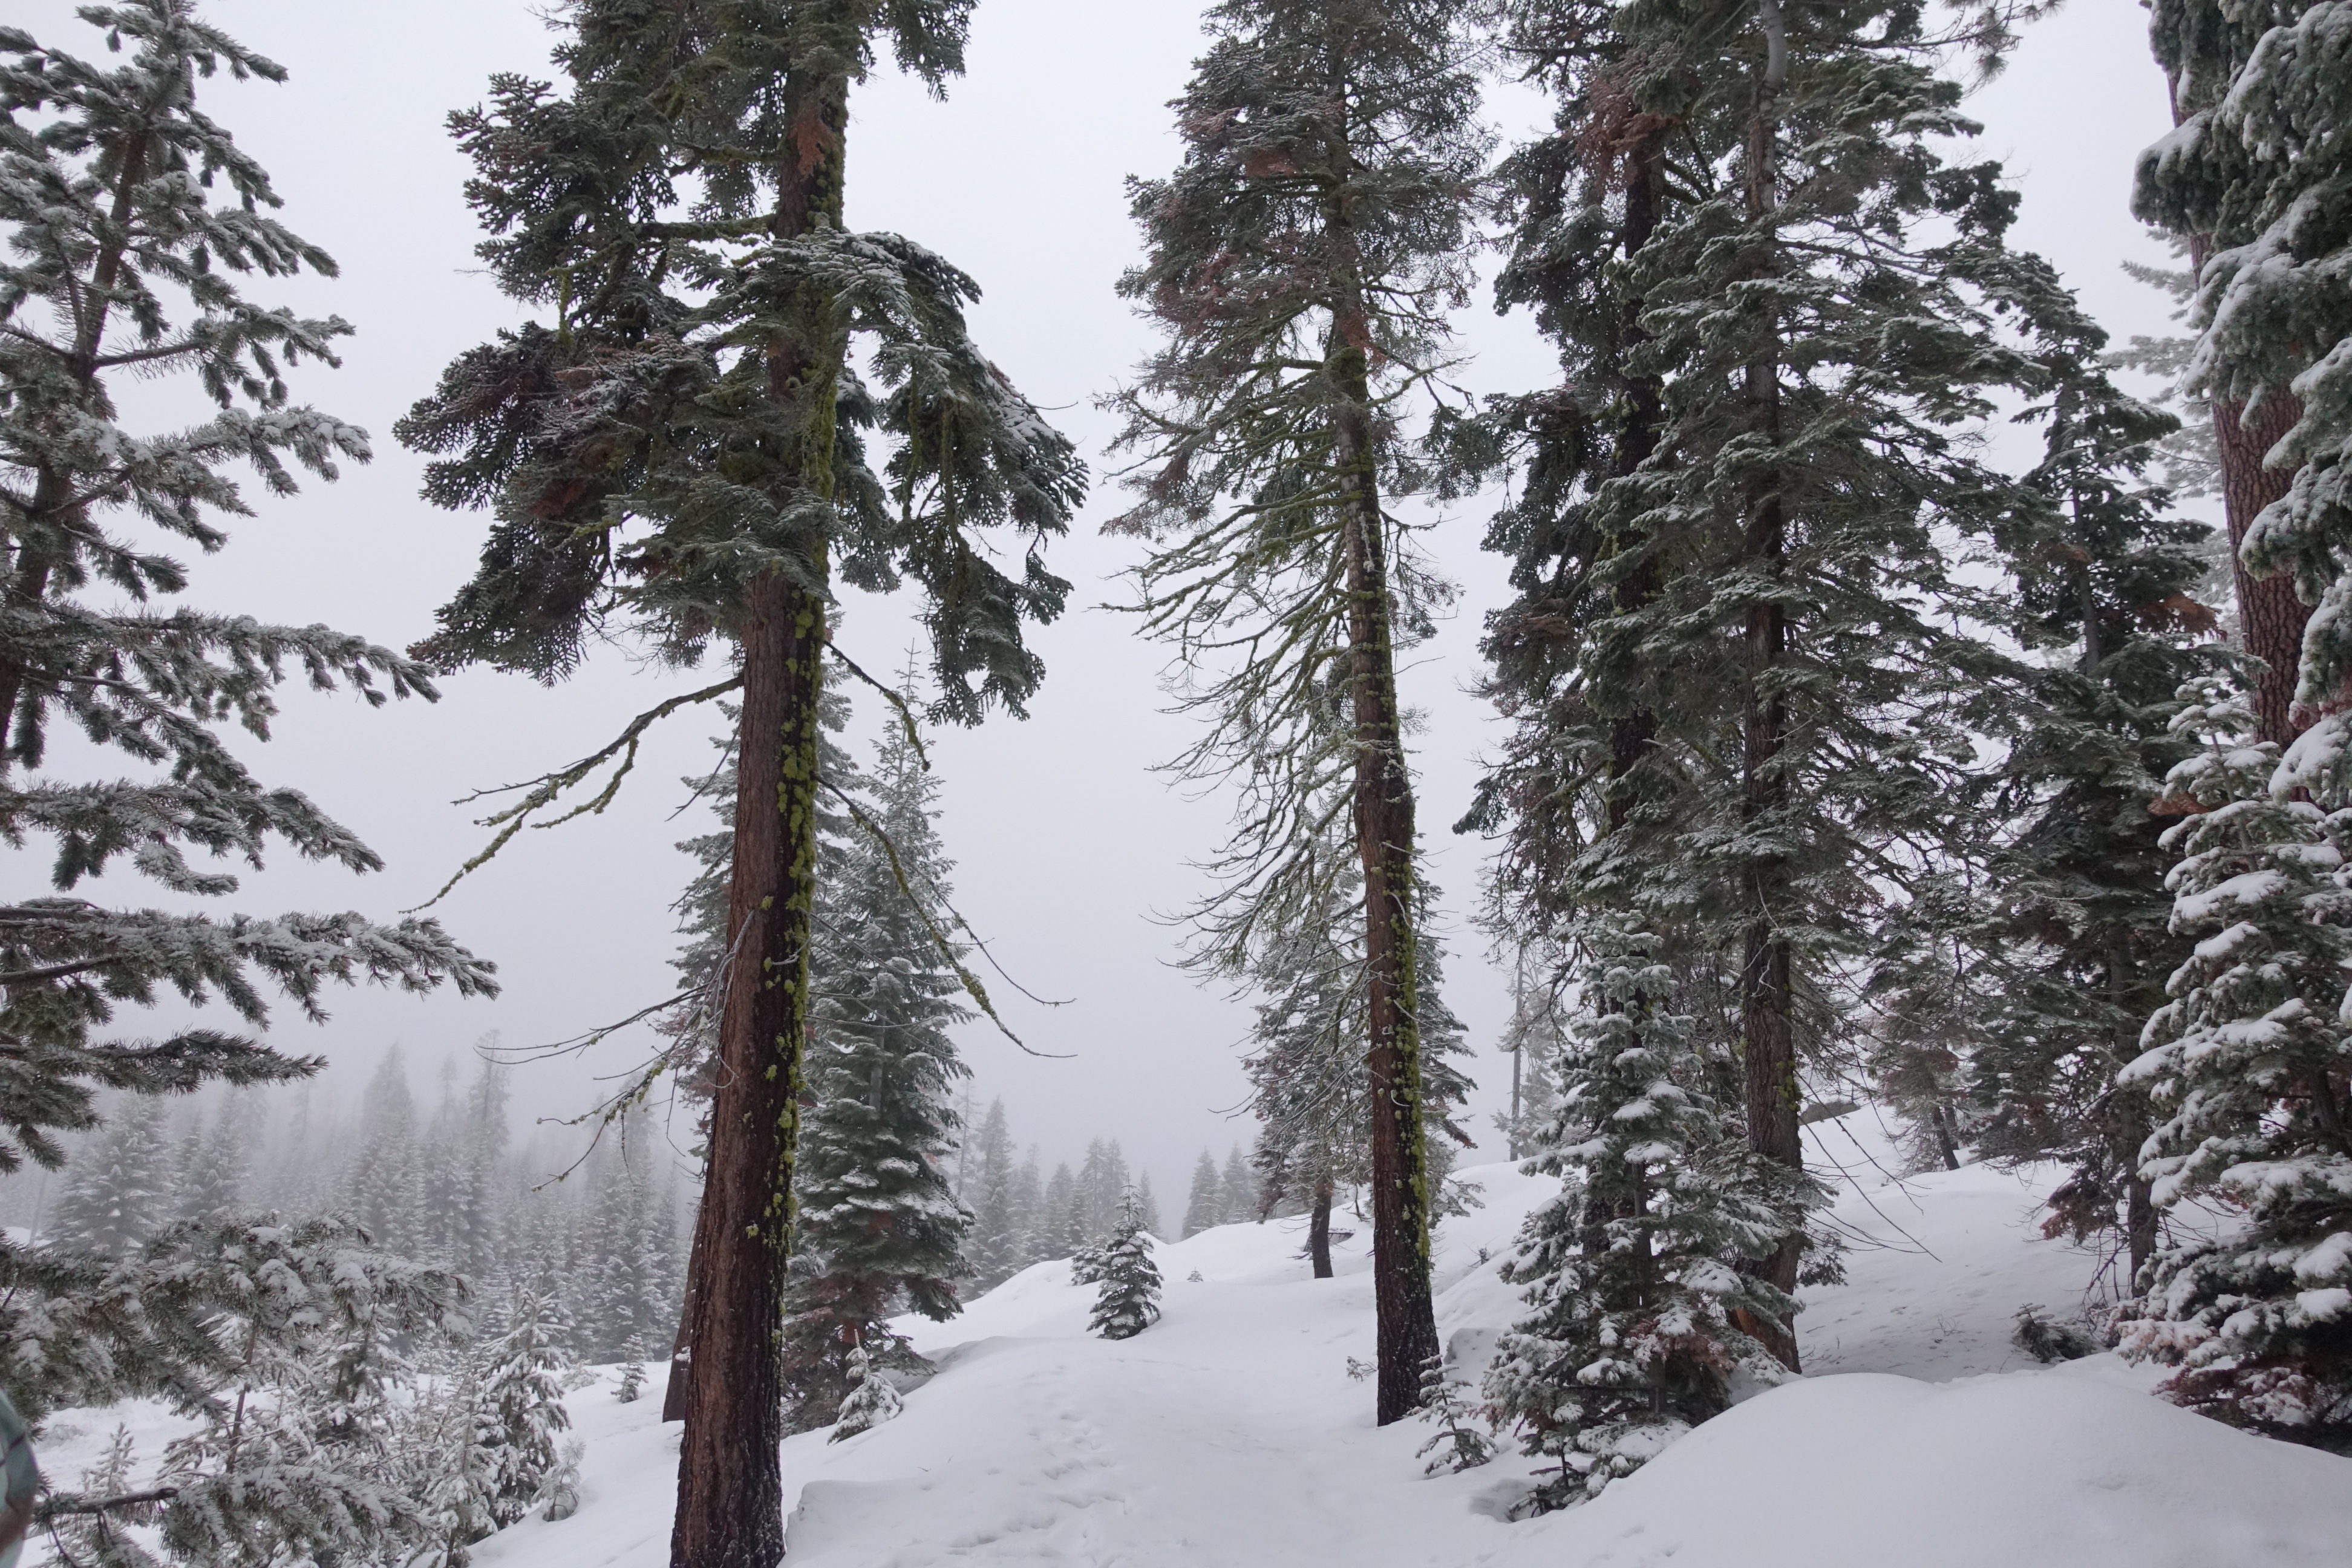
This was the entrance to the short cut that Joe and I took back to the lodge to meet up with the group for lunch. How incredibly beautiful are these trees? Snow makes everything even more magical, but so does Joe’s photography skills.


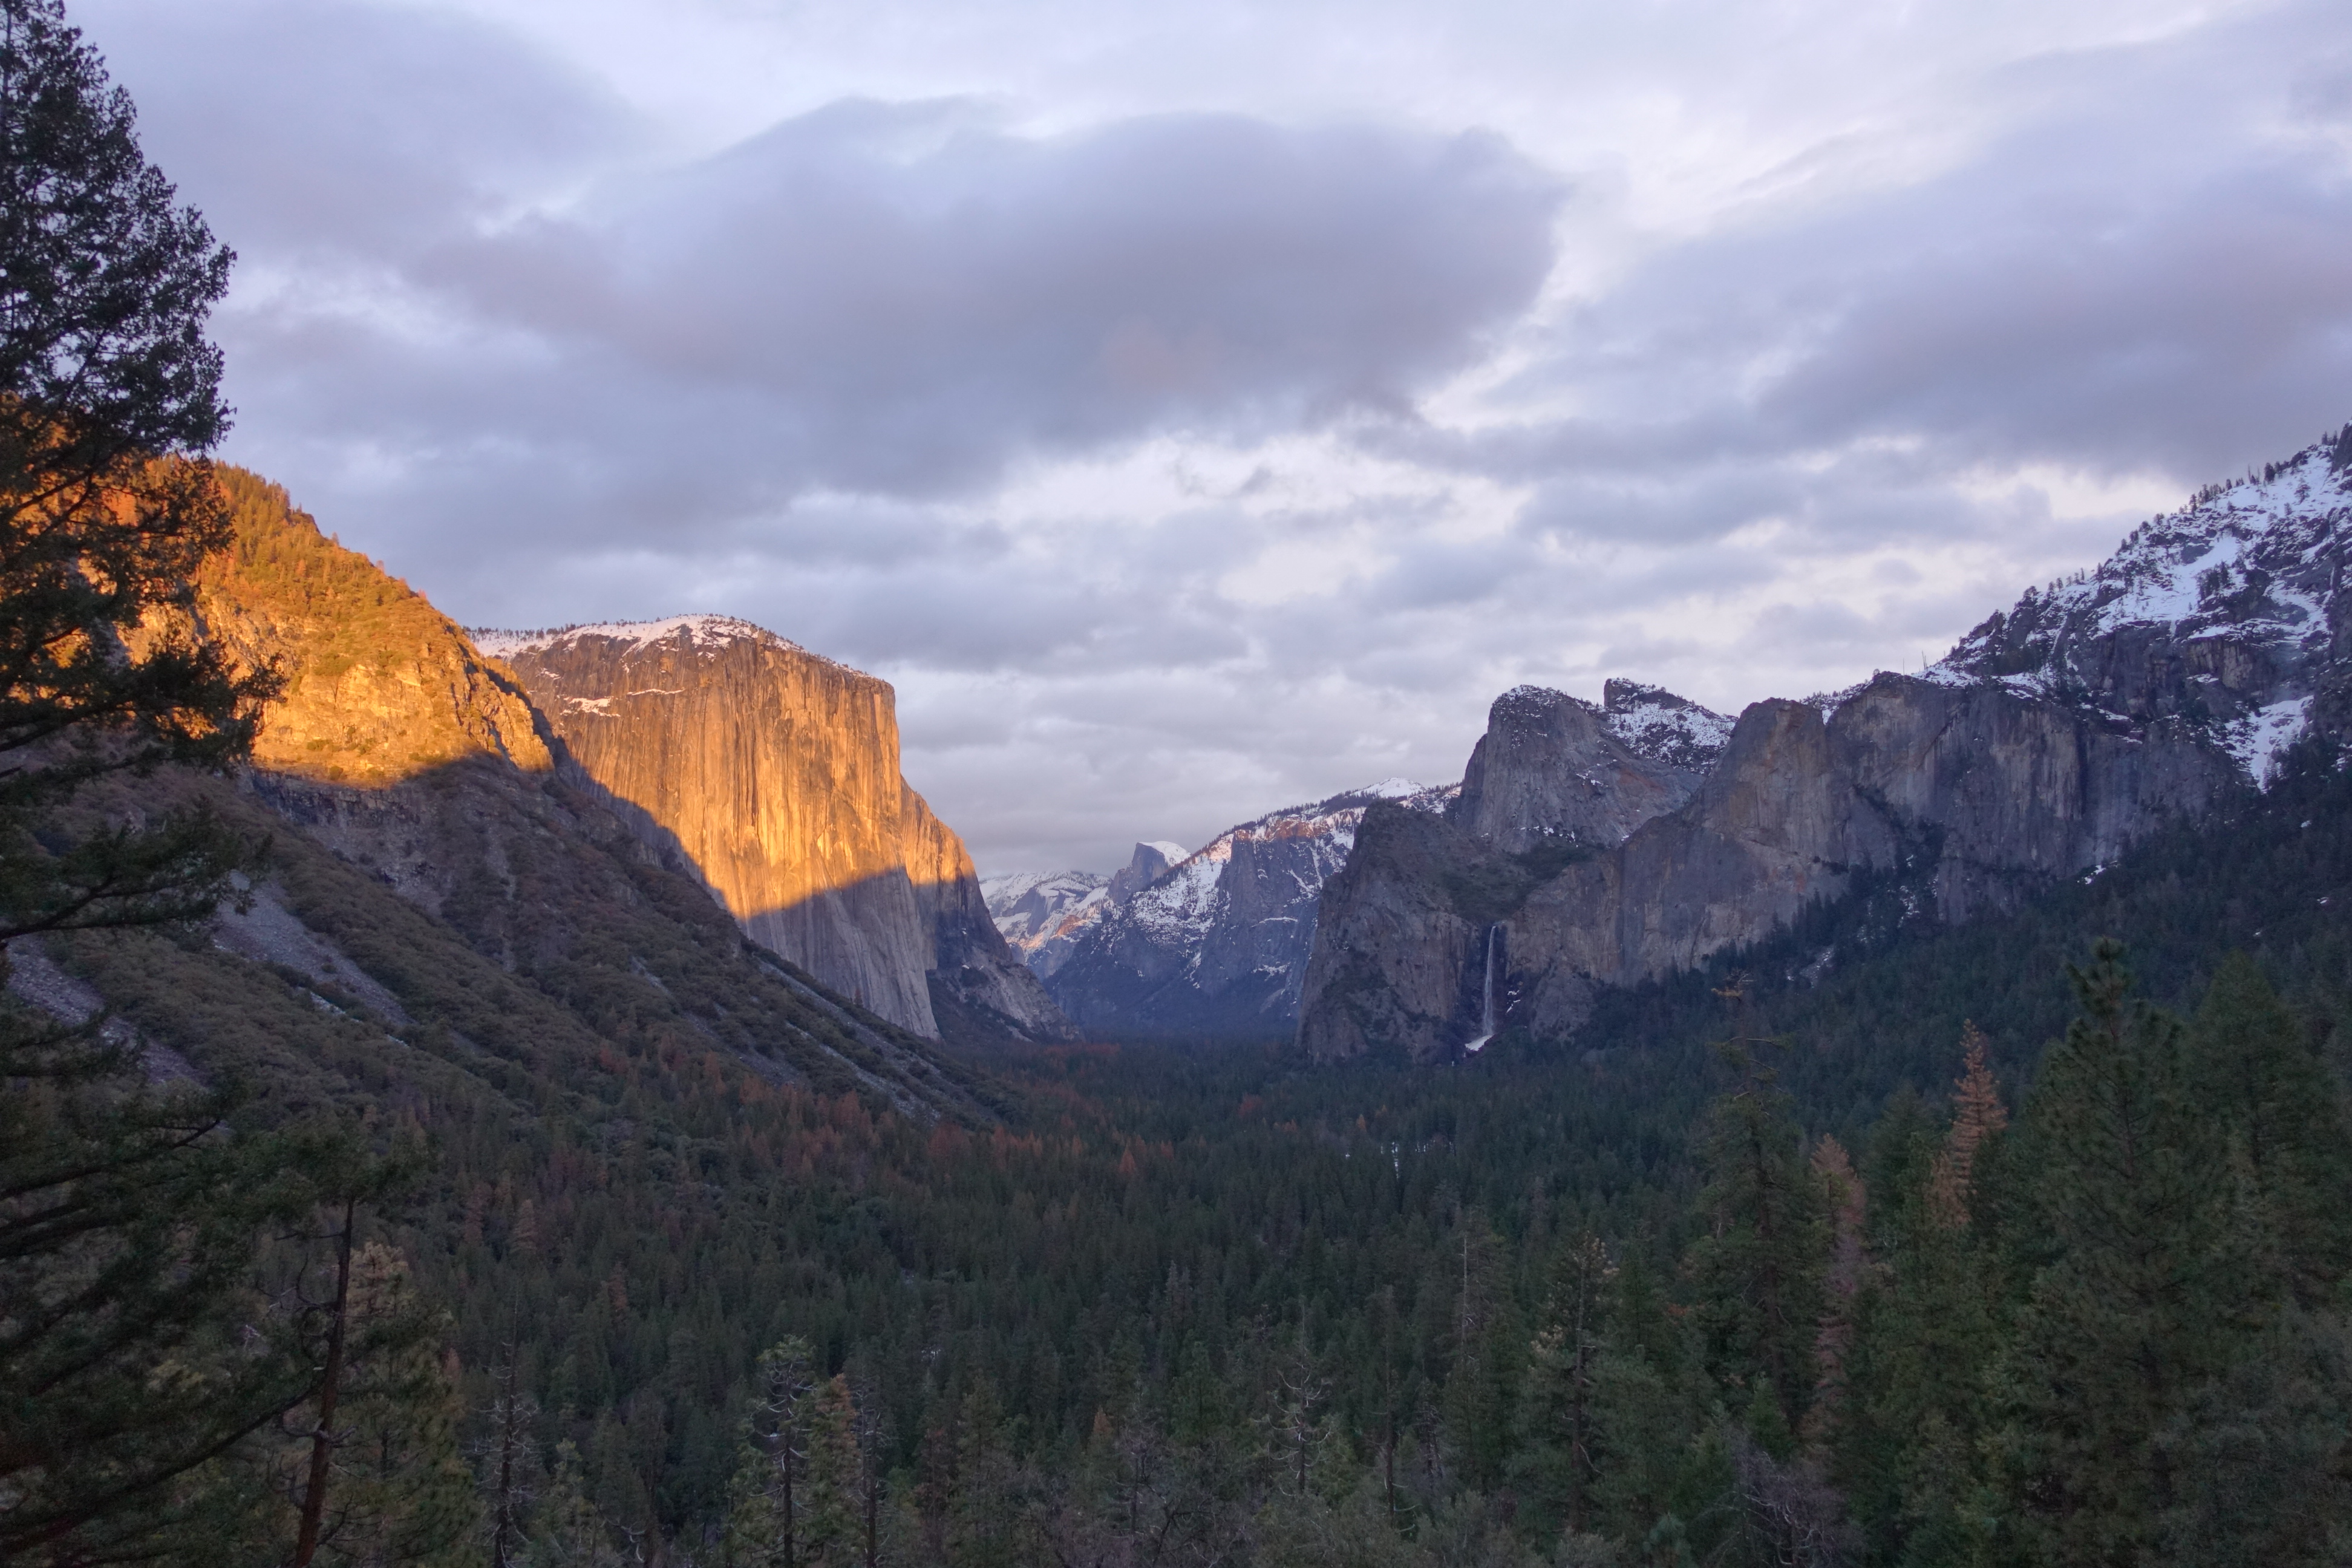
This is tunnel view, looking out onto half dome when we first arrived into the park on Friday. Just moments before this photo was taken the clouds were dark and we thought we’d missed seeing the sun look over the mountains. Then, wouldn’t ya know it, mother nature peered her beautiful face through the clouds and we all went nuts!


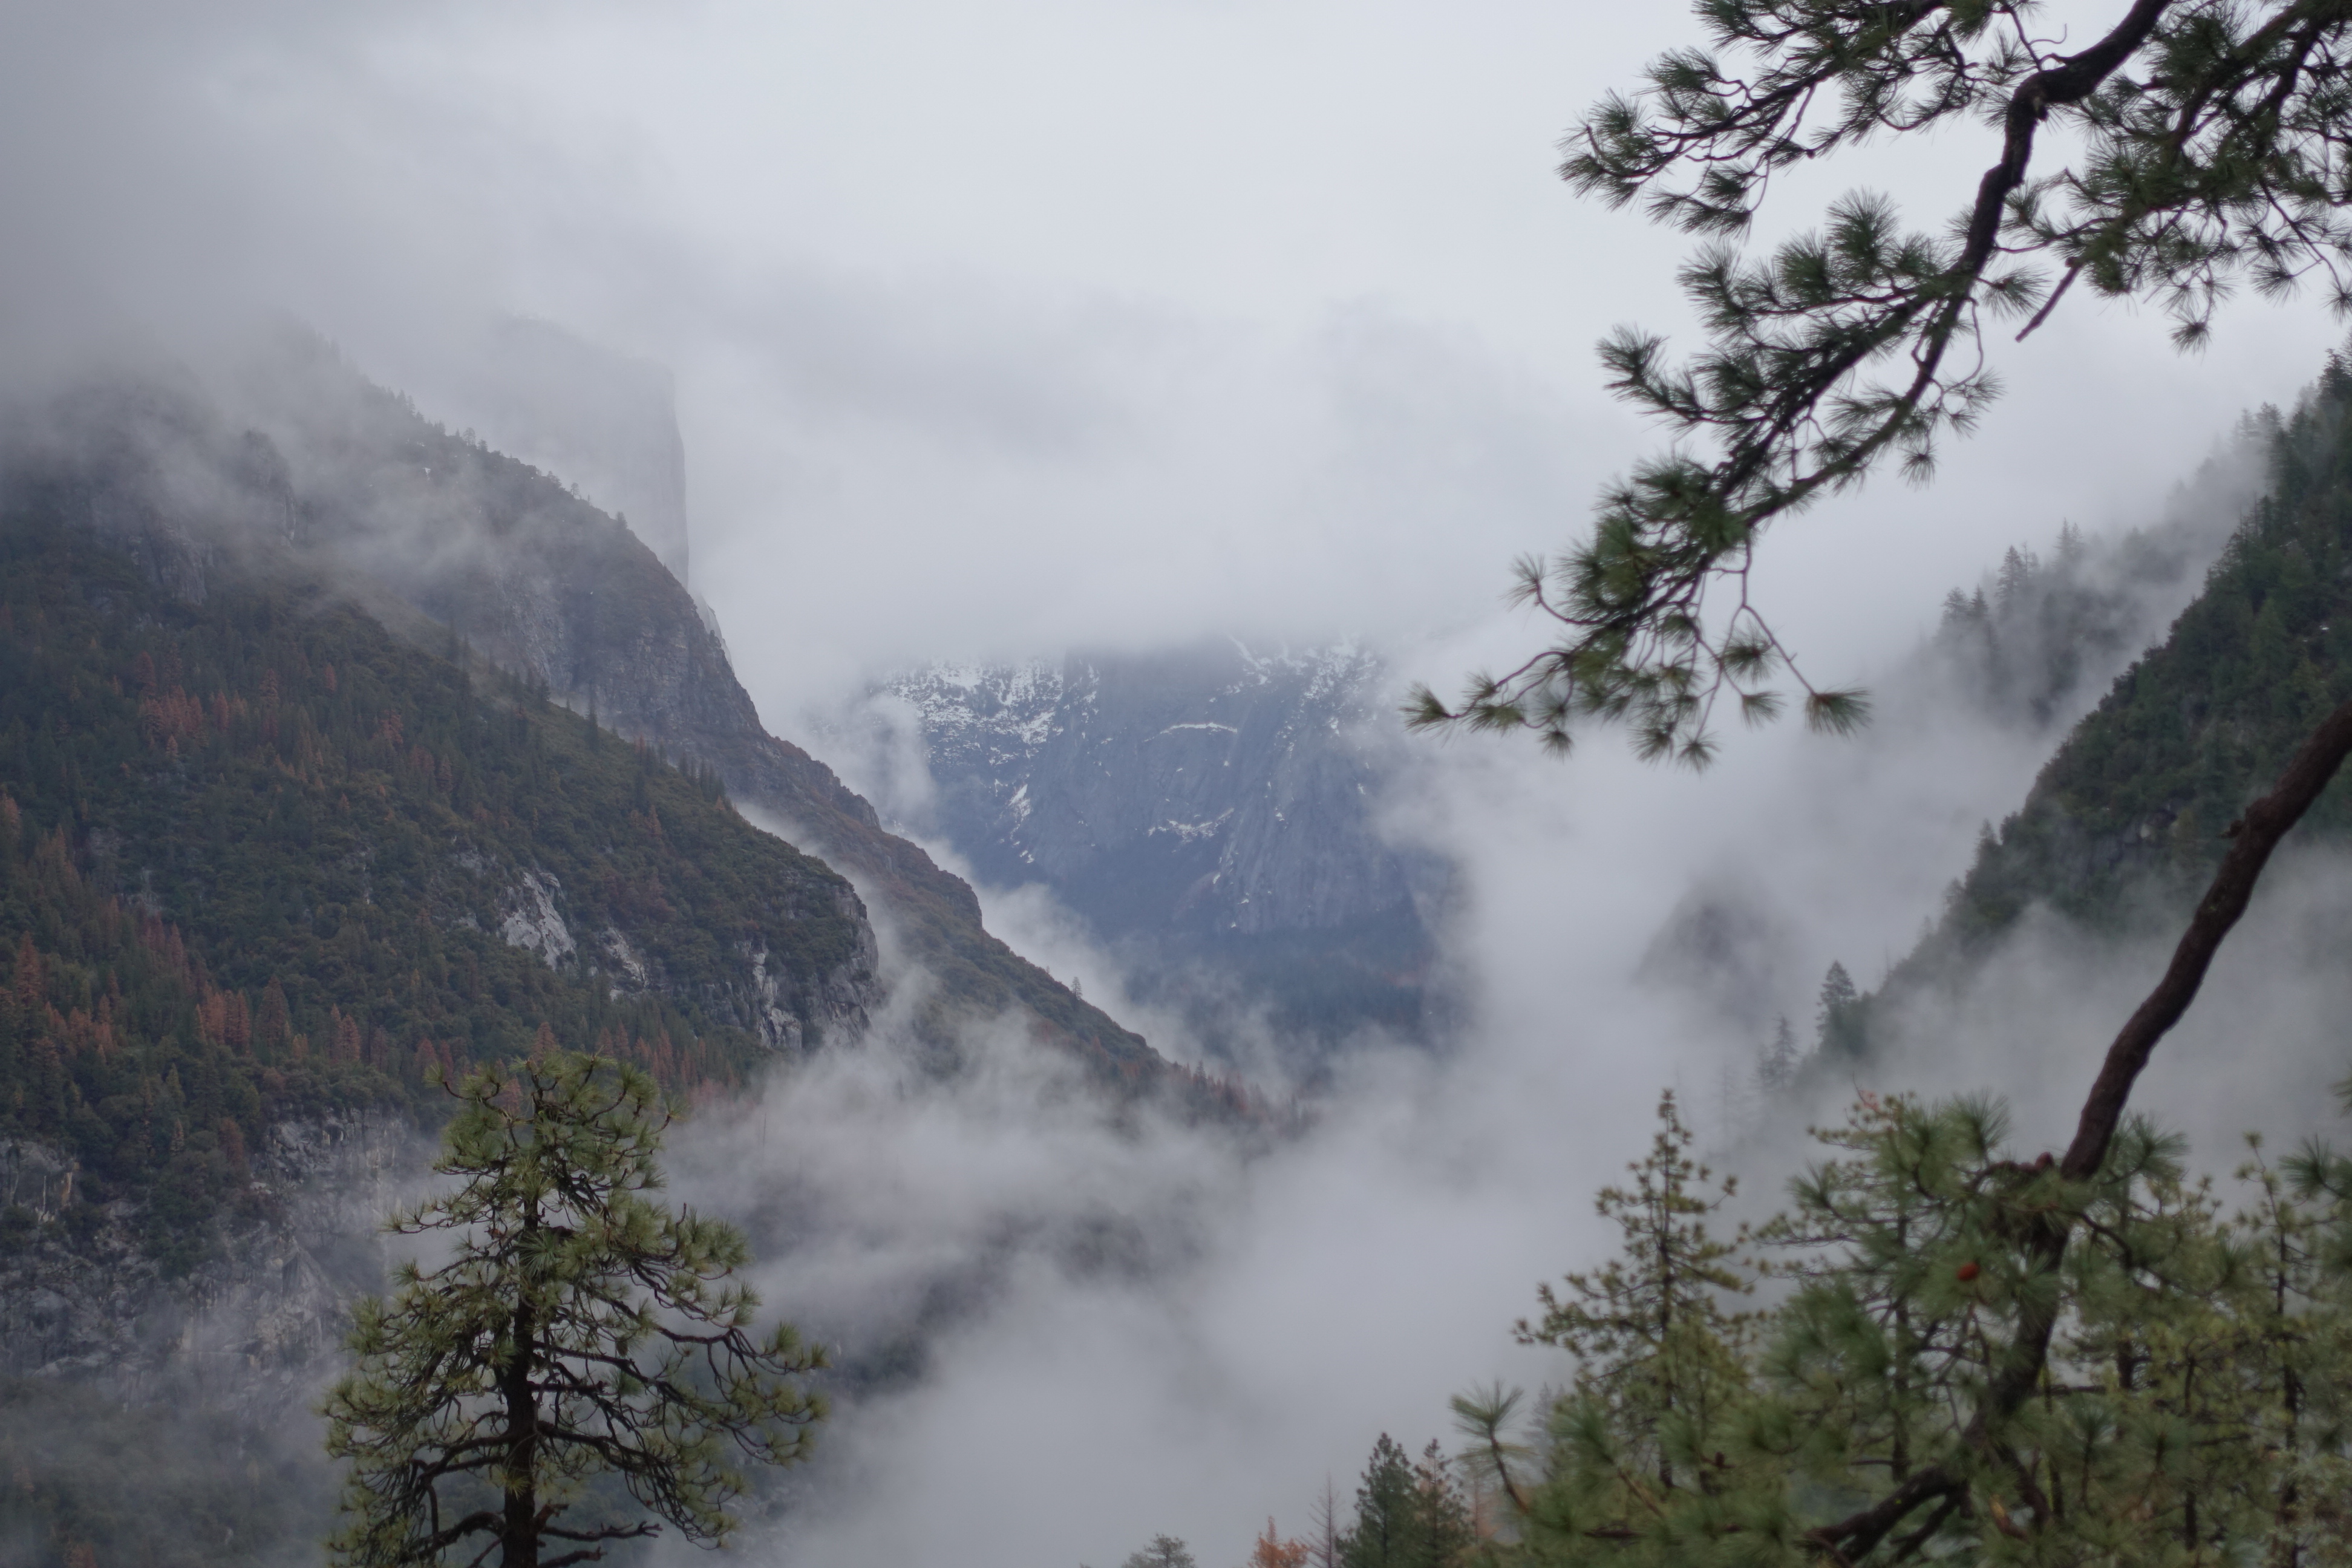
This is from our second trip to tunnel view this weekend and the landscape looked completely different from the 24 hours before. Ominous and moody, I was happy that we could appreciate the contrast in views and see the beauty in both.


I was sad to leave this enchanted forest but I’m excited to come back this summer! It’s pretty remarkable the ways you experience nature just given the change in season.

I hope this post inspired you to visit a snowy scene near you AND informed you of how to properly layer up! To see more photos from this weekend’s trip check out the hashtags #yosemitesnowday #tenayalodge and #yosemite_dn. While you’re at it, catch up on all of my #FindYourPark happenings by typing in the hashtag and scrolling through!

I really had a superb time with all of these marvelous people; I loved meeting new faces and spending quality time with long time friends, so please head over to Esther and Jacob’s blog and check out their adventures! They inspire me so much!

What winter wonderland activity would you most like to do?! P.S. If you haven’t tried snowshoeing than you should because, easier than snow boarding!

MY UPDATED NIGHT TIME SKINCARE ROUTINE!

My skin care routine changes depending on the time of year and the time of day, are you this particular about skincare too? So today I wanted to share with you my current night time skincare regimen and just how I keep this 30-something skin of mine as youthful as I can!

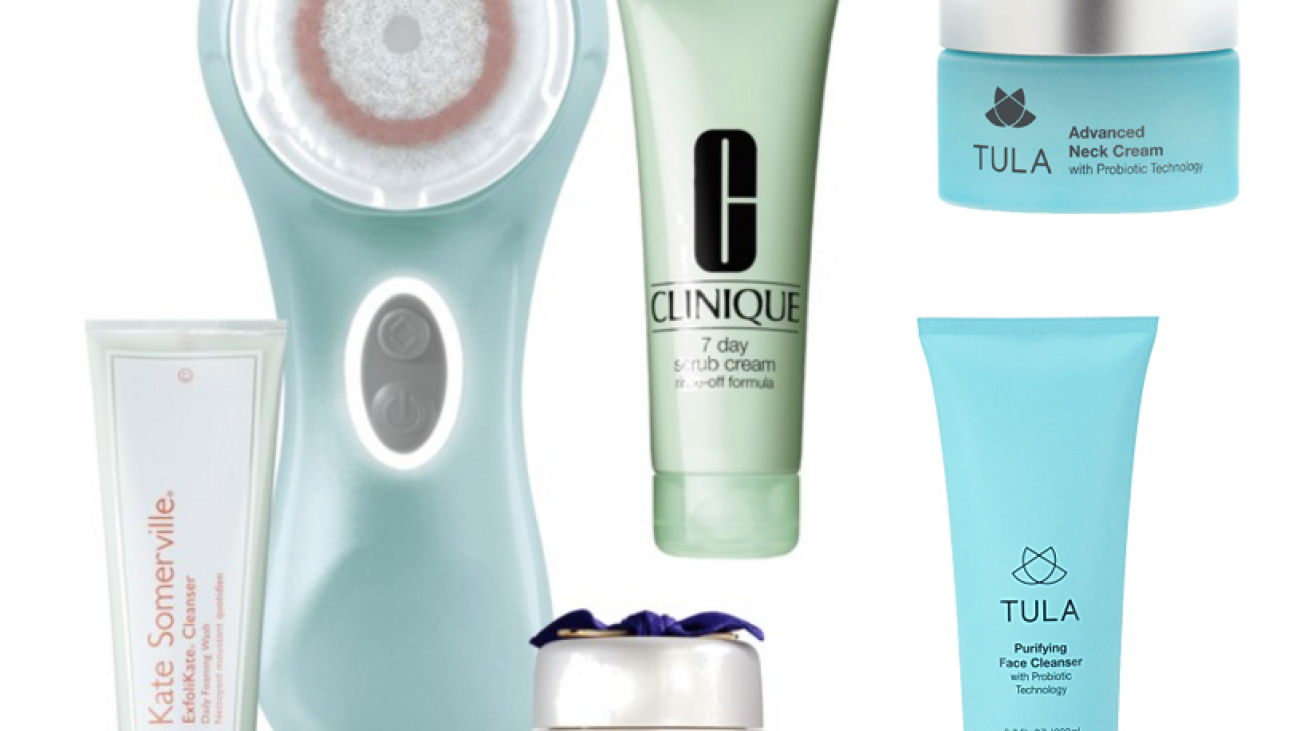
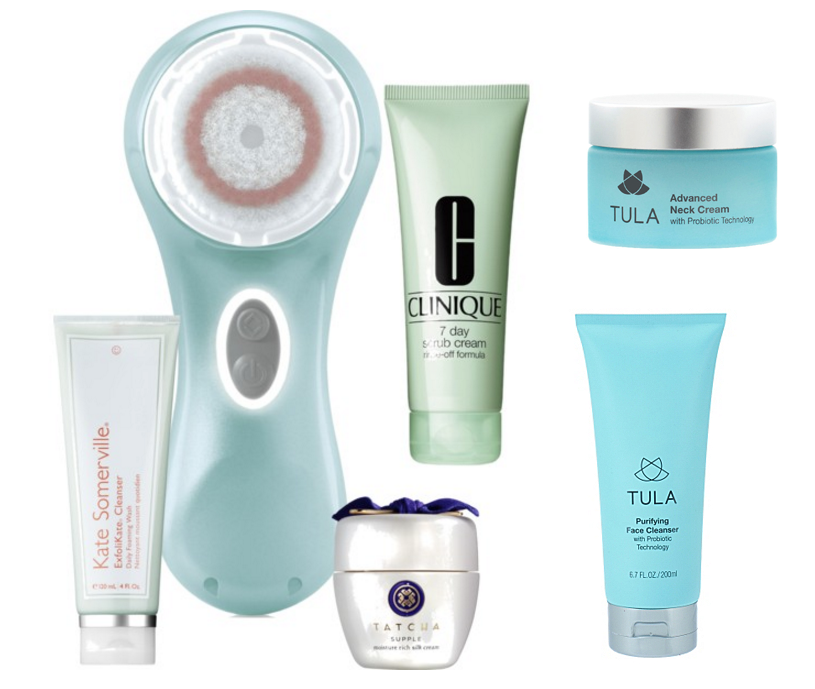
First step is cleansing. I cleanse in the shower usually since I’m one of those ‘night time shower before bed’ kinda people. Takes me all of one minute, thank you handy dandy Clarasonic timer, and I alternate between a few different products depending on what day of the week it is, errr and what time of the month it is.

Clarasonics and cleansing systems of the like, are more effective at removing impurities and giving your skin a deeper cleanse than your finger tips would, so I highly recommend them. Start slowly with exfoliation so that you don’t irritate your skin, especially if you’re not used to exfoliating weekly.

1. Exfoliate: Even if you have another skin type than my own (I have very dry skin), it’s still important to exfoliate so that your skin is prompted to create more collagen and it provides a deeper cleanse than the every day cleanser gives you. I alternate between the Clinique 7 day scrub– I love this because it’s gentle enough to use daily though that’s not how I use it, and it doesn’t make my skin feel overly exfoliated. That’s a Monday, Friday routine and on Tuesdays and Thursdays I will use the Kate Somerville ExfoliKate because there’s something about it that is different than any other exfoliant I’ve used. Leaves your skin squeaky clean without over drying and it smells like the spa! I swear by these two. The Tatcha rice powder is wonderful for a quick deep cleanse that brightens up your face instantly! I use this on the weekends after a week full of makeup and movin’ n groovin’!


2. Cleanse and eye makeup removal: I love the Tula cleanser for these purposes because it’s gentle and foams up nicely. It also doesn’t irritate the sensitive skin around my eyes, and it’s light enough to use twice a day if I needed to. The Lush lip scrub I find quick and easy and takes only a few seconds to do the job- just scrub, rub, and rinse!
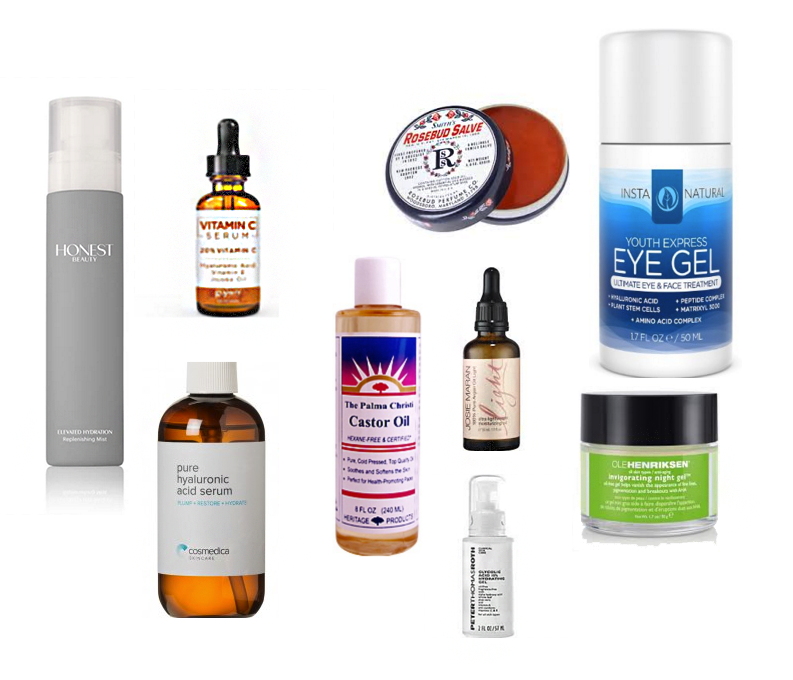
3. Tone: Right after the shower I will spray a few pumps of the Honest hydrating mist onto my face and while that is still drying I will go in with my serums.
4. Hydrate: Serums are the gate keepers between your skincare products and the layers deep within your face. Hyaluronic acid serum has got to be my number one go-to product for deep hydration and quick absorption. It’s something our skin already produces except in very low amounts and as we age, of COURSE we produce less of it. Oh joy. A few drops of this and then a few drops of Vitamin C will leave your skin soft and supple!
5. Seal and treat: Now that you have your serum on, you can hydrate with a moisturizer here or you can do what I do and seal all of those products in with a nice treatment! I’m in my 30’s so one of my ‘never-ever-forget-to-do’s’ is to use a treatment on my skin, something that will really plump up my skin like the PTR glycolic hydrating serum or the Ole Henriksen night treatment. Both of these are great for fine lines, acne scarring, and overall problematic skin.
6. All about the eyes: Since the skin around our eyes is the thinnest of all of our face, we age there the quickest. Oh joy! So use your ring finger and gentle pat and roll your eye cream from the outer corner of your eye, in towards your nose. Remember pat and roll and press and hold! That’s the secret! This eye serum is inexpensive and one of the best I’ve tried! My advice, start using an eye cream fresh out of the womb! And of course I drench my lashes in castor oil because it moisturizes and protects them, and keeps them healthy through all of the mascara and eye liner layers. It’s been a beauty secret for year past so lets keep it going for years to come!

7. Don’t forget your pout: Since you’ve scrubbed your lips and got them bright and smooth again, it’s time to moisturize them. For years I’ve been using this rose salve because it’s thick, smooth, and ultra hydrating.
8. Prevent turkey neck! Yup I said it, turkey neck y’all! If you’re under the age of 25 I’d say a neck treatment isn’t necessary, but for us babes who are 25+, a neck cream is a MUST! From your cleavage up (pecks up for you men out there) you should be cleansing, hydrating, and treating. You don’t want to have the face of a 19 year old and the neck of a 109 year old. I looove this Tula advanced neck cream because it’s thick like a balm but goes on smooth and doesn’t feel sticky at all. It’s extremely moisturizing and it’s packed full of probiotics and vitamins to replenish your skin and keep it young!

So there you have it! Eight steps to great skin, skin that is hydrated and healthy! This doesn’t take long at all by the way, 3-5 minutes tops is all it takes to end your day with some pampering and to start your night with some regenerating power! Go baby cells goooo!

On days I don’t wash my hair, more joys of color treated locks, I like to run a bit of oil into the ends to prevent drying and splitting. This argan oil is light enough to use daily and smells divine!

If you’d like to see these steps in action, head on over to my YouTube channel where I did a tutorial of this exact routine for you! And Subscribe if you haven’t already, fun and exciting things coming this year <3

Let me know what your number one beauty secret is! Is it a special cleanser, a mud from the Alps?! 

Tell me so we can all obsess over these things together because, sharing! See you next week with some tips on how to survive the winter! *yes, this coming from a gal in LA, though this weekend we’ll be in Yosemite so I’ll be “experienced”!*

PREGNANT AT 16

I was 16 and Pregnant. I have always been very guarded with what I share with the world and what I keep private for our little family but its time to tell some of my story. It’s a fine line to walk when you’re an online personality and you’re so open about your life. People almost expect you to divulge information that you wouldn’t otherwise share unless you knew them personally, but that just goes to show how much we openly share with our audiences. So I can’t be mad about it.

I’ve found though, that the things I like to share with people, help me to like those things too. Things that I dislike very much and that are hard to talk about like abusive relationships, toxic people, and what it was like being a teen mom. Not that being a teen  mom was something I disliked, but it was something that was really hard for me, it still is.

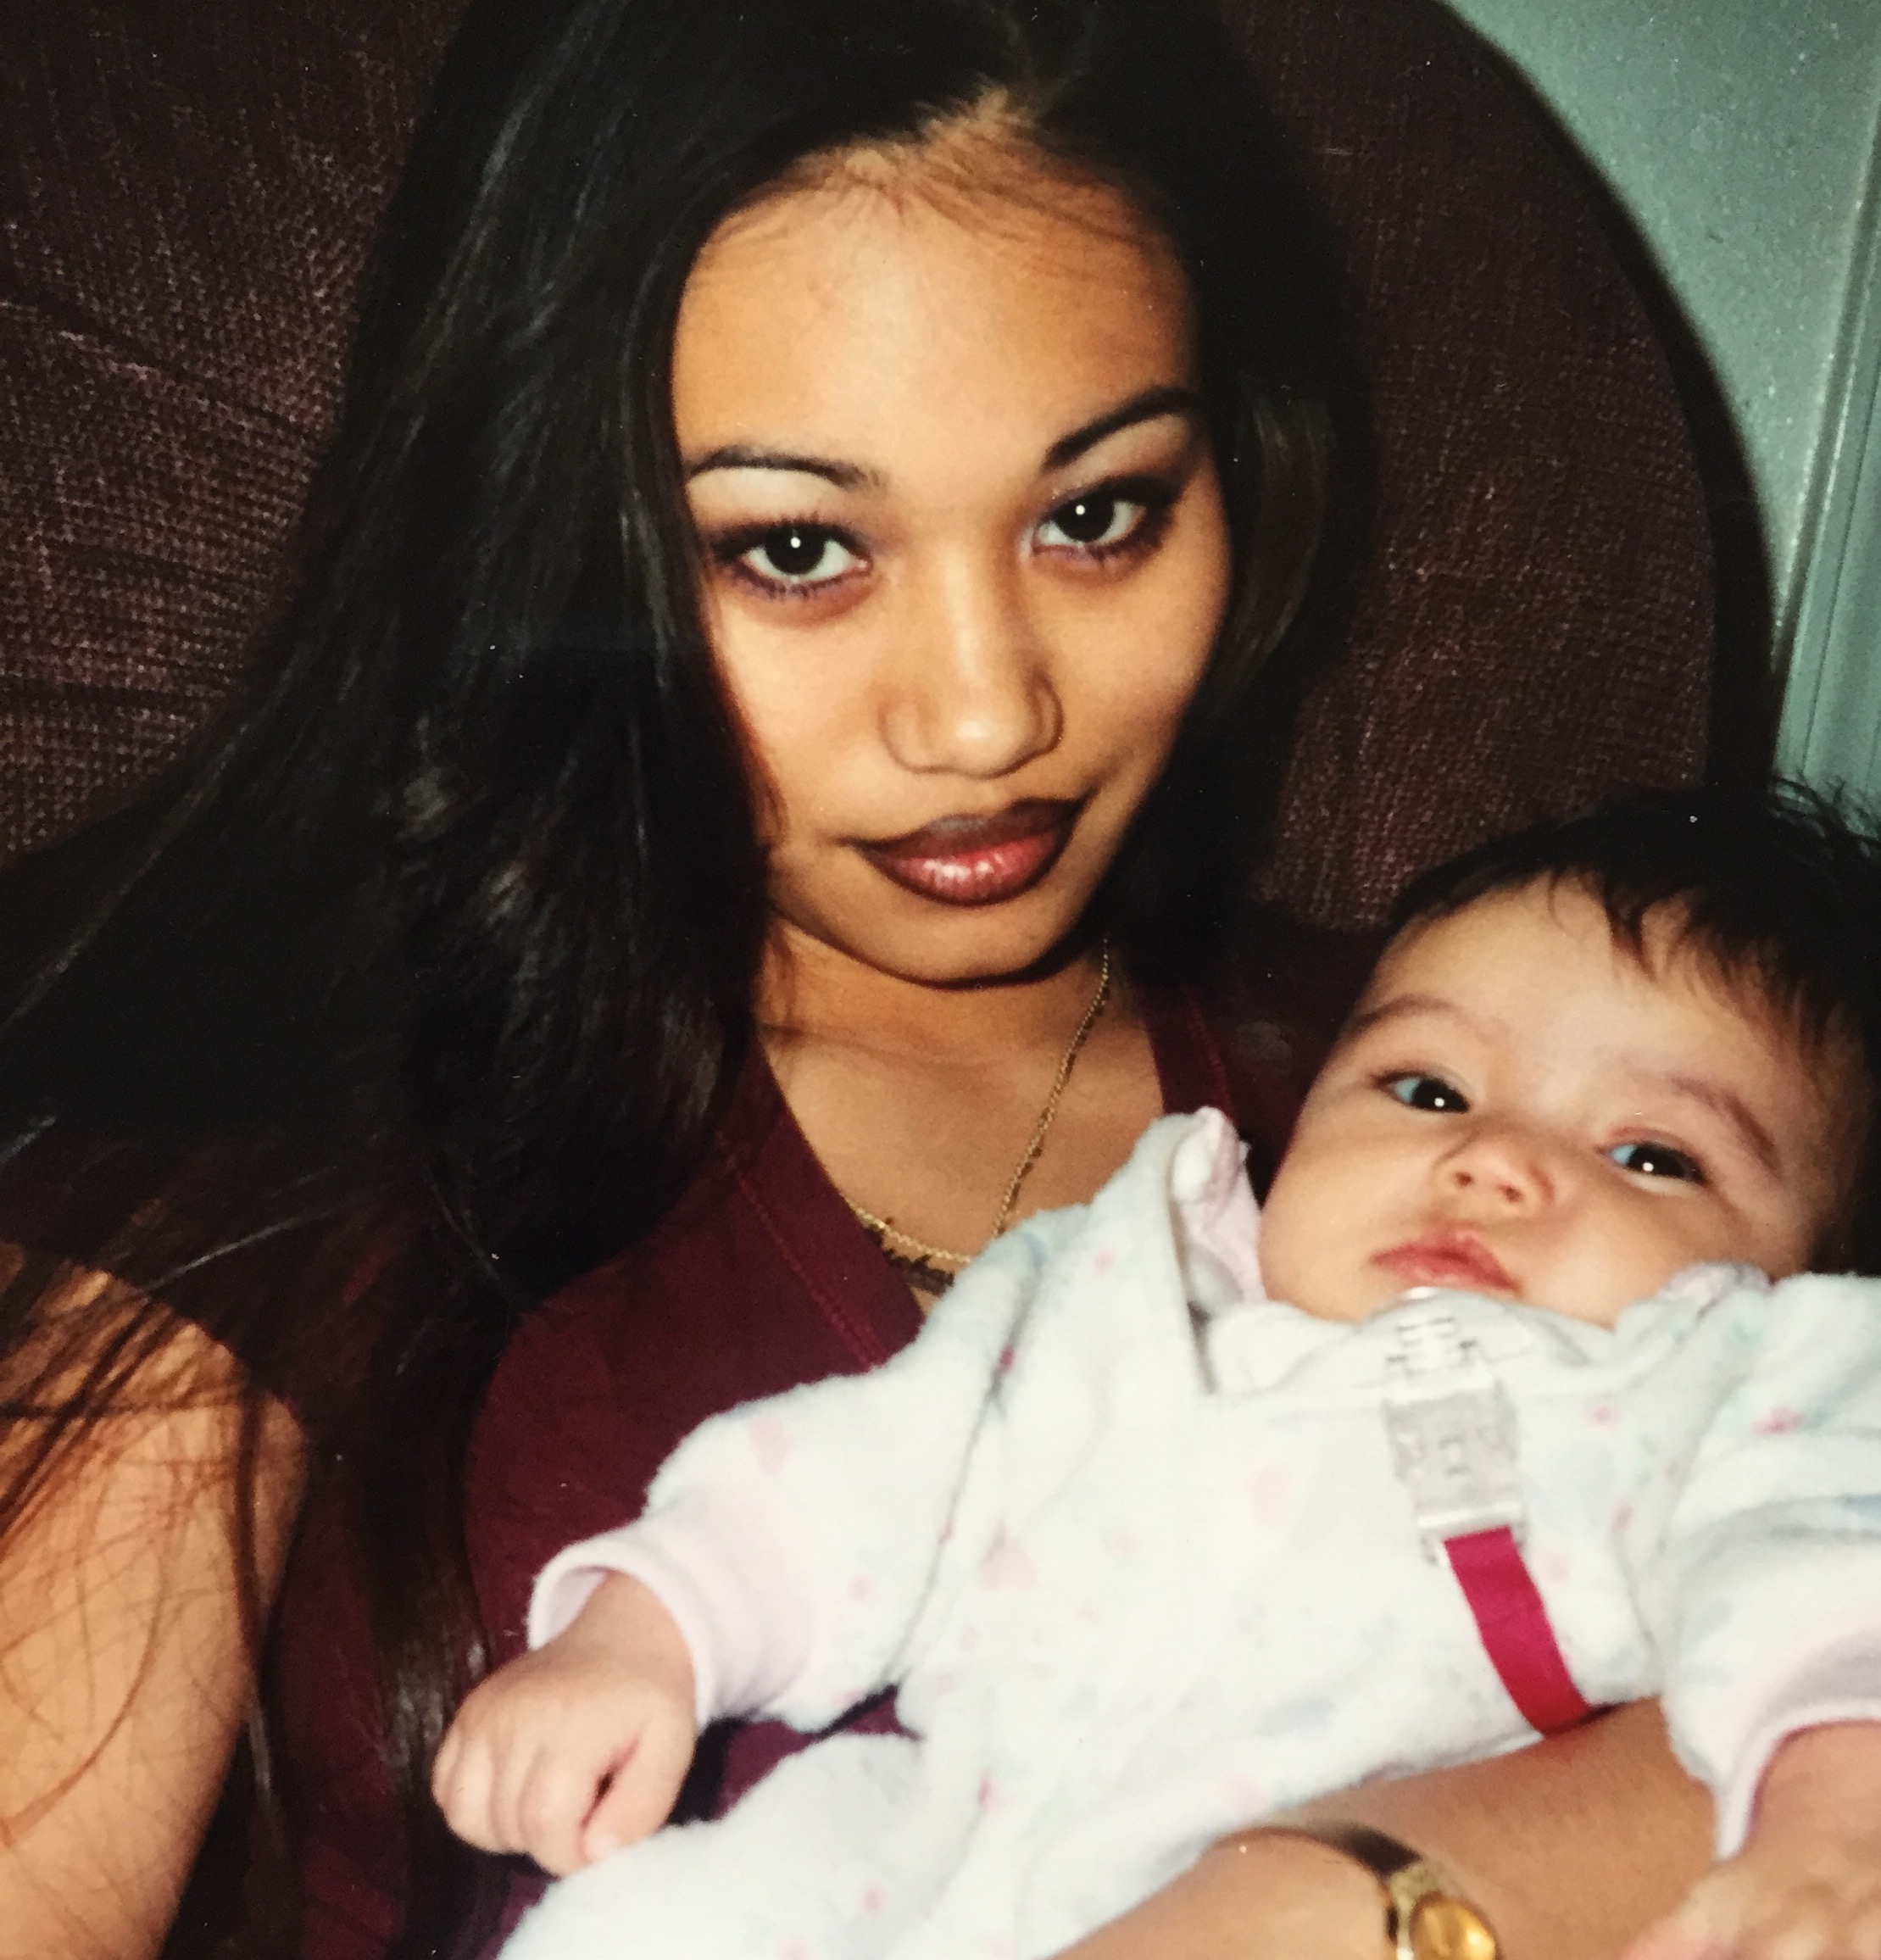
Corrine only a few months old here, and me- I'm just a chola in a rocking chair lol
Corrine only a few months old here, and me- I’m just a chola in a rocking chair lol

Some things you probably already know are that I’m a single mom, and that I was a teen mom. I had my daughter Corrine when I was 16 years old and she’s 18 now. She just started college this month, and last year she graduated from high school AND started her first job in the ‘real working world’. That was a lot for this mama bear over here to manage. Having my lil baby cub all out in the world being a responsible human and not being under my watchful and protective eye 24-7-365 is really hard.

Corrine and I are very close. We’re best friends, we grew up together, and I don’t know my life without her, I was 16. This isn’t me being dramatic like, ‘oh my baby is moving to another country woe is me’, but it is me sharing my anxiety over her moving out of the house. Even if that time isn’t in the near future. Like, what is my life without her *okay, THAT is me being dramatic*.

It’s crazy for me to reflect on her childhood because I was so young myself, I mean, how did they let me leave the hospital with that little baby?! It feels like a big huge blur to me. At that time I wasn’t doing it all on my own though, I had my family, I had her father’s family, and he and I were ok back then. Things change and we are where we are now. Perhaps one day I will talk about those things and what my life was like back then, but today I’ll talk about where I’m at today.

When I say that I don’t know what it’s like to be without Corrine I’m talking in daily life, in our day to day, routine life. Because in a way, we did grow up together … I’ve spent the last 18 years with her and it was far before I was even 18 myself. It was like an older sister raising a younger sister. We are so similar yet so different, but she amazes me every day. She sits on my lap at brunches, we hold hands in the street, she’s still my baby. Well now my baby is in college, yes a local one, but not for long. She wants to transfer to a University which won’t be any where near Los Angeles. *takes a moment to process that* So for me, I think to myself (and aloud, lets be real), “ok I can totally move to wherever she goes!” But how unrealistic is that?!

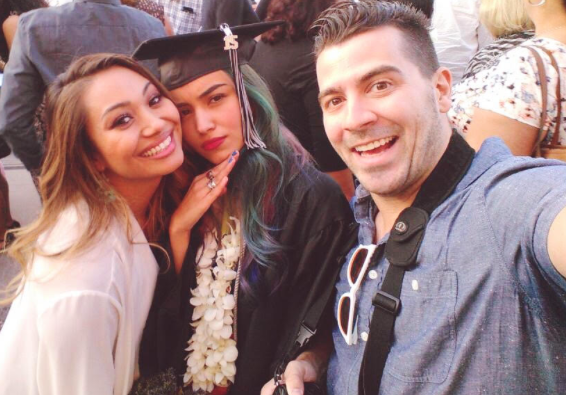
Corrine's HS graduation in June 2015
Corrine’s HS graduation in June 2015

Joe is incredible and he’s been so amazing, from day ONE. He met us when she was 12 and he’s really stepped in to be that positive, loving, father figure in her life. Oh, and he would totally pick up and move with me, we’re both nomads like that. But I can’t follow my child all around the world … at least I’m sure she wouldn’t want me to. I don’t want to become that over-bearing-stalker-status mom because no one likes the over-bearing-stalker-status mom.

November 3, 2015- Corrine's 18th birthday
November 3, 2015- Corrine’s 18th birthday

So therein lies my problem- I’m an overly attached parent who feels pretty freaking lonely at the thought of her daughter moving away. So what’s a girl to do? Well, I have to remember that just because I’m a mom doesn’t mean that that’s the only hat I wear. Though, it IS my most favorite hat and I’m really good at wearing the hat!!! *breathing* I have to remember that I’m a whole other person with hobbies and an identity all on my own completely separate from the ‘mom label’. Yes I’m a mom but I’m also Jess.

Jess is adventurous, loves to travel, and is getting married this year! *why am I referring to myself in the 3rd person, see I’m losing it already* I think I will get back to that part of myself this year, back to being creative on a different level, back to traveling a bit more, and back to being me without attaching myself to everything Corrine does. She needs space to grow and make her own mistakes, ugh can’t even believe I just said that.

So to all my parents out there, it isn’t healthy to identify ourselves only as parents and it isn’t healthy to just stalk our children. It’s a grey area for me about the stalking part though, not gonna lie, I’m obsessed with the kid! But as much as I’d like to be THAT mom, I won’t be that mom. I will however, be keeping busy doing other things. So keep busy! I have a wedding to plan this year, but bet your butt I’ll be stalking her every step of the way- dropping in to make her bed and cook her dinner! We also have to remember that it’s also a difficult transition for them too.

Our babies are forever our babies, and it’s ok to hold on to that. I know I will!

So tell me, if you’re a parent, are you going through this? Are your babies younger but this is something you think about? If you are going through this, help me out and give me some new hobbies to explore! If you aren’t a parent but your parents are going through this kind of thing, what as parents can we do to make the transition an easier one for you? And for us 😉 

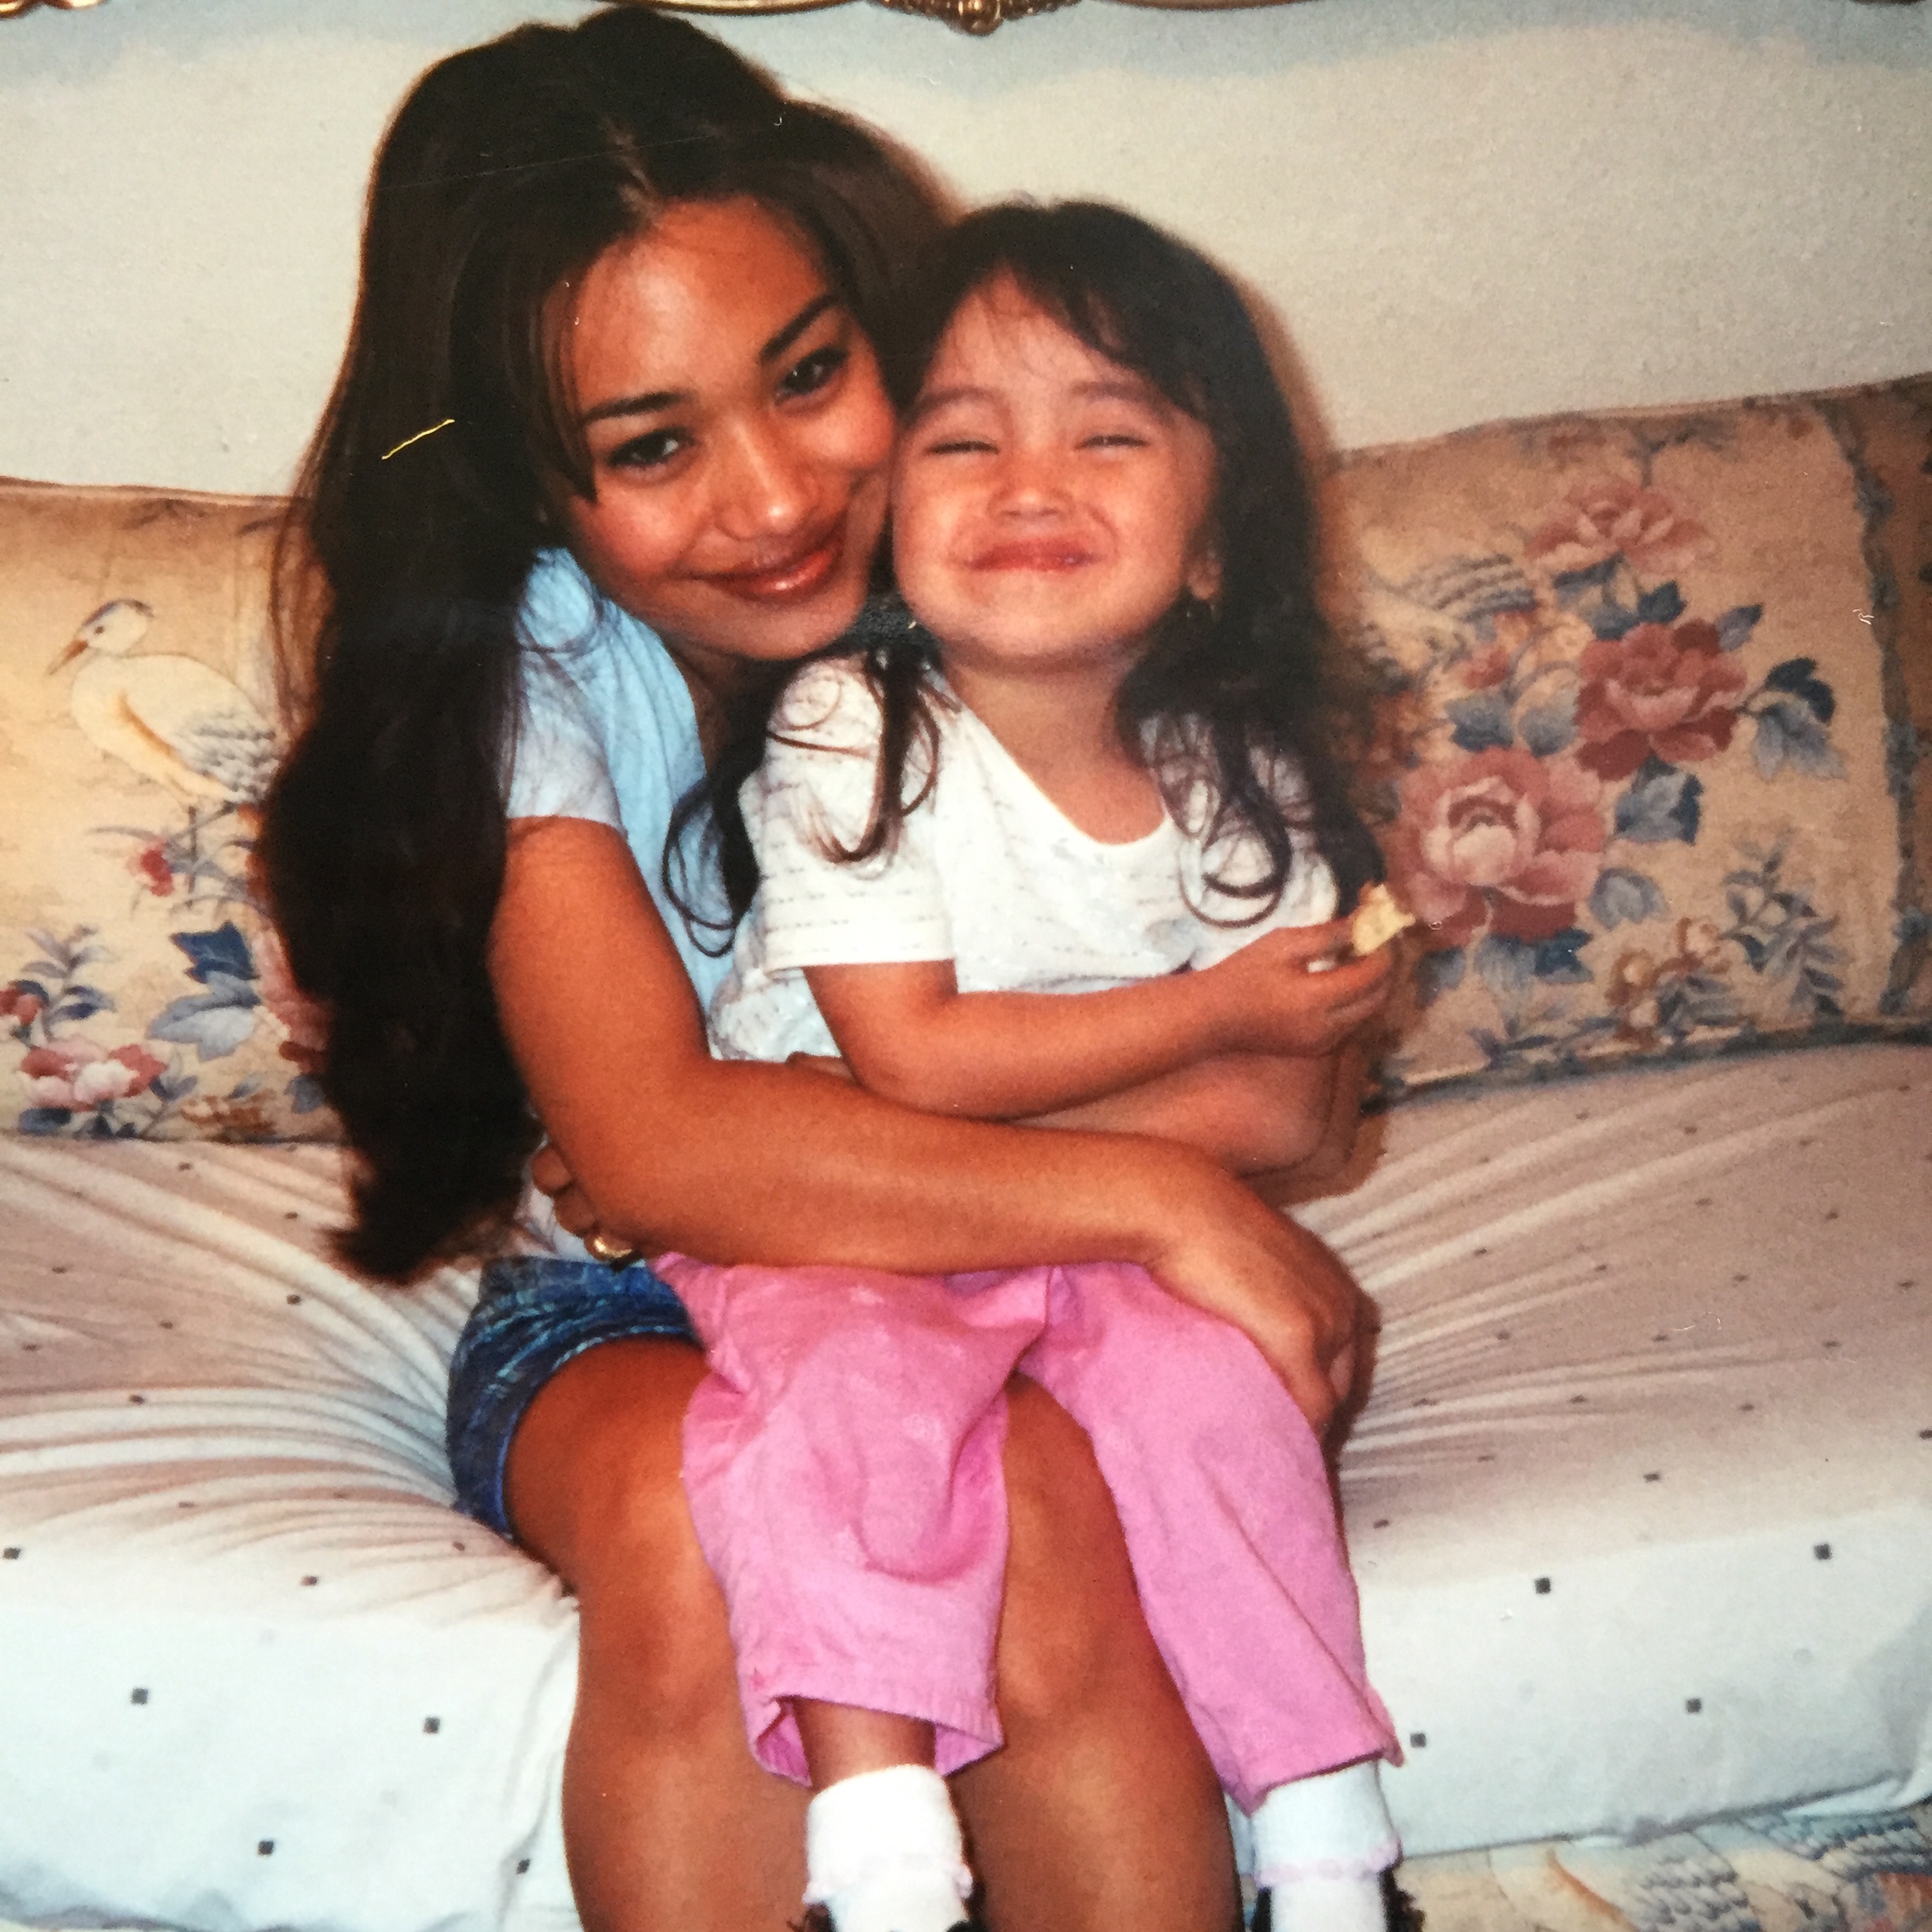
My baby when she was 2 or 3 and again at 16


I was 18 here and Corrine was 2. I got my first tattoo this day!


This is us today, going on mother/daughter dates <3

Thank you for reading this post, it’s nice to open up about things that people assume you’re navigating just fine with on your own. I’m open to your suggestions so type away, and if you have a little one at home, hug them extra! PS I talk like she’s moving out tomorrow, but it is something that we discuss all of the time- her moving out and where she’ll go. So I know it’s just me freaking out, I’m prone to freak outs. I still have some time to baby her and make her breakfast in the mornings, and I still have time to be the crazy yet, “I’m a cool mom” mom. 

Here’s a video Corrine and I did in September and we’ll be recording a “How to survive college” video together soon! So stay tuned for that! I will be less overbearing with each passing post I promise!

Jess_Signature_2015_BlogUse


SPRING DECOR ROOM INSPO!!!

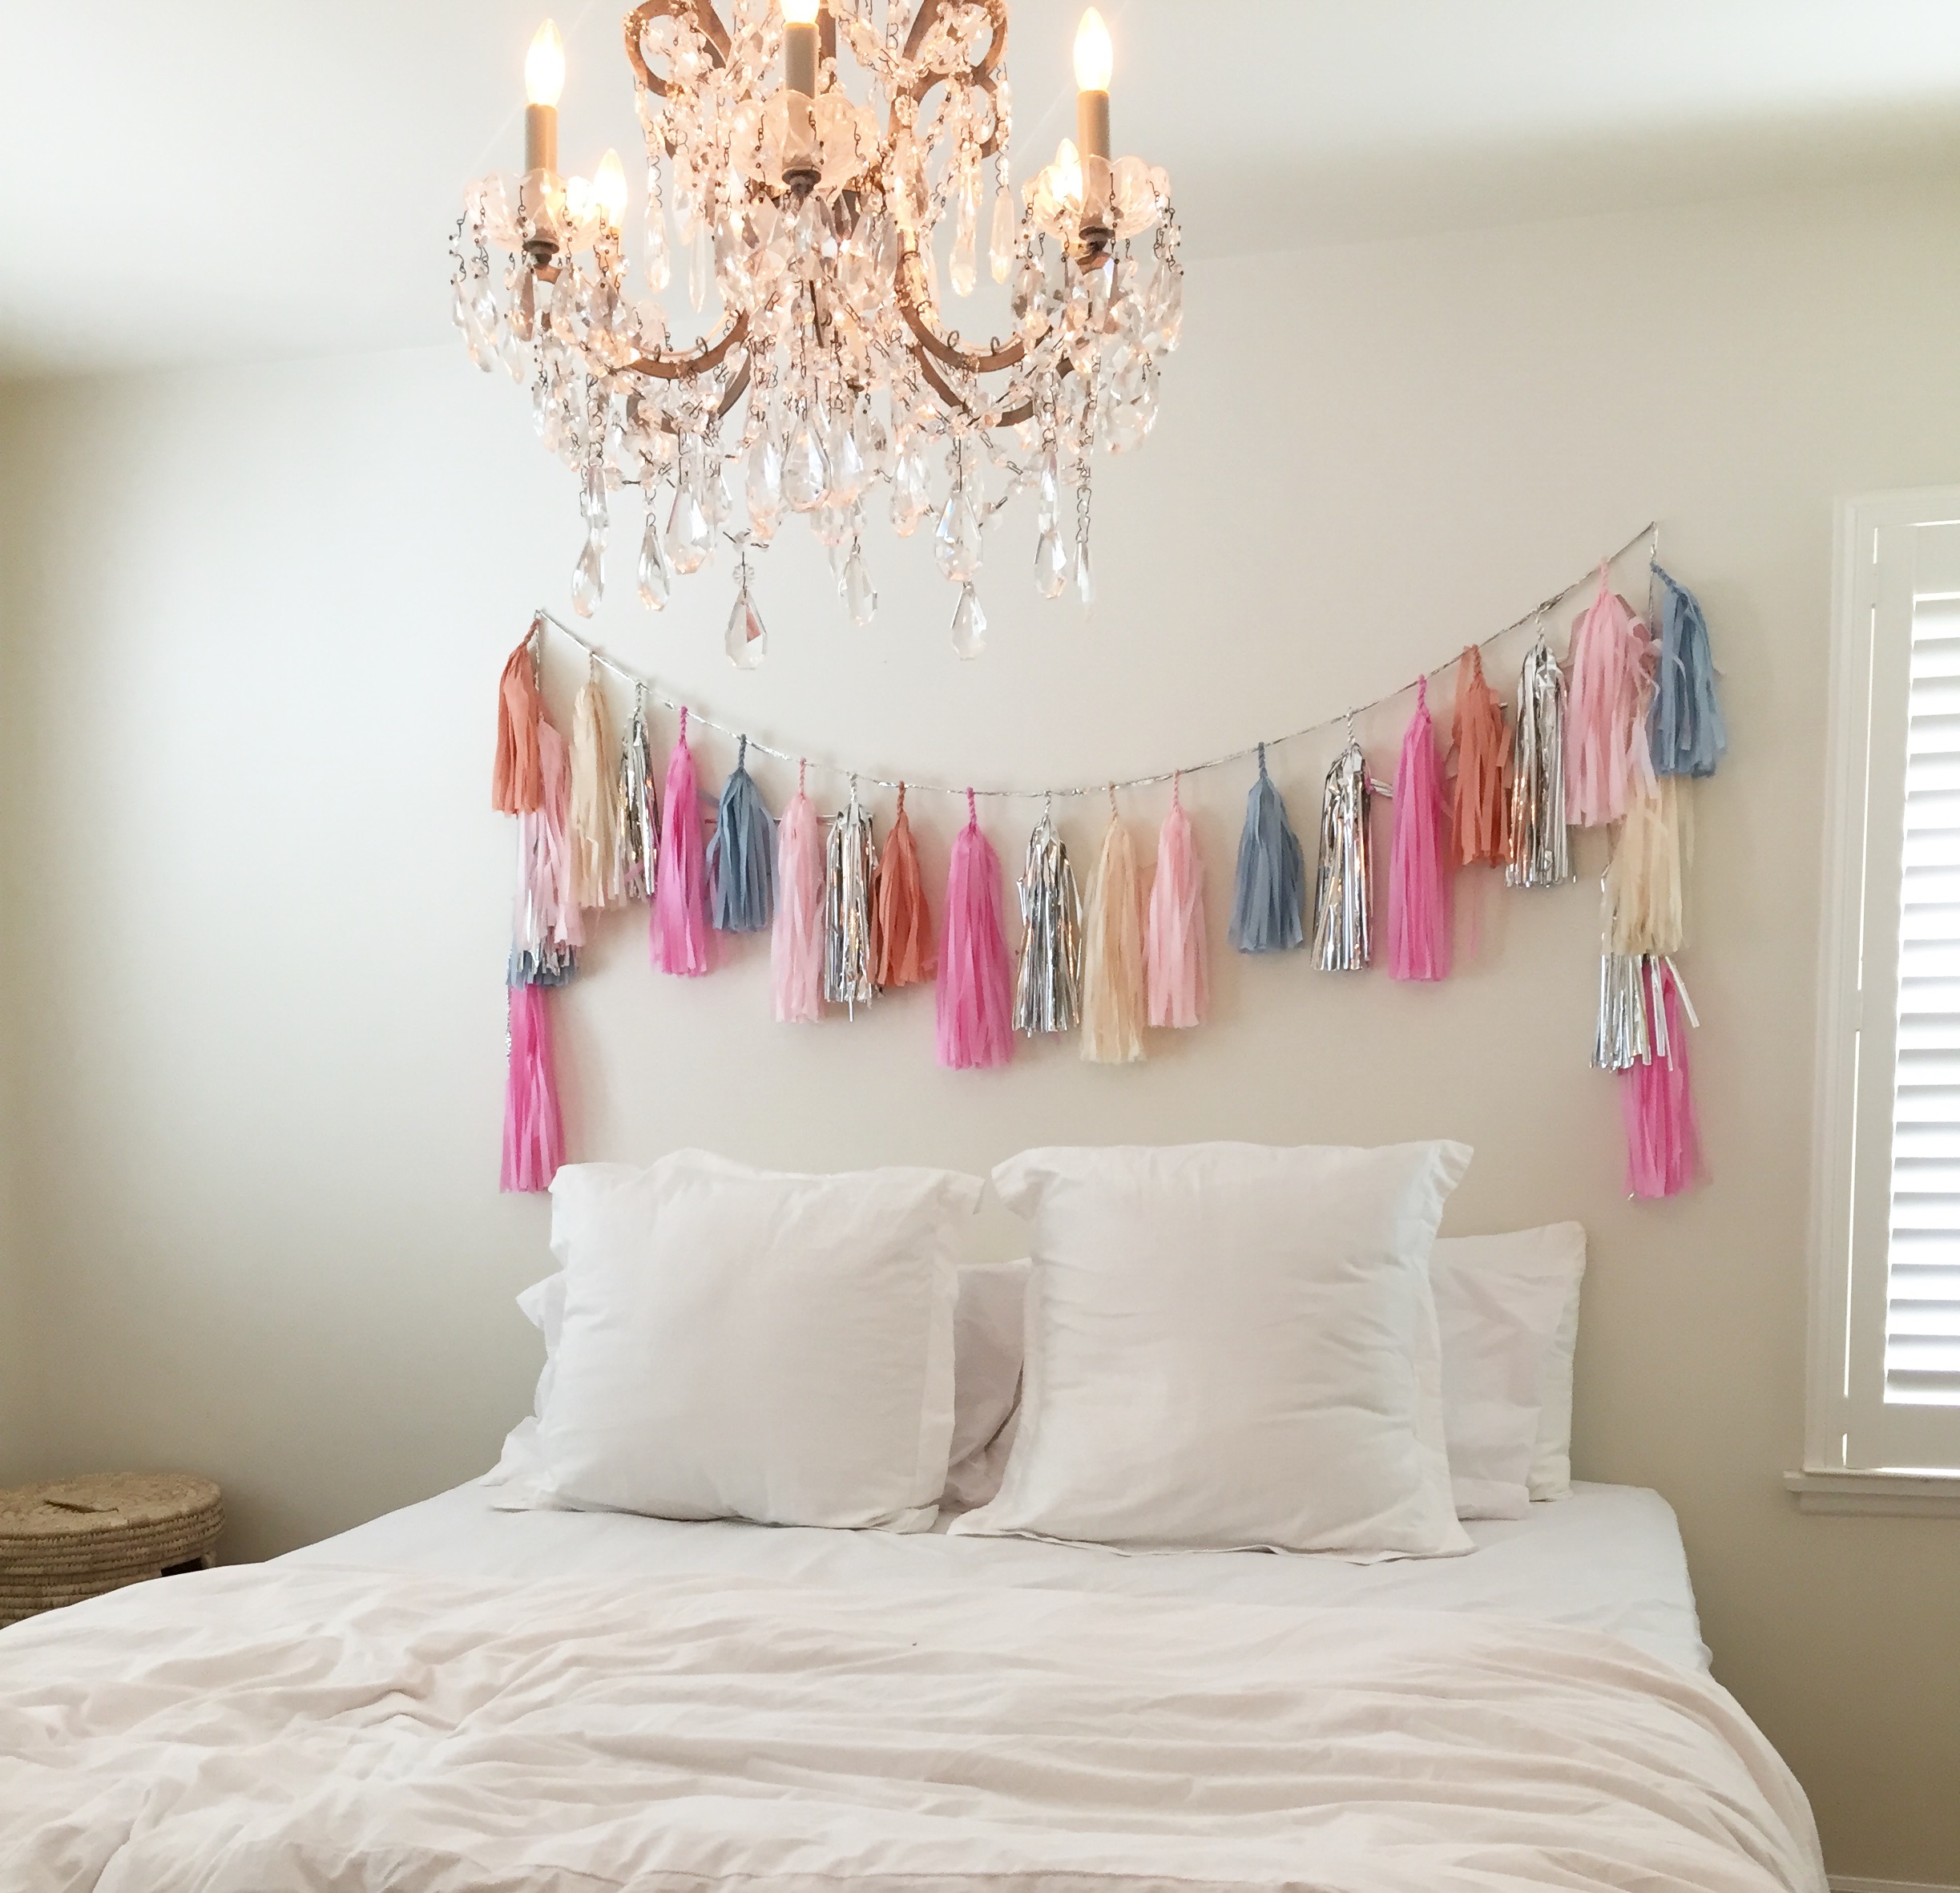
Having enjoyed a staycation this past weekend, in one of the most luxurious homes I’ve ever visited, I was totally inspired to revamp my room! I took these photos from a beautiful home in the hills that we stayed in that was elegant and clean with its crisp whites and pops of color!

Stay with me here, if you’re ready to flee from the pom poms, stick around because it’s a jungle in here, literally!


I really love this string of pom poms above this simple bed, the chandelier above, and the all that natural light coming through! It was a YouTuber’s dream to film in here … ahem no lights necessary, there was so much light coming through both corners of the room! Filming a vlog was the first thing I thought of when I saw this set up, “Yes I can sit there and face that way”. Also, those prints you see on the bed spread, that would be from puppy Luna thinking she owns the place! She galloped (she runs like a baby horse) from room to room and jumped on all of the beds. All of them.

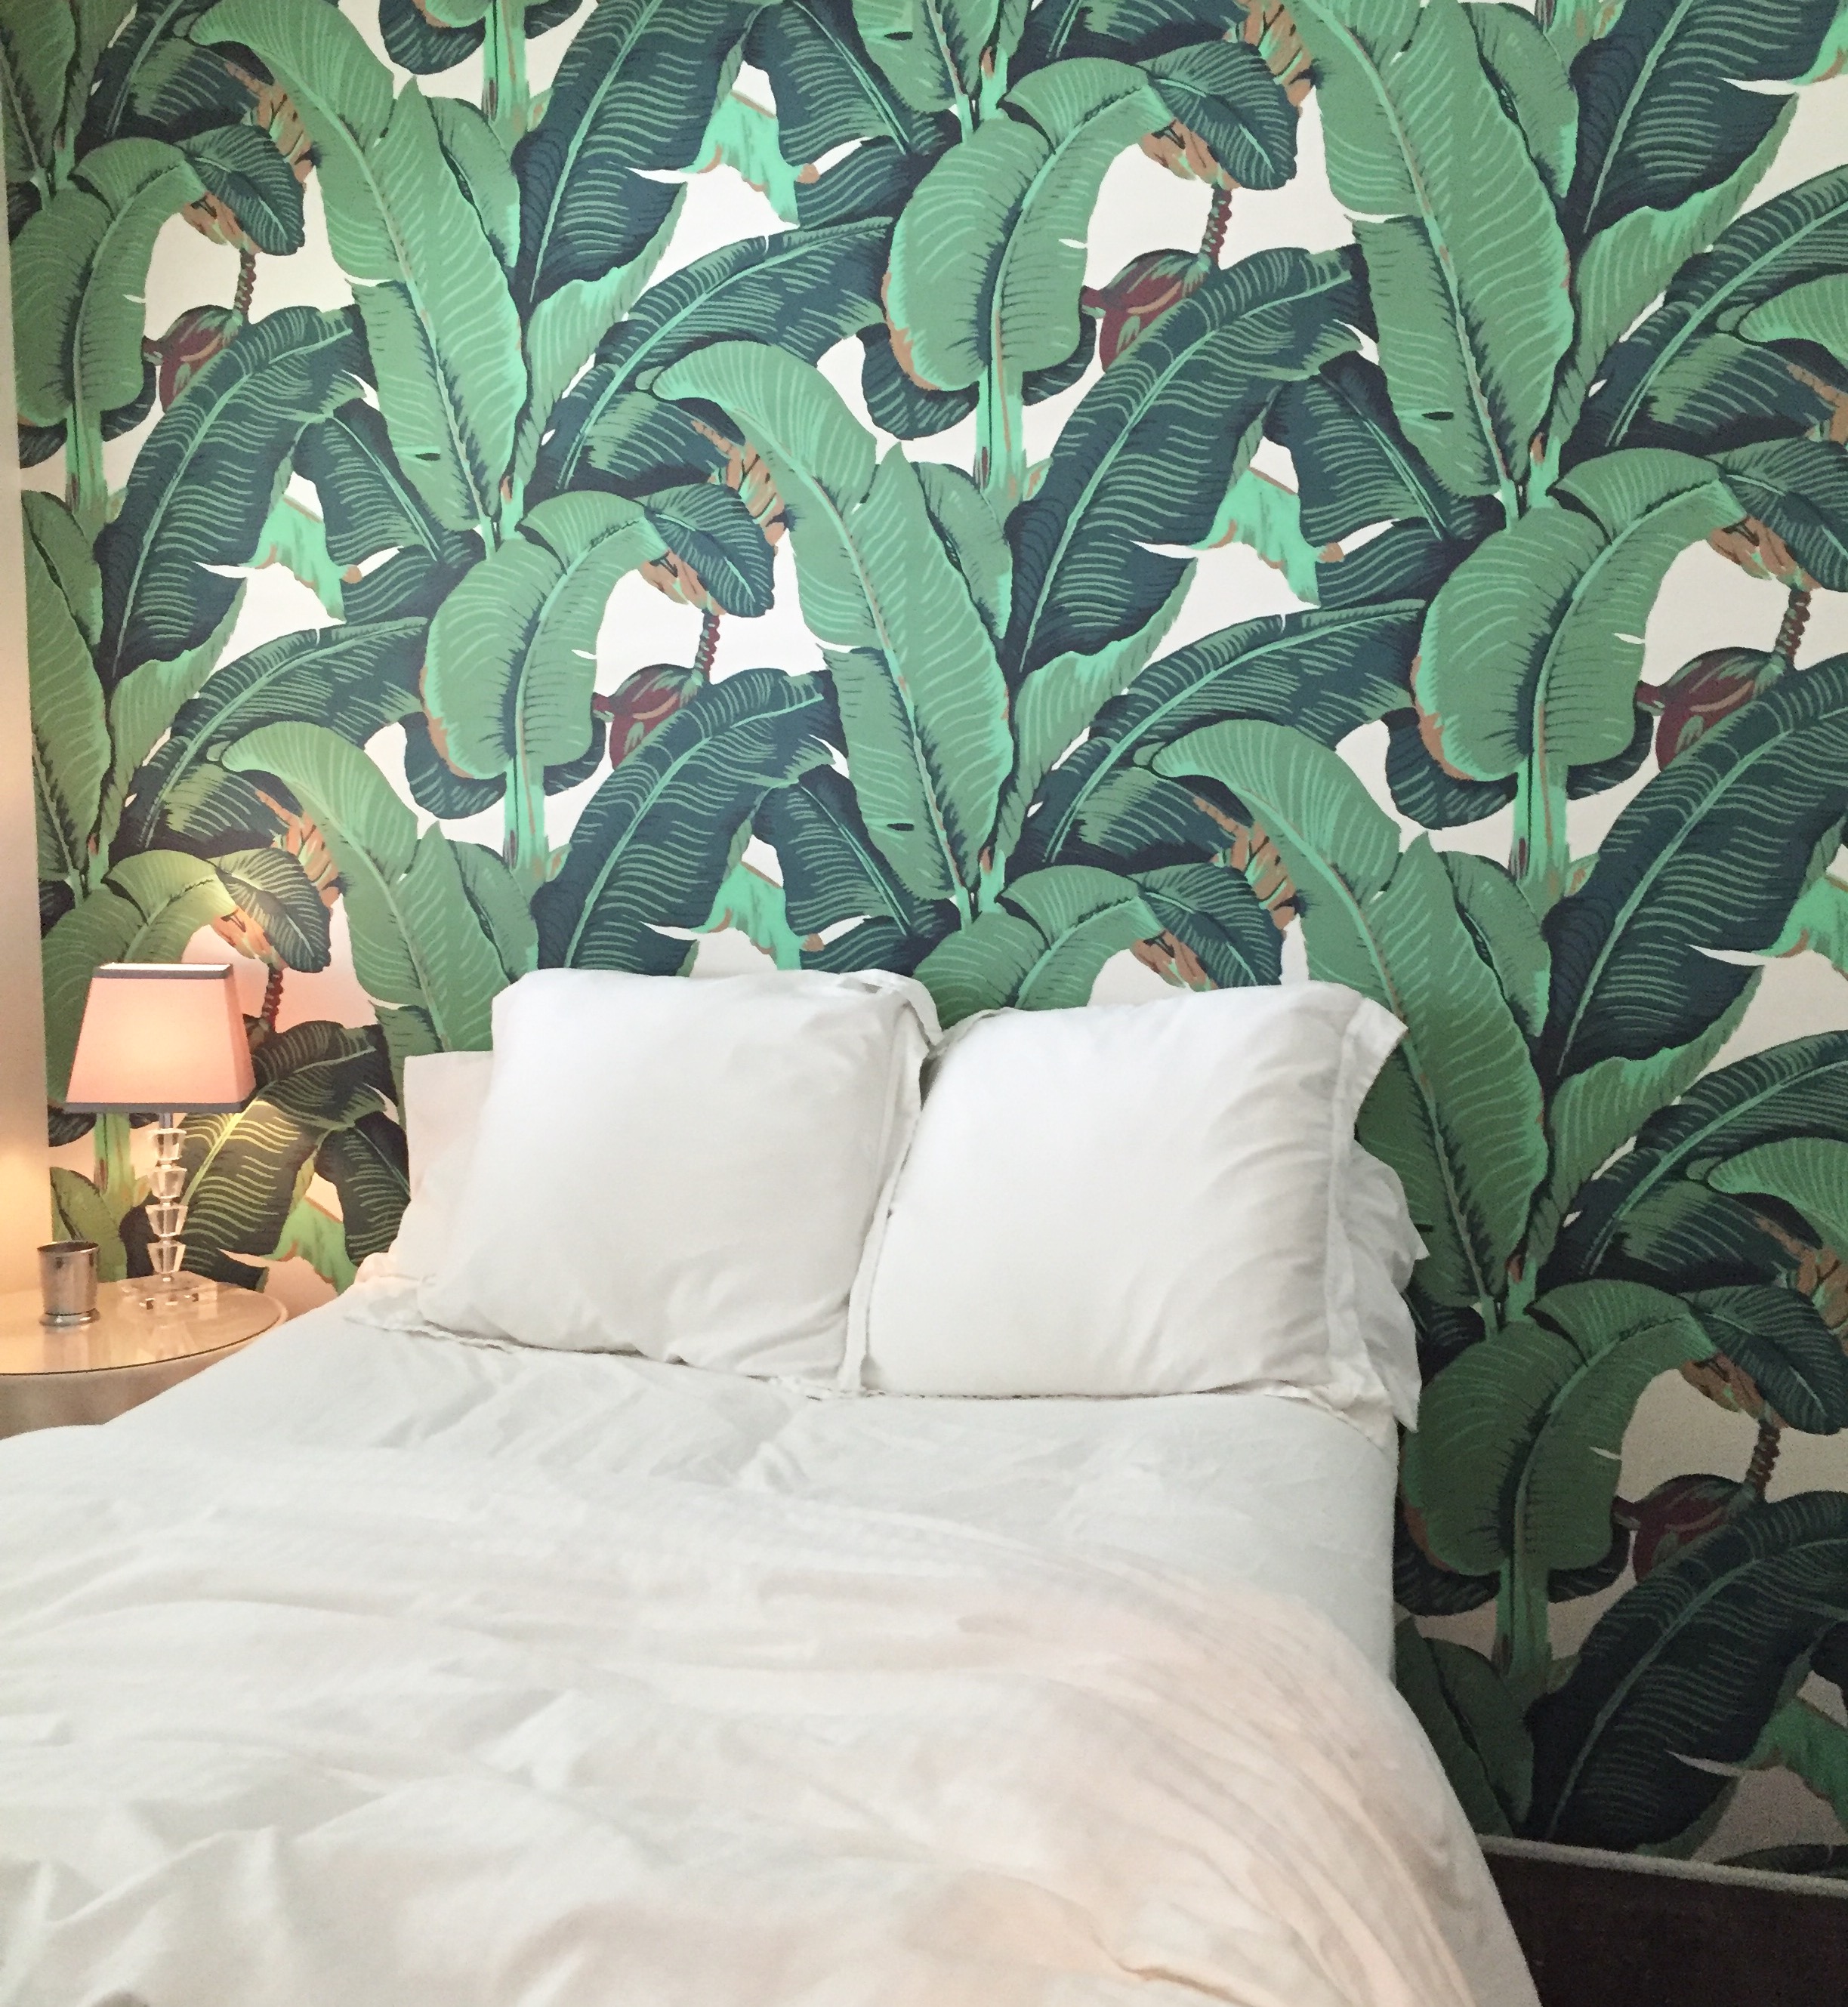
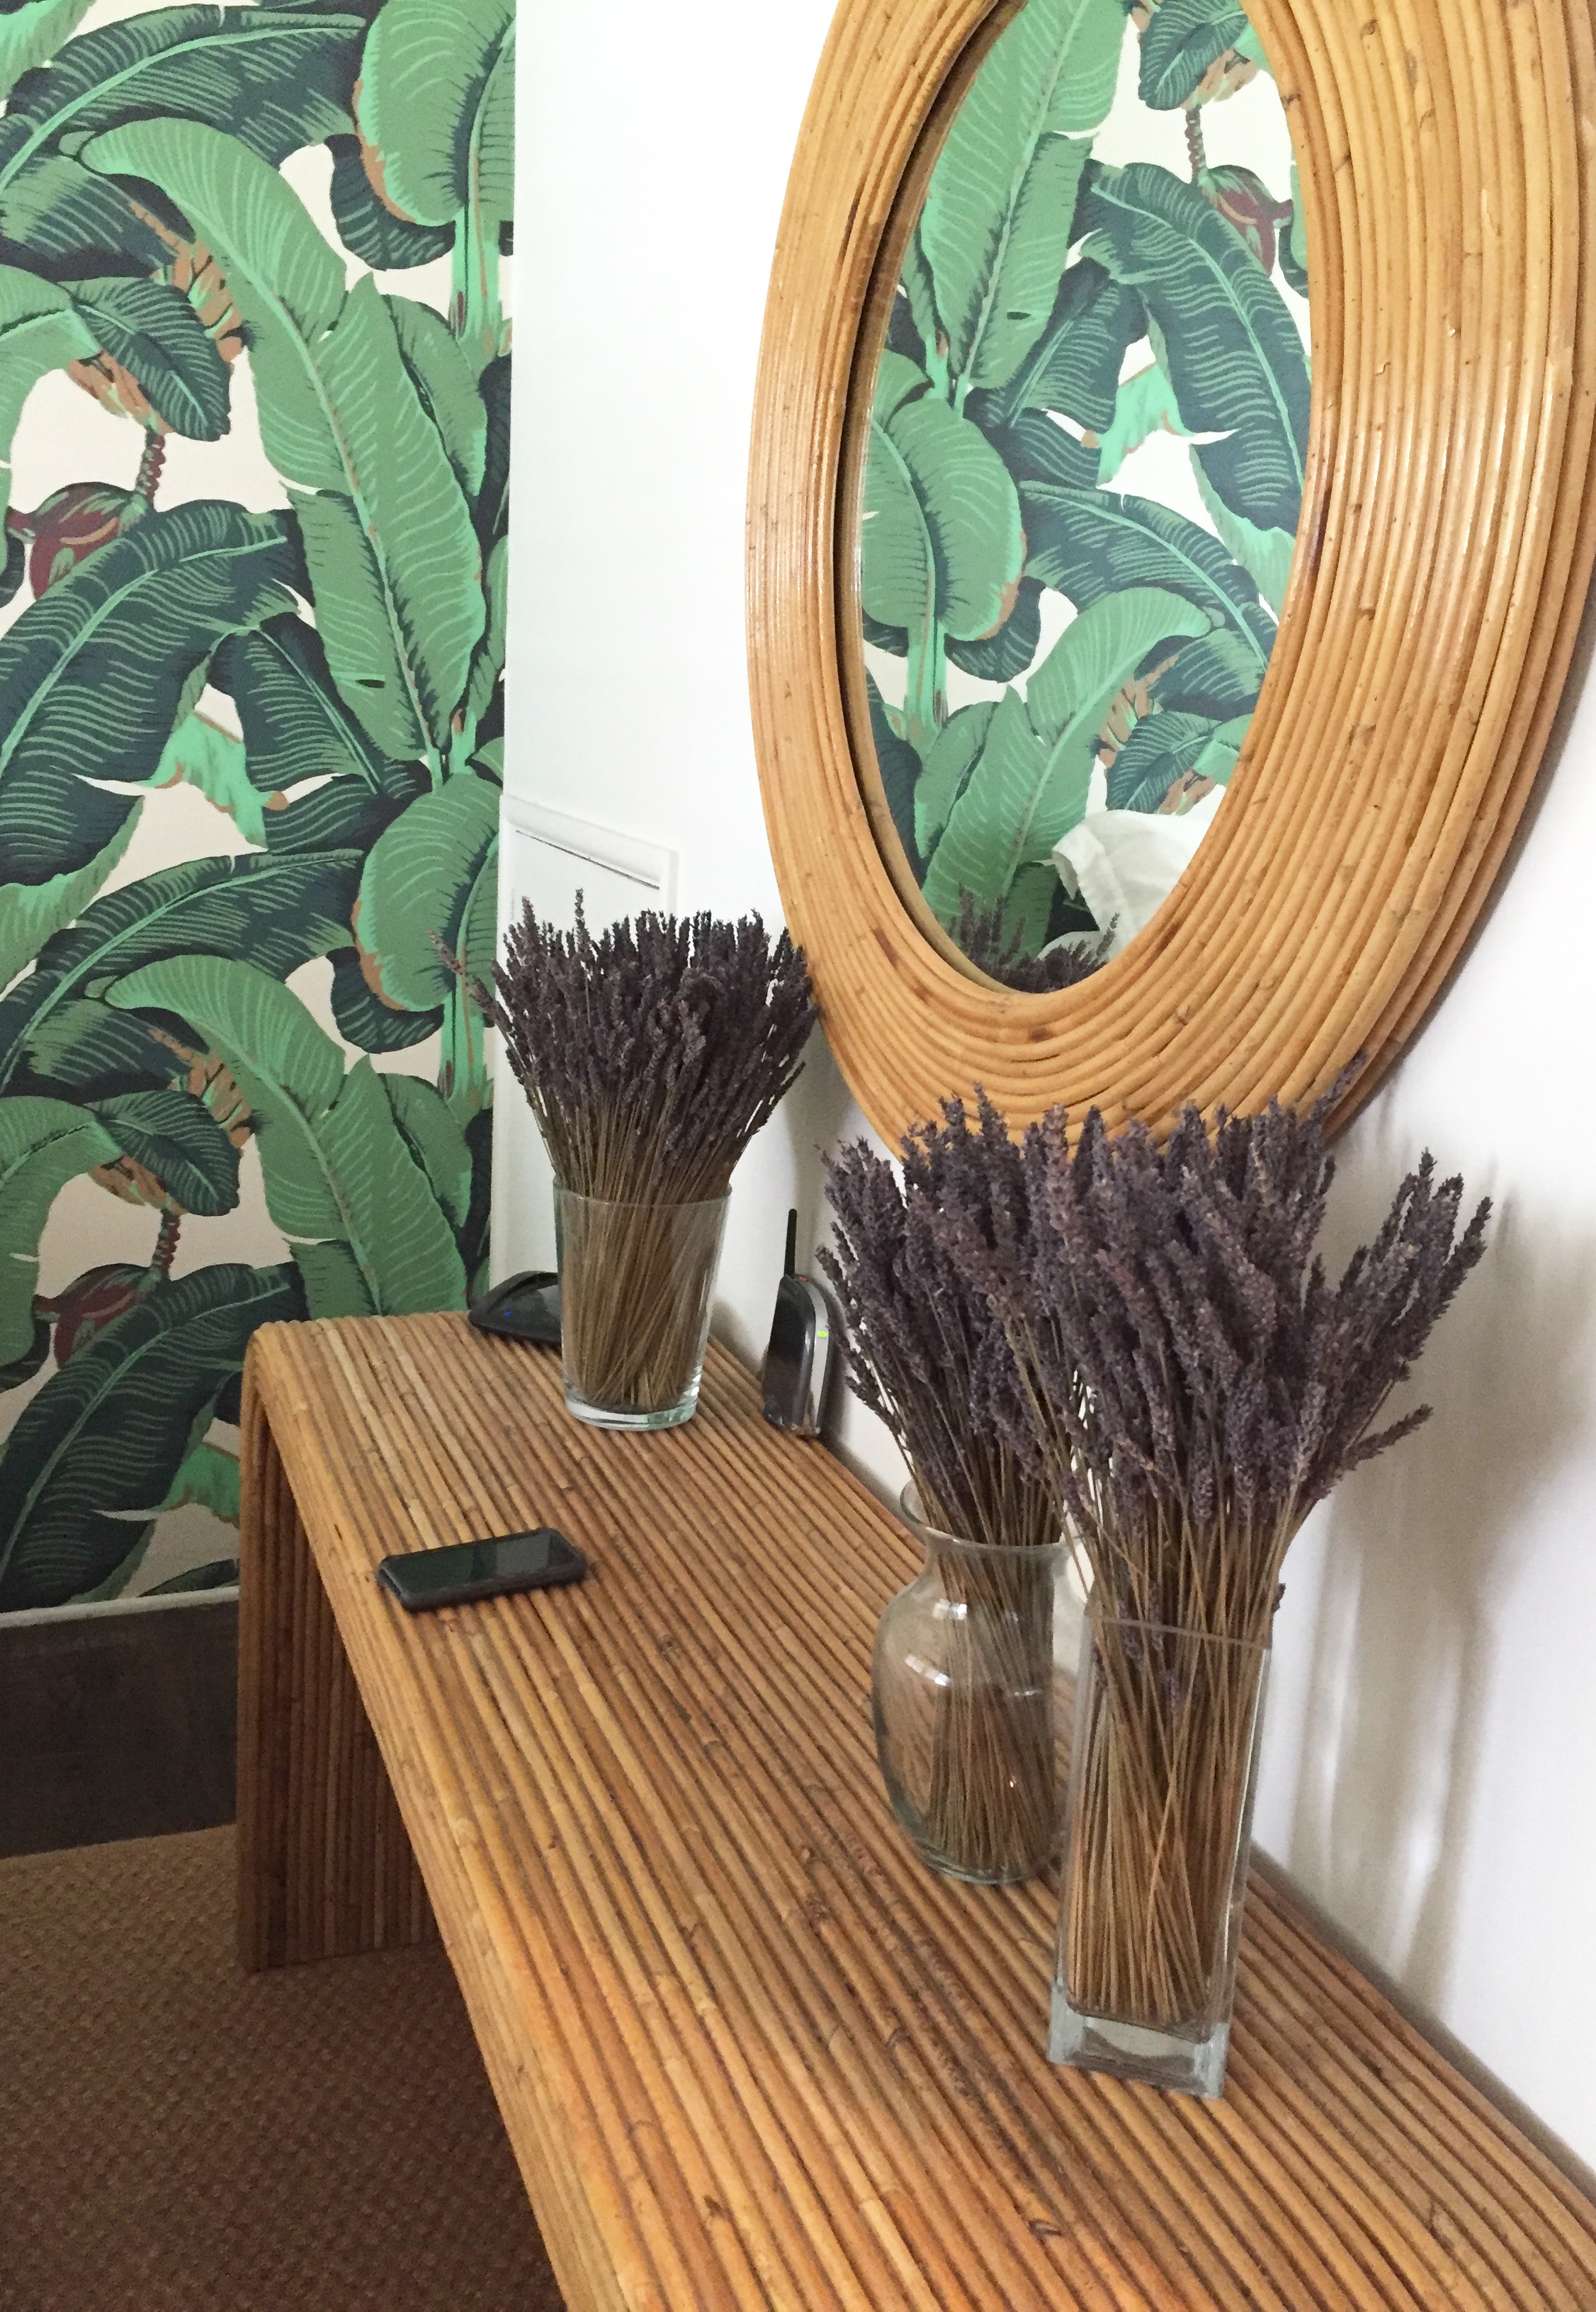
This was one of the 4 bedrooms in the house, and my personal favorite! I called it the Princess Room because that’s what it felt like to me, a doll-house princess room, so pretty and dainty. The second room I’ll feature was Corrine’s favorite! We called it the Jungle Room because the walls were covered with giant leaves and the green hue was so beautiful, I wish I could’ve really captured it’s true tone!


Again with the simple, clean, white bedspread and sheets, I love the choice here because it doesn’t take away from how busy, yet fun, the walls are. A simple lamp in the corner, two windows allowing for the day to peak through, and this beautiful set up on the far wall – we were in love I tell ya.


Why yes, that is my phone just candidly hanging out on the bamboo table. I had forgotten where it was until I saw this photo and remembered I’d put it down here. Lavender stems in vases sprinkled around the house was the most inviting and fragrant aroma you could imagine. Again, the decor is simple, but I love simplicity, I love the bamboo themed furniture, and I love how it fit so perfectly with the painted walls.

The rest of the home was just as beautifully decorated as these two rooms, people were bustling about so I wasn’t able to capture the home room by room. It has however inspired me to focus on being more simplistic in my decor choices, more open to big prints and bright colors, and to let light be the focus of each room.

I really loved it here and I loved how inspired we were when we left. I actually ordered some pom pom wall hangings of my own and a new white duvet cover in honor of these rooms! One room at a time, one space at time, that’s what I keep telling myself. I think it’s easy to get overwhelmed by decorating, by theming a room or picking colors. It’s especially difficult when you have zero clue what you’re doing … me!

I like to think that once my bedroom is complete, I’ll migrate into the living room and redecorate the space in there. Baby steps … if I can do it, trust me, you can too! Pick a space in your home, start small, and surround it with things that make you feel less anxious and more relaxed. That’s exactly how I felt when I walked into this house.

I hope this inspired you to get thinking about Spring decor and what colors you’re drawn to. I know that I’m really loving this white out look!

What kinds of colors or prints are you most drawn to, and are you more of a decor person or a wall and accessory person?

See you next week with some more happenings and have a wonderful weekend!