DIY DAILY BRUSH CLEANER – HOW TO PREVENT BREAKOUTS!

Looking back, as a teenager I thought I had terrible skin. I mean I broke out like any normal hormone-raged, pubescent teen would but I really thought I had a problem. Like, I made my dad buy me acne pills and I tried every face wash you could think of. I was 12 and no medication or face astringent on the planet could do away with my breakouts. Now as an adult, I’m breaking out and it’s unlike a normal adult woman should. The only difference between then and now is that I knew then what was triggering my breakouts.

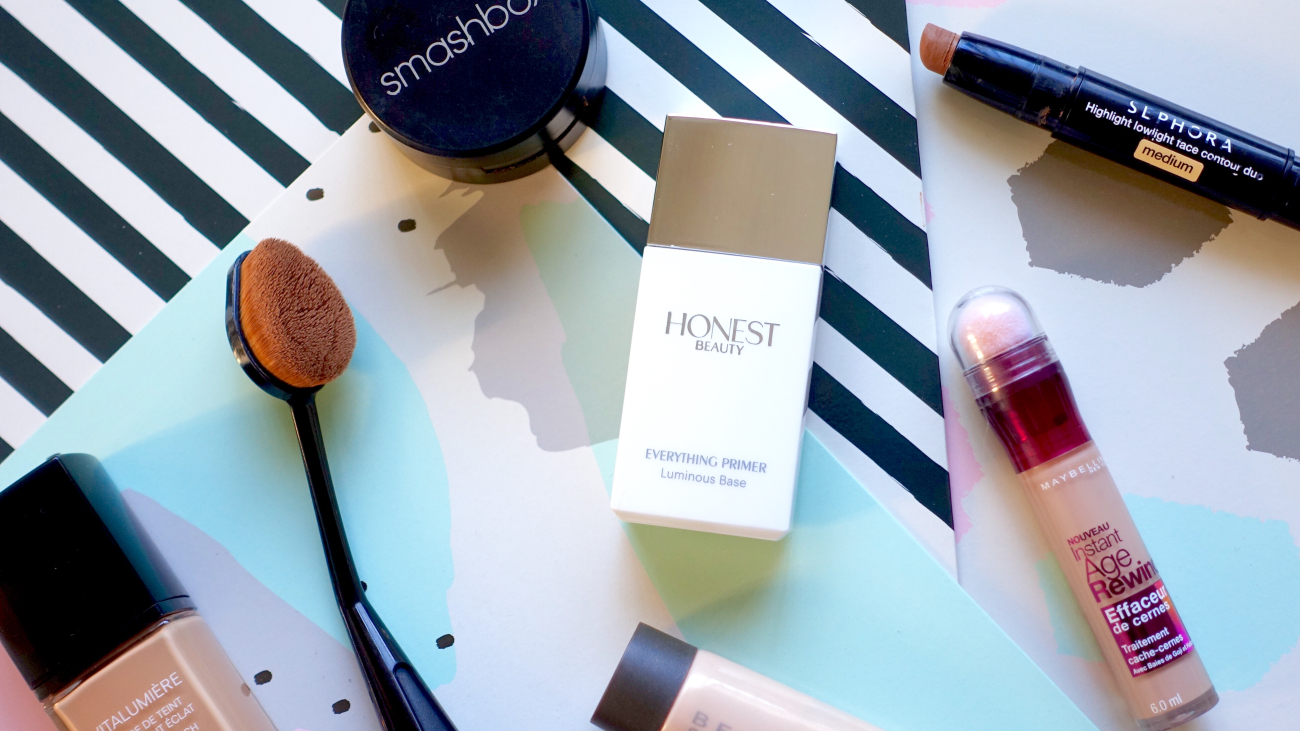
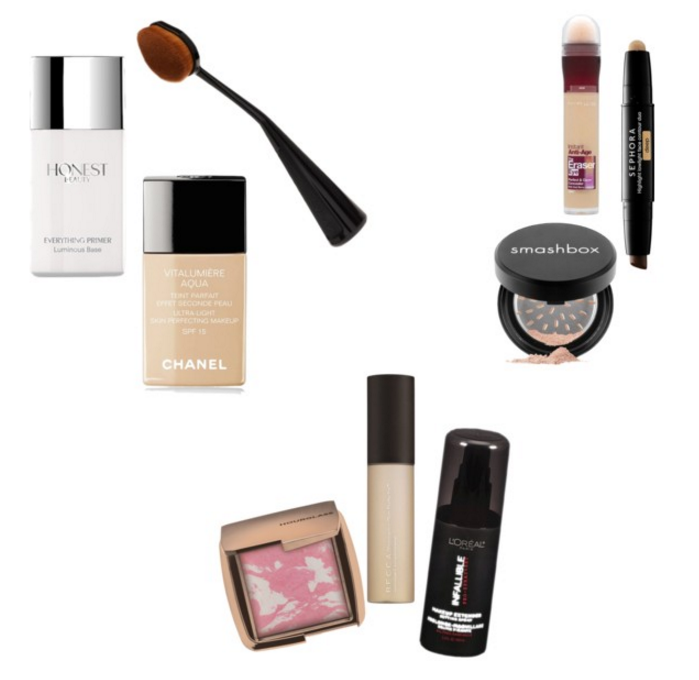
By process of elimination I realized that my problem was that I wasn’t cleaning my cosmetic brushes AND makeup enough. I was doing everything I needed to in terms of keeping my skin clean, but I was being pretty lazy when it came to daily maintenance of the products that touch my skin every dang day. Imagine the bacteria . . . ewww gross.  S0 today I’m sharing with you my DIY daily brush spritz and a super simple way to deep cleanse your brushes weekly. 
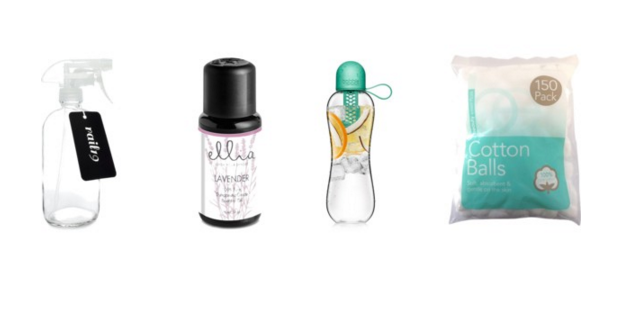
So for the daily brush spritz you’ll need an empty spray bottle, mineral water, alcohol, your favorite essential oil, and some cotton balls or paper towels.
– fill the spray bottle 70% full of water and then fill it up another 30% with alcohol
– add in 9-11 drops of your favorite essential oil (I love lavender!), give it a good shake and then spray a few spritzes onto a paper towel or tissue paper and swirl your brushes around (in a back and forth motion) until they’re clean.
– air dry

*the alcohol will cleanse and disinfect your brushes, the essential oil will recondition them since alcohol is very drying and pungent, and the water will help to dilute the mixture and the alcohol. You can use this method daily to give your brushes a nice quick cleaning so that during the week you aren’t reintroducing old makeup and bacteria onto your skin, hence the pesky breakouts.

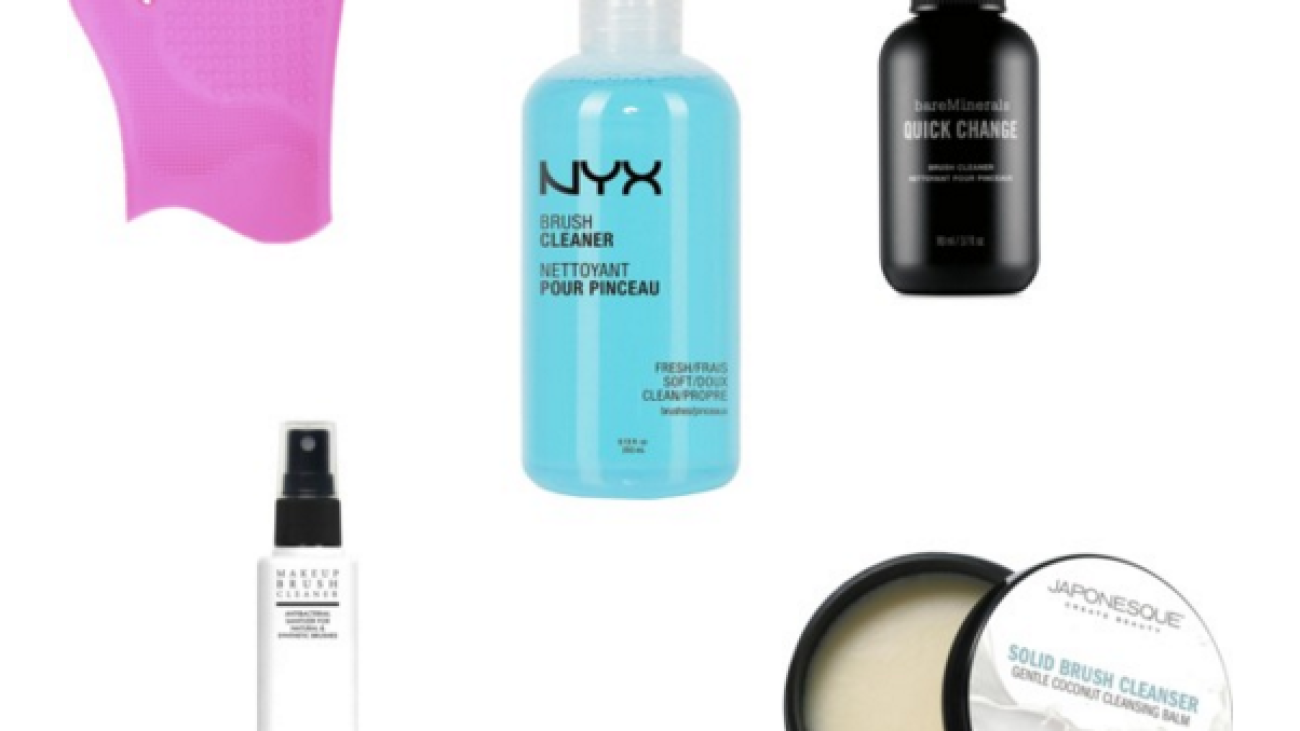
About once a week or so I’ll deep cleanse my brushes since even my daily cleanser isn’t always enough. Most makeup shampoos can be a bit pricey especially if you’re washing up to 20 brushes! *raises hand* so I’m bringing back an old favorite that you may have seen before!
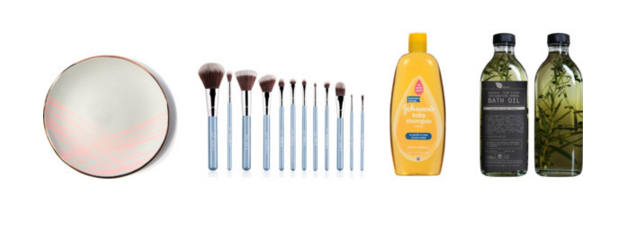
For this DIY brush shampoo/conditioner you’ll need a mild shampoo, olive oil, and a plate for mixing. Simple right?!
– pour equal parts of the shampoo and olive oil onto the plate and use your brush to combine the mixture and to saturate the bristles with the combination
– use the palm of your hand to swirl the brush around and create suds (back and forth and swirls onto your palm) until you’ve gotten most of the pigment out
– run the brush under tepid water until the water runs clear and your brushes are clean
– reshape the brush and then lay them flat or at least bristles down, so that they air dry without allowing the water to enter the handle of the brush and rusting your goods

*the shampoo is effective yet mild enough to deep cleanse your brushes weekly and the olive oil with recondition them

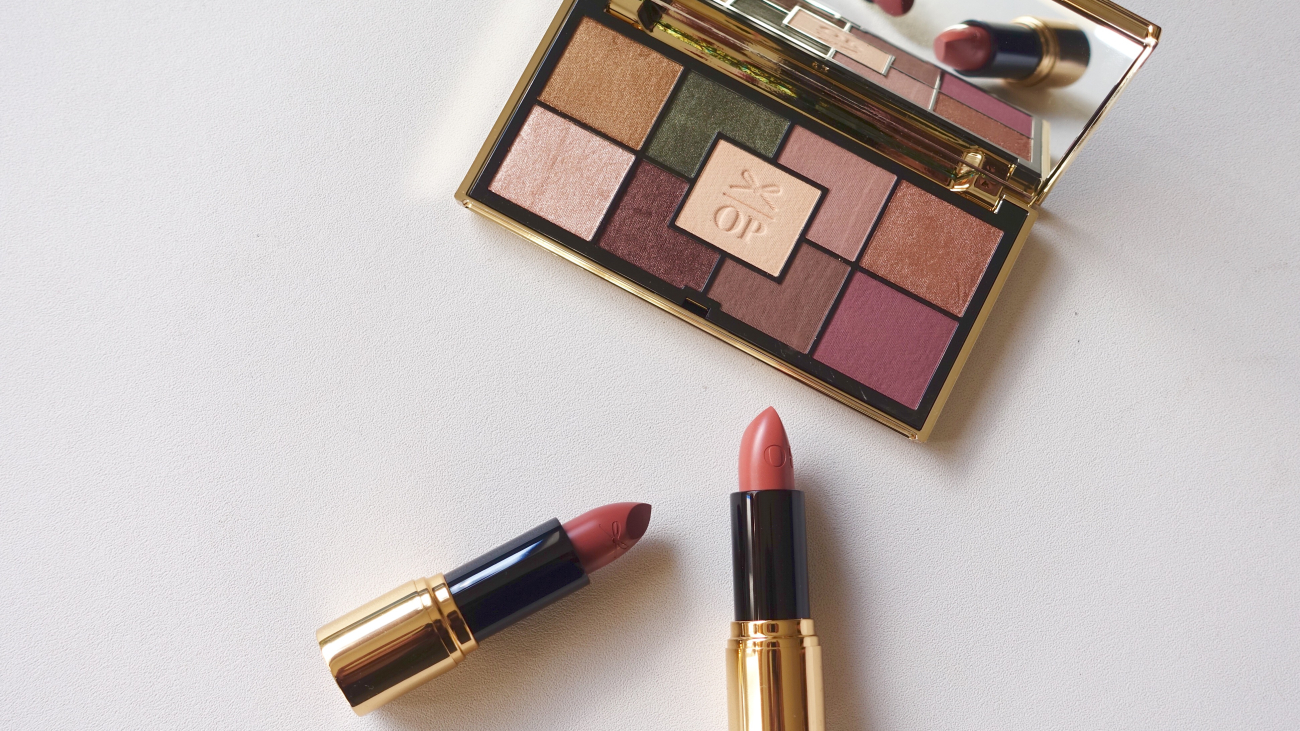
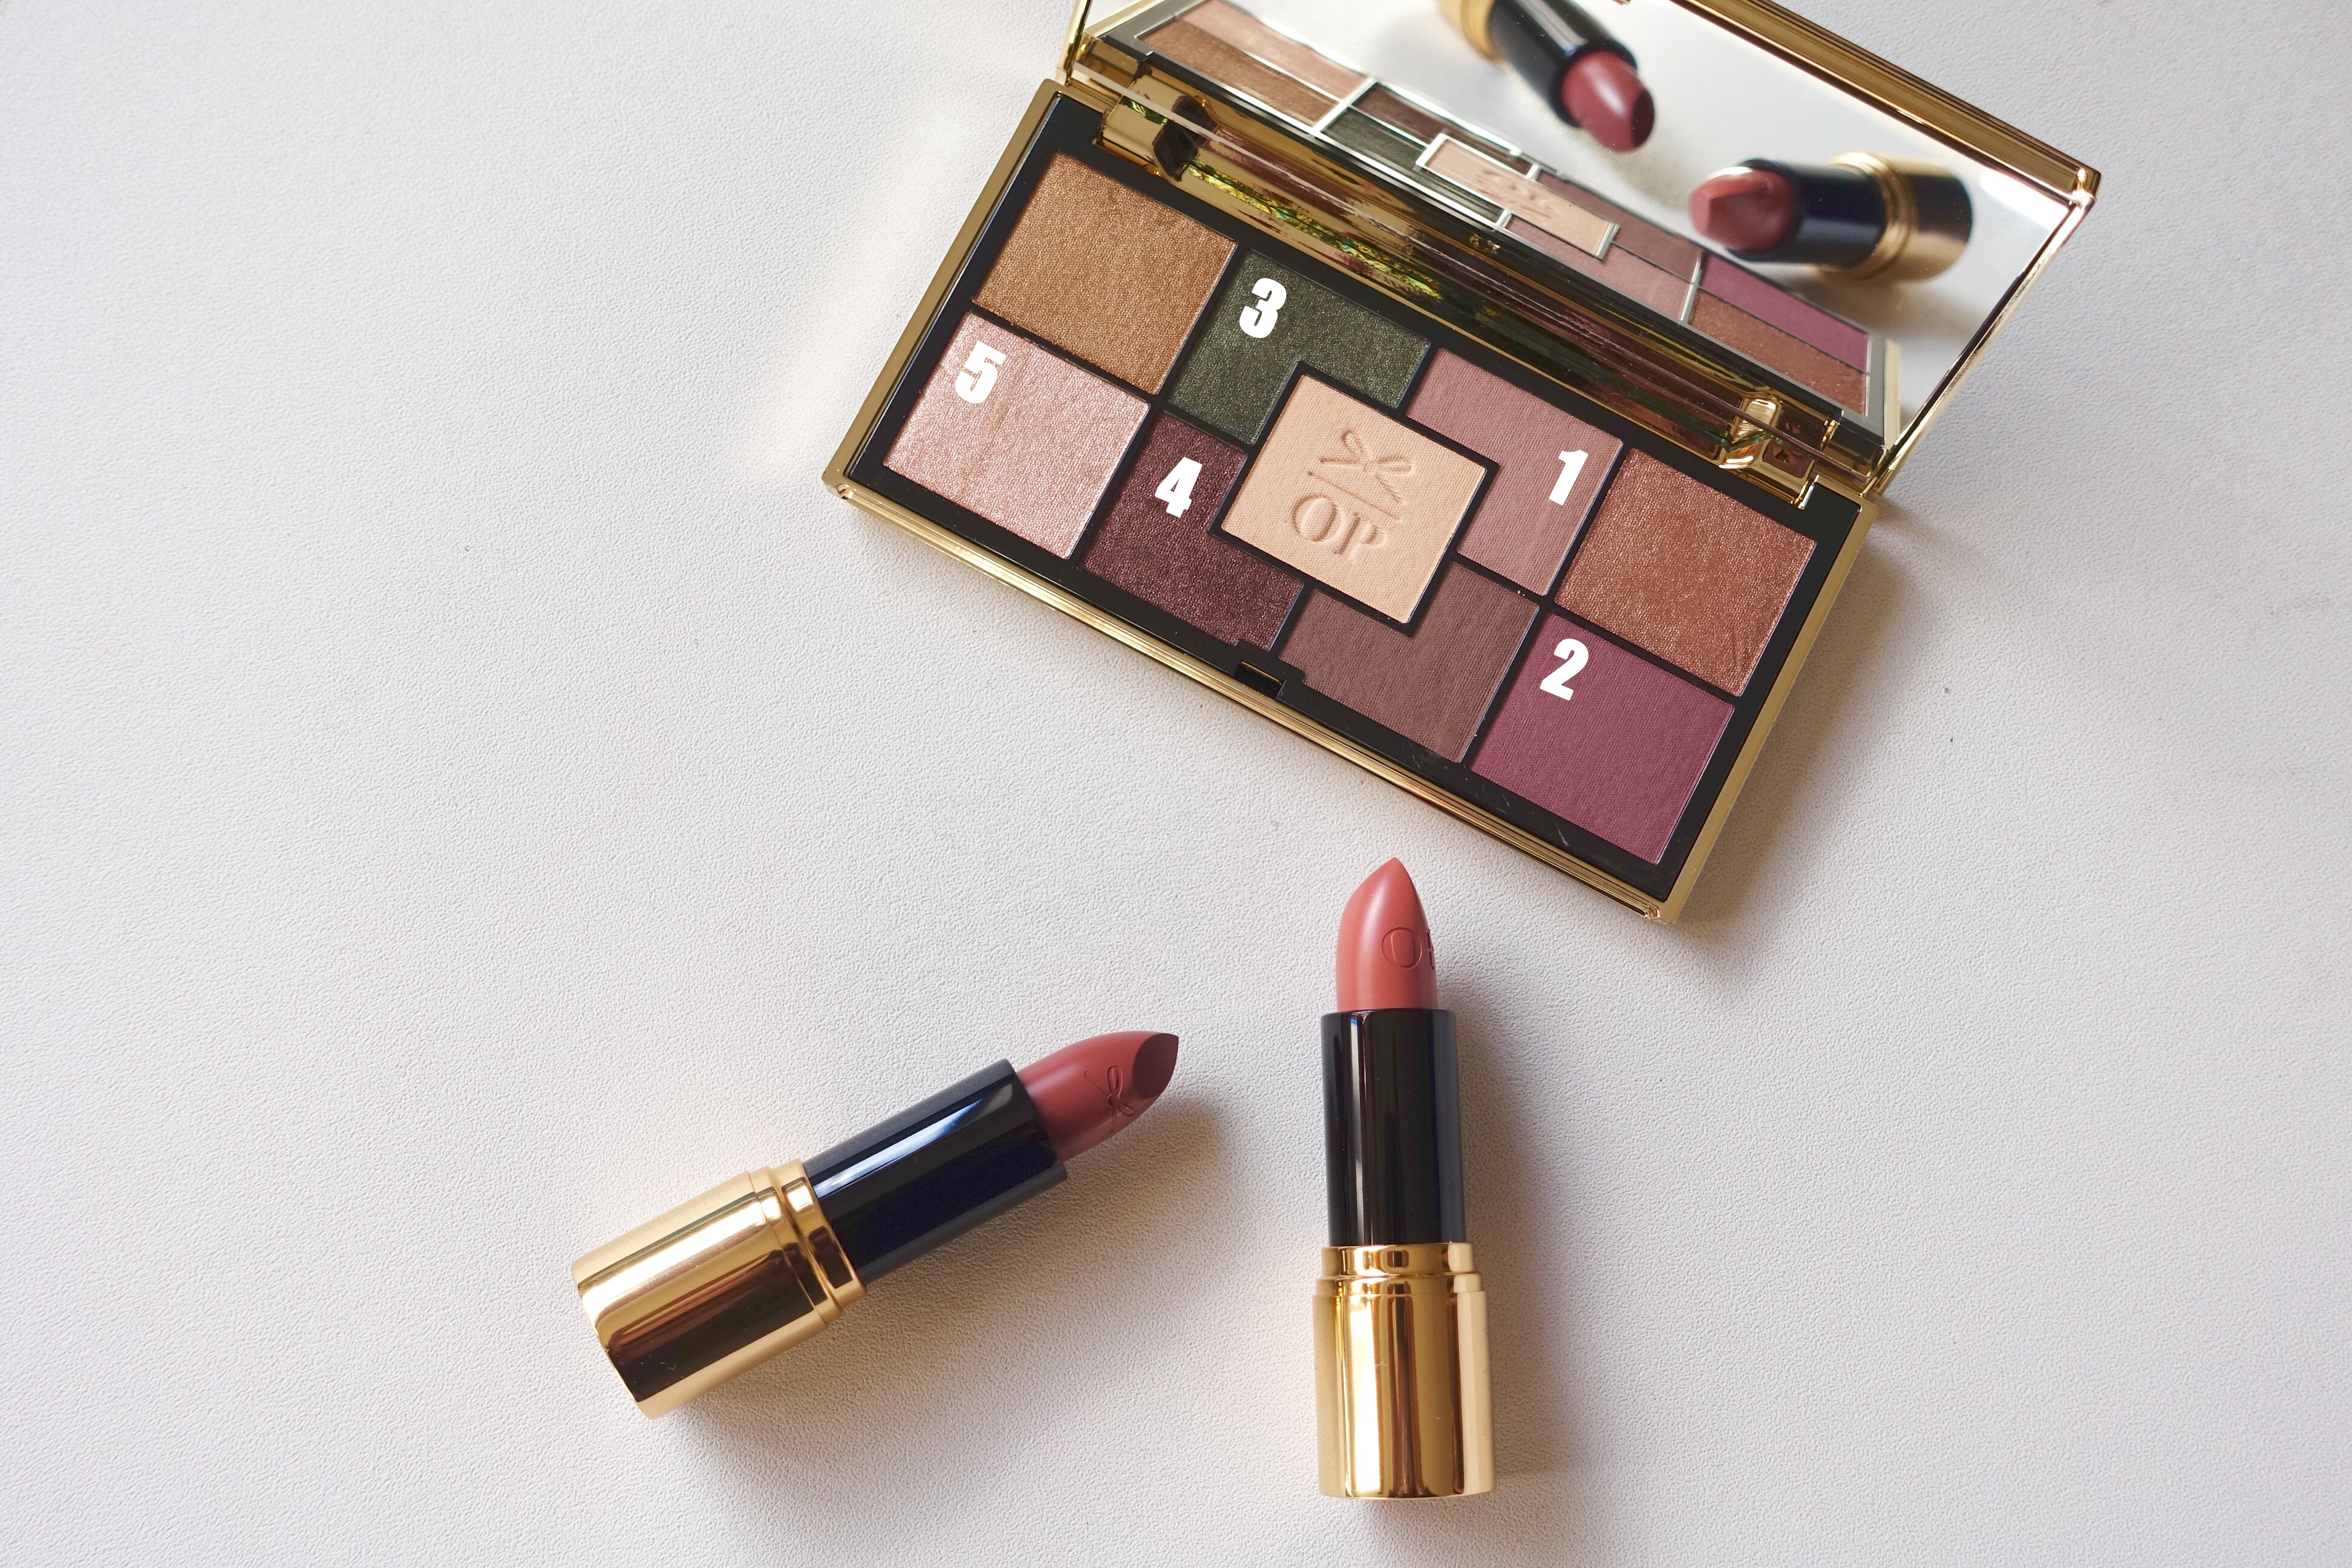
Don’t forget to disinfect your makeup and tools at least once a week also! So your pressed powders, palettes, and tools should all get a nice lil alcohol bath simply using alcohol and a cotton round. This will keep your makeup clean and your skin clean too!

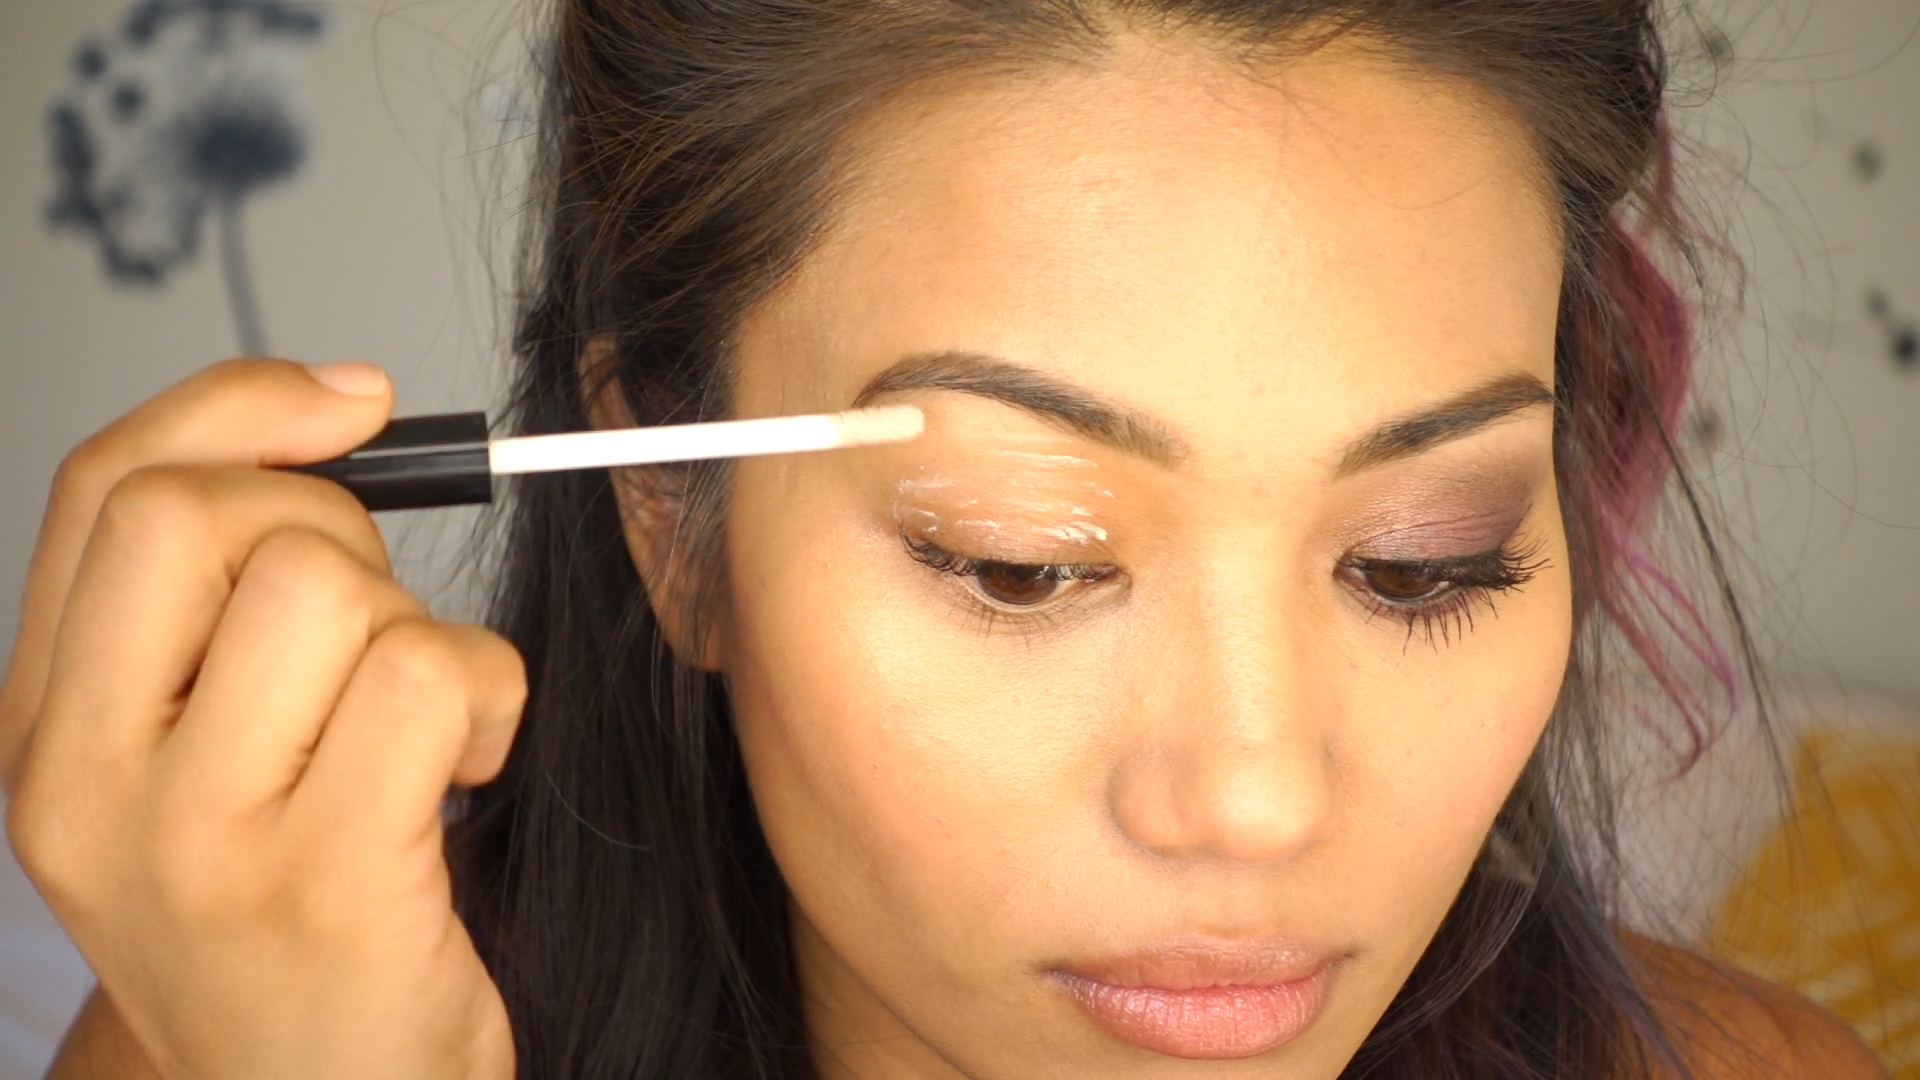
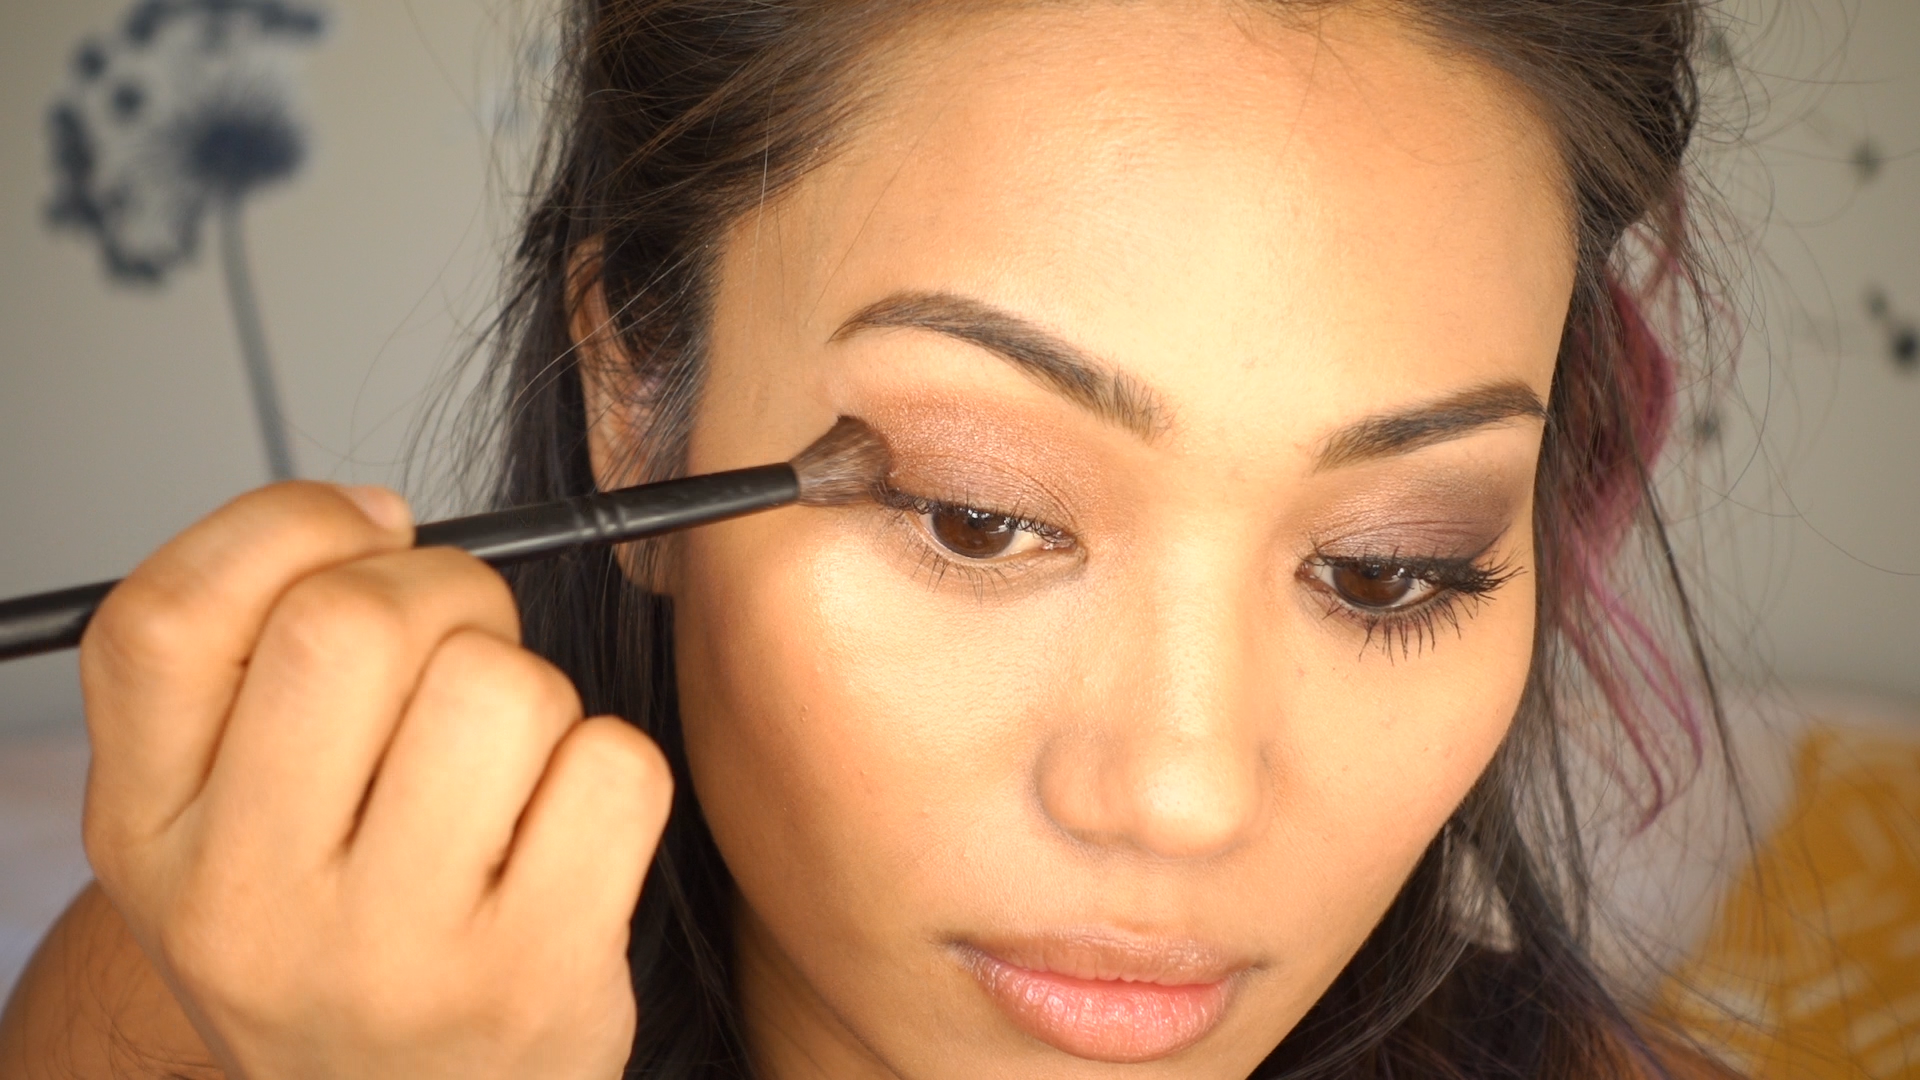
To see all of this in action check out the tutorial I did on my YouTube channel and please subscribe if you haven’t already! I love doing stuff like this!

How often do you clean your brushes, makeup, and tools?! Do you fellas out there clean your stuff too? You totally should! 


TRAVEL GUIDE: SUMMERTIME SKINCARE!

My recent adventures to Palm Springs and Las Vegas have had me reaching and grabbing for some of my favorite summertime skin care items! This summer is heating up with some record breaking temperatures so I want to share with you what’s in my beach bag! From skincare to haircare, all the way to how to look sexy AND stay cool, it’s all here!

Coola- the best all natural mineral SPF for your skin, your lips, AND it’s free of all the bad stuff! It smells like heaven and feels like silk! A straw hat is any summertime outfit’s best accessory! Versatile and functional, it’ll keep the sun out of your eyes and crows feet at bay! A sexy bathing suit cover up, perfect from taking your tush from the sand to a nice sit down dinner! A tote worthy of your affection, you’ll keep this bag from season to season! It’s simple and timeless! Sun Bum is my go-to for ‘after sun’ hair and body care! A 3 in 1 leave in conditioner that you can comb through your hair right from your beach towel, and a nice hydrating lotion to nourish your sunkissed skin! Your flip flops just got an upgrade with these Nefeli slip ons, they’re casual enough for poolside lounging and cute enough to take out after! And taking home the beach sans the sand, this Bobbi Brown ‘Beach’ body oil smells like summer and will instantly transport you away to a sunny spot on a sandy beach! The formula absorbs quickly and the scent ligers nicely with it’s notes of sand jasmine and mandarin!


This was our view from our sunny spot at the Avalon Bungalows! I mean, it doesn’t get any more perfect than enjoying fresh coconut water from a REAL coconut, pool side with your best girlfriends! We ordered all the foods, all the beverages, and yes – I even busted into my coconut for that coconut meat, with a BUTTER KNIFE! I am a true Chamorro girl! With my islander roots and savage ways, nothing was going to keep me away from that coconut! haha *you should’ve seen everyone’s faces!*


Have any fun summertime stories to share?! Do tell! It’s summer lets celebrate! 


VIDEO: A FEW OF MY FAVORITE THINGS!

VIDEO: A FEW OF MY FAVORITE THINGS!

Today I’m sharing with you some of my most coveted items from last month in today’s #JessFaves video up on my channel now! Please Subscribe if you aren’t already! Monday’s are #LizamaMamaMoments where I share my stories as a teen mom and some things I’ve learned along the way, Wednesday’s are our #Beauty days, and Friday’s are for #JessFaves and #FunnyFridays where you’ll get a review or a sketch!

Watch the video to see partake in my favorite thing to do when I edit beauty videos “GOTTA HAVE IT!”, and below are the links to these magical tings and things!


My favorite gluten free cookies that Corrine and I both enjoy! Go-to aviators that will make you feel like you’re starring in Top Gun! Daniel Wellington rose gold watch, elegant and classic, this accessory goes with everything! I’m a lil tea pot … that looooves her tea with honey and lemon! My all time favorite, current obsession, summer scent on repeat! For your summer tresses, this leave in conditioner will leave your locks feeling soft and silky! A spritz for the road, I spray my hair with this leave-in before styling it with heat or any other trauma brought on by product or styling tools!

Have you tried any of these products before? What’s your current favorite obsession?! Do share!


TOP 3 THINGS TO DO WITH AVOCADO!!!

I’m that girl! Any time anyone talks about avocado and its many uses, I go, “oh I put it on everything!” But I really do! My hair, my skin, my food, I just put it on anything I can.

I love that avocado is not only delicious but it also has beauty benefits when applied topically.  So today I’m going to share with you my top 3 favorite things to do with avocado!


Just like with most of my meals, we’ll just start with dessert first! So this is a healthy version of pudding, a cocoa avocado pudding! Now this doesn’t taste exactly like the pudding you get in the lil plastic cups at the grocery store! But it IS just as creamy and for me, when I’m craving something chocolatey and indulgent, this does the trick!

You’ll need:
– 2 large avocados
– 6-8 Tbsp agave or honey
– 1 tsp vanilla extract
– 1/2 cup cocoa powder
– coconut flakes for garnish
– 1/4 skim milk
– coarse salt to taste

Method:
Into your food processor, toss in the peeled and pitted avocados along with the rest of the ingredients. Blend until smooth, chill for an hour and ENJOY! Garnish each bowl with coconut flakes and some salt, you’re in for a treat! Joe says he’d rather not mix chocolate with a vegetable, but I say … don’t knock it ’til you try it!


Next up, a hydrating mask that will leave you feeling moisturized, refreshed, and smooth! The natural oils in avocado mixed with a few ingredients you can find in your pantry make a wonderfully whipped up cocktail for your hair and skin!


For this you can use any variation you fancy, but I like to keep it simple, just avocado and honey! I put all of it into a bowl and smash it up! Then I apply it to my face for ten minutes and my hair for 30 minutes. Rinse and relish in the softness!

You can add in coarse sugar for a nice face scrub! Then when you rinse it off your skin, massage gently, and you’ll exfoliate and hydrate all at the same time!


Oh the yummiest thing to do ever! Take a ripe avocado, plop it onto your favorite toast, spread it around, crack some black pepper and Himalayan pink salt on top. Eat. Repeat until all the foods are gone! This is the best thing to do before a work out for me, it’s super filled and fuels me for my weight training!

Give these a try and let me know what you think! What is your favorite thing to do with avocados? I’ll try them all!

What’s In My Bag? With Corrine

Hello all, Corrine here with a little update with what’s in my bag! I haven’t posted anything in awhile, but it is safe to say I am making  a comeback to the Jess Lizama blog.

With that said, I’d like to start off by giving you the latest peek of what I’m carrying around in my bag these days. With so much adventuring to do, I like to keep my bag simple and light.

Recently, rings and kitschy pins have found their way into my list of obsessions. I like to carry around this little white enamel compact because it’s perfect for corralling bits and bobs. It also comes in handy for storing loose change, Advil, and whatever else you want for safekeeping. I purchased it for $3 at a thrift store, along with the fun heart “Jesus” pin for just $1.

Processed with VSCOcam with s2 preset

No matter how cool I try to look without sunnies, I know I just cannot look as cool compared to when I do wear them. If you’re like me and have a solid collection of sunnies to choose from on the daily, then you probably have a few vintage pairs lying around too! They’re a must have.


I don’t know about you, but I cannot leave the house without a pocket journal. There are too many brilliant thoughts, random ideas, and little notes that pass me by everyday. Plus, journals were pretty much invented for flower pressing, and I personally think everyone should press flowers between any set of pages they can get their hands on. I also gather inspiration by talking to my friends and family, and sometimes someone will say something so perfect or inspiring that I just have to write it down and keep it forever. I would recommend everyone keep a journal, even if its as tiny as this one (that I stole from my mom.) It is a way of documenting your magic!

Not photographed here is my tiny travel-sized bottle of Chloe, which has been my favorite scent for years. Something I always carry around besides lipstick is a perfume rollerball or travel-sized one like the tiny Chloe, because smelling great is a priority.

Lastly, I just recently picked up this fabulous baby blue fringed bag by Rebecca Minkoff and would just like to take the opportunity to swoon. The leather fringes add just the right amount of edge to a simple outfit, while the small frame and baby blue color give off a perfectly tailored and effortless vibe.

Processed with VSCOcam with s2 preset

That’s all for today, and I hope you liked it! What helps you keep a documentation of inspiration? And what are your top five items that live in your bag?

xx, Corrine

THE PERFECT SMOKEY EYE WITH CIATE’S OLIVIA PALERMO PALETTE!

This is the easiest and most beautiful ‘smokey eye’ look that can be transformed from day wear to date night! Using the Ciate London’s Olivia Palermo palette – which by the way has the most beautiful textured packaging – and a few of my favorite products you can get this look in just a few minutes!

The eye shadows in this palette are rich and highly pigmented so you can really play with the intensity of whatever look you’re going for.


Since I’m using multiple shadows I want to prime my lids so that the colors don’t crease or fade. I use my fingertips to rub that in from my lash line to my brow bone, and remember that a little goes a long way!


Using a crease brush and #1 in the palette, pack the color on from your lash line up into your crease, creating a wash of color and a nice base with this matted light purple.


Adding dimension now, load up a short dense brush with this darker burgundy/purple #2 color. Start from the middle of your lid and apply the shadow right over that base color, only working the color into the outer half of your lid- from your lash line into your crease.


Using the same brush and the #3 color, a shimmery hunter green, create a cat eye effect drawing the shadow up and out, from your outer lash line up toward your temple. Don’t drag it out to your temple, but use this as a reference of direction, drawing it up like a wing.


Continue to blend that color into your crease, stopping at the halfway point on your lid. I like to focus my darker colors in this outer half of my eye so that you really get that intense ‘cat eye’ effect without going full smokey-eye over your entire lid.


Use your concealer brush to wipe away any fall out and to emphasize that line of color we drew for a clean look.


I like to use a fluffy brush to kind of marry all of the colors together and blend away any harsh lines.

Using an angled brush I dipped it into the #5 shimmery taupe color and applied that below my brows onto my brow bone for a nice highlight.


Then using a pencil brush or liner brush alternate between #3 and #4, the hunter green and burgundy color to line your lower lashes. I used the burgundy along the lower lashes of my inner eye stopping midway, and the hunter green for the other half getting as close to my lower lash line as possible.


With one of my favorite felt liners I lined my upper lash line winging the line out at the end, kind of flicking the line out along that cat eye we drew earlier with the green.


Apply your mascara as you would and then complete your foundation routine per the usual 😀

Tada! That’s the finished look and now you’re ready for date night or girls night! This could easily be turned into a day time look also! To see this tutorial in action here’s my video below, subscribe to my channel for more how-to’s and what-to-do’s like this! <3

Besides the sleek and elegant packaging that this palette offers, the colors can be easily stacked upon one another for more dramatic wear, or used with a lighter hand for a classy day time look.

I layered two lipsticks from this collection, Truffle and Praline, for a rich yet natural looking lip. Truffle is a rich pinky/nude color and Praline compliments it so well with its deep burgundy tones.


Try this look out and TAG me when you do! Have you tried this palette out yet or any other collection from Ciate London? What does your go-to smokey eye look like?

I love that this beauty look lasted all day and all night and the colors stayed vibrant and true throughout!

THE BEST AND FASTEST FOUNDATION ROUTINE!

For those times that we’re in a rush to get out the door, or when we’re forced to be in a mega-rush *ahem, shout out to my fiancé*, this foundation routine will meet those deadlines! Do you like how I’m referring to one of our morning rituals like it’s an employee of ours? Ha, well it is because it’s work!

Every few weeks I switch up my foundation routine, varying slightly depending on the weather, my mood, and how much time I’m given! Today’s post is all about my most recent “stay all day, look fab all night” routine. It’s quick, it’s simple, and it requires just a few minutes in the morning – but those few minutes will have you feeling and looking like a goddess! Pssst, no one will ever know that you didn’t spend forever getting ready <3 This is our super power.

1. Prime and prep– you need a good base for your foundation so that it glides on smoothly and evenly. This primer is one of my favorites, it’s hyaluronic acid based, illuminating, and light as a feather!
2. Foundation is the foundation– I’m funny I know. So everyone has their favorite whether it’s a cream, powder, or liquid. This happens to be in my top 3. It’s buildable, offers up great coverage, and still manages to look ultra natural
3. Brush it or leave it – the most convenient way for me to apply foundation to my skin is with my fingertips, but I’ve read so many reviews on this brush that I decided to give it try! I have to say, it’s hands down one of the best brushes ever; it has dense bristles, feels like cashmere against your skin, and gives you an airbrushed finished look
4. Conceal how much sleep we don’t get– my friend Ashlee introduced me to this little gem; it glides on smoothly, I love the precision of the pen, and it doesn’t crease hallelu
5. Powder up– I have dry skin so I don’t usually powder my entire face. So to make sure the concealer under my eyes doesn’t slide around, I use a fluffy brush to swipe on a setting powder and this one is finely milled enough that it’s not cakey at all
6. Contour– I’ve seen some people really go to town with contour and I’m not a huge fan of it, I think it alters the face a bit too much than what I’m comfortable with. Subtly contouring your face is flattering however, I usually do the hollows of cheeks and my nose. Subtle is sexy in my opinion but hey, opinions are like armpits
7. Set it and forget it– once all of your makeup is on, spray it, set it, and then you’re good for the entire day on through the night! This one is awesome and adjusts to the temperature of you skin. Don’t ask me how, I think it’s Science or something
8. Make ’em think you’ve just ran up a flight of stairs– oh that naturally flushed look. Well I’m not trying to run up any flights of stairs any time soon so I’ll stick to my rouge. This one is light enough as to not make you feel like Raggedy Ann, but bright enough to give you that healthy glow
9. Shine bright like a diamond– illuminators have been all the rage lately and I’m all in! I love how natural this cream is; you shine, but not like a fairy dumped her bag of sparkles onto your face, more like you’re an angel who’s descended just to run errands and make it to Trader Joe’s before the rest of the world

See! You can do all of that in just FIVE minutes! Maybe even less if you move fast! I mean, we’re magical, I believe in you!

I’ll link you here so you can see all of these steps in action over on my YouTube channel, subscribe to me if you haven’t already so that I’m not just making videos for my mom please and thank you. I love you mom.

What’s your go-to foundation routine? Is it a mineral powder, liquid, or a cream kind of regimen? 

See you soon for some Pinterest DIY happenings … or mishaps if you know me <3


MY UPDATED NIGHT TIME SKINCARE ROUTINE!

My skin care routine changes depending on the time of year and the time of day, are you this particular about skincare too? So today I wanted to share with you my current night time skincare regimen and just how I keep this 30-something skin of mine as youthful as I can!

First step is cleansing. I cleanse in the shower usually since I’m one of those ‘night time shower before bed’ kinda people. Takes me all of one minute, thank you handy dandy Clarasonic timer, and I alternate between a few different products depending on what day of the week it is, errr and what time of the month it is.

Clarasonics and cleansing systems of the like, are more effective at removing impurities and giving your skin a deeper cleanse than your finger tips would, so I highly recommend them. Start slowly with exfoliation so that you don’t irritate your skin, especially if you’re not used to exfoliating weekly.

1. Exfoliate: Even if you have another skin type than my own (I have very dry skin), it’s still important to exfoliate so that your skin is prompted to create more collagen and it provides a deeper cleanse than the every day cleanser gives you. I alternate between the Clinique 7 day scrub– I love this because it’s gentle enough to use daily though that’s not how I use it, and it doesn’t make my skin feel overly exfoliated. That’s a Monday, Friday routine and on Tuesdays and Thursdays I will use the Kate Somerville ExfoliKate because there’s something about it that is different than any other exfoliant I’ve used. Leaves your skin squeaky clean without over drying and it smells like the spa! I swear by these two. The Tatcha rice powder is wonderful for a quick deep cleanse that brightens up your face instantly! I use this on the weekends after a week full of makeup and movin’ n groovin’!


2. Cleanse and eye makeup removal: I love the Tula cleanser for these purposes because it’s gentle and foams up nicely. It also doesn’t irritate the sensitive skin around my eyes, and it’s light enough to use twice a day if I needed to. The Lush lip scrub I find quick and easy and takes only a few seconds to do the job- just scrub, rub, and rinse!
3. Tone: Right after the shower I will spray a few pumps of the Honest hydrating mist onto my face and while that is still drying I will go in with my serums.
4. Hydrate: Serums are the gate keepers between your skincare products and the layers deep within your face. Hyaluronic acid serum has got to be my number one go-to product for deep hydration and quick absorption. It’s something our skin already produces except in very low amounts and as we age, of COURSE we produce less of it. Oh joy. A few drops of this and then a few drops of Vitamin C will leave your skin soft and supple!
5. Seal and treat: Now that you have your serum on, you can hydrate with a moisturizer here or you can do what I do and seal all of those products in with a nice treatment! I’m in my 30’s so one of my ‘never-ever-forget-to-do’s’ is to use a treatment on my skin, something that will really plump up my skin like the PTR glycolic hydrating serum or the Ole Henriksen night treatment. Both of these are great for fine lines, acne scarring, and overall problematic skin.
6. All about the eyes: Since the skin around our eyes is the thinnest of all of our face, we age there the quickest. Oh joy! So use your ring finger and gentle pat and roll your eye cream from the outer corner of your eye, in towards your nose. Remember pat and roll and press and hold! That’s the secret! This eye serum is inexpensive and one of the best I’ve tried! My advice, start using an eye cream fresh out of the womb! And of course I drench my lashes in castor oil because it moisturizes and protects them, and keeps them healthy through all of the mascara and eye liner layers. It’s been a beauty secret for year past so lets keep it going for years to come!
7. Don’t forget your pout: Since you’ve scrubbed your lips and got them bright and smooth again, it’s time to moisturize them. For years I’ve been using this rose salve because it’s thick, smooth, and ultra hydrating.
8. Prevent turkey neck! Yup I said it, turkey neck y’all! If you’re under the age of 25 I’d say a neck treatment isn’t necessary, but for us babes who are 25+, a neck cream is a MUST! From your cleavage up (pecks up for you men out there) you should be cleansing, hydrating, and treating. You don’t want to have the face of a 19 year old and the neck of a 109 year old. I looove this Tula advanced neck cream because it’s thick like a balm but goes on smooth and doesn’t feel sticky at all. It’s extremely moisturizing and it’s packed full of probiotics and vitamins to replenish your skin and keep it young!

So there you have it! Eight steps to great skin, skin that is hydrated and healthy! This doesn’t take long at all by the way, 3-5 minutes tops is all it takes to end your day with some pampering and to start your night with some regenerating power! Go baby cells goooo!

On days I don’t wash my hair, more joys of color treated locks, I like to run a bit of oil into the ends to prevent drying and splitting. This argan oil is light enough to use daily and smells divine!

If you’d like to see these steps in action, head on over to my YouTube channel where I did a tutorial of this exact routine for you! And Subscribe if you haven’t already, fun and exciting things coming this year <3

Let me know what your number one beauty secret is! Is it a special cleanser, a mud from the Alps?! 

Tell me so we can all obsess over these things together because, sharing! See you next week with some tips on how to survive the winter! *yes, this coming from a gal in LA, though this weekend we’ll be in Yosemite so I’ll be “experienced”!*

FALL FASHION LOOK BOOK!

Fall fashion in L.A. looks a lot like summer fashion in L.A.! We’re spoiled in California with its sunny days and 85 degree conditions, so when it gets cooler than 75 we all freak out! Here are my some of my favorite fashion pieces of the season … and ahem Black Friday sale steals!!! Because, pictures or it didn’t happen!

One of my favorite looks the ‘casual chic’ look. I wear this out to run errands and trek around the town in. I paired these high-waisted vegan leather leggings with a wrap around crop top and one of my favorite pieces – this maxi blazer. Blazers just make any outfit feel a bit more dressed up, and in juxtaposition of that, I completed this outfit with these Nike Thea running shoes. I’ve been pairing these shoes with a bunch of different looks lately, the style of it make them feel more formal, and in this case they serve to dress down the look in a casual chic kind of way.

Here’s a front view of this outfit … I call this pose the ‘flailing bird’. I like to throw myself into awkward positions when I’m posing in public, just makes it more fun for me when people begin to stare! These sunglasses have been a summer favorite of mine and I plan on wearing them on through next summer! Another accessory I’ve loved through the seasons is this Michael Kors purse, it’s sleek and classic, and one of my favorite color combinations – navy blue and gold.

What’s a Fall look book without including the ever coveted over-the-knee boots?! Of course when these babies went on sale I had to have them! I have these boots in tan also, but black boots feel more sleek when paired with other solid colors. This look I wear out to lunch meetings and when I’m feeling fancy enough to show off some bare midriff!

This look could be more casual if you paired the outfit with some booties and swapped the vest for a cardigan. I love putting together high waisted shorts with crop tops, especially if they are asymmetrical. This crop top has a higher neck line so a simple silver necklace and cat eye sunnies were all the accessories it needed. Besides, this moto vest was a great accessory on its own with silver hardware, zippers, and front snaps. Scalloped shorts like these Nasty Gal ones are great for every shape and size trust me! I’m short and I felt like the shape of these were perfect and weren’t cut at unflattering angles. Sheer tights and these thigh high boots complete the look for a trendy and sexy ensemble!


I saved the best for last! Take this look out on a date night, a girls night out, or if you’re just feeling like your sexy self! This is a more daring look with some classy, and casual, flare to it; featuring a strappy cut out bralette and high waisted scuba leggings.

If this feels like it’s more skin than you’d like to bare, have no fear, I brought back the maxi blazer to calm the nerves. This knee length skinny scarf also adds to the modesty of the top, drawing the eye to the classiness of the bow and not the lines in the triangle top. These scuba leggings are also a great way to bare less yet be more bold, they’re high waisted and feature a double buckle that you often see in dress pants. A wonderful addition to this look which also carry out the casualness of it, are these faux leather loafers. Shoes really do set the tempo for a look. These more casual shoes dress the outfit down more than a pair of pumps would. Have fun with it though and if you love your pumps, wear them like no one is watching … or is that dancing? (both!)

I hope you enjoyed this Fall look book, these were some of the pieces I picked up after Black Friday last week and I just had to share! If you’d like to see this in moving form, check out the look book over on my YouTube channel where I twirl like nobody’s business!

What are you most looking forward to this holiday season? The fashion? The food? Did you splurge on sales like I did?! Let me know and I’ll see you Friday with a festive beauty tutorial!