How To Handle Wedding Planning Stress – Bride Guide

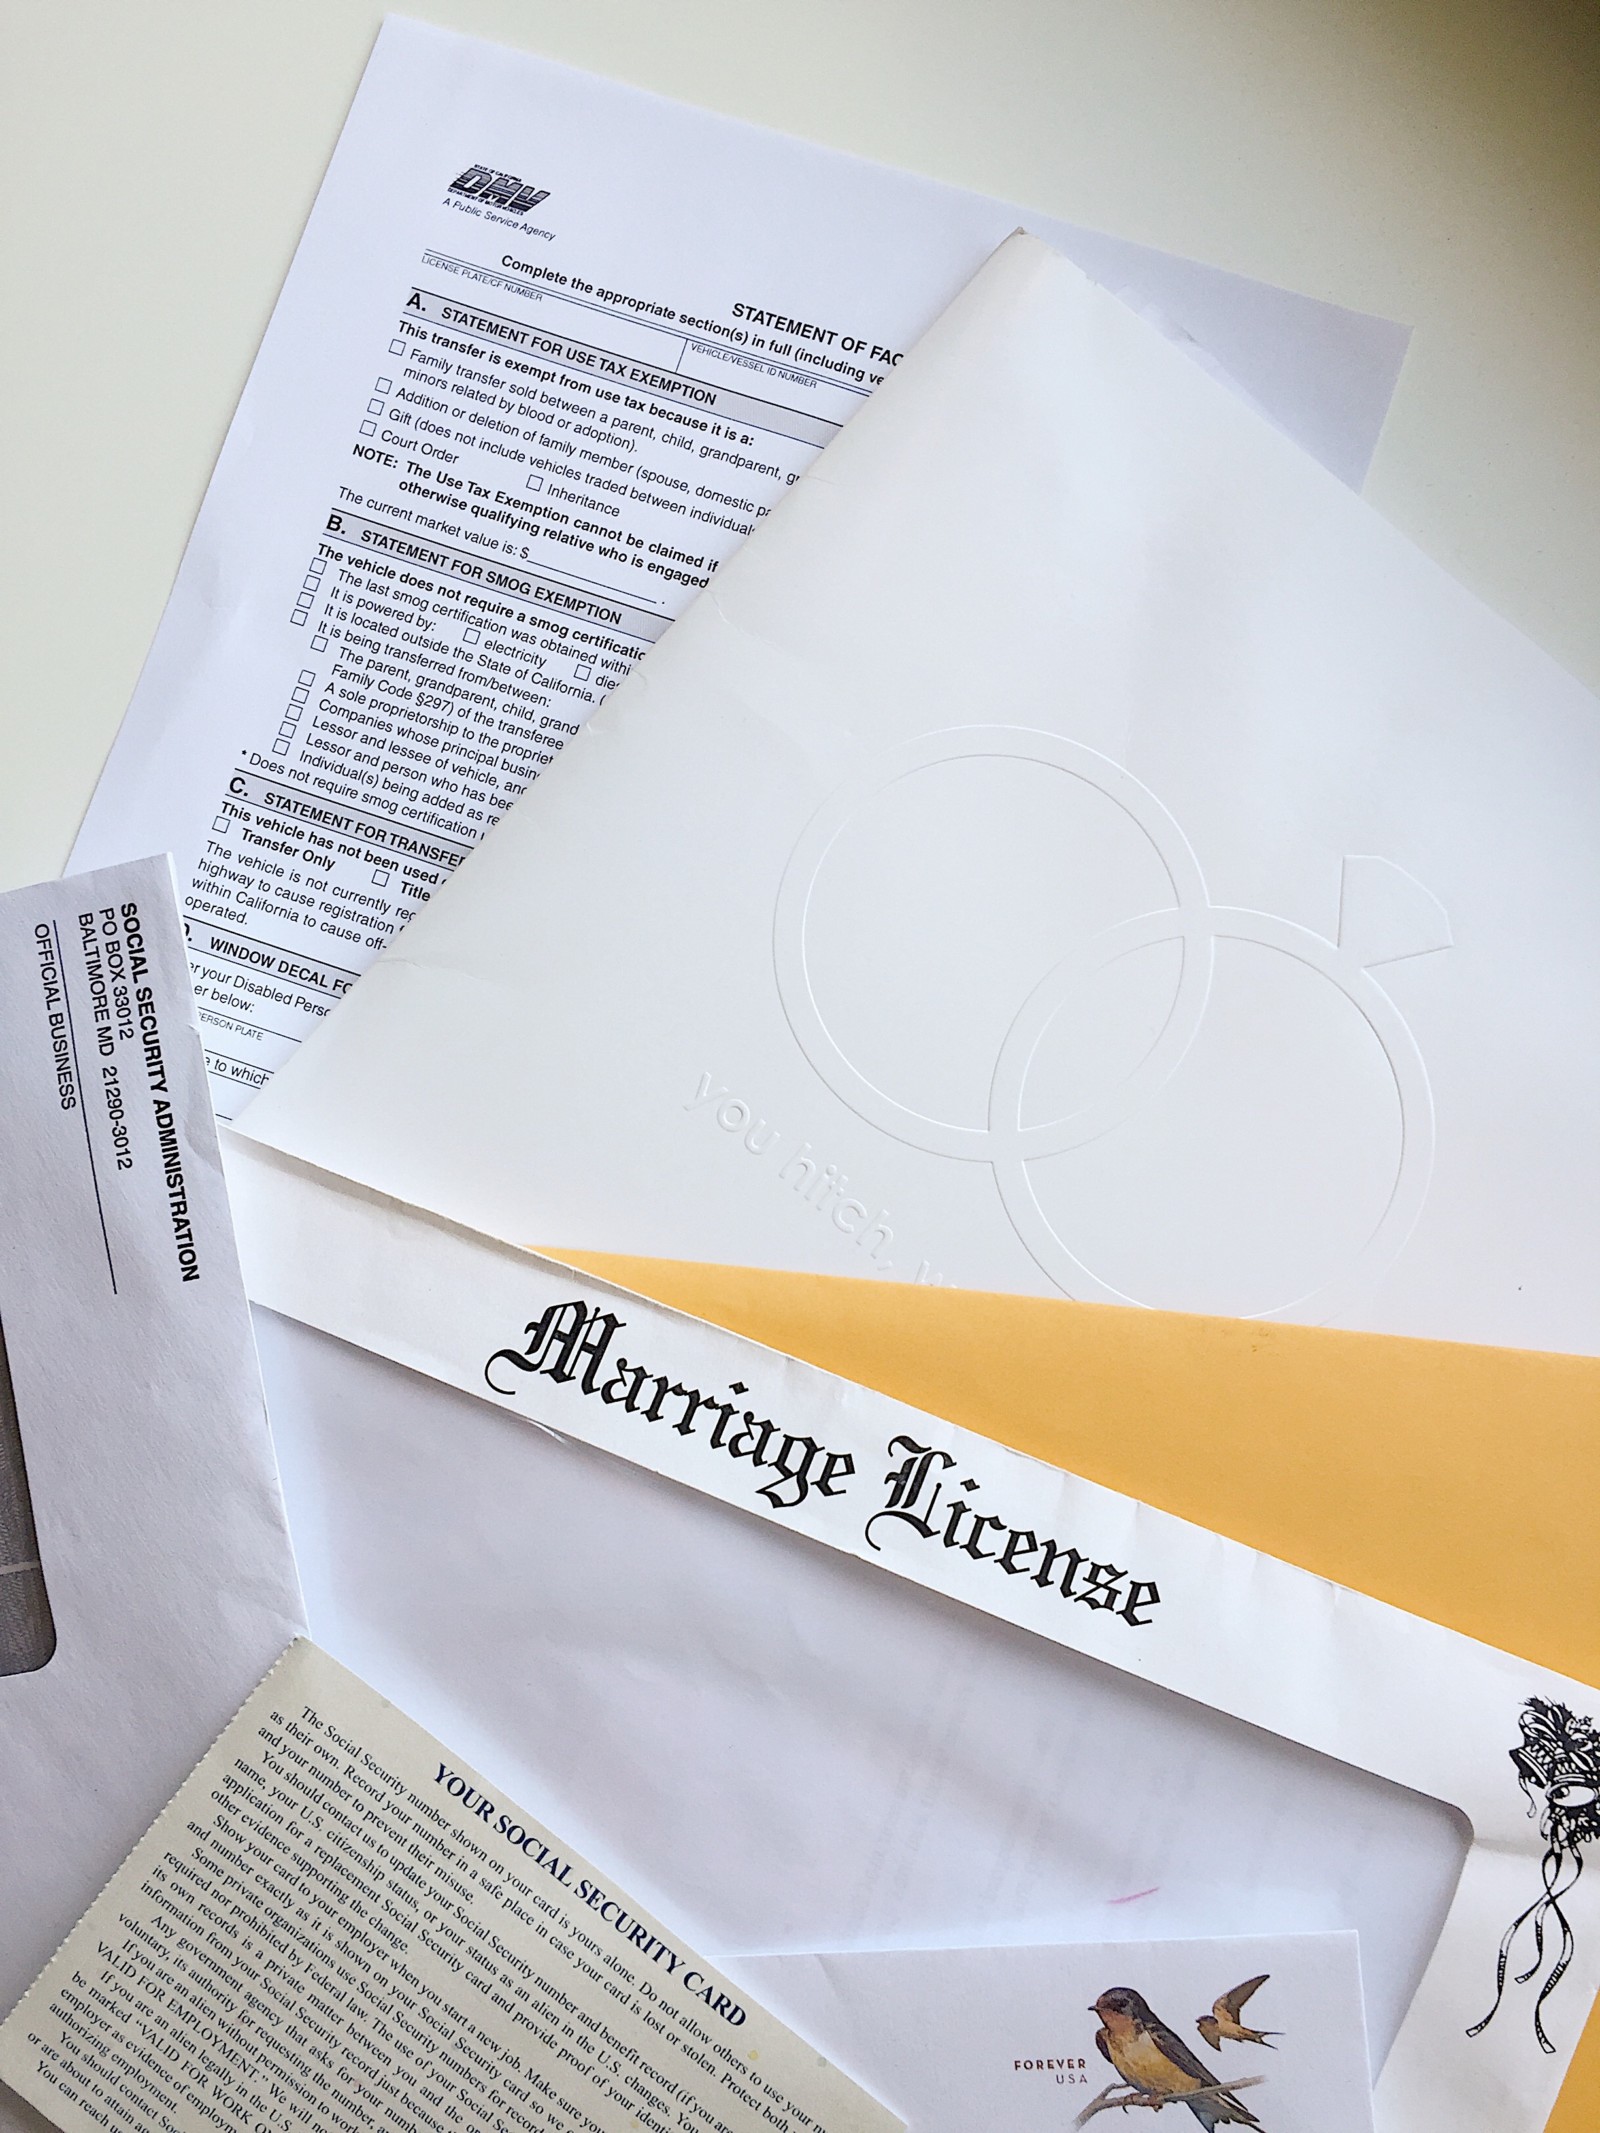
Comin’ in hot! Our Bride Guide series chat this week is all about how to handle the stress of planning a wedding. With a task list as long as CVS receipts it can all be so overwhelming. I want to share with you the way I broke it all down for myself since we did the planning ourselves and how I managed the Bridezilla-ness of it all.

Lists on lists baby! There’s a timeline of events, there’s the EVENT, and there’s all the planning in between. So today we’ll talk about the things that go in between the engagement and the HONEYMOON <3

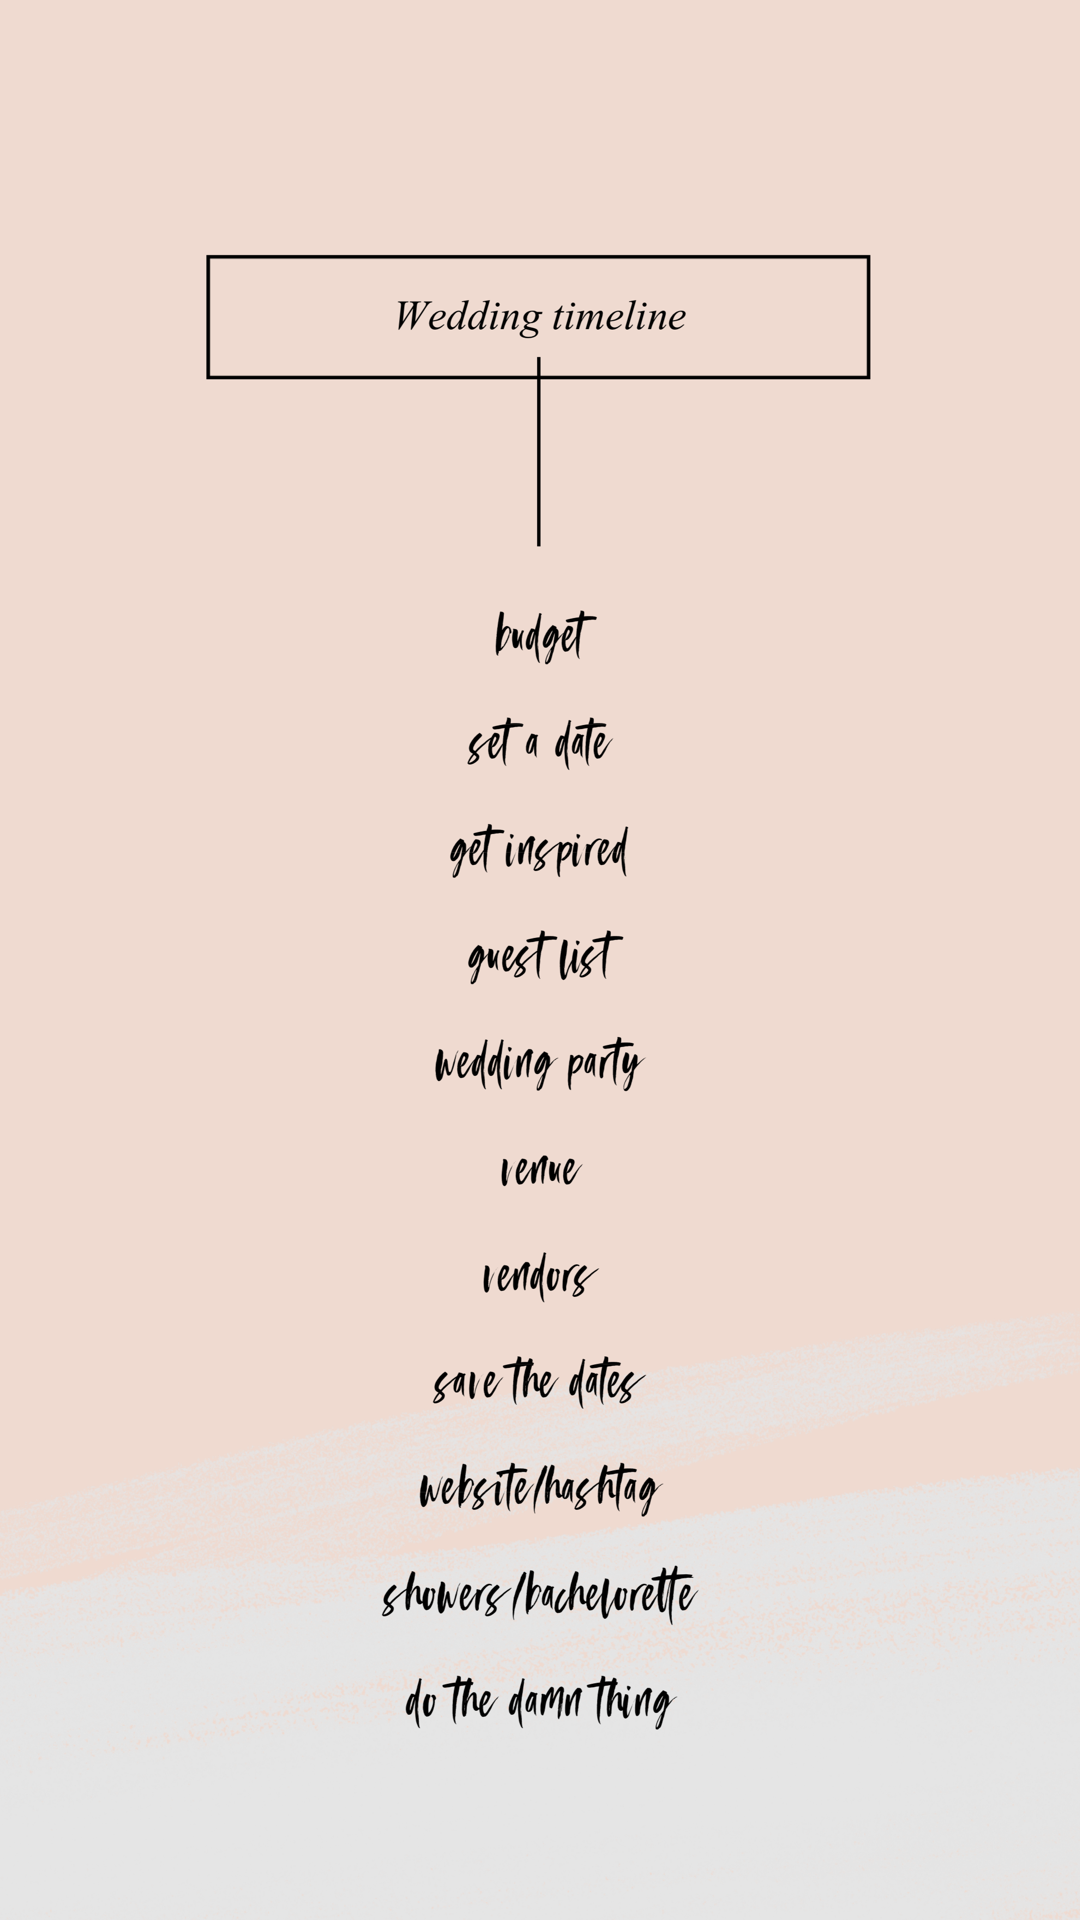
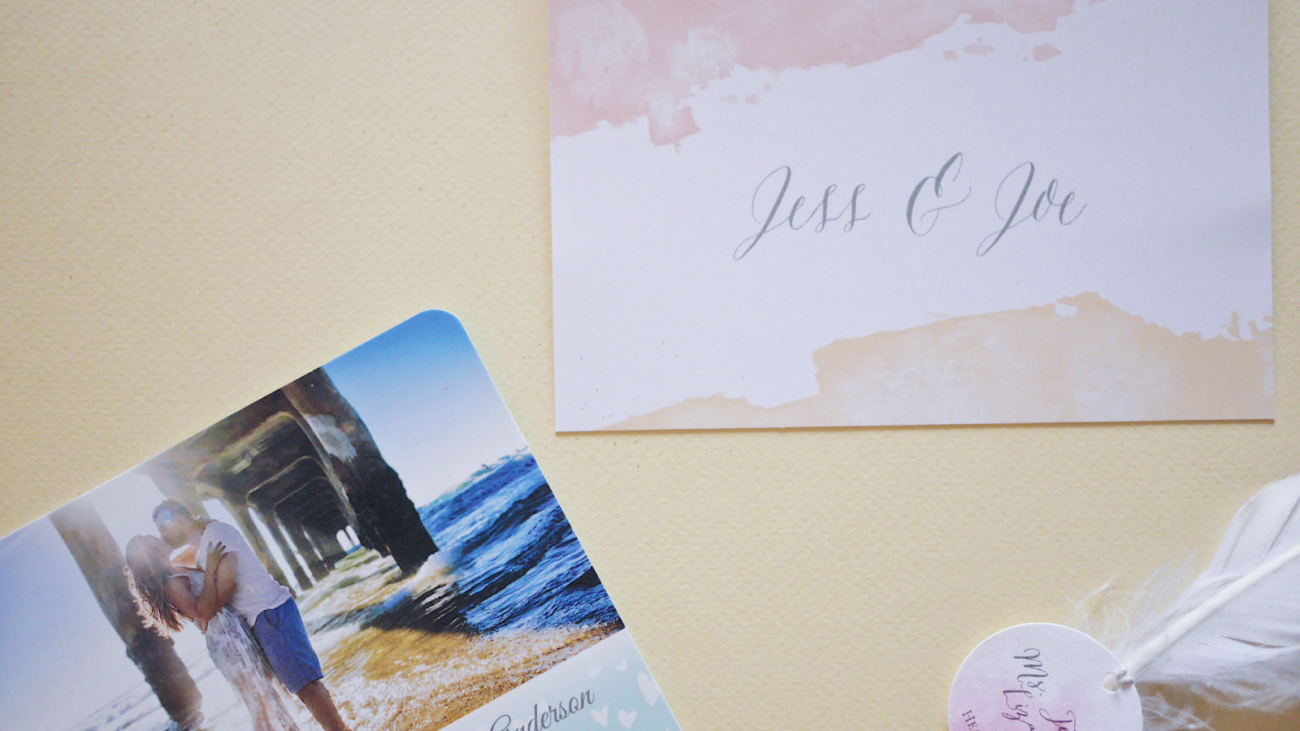
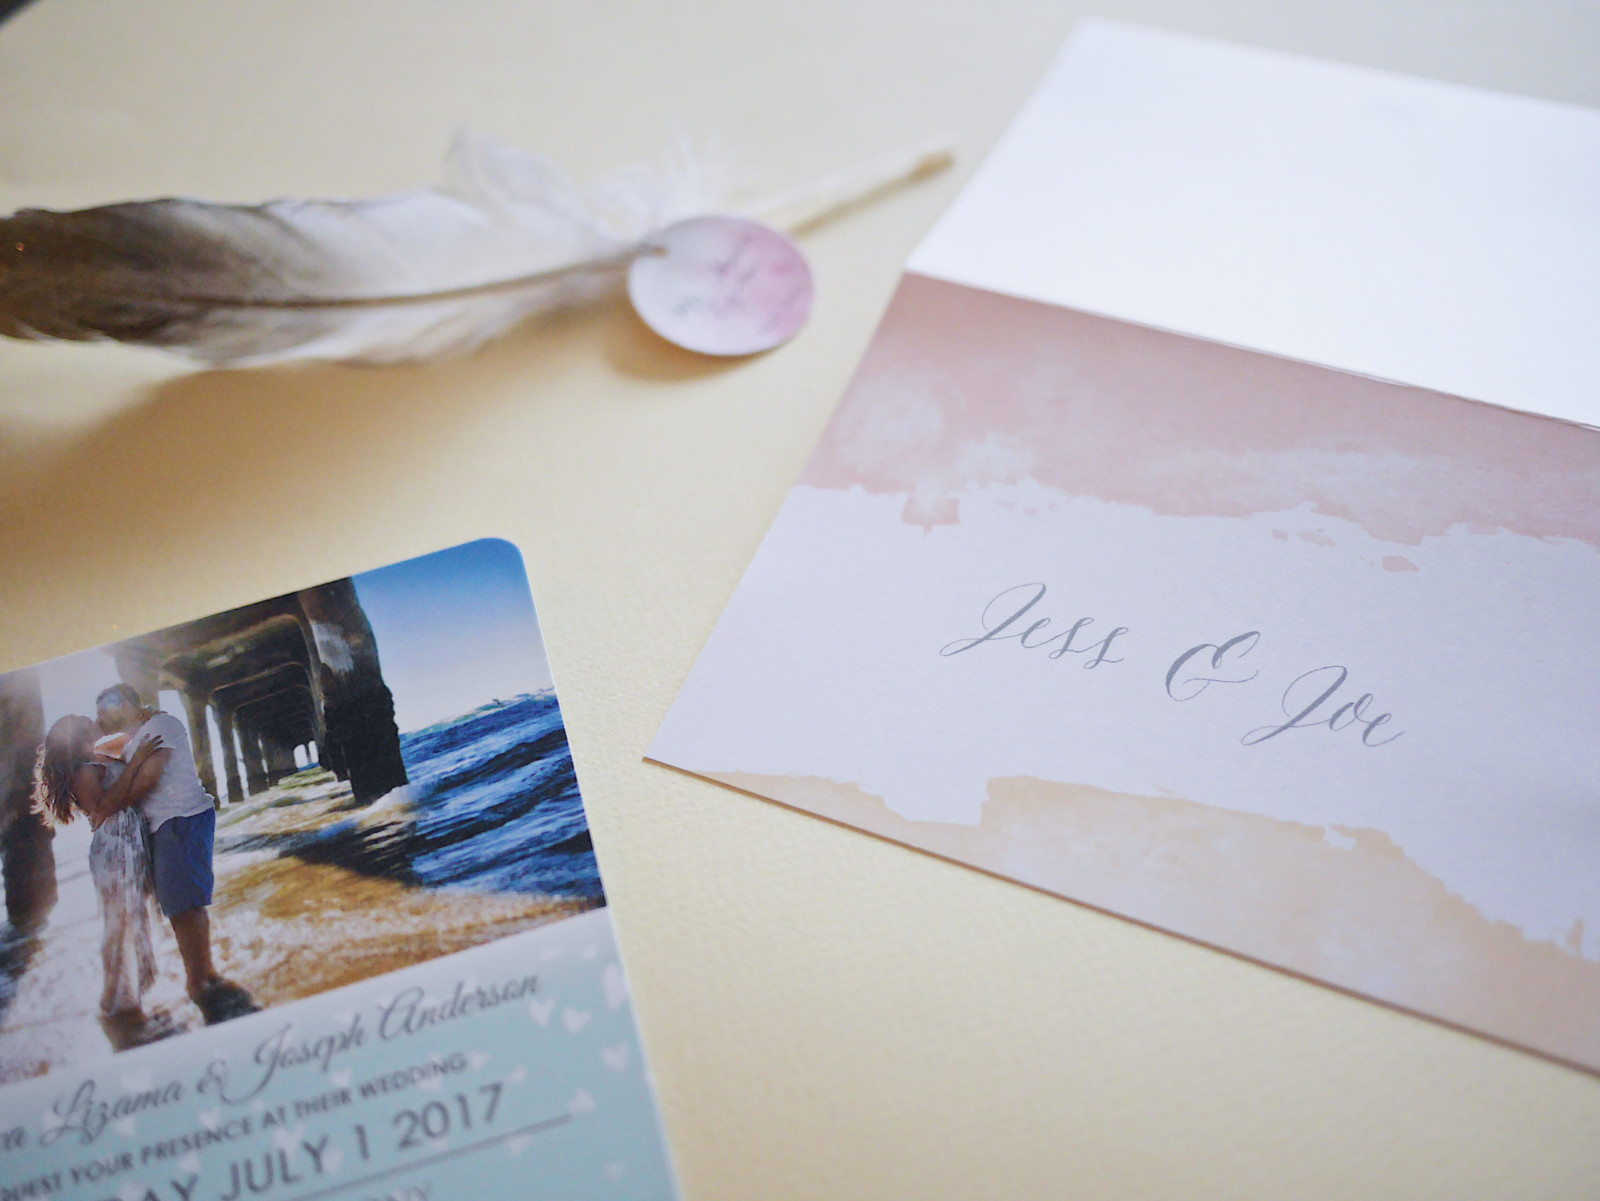
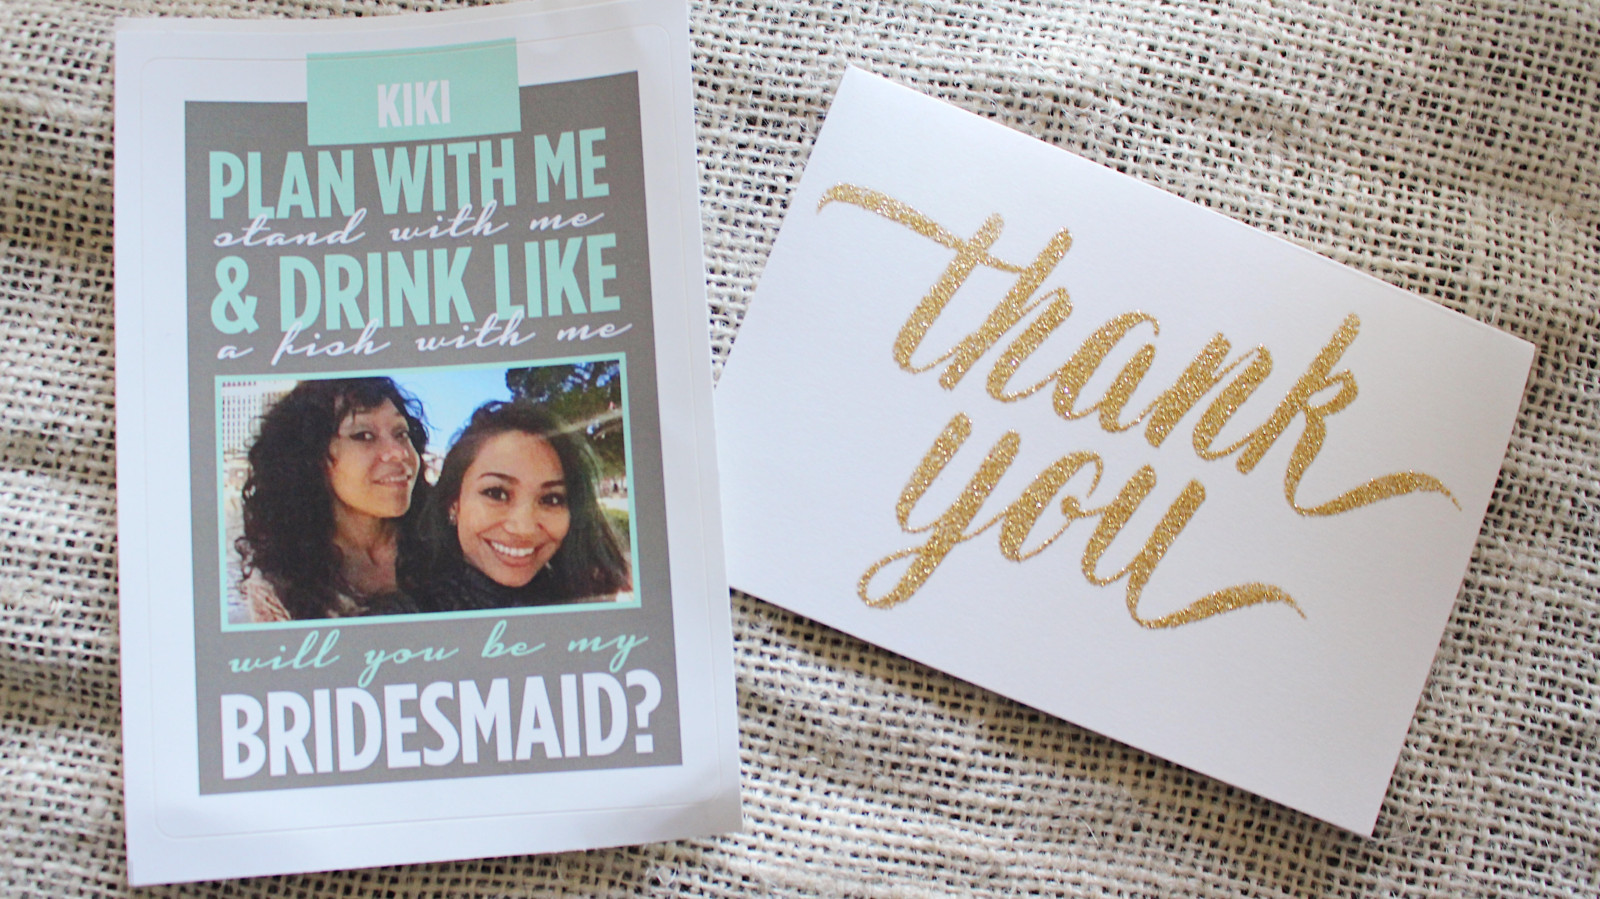
Honestly, typing out hashtag was so fun for me because umm what world do we live in that creating a hashtag has become one of our wedding priorities! Ours was #exoticnationwedding LOL Do the damn thing is pretty high up there though, all of this to say you’re getting married and it’s going to be the BEST time of your life!

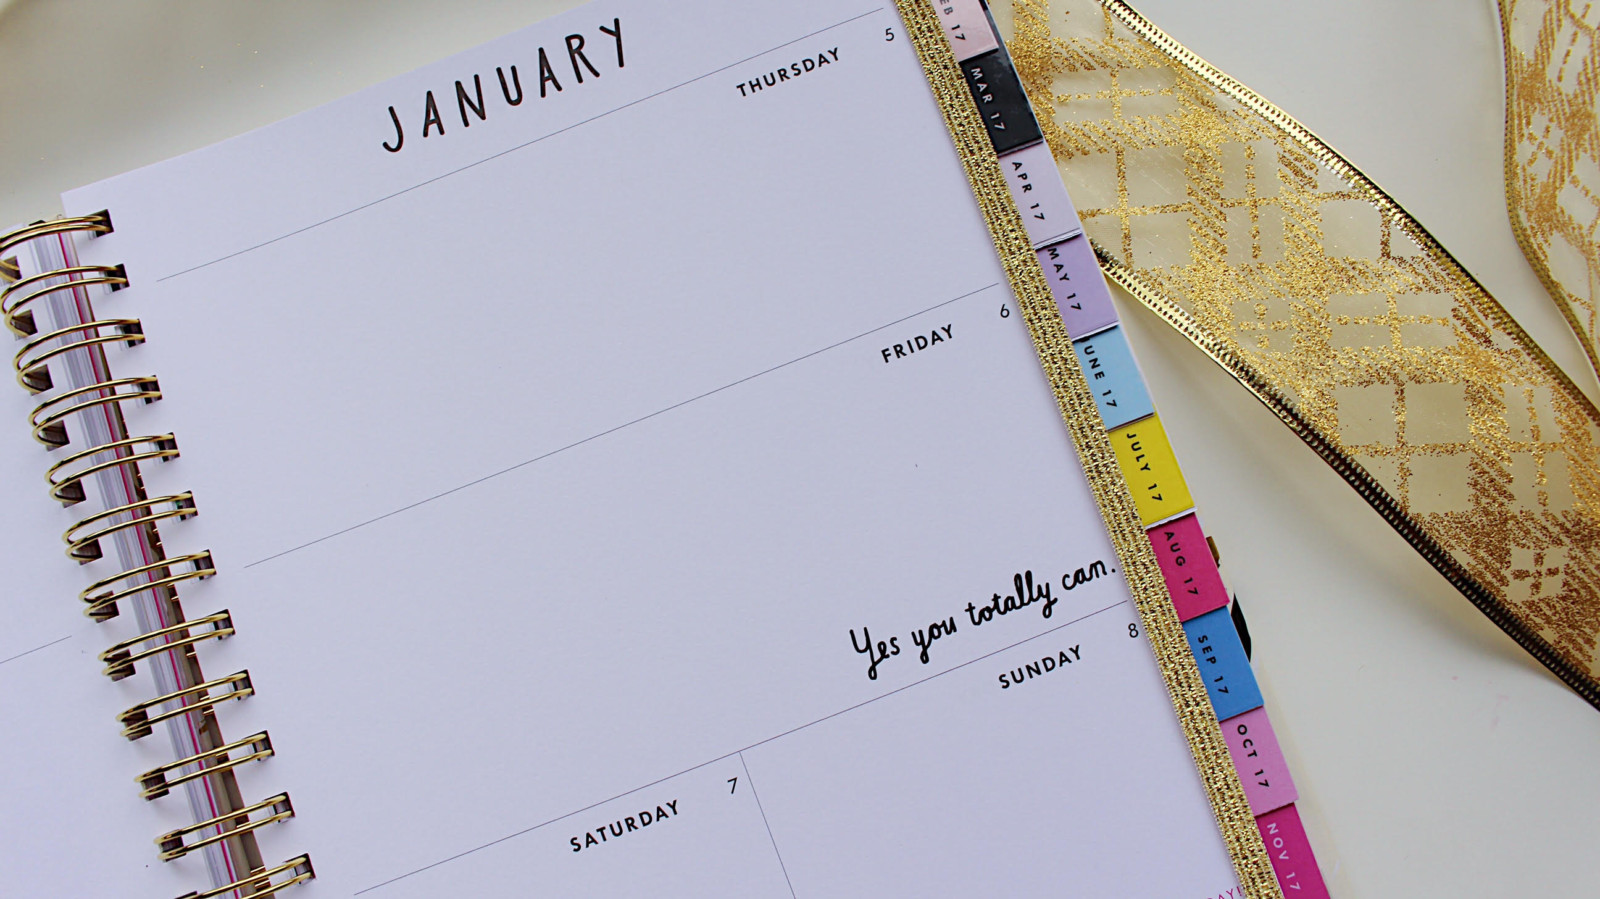
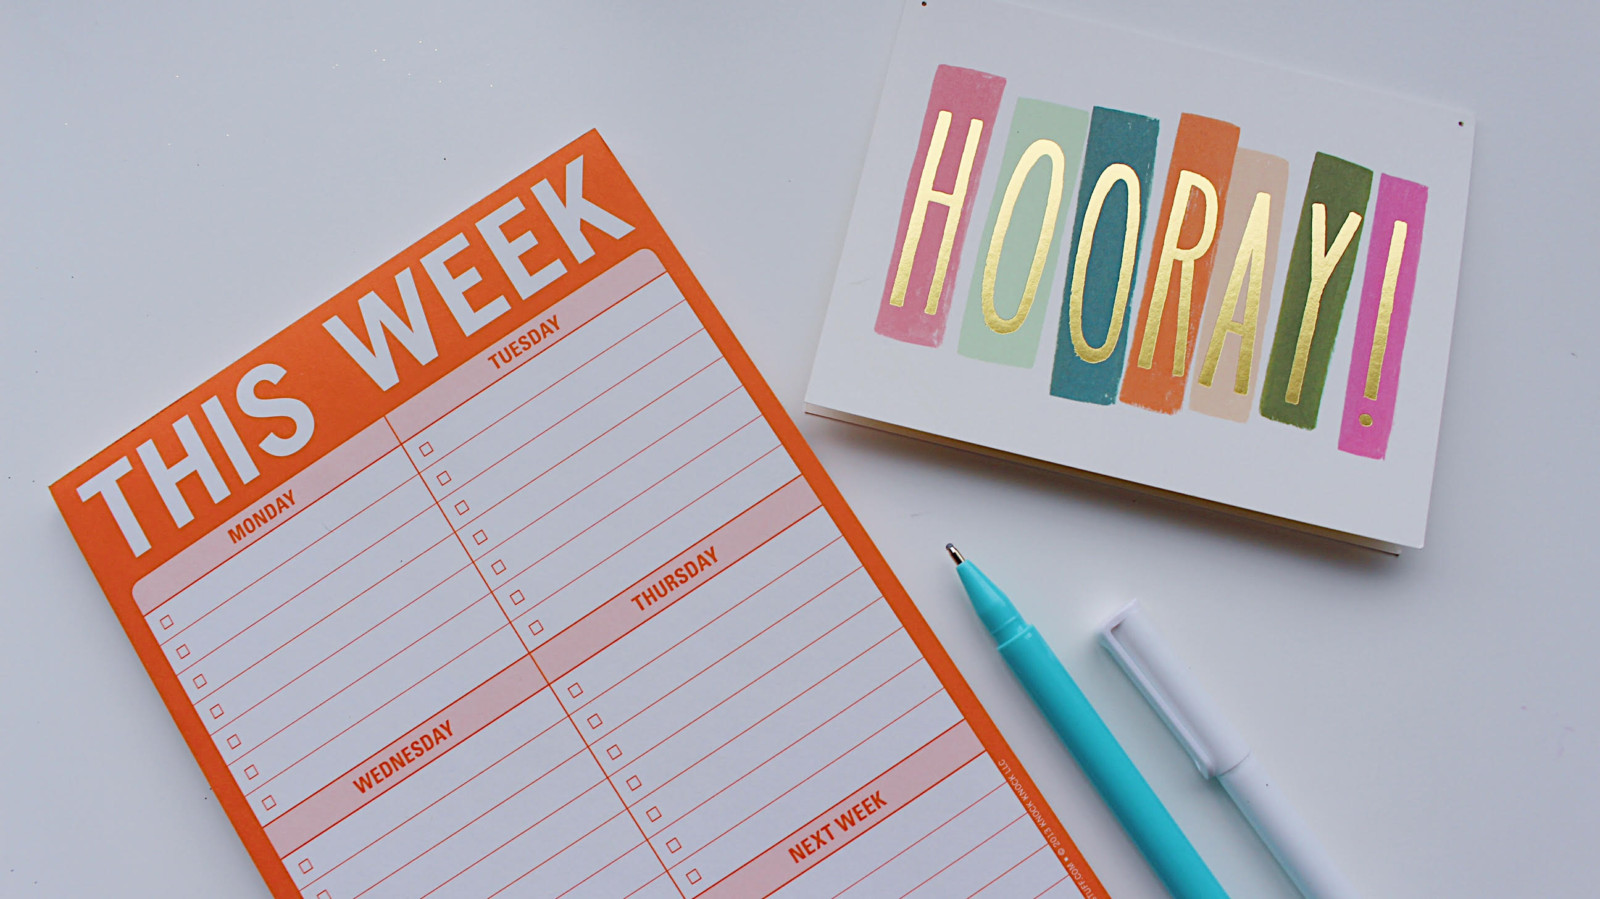
So go through this list, fill it out for yourself and see where you are. Decide the big things like budget and who, where, when NOW, and the rest of the list we can get to. Do you like how informal my speaking is… “no stress baby just think about the W’s” (who what when where) HAHA

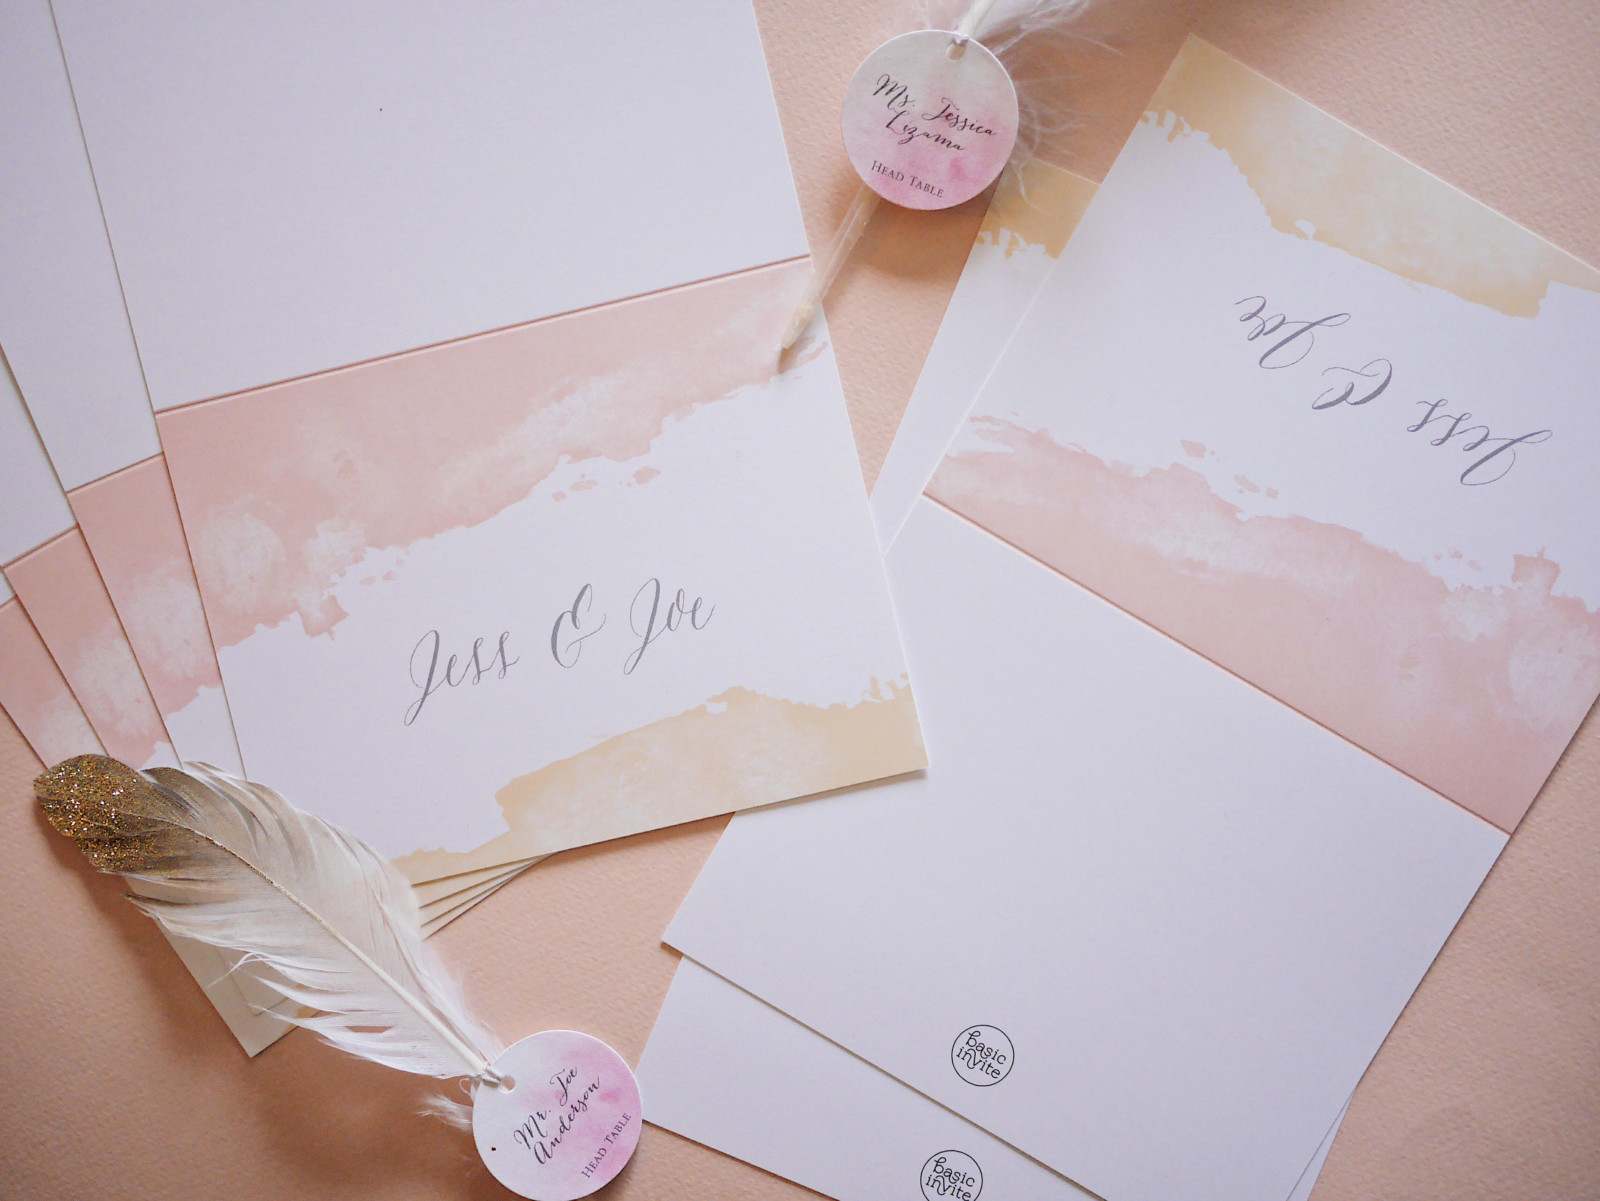
Get inspired! Pinterest is your new BFF! And your BFF is the MOH! I loved rose gold, romantic decorations, corals, and royal blue! The DIY part is next week, this week I just want you to focus on the answers you gave last week and the list you’re making this week.

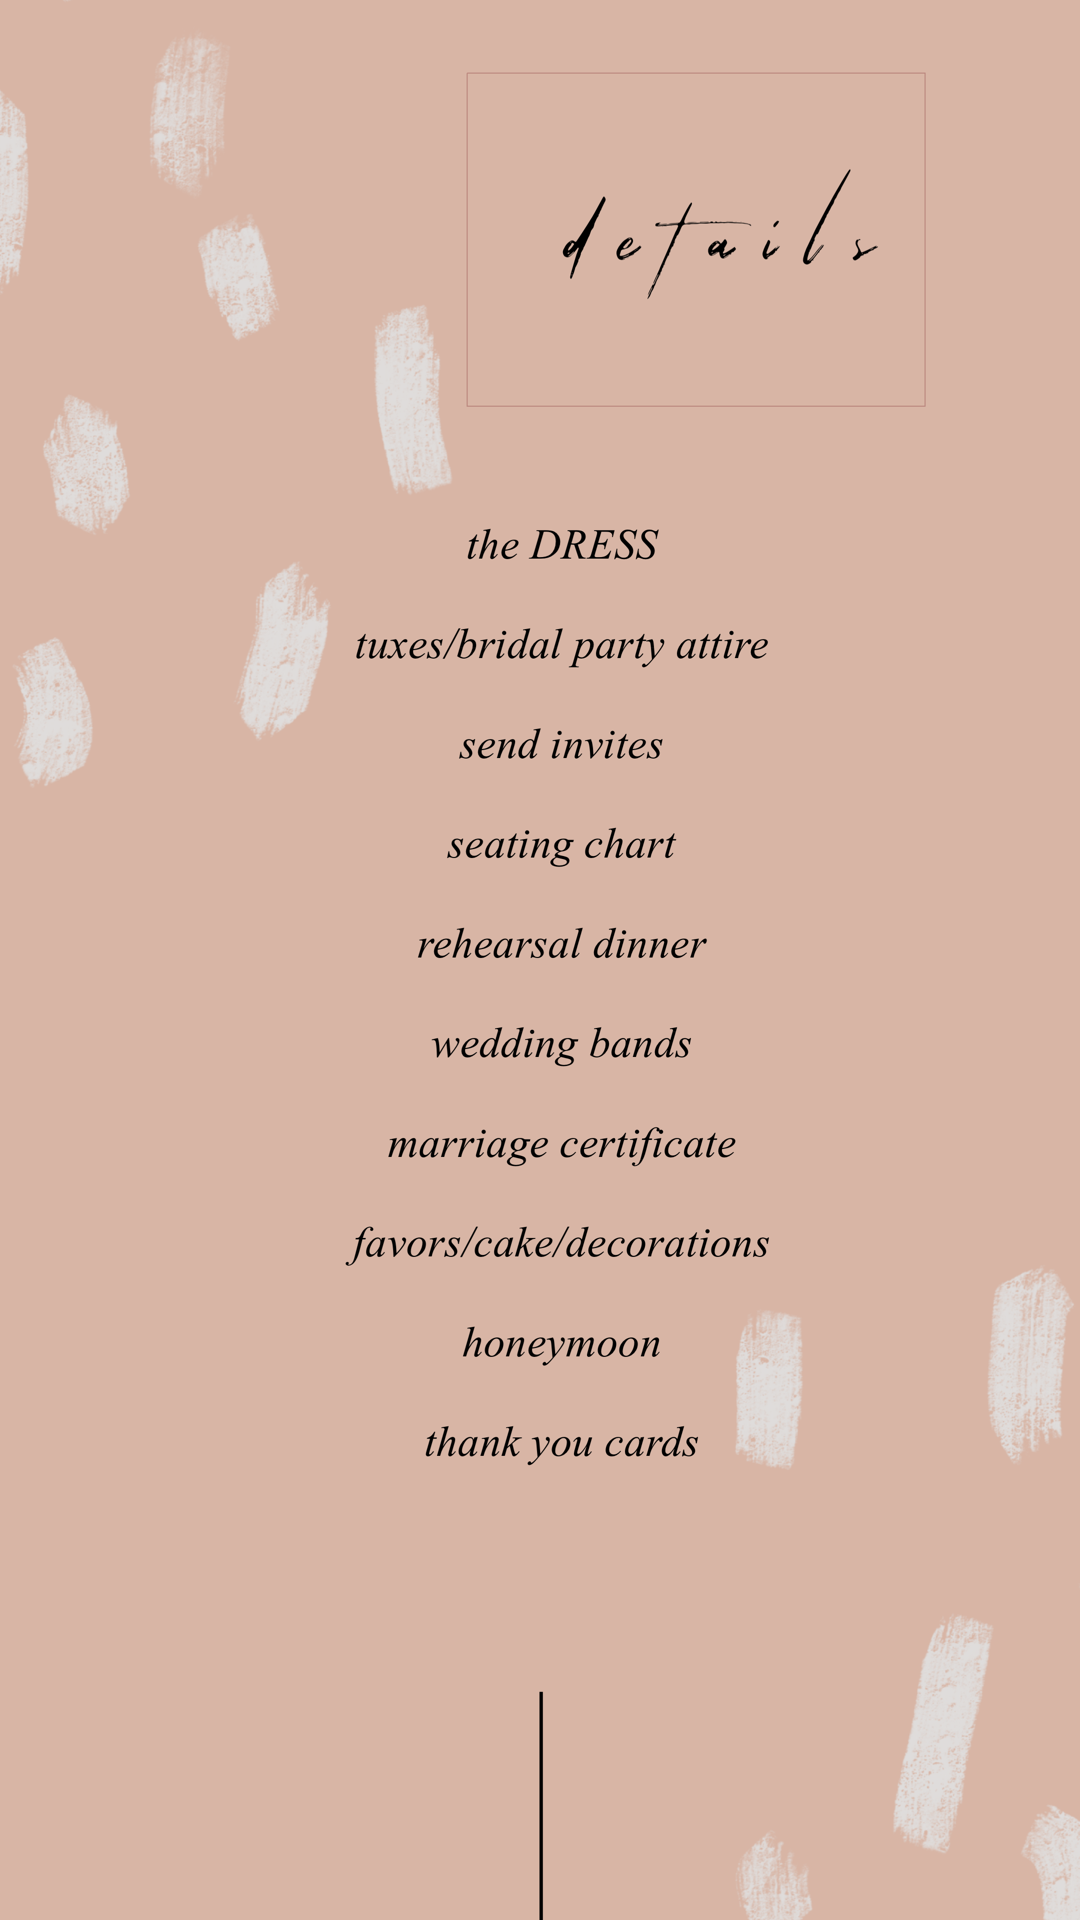
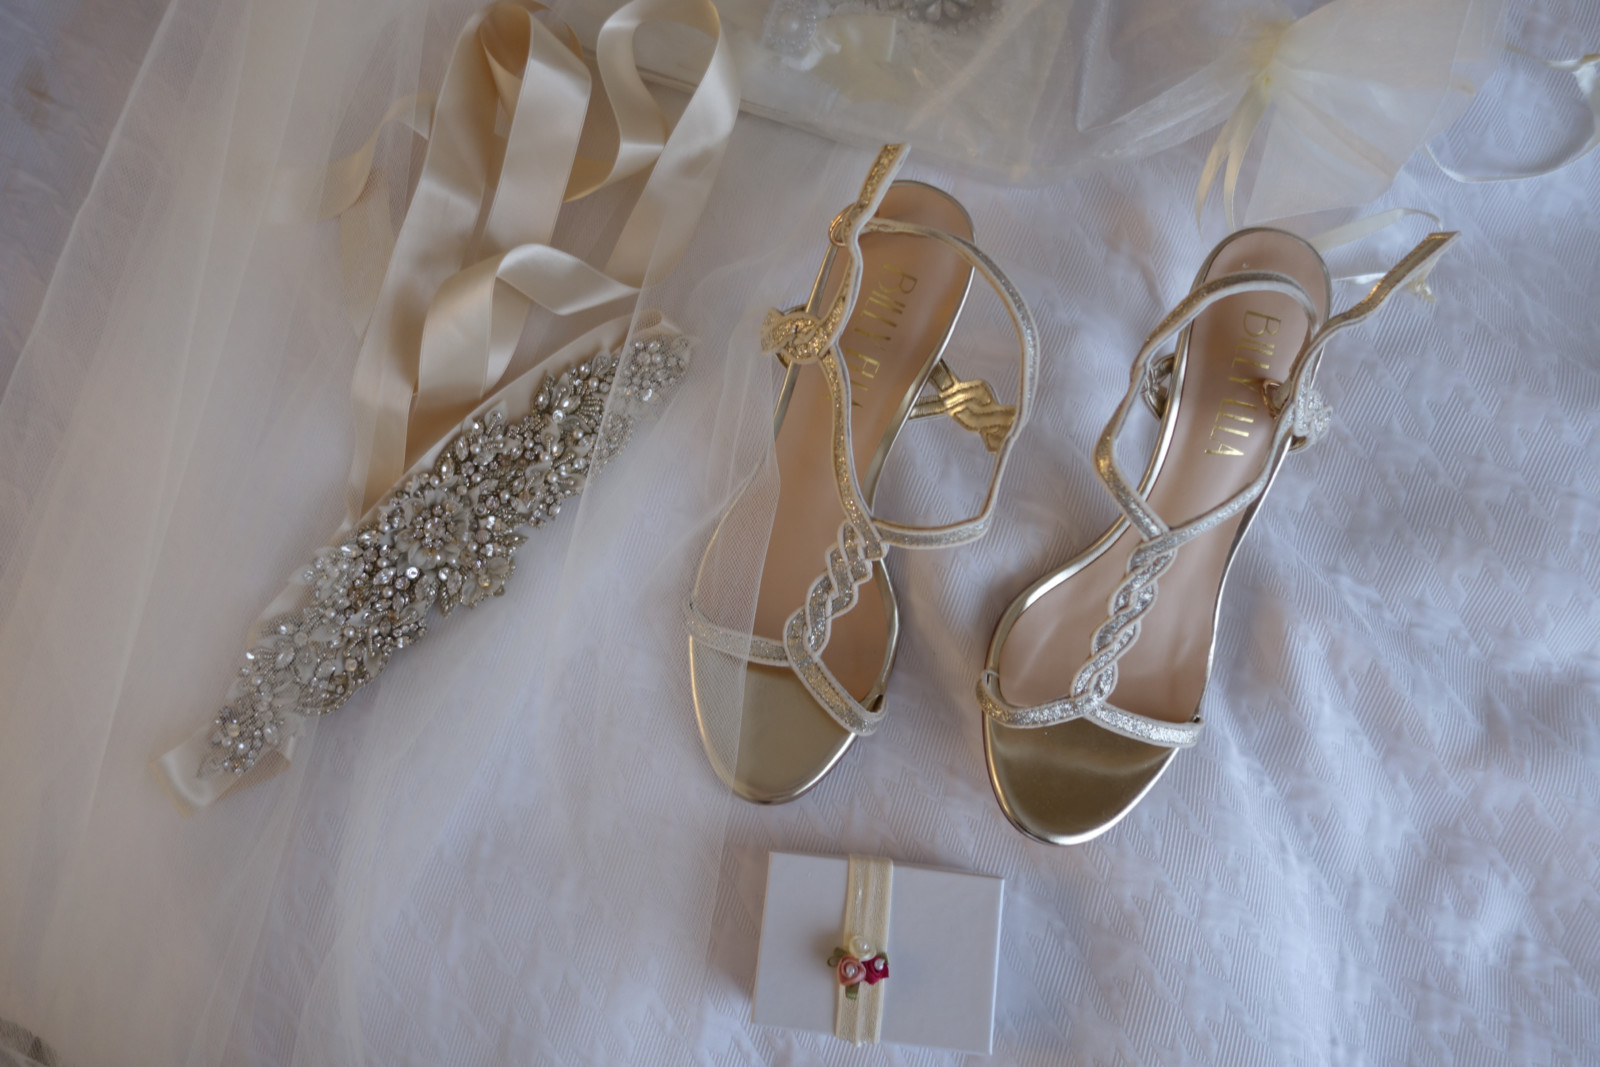
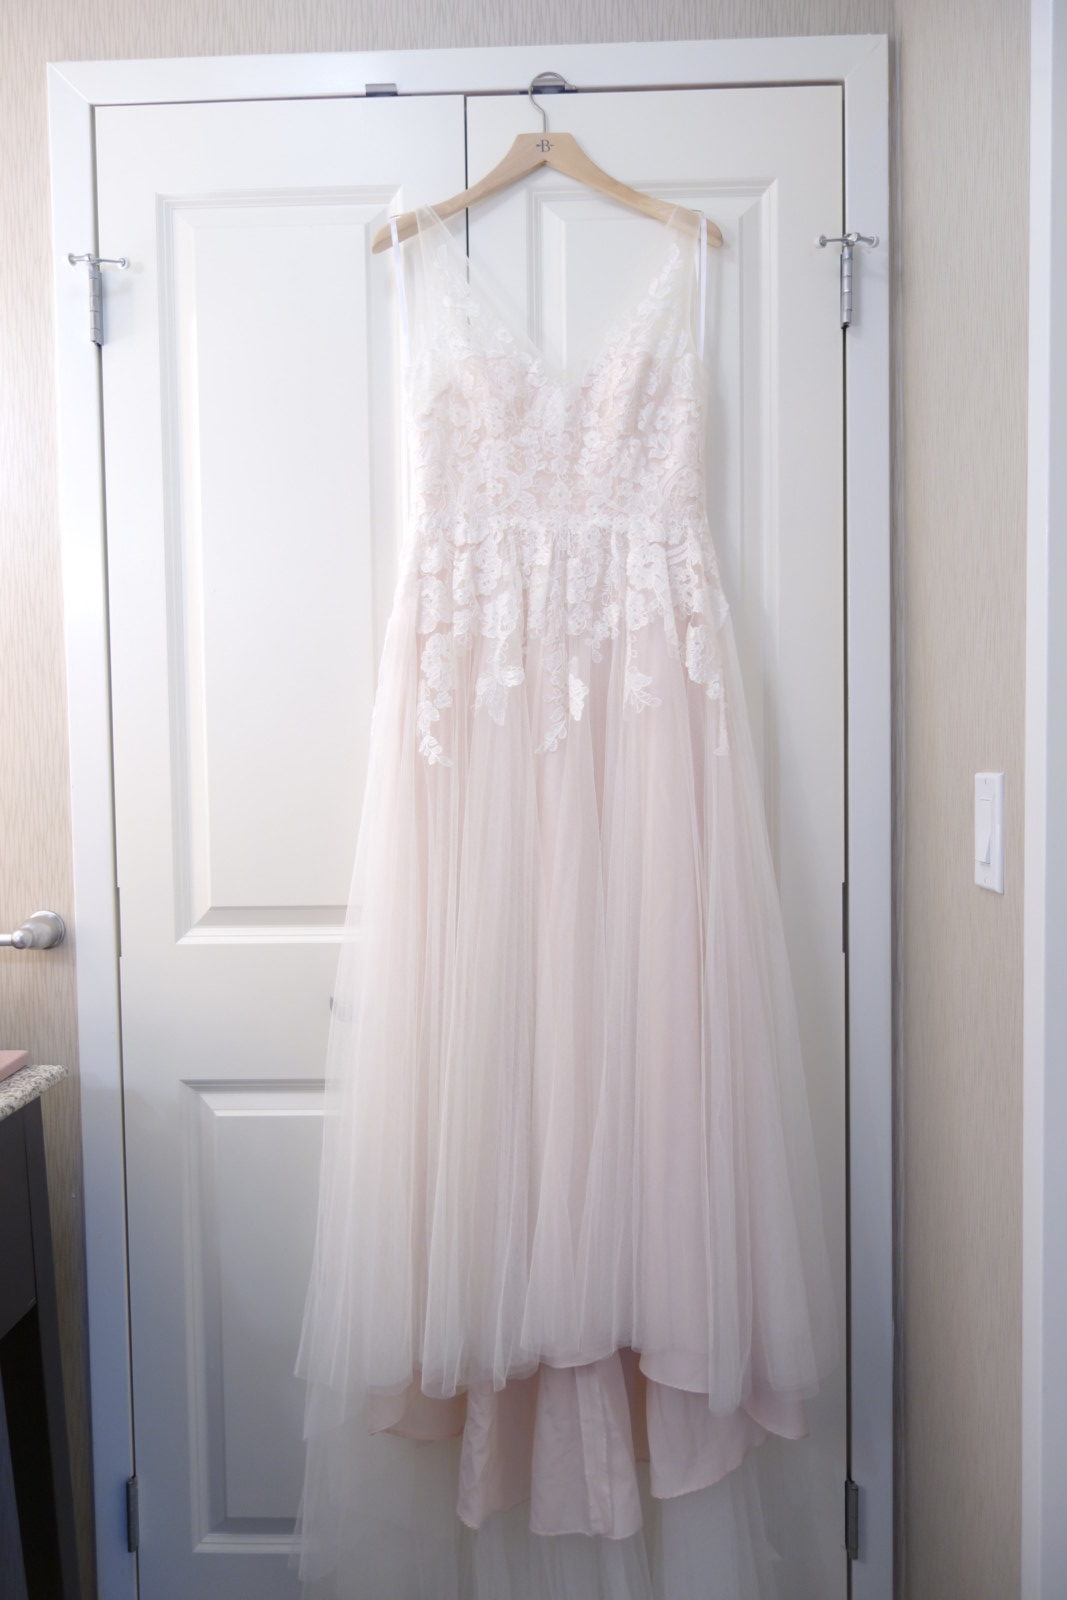
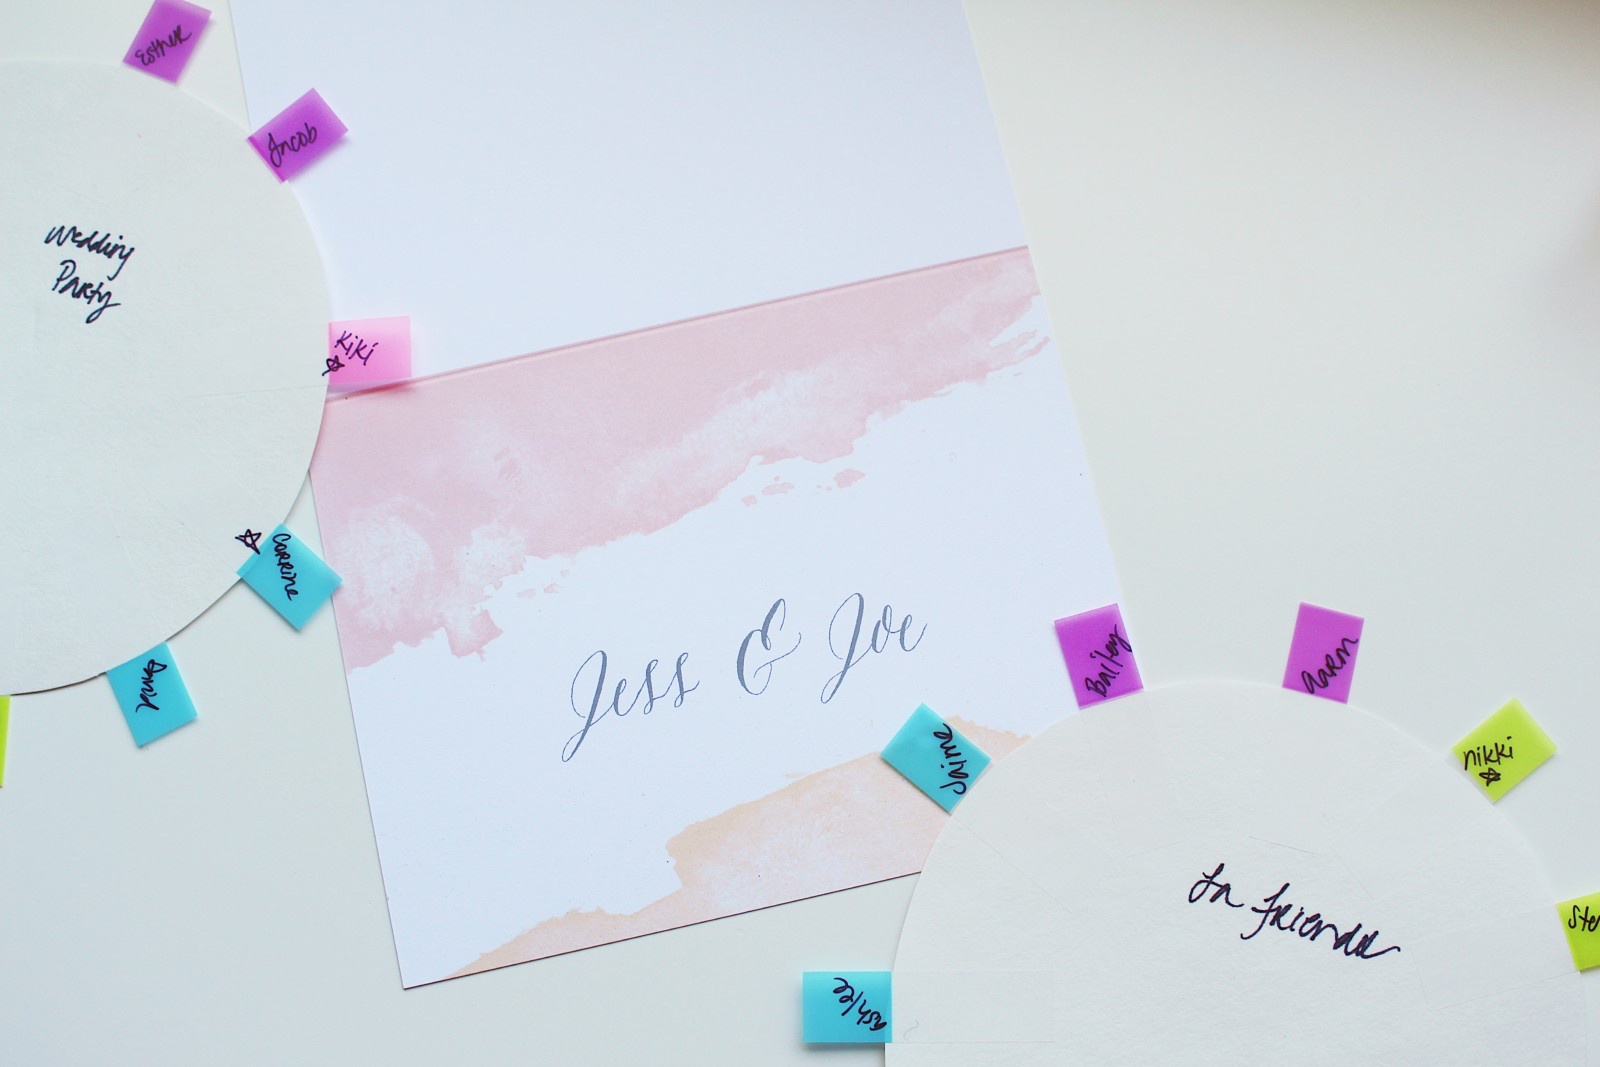
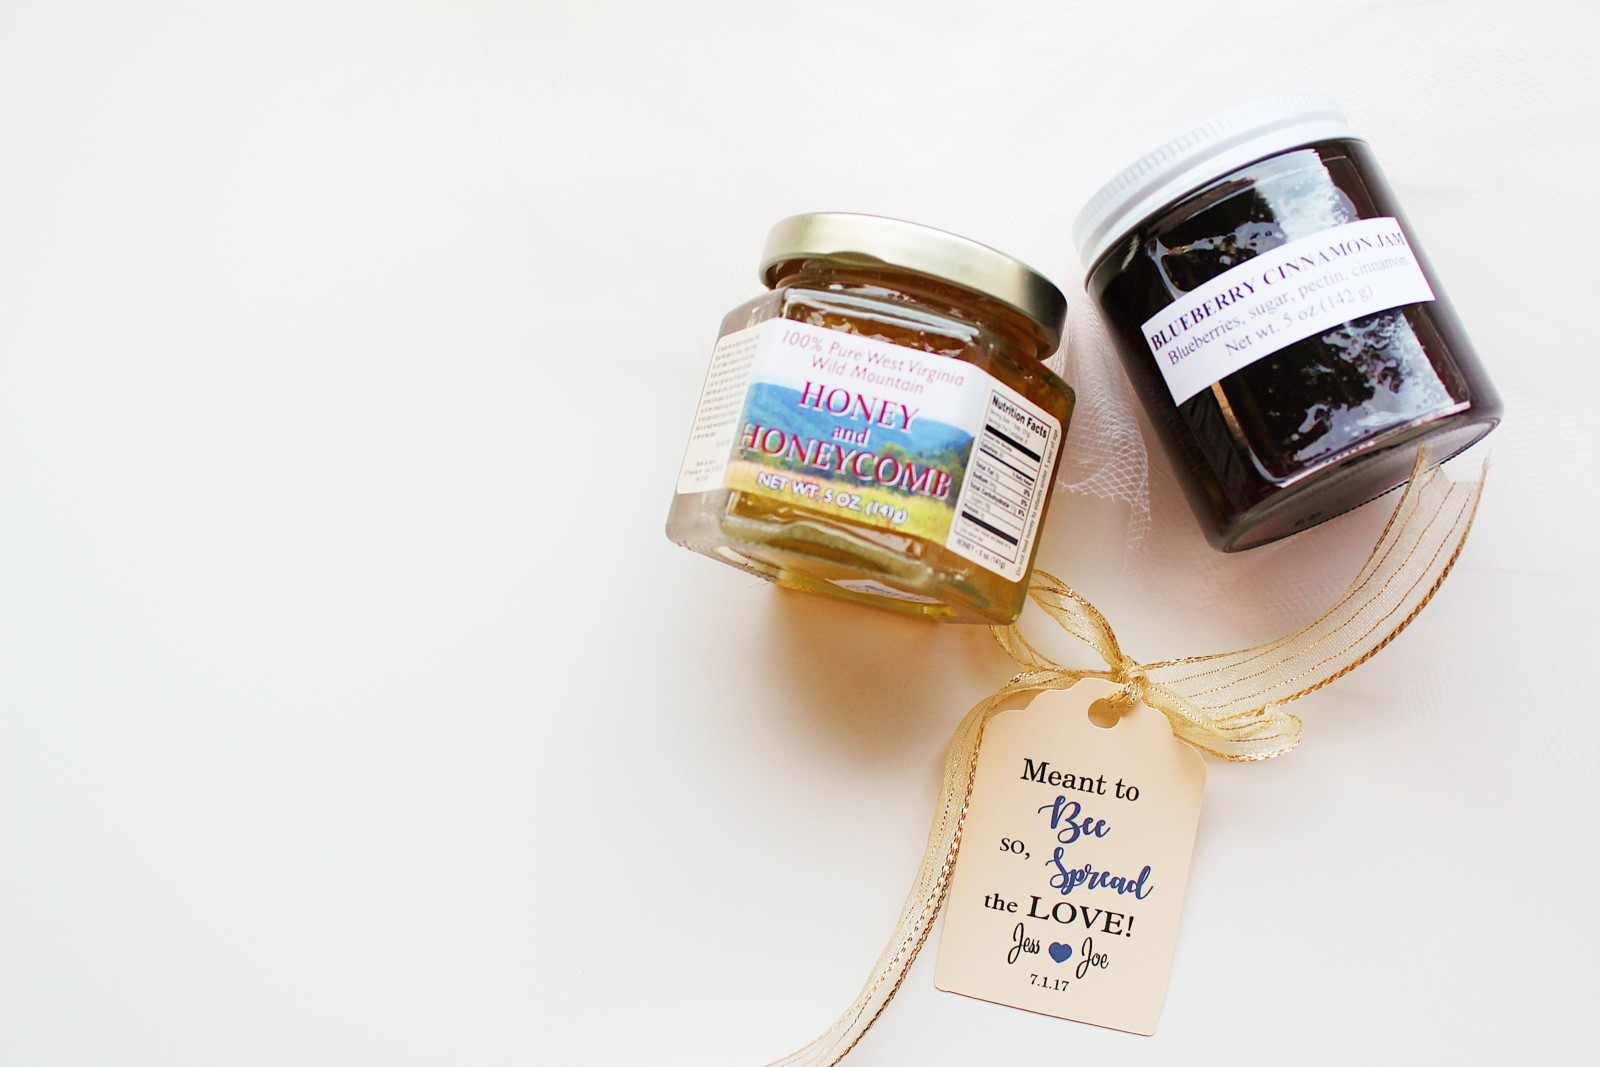
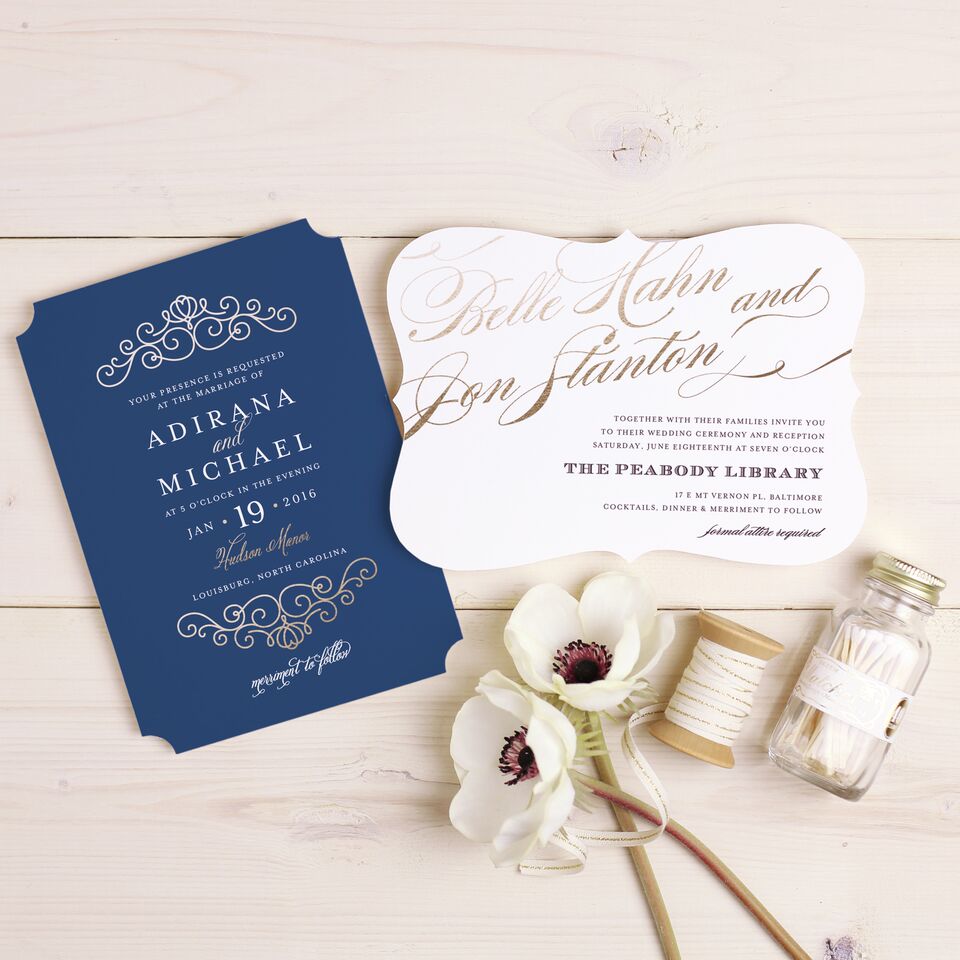
I have so many recommendations for THE dress, invitation sites, how to map out the seating chart, and the best way to go about the cake/favors/and decoration details. Check out BHLDN, get on Pinterest, start putting together what size wedding you’re having so that all of the other details come together much easier for you, and create that task list… starting here.

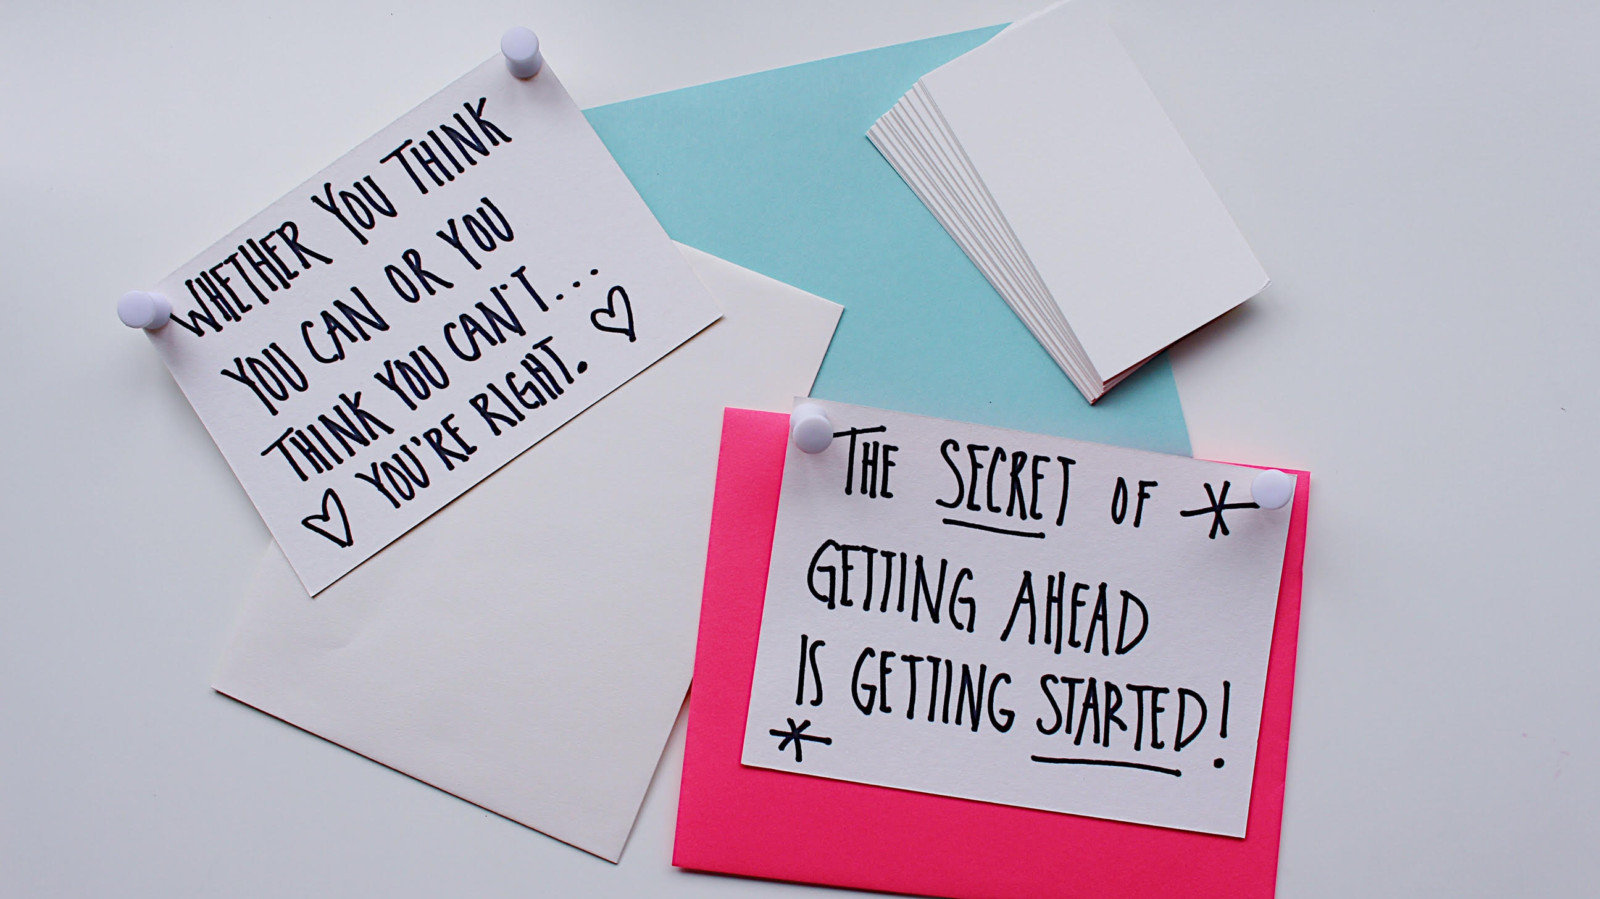
I really hope all this list creating helps to get all of the stress out of your head and onto paper so that you have a starting point and a clear idea of what your next steps are. Knowing what’s next really does help to keep the stress at bay, what’s scary is the unknowing part and the ‘do I have time to do all this planning’ part. But with a clear plan you’re breaking it all down into ONE thing at a time and it’s much more manageable.

What shall we talk about next week? What to DIY? What to skimp on what not to? Where you should apply your budget? How to make everyone happy when this is YOUR day and you’re just trying not to go crazy? Tell me <3


IMG_0093

Bride Guide: My Top Tips For Planning

It’s wedding season! The warm summer months, breezy beautiful evenings, it’s the most coveted time of year to plan a wedding, bridal shower, and bachelorette party. With this Bride Guide I’ve got you covered and over the next few weeks I’ll go into detail about what’s necessary, what’s not, and what’s just fun FUNS- the best part! This is my favorite series that I’ve ever launched and starting today, we’ll begin with the basics.

First thing’s first, if you’re wedding is in less than 6 months away… BOOK YOUR VENUE! Start looking now, book it and let that first big thing v important thing, be taken care of so you can focus on the fun stuff like your dress, the party, the food, the people…did I mention the party?

So congratulations on your engagement and I’m happy you’re here! My mission is to help you stay far far away from Bridezillaville <3


Thought starters:

  • who, what, when, where, how- the who is easy: you and your fiance´, the intimate or larger than life wedding is the what, so now it’s all about prep and plan! The how will come, first answer some of these questions
  • what’s our budget- is this a DIY wedding or a ‘spare no expense’ kind of wedding, will it be small and intimate, or will everyone and their mother be there? Is there a wedding planner or are you it?
  • location location location – venue for the vows and the reception, church or other space to exchange vows and then a separate location for the reception? Multiple locations? Outdoor? Indoor? Destination?
  • details- catering, open bar (for the love of love please do an open bar), cake/cupcakes/pies/dessert table, favors, decorations, flowers, seating charts, all that we’ll go into in my next Bride Guide article
  • the most fun part- THE DRESS, is there a party dress, the groom/bride/partner, the bridal party, hair, makeup, accessories, bridal shower, bachelorette/bachelor parties, all the things that make this season so fun, so memorable, so worth every penny-every tear-every argument-every frustration

So now that you’re thinking about these things, lets break it down even further for next time and do me a favor and leave me a comment or DM on Instagram and tell me all the topics that you want to hear about. All the things you want me to go into detail over, I’ve got you!

Congratulations! I’m so excited for you and I cannot wait to share more of this Bride Guide series with you <333


Lash lift vs eye lash extensions with Iris+West!

Going for that doe-eyed, bat worthy, voluminous kind of look? Well if you’ve ever debated whether to enhance your lashes with eye lash extensions or elevate them in a more natural way, this article is for you!

I’ve personally been getting eye lash extensions since my wedding last year and I can’t imagine not ‘waking up looking like this’ with bright eyes and curly lashes. It all begins with your lash technician… trusting they have the experience to choose your lash integrity over the trends. I trust my babes over at Iris + West and had the honor of having Corrine introduced to the world of luscious lashes through their lash lift service!

I chose eye lash extensions even though my natural lashes are long and straight because I was tired of always having to curl them throughout the day and wear 18 coats of mascara just to make them visible. Corrine’s lash profile is much like mine, however the upkeep for extensions would be too much for her to invest in. To say she was so excited to learn that Iris + West now offer a lash lift and tint treatment is an understatement! Here you’ll see the step by step process that goes into this kind of service. This is perfect for those of you who have awesome natural lashes but need just a little bit of oomph to make them pop, without having to curl them and apply mascara. For my fellow lash extension babes, who are addicted to volume and curl, have no fear- this could be a wonderful transition for you when you decide to go back to your natural lashes.

Lets go over what the process looks like. The entire treatment takes around 90 minutes and then you’re left with low maintenance beautiful NATURAL lashes. Lash lifts will curl and darken your natural lashes and this effect will last around 8 weeks.

1) An under-eye pad is placed over the bottom lashes to hold them out of the way

2) Using a water based adhesive, curling rods are attached to each eye (the sizes vary depending on what type of curl is is desired)


3) Lashes are attached to the curling rod with a water based adhesive – lashes are then distributed evenly on the rod so that when the treatment is complete, the natural lashes are uniform
4) A curling solution is applied to the base of the lashes

5) A tint is applied to the lashes to darken them and make even the babiest of baby lashes really pop!

6) The curling solution is then removed and finally a setting solution is placed at the base of the lashes to create the perfectly curled lashes!

Wala! Just like that you’re lashes are just how you remembered them, but better! This service costs a fraction of the price in terms of up-keep and in the long run will save you time and energy, on both makeup application and maintenance.

I can’t stress enough how important it is to do your research when it comes to choosing the right lash technician whether that be for eye lash extensions or a lash lift. If you’re in the LA area check out my tried and trusted team of awesome ladies over at Iris + West! Tell them I sent you and you’ll receive $10 off your lash lift! It’s just so nice to know there are options available for every schedule and budget.

Have you heard of a lash lift and tint before? Have you ever considered having it done? How do you feel about transitioning over from lash extensions to a lash lift on your natural lashes? 


How To Change Your Name – The Things They Didn’t Tell You

There’s so much about weddings and getting married that no one tells you about. Sounds like some crazy wedding planner scheme BS but it’s true! I’ve explained a bit of it in previous posts, and now, after having planned and experienced the most perfect wedding day of my life- I’m on to the changing my name part of it all. Oh, change your name they said, it’ll be easy they said. Well they lied dammit.

Let me tell you a story. So like many unknowing and slightly lazy people, I went with an assisted name change service and purchased the Platinum package from Hitch Switch. It’s a service that (I was hoping) helps you change your name by providing you with all of the paperwork and forms needed and removing the fuss from the entire process. Depending on the level of service you purchase (from $29-$89) they will send you the paperwork and even fill it out for you if you pay for it. The Platinum package gives you all of the forms automatically filled out, provides you with pre addressed envelopes, and a passport service. However, NONE of this is impossible for you to do on your own. So save your money and let me tell you how to change your name. For free. And PS you have to go into certain government offices in person, and no name change service can save you from having to do that, so . . .


YOUR SOCIAL SECURITY CARD
Social Security office: do this FIRST. Go to your local social security office and if you go early you’ll be in and out of there pretty painlessly. You have to take care of your social security card first because this particular process will need to be completed 48 hours before any other documentation is submitted to any other government office. Bring to your local Social Security office:

a) a completed SS-5 Form (don’t forget to sign your new married name)
b) provide the original or certified copy of your Marriage Certificate
c) proof of identity (your driver’s license, state issued ID card, or US Passport)

They’ll give you a receipt (mine cost me $0.00) and notice that you’ll receive your new social security card within 2 weeks. Mine came in after 2 business days.

YOUR DRIVER’S LICENSE
DMV: this is next in the process, go early! If you don’t have an appointment I suggest you go at least 30 minutes before your local DMV office opens and wait in line. I got to ours at 7am and by 8am when the doors opened I was 17th in line! You’ll need to bring:

a) the original or a certified copy of your marriage certificate
b) your old driver’s license (you’ll be taking a new photo so come camera ready 😉
c) 2 proof of residency documents (CA doesn’t need this verification)
d) a completed DL 44 form which they’ll provide for you at the DMV as original signatures are required on the form.
* on the DL 44 form: don’t forget to sign your married name at the bottom, check mark the “have you ever applied for a DL under a different name”, and list your maiden name next to it.


YOUR PASSPORT

We’re going to Bali for two weeks for our honeymoon and I learned that if you’re traveling abroad you’ve got to give yourself plenty of time to have your Passport sent in and your new one sent back to you. Expedited processing may be your best bet if you have less than a month before you depart. Pro tip: when you change your name your Passport number changes. So when you book your flight either use your new married name with your old Passport number and then call the airline to correct it once your new one arrives, OR wait to change your name until after you’ve traveled as it becomes a headache to correct once you’ve entered in all of the information.

a) complete the DS 82 Form *sign your new married name
b) attach a Passport photo to the left of Section 10 in the designated box. Hitch Switch’s provided photo service took longer than expected so I personally suggest going to Costco, Walgreens, or another retailer that is in compliance with government Passport photo requirements.
c) submit the DS 82 form with your new photo attached along with your current Passport, the original or certified copy of your marriage certificate, and a check or money order made out to ‘US Department of State’. For $110 if you’re going with standard processing (4-6 weeks) or for $170 for expedited processing (3 weeks).
d) you’ll want to get tracking on this just because it holds your original passport and marriage certificate. In most cases it’ll be free or there may be a $5.95 fee – totes worth it.

For Standard Processing:
National Passport Processing Center
P.O. BOX 640155
Irving, TX 75064-0155

For Expedited Processing:
National Passport Processing Center
P.O. BOX 90955
Philadelphia, PA 19190-0955


The rest of it like your banking, credit cards, businesses, work stuff etc will work themselves out. Honestly, I haven’t even gotten to that part yet BUT these initial steps will help you get your name changed and save you some money. I’m so upset with myself for paying for a service that I could have easily done myself had I just done a lil research. You’ll be paying for them to print up the paperwork, fill it out for you, and send you a few pre paid envelopes. Save yo money honey.

Are you changing your name? Have you looked into name changing services or the paperwork needed to do so? 


Finding Joy in the Stress of Wedding Planning!

We’re less than 3 weeks out from our BIG day and I promised that I wouldn’t turn bridezilla on you. I can’t promise that I’ve kept that promise so here’s to sharing all my ups in the hopes of preventing all the break-downs!

I wouldn’t say that planning a wedding is fun necessarily, unless your idea of fun surrounds endless lists of to-do’s, spending an obscene amount of money on the raddest party of your life (okay that actually sounds fun), and making decisions you didn’t even know mattered. But you can find joy in the stress of wedding planning I promise!

Of all the decisions I’ve had to make and all the choices I’ve had to choose from, hands down the most fun part *besides picking out my wedding dress and marrying my best friend* has been the center piece making, and thank you cards/stationary creating!


I mean how magical are these Basic Invite thank you cards <3 Complete with our wedding colors in artistic subtle splashes and this simple yet classic script, I can’t wait to personalize these babies. Could there be gold glitter involved? We shall see 😉

What I enjoyed most was taking the time to pick out every detail from our color combination, to the specific slate grey I wanted for the writing. The Basic Invite site offers you an instant preview so I was able to play around with the design to try and match them to our stationary until they were exactly what we wanted.

We went with champagne envelopes of which they printed the names and addresses on for us (absolutely do this and save your grip for those honeymoon pina coladas! I mean, it’s FREE!) and I even got us ‘eternity’ stamps for the mail. We cute!


Although you wouldn’t be able to tell with the muted envelopes I chose, there are over 40 different color envelopes for your musings. Unfortunately for me, we found this service too late in our wedding planning game to order wedding invitations from them, but luckily for you I’m here to share!

Their wedding invitations are a part of a set and with their ‘try before you buy’ policy, they allow for a custom sample to be sent to you so, win win! Everything from Save The Dates to wedding programs and matching thank you cards (ahem me!) are available and they make it uber convenient with their free address collection service. I’ve thrown the word ‘free’ around a lot in this post but hey, if the shoe fits . . . get it in every color.

I’m so excited for these next few weeks to fly by so that I can wrap up all of our final plans, I leave on the 23rd which is in TWO weeks! TWO! So if you’re in the midst of wedding season like myself, than I hope this post helps you to find some joy in the hustle and bustle of it all and inspires you to get creative when it comes to dreaming up your first impressions as husband and wife.

Take some time to breath and get back to what really matters, which is marrying your person, but also to find joy in the stress of it all – they say we work best under pressure anyway! Also that’s for me to re-read and apply for myself 😉

Are you a stationary or personalized thank you card kind of person? Would you prefer to design your own table place cards and menus or are you like me and you’d rather click it, print it, and move on with it? 


SAY YES TO THE DRESS – ALL 3 OF THEM! #BrideGuide

YES GIRL, all three of them! I mean, who says you can only have one dress on your special day?! Okay yes, I did actually, buuut I hadn’t seen the other two to KNOW that I NEEDED them! lol

So there will be three dresses happening, but only because of the rehearsal at the chapel (you HAVE to wear a dress for this yes?) and then the 4th of July tiki-themed backyard after party. Whoa, that’ll be my new hashtag ha #4thofJulytikithemedbackyardafterparty 😀

My wedding dress I won’t reveal here just because, surprises, but the other two I’m sharing because it’s so fun to share the process of it all (and Joe’s seen these two). I’ve just been so overwhelmingly excited for all of this! I also did so much trying on of the dresses and online shopping where 183 dresses were sent to me! Really only 1 or 2 make the cut but I learned so much along the way. So for the backyard after party I went with this beautiful blush tulle Vera Wang dress, it looks taupe in photographs but the details of the dress are so delicate and it’s not heavy and doesn’t tug or pull. Since we’re having a mid summer wedding in MARYLAND (hello humidity!), I knew I wanted something light and that I could move and dance in, but still feel like a bride in. Oh I WILL be stretching out this entire day until midnight 😉


If this location looks familiar it’s because it is. When Corriney and I decided to have our picnic date I thought it’d be the perfect opportunity to photograph this beauty outside since that’s where it’ll dance the night away anyway. I really love that it’s flowy in the wind but didn’t blow up over my bum (that’d be a disaster on my wedding day when alcohol is involved), and the sweetheart neckline is concealing enough for my busty self and has just the right amount of femininity and subtlety.

It’s midi length and didn’t require any alterations hallelu! You can find this dress at David’s Bridal and lucky for you, it’s on sale right now, gogogo – lots of deals happening right now! #thankyouweddingseason The blush pink earrings you can create at Kendra Scott, and the stunning sash is from BHLDN (also where I got THE dress yeee!)

For the rehearsal I wanted to feel classy and sexy, like “oh la la, look at me I’m a bride to be”! So I went with this Parker dress that has the most beautifully flattering neckline. It’s beaded, knee length, dainty, and SPARKLY!  Just a sneak peek of it but I promise to spam everyone with photos of it once I wear it!

Of course I’ve saved shoes for last, they’re a big deal I get it! One thing I almost overlooked and I’m sure a lot of brides do also, is how LONG we’ll be wearing them! Most fancy shoes aren’t created for comfort, I mean no pump will ever be as comfortable as a flip flop- but I’ve found a solution! After a ton of googling “most comfortable shoes on your wedding day”, I came across these insoles from Vivian Lou. They’re designed by a podiatrist and engineered by a ROCKET SCIENTIST . . . like wuuut.

They shift your weight allowing for a more “equal distribution of weight between the forefoot and heel”. It’s science people, I don’t know. And they also prevent your foot from slipping forward, so like why don’t I have these in every single pair of shoes that I own! These will be in my wedding shoes, my dancing shoes, and any shoe that was created for a more narrow foot and not these coconut-tree-climbing feet I have.

Splurging on a rockin’ pair of heels for your wedding day is pretty epic, but I think comfort far outweighs any bling that catches my eye. Only thing I have to find now is some kind of slip or undergarment that will allow me to dance the day/night away without sweating like a sailor.

I found some pretty incredible deals while searching high and low for all the perfect wedding day details, so just remember to be patient, do your research, and never be afraid to DIY the hell outta everything. Except your veil, if you’re like me than you absolutely, definitely do not want to DIY that.

Ah yes, my beautiful Corriney who was also photographer/ set designer/ flower child/ and fellow lover of loafs on this day! After photos we had a nice lil picnic together and hiked back to the car full of bread, cheese, jams, and watermelon. If you missed my post on things to do with the fam bam including this picnic, you can peep it here <3

I hope you enjoyed this article and are loving this #JessBrideGuide series! I’m having so much fun sharing all of the things I’m going through along the way leading up to our I do’s with you <3

Have you ever used insoles like the ones I’ve featured here? Did you have more than one dress on your wedding day? Am I turning into a bridezilla?! #dontanswerthat


YOU’RE GETTING MARRIED! NOW WHAT?! – BRIDE GUIDE

YOU’RE GETTING MARRIED!!! I’m getting married too yayyy ! So now what do we do?!

Get married they said, it’ll be fun they said. Except, they forgot to say that there’s a lot of planning and unneccessary details that go into your wedding. And it IS fun, but what’s up with all these RULES! Who made up things like, wedding favors, a wedding theme, oh and do you know the color of your linens?! OH OH and will you need chafing sets?! Ummm what? I just want to wear a pretty dress and say I do to my best friend in front of everyone we love.

So incase you too are going through all of the details of wedding planning, here’s a little bride guide from me to you, as I navigate through all of this with you. From sorting out the to-do list, to prioritizing the following umpteen things that must get done. So deep breaths my pretty, here we go!

1. Create a website or landing page for your guests – we’re using Weebly but there are a ton of other web hosting sites, we just love that this one is FREE! This is a great place to put who, what, when, where, and how to get there for all of your friends and family members. Include accommodations (if you block out rooms they’ll get a discounted rate), shuttle or bus information if there’s any, schedule of events, where you’re registered for gifts, and a deadline for their RSVP


2. Send out Save The Dates – this part doesn’t make any sense to me. You’re sending guests a Save The Date WITH your wedding date on it, but then they need a formal invitation also . . . the rules part. We sent out Paperless Post save the dates and on them we included our wedding website and asked our guests to RSVP that way.  I purchased ‘coins’ and sent it out after importing all of my guest’s emails- made it so easy! There’s also Evite and other places that you can send online invitations through. If you choose to have them printed, Minted and Paper Divas are great I’ve heard and won’t cost your first born!

3. Location, Venue, Food – oh and the DJ, centerpieces, wedding gown and accessories, bouquet, and other big ticket items to sort out. Once you’ve chosen your venue and location, set a day and time and get to planning baby! Don’t forget to ask your venue if they provide tables, chairs, linens, and a set up/ break down crew. Food options, open bar, centerpiece arrangements, and cake cutting fees are also some things you’ll want to confirm with your venue. If you get a ‘day of wedding coordinator’ than they’ll make sure you’re standing where you should be when you should be *ie when you’re dancing with your girls, champs in hand and it’s cake cutting time*. Otherwise, do what we’re doing and have your DJ keep the timeline.


4. Pictures, flowers, and things that get lost in the shuffle – like ordering wedding favors, picking out a cake topper, and making sure you order 2 sets of garters (one for throwing and one for a keepsake). All of these things you’ll get to as you go down your list of To Do’s but some things that could help you stay within budget are to DIY some easy things, and to research the hell out of everything.

  • see if you can drop off vases and containers to your florist and just pay them to fill them with your floral arrangement choices. They’ll usually also credit you for this since they won’t need to use their own vessels
  • shop around for shoes, accessories, gifts, and your veil. I ordered my veil from Melinda Rose Design (who also specializes in headpieces!) and she’ll send you samples of the veils so you can color match with your wedding gown. Pretty brilliant and for a fraction of what A LOT of veils will cost you. I love the ‘try before you buy’ option that she offers
  • search sites like Luna Bazaar and Oriental Trading to order centerpieces, gift boxes, etc. They’re very reasonably priced and I guarantee whatever your shabby chic heart desires, they WILL have
  • delegate responsibilities to your bridal shower, see above photo 😀 (and here’s fun ways to ask your best girls to be a part of your big day). They’re there to help you and to make sure your most special day goes as smoothly and stress free as possible. No one wants to be around bridezilla! LOL So recruit the help where you can
  • if you’re planning your wedding in another city/ state/ country, it does help to create a mock table on your living room floor to get an idea of 1) how many people you want sitting at each table 2) how many pieces you’d like to have as your centerpiece 3) if you’re having favors and if you’ll place them at the table with your guests or not . . . Joe came home to see this (below photo) had taken over our living room and I was SERIOUS about picking out those damn centerpieces! haha

5. SET A BUDGET – okay okay this prolly should’ve been the #1 thing to do but honestly, we went over budget just in planning where we’re having our wedding so there’s that. Budgeting out your expenses does help to wrangle your ideas and keep priorities in order. If you go over on your dress than maybe order your shoes from DSW instead of Christian Louboutin 😉

At the end of the day, it’s going to be THE most special day and the love your life will be standing beside you, in the presence of everyone you love. None of those little details and stressors will matter, I promise. So just enjoy the magic of planning it all, take time to reassess what you want over what you need, and everything else is just decoration (thank you Pilar for that one!).

There are a ton of other tips and tricks I’d love to share with you but I’ll put them all together in another post, so stay tuned <3 I really hope these #JessBrideGuide posts and videos are helping you.


Have you used any of these resources already? Are there any other tips you have to share with us brides to be? Thank you in advance for the help! 


28 DAYS TO A LBD – WEEK 1

Six months and counting babes! I have just under six months to prepare for our wedding in July, plan a honeymoon, AND gear up for the 4 other weddings also happening this year. Talk about a whirl wind next few months full of travel and partying!

So to keep myself in check, balance out stress, and get shredded for our wedding, I’m participating in my gym’s 28 day challenge! For the next month I’ll be fully immersing myself in meal prepping and HIIT workouts and I want to share with you our week one! I’d like for this to become a lifestyle and not just a quick fix 28 day trial, but a real thing! So do it with me OR you can hold me accountable for when the snack monster gets the best of me at midnight 😀

Here is your week one and how to prep for the next seven days. You can either take it in bite sized amounts of time like I do, or prep for the full week, whichever coordinates with your lifestyle best.

On Sunday: 


I say Sunday because Mondays are usually really busy for me. I like to only prep meals for 1-3 days in advance, partially because I get bored easily and because after 3 days in the fridge/freezer I get grossed out.

So on whichever day you plan on taking an hour or two to prep, separate into freezer bags (or tupperware) your smoothie ingredients, salad mix, and grab-n-go snacks. My go to snacks are fruit with almond butter, trail mix, or veggies with hummus. In a bowl mix together ground chicken or turkey for meatballs, great for wraps, salads, and sammies. They’ll cook quickly in the oven! On a baking sheet I arranged my fish with a variety of vegetables so it was a one stop ‘set it and forget it’ and cooked at the same time the meatballs did.

MONDAY

TUESDAY

WEDNESDAY

Monday through Wednesday is a variation of protein shakes, grab-n-go snacks, salads, and wraps. Protein, coconut/almond milk, spinach, and pineapple slices make up my favorite post workout smoothie. If you top it with chia seeds or coconut flakes it’s like ice cream! I mean, it DOES help if you pour it into a milkshake cup like I did 😀 Olive oil and freshly squeezed lemon juice make THE perfect salad dressing IMO, and hummus or tzatziki sauce are a wonderful addition to any wrap or snack. I’m all about those additions!

WEDNESDAY NIGHT PREP:
For Thursday through Sunday you can vary your meals if you get bored by adding in a chicken or tuna salad wrap. TIP: lemon juice and tzatziki sauce taste better than mayo 😀 I get really bored really easily and the thought of bland dry chicken with bland dry brocolli sounds BLAND and DRY. Luckily, our LBD meal plan is neither. So portion out your smoothies and salads, prep your overnight oats or protein pancake mix, and get cookin’ good lookin’!

In the oven will go your frittatas, kale chippies, and whatever fish or protein you choose. I’ve been leaning towards salmon and red snapper this week. Hard boil some eggs, make more trail mix or go-to snacks if you need to, and whip together some yummy dinners! I made a ground chicken chili with black beans, vegetable stock, veggies, and cumin.

THURSDAY

FRIDAY

SATURDAY

SUNDAY

Tadaaa! That’s your week one at a glance! Though I didn’t take a photo of everything … like Sunday’s cheat meal – pizza and champagne. Yaaaas do itttt!!! No regrets, just don’t let your cheat meal turn into a cheat month *raises hand*.

I hope this inspires you to get familiar with meal preparation, it really does take the guess work out of it and when the snack monster attacks . . . you’ll be ready!

Do you meal prep now? Are you a daily or a one-time a week kind of cook? Share some recipes with me and good luck, we totally got this!


5 WAYS TO KEEP YOUR RESOLUTIONS!

Happy 2017!!! Can you believe it, already January 2nd! Ummm chill out there new year I need more time! More time to make time, make plans, and to make time to stick to the plan!

Every year I write out 3 goals and create a vision board to inspire me, I’m big on tangible things that I can look at daily. I need daily reminders of what the big picture is because I get stuck in my head sometimes on the temporary. Today I’ll share with you my 5 ways to keep your resolutions and what mine are for the year.

nye1

1. Write it down – on a piece of paper. I probably have a thousand notes on my phone and a gazillion text edits on my computer all labeled in various ways TO DO. There’s something about physically writing your thoughts down on paper and being able to cross things off your list that is way more satisfying then deleting a note on your phone.
2. Get organized – planners are a great way to take the list of your goals and your daily to do’s and manage them day by day to get you to those big goals. I really like writing little notes to myself in my planner that keeps me on track like, “today is wine night, drink up buttercup!” LOL
3. Keep it simple – and keep it realistic. Yes go for those big goals and dream bigger, just adjust your daily list to things you can accomplish without overwhelming yourself or setting yourself back.
4. Stay focused – set backs are normal, just stay focused on the plan which are your daily to do’s. That’s why having a schedule is so important. When you feel like you’re getting overwhelmed or you have days where you aren’t motivated, you can look at your day and those bite sized tasks will equal up to the big picture.
5. Slow and steady wins the race – day by day baby! Daily accomplishments set into motion your goal so take your year one day at a time. Be present in everything you do and remember that slow and steady wins the race <3


My goals for this year are to focus on being consistent in both blogging and my channel, get wedding ready, and to find more time to unwind from they day.

As a blogger and YouTube creator, I’ve constantly struggled with being consistent and sticking to a schedule. Creating on two different platforms is taxing on my creativity because I’m crafting for two different audiences. I hit walls all the time and for me, sticking to a schedule and writing out my daily plan really helps. It helps me not to work on my brand from the time I wake up to the time I go to sleep, not being able to clock out ever is dangerous IMO.

That’s why having a routine of rest is just as important as having a routing of work. I’ll be balancing work, working-out, and time-outs for myself every day this year. Wish me luck!


Just keep swimming 😉

What are your New Year’s resolutions for 2017? Do you have any tips on sticking to the plan?