Polaroid Picture Frame

DIY- POLAROID PHOTO FRAME

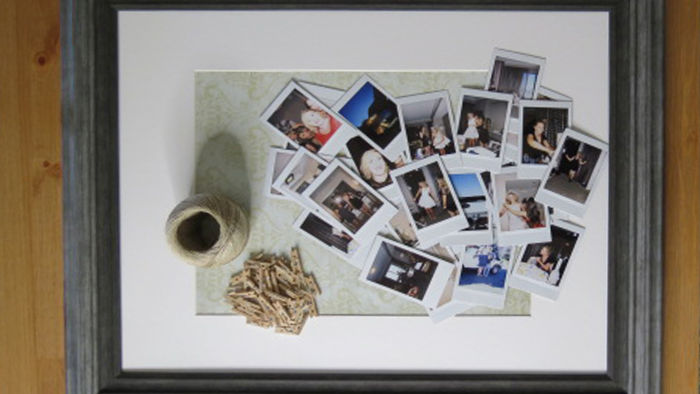
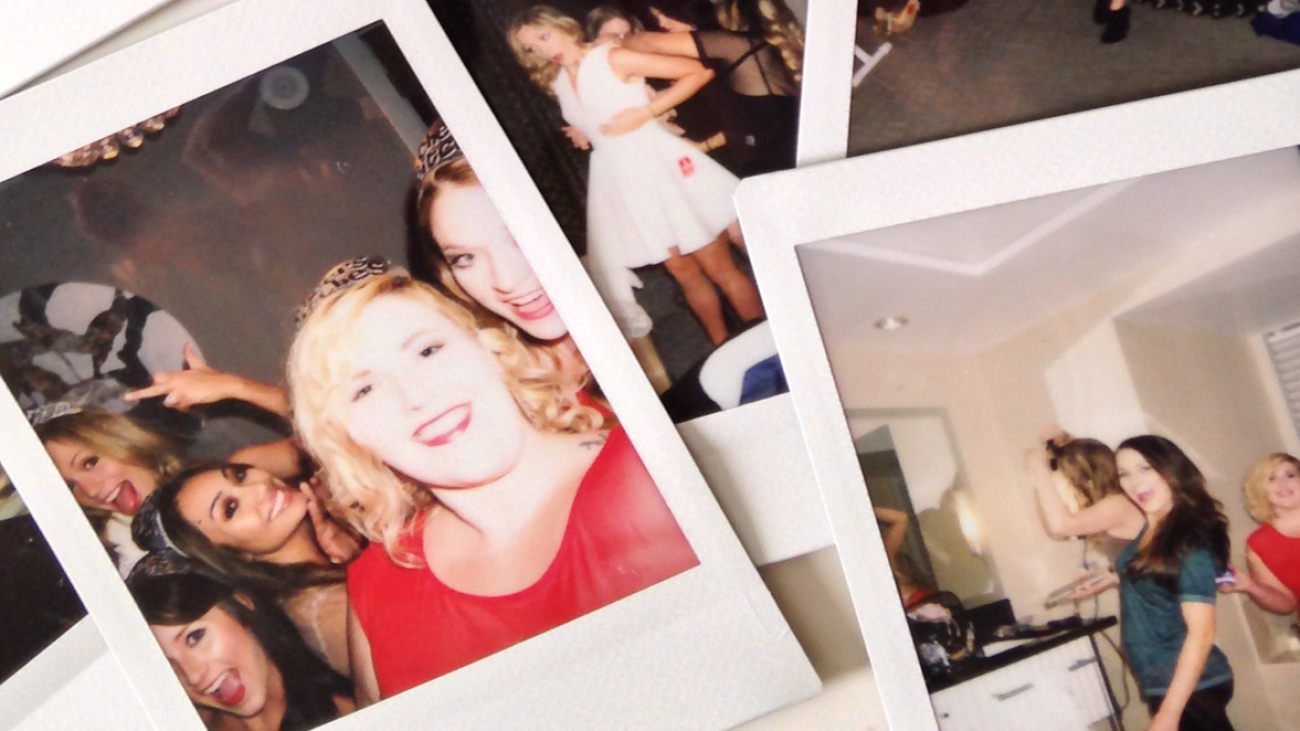
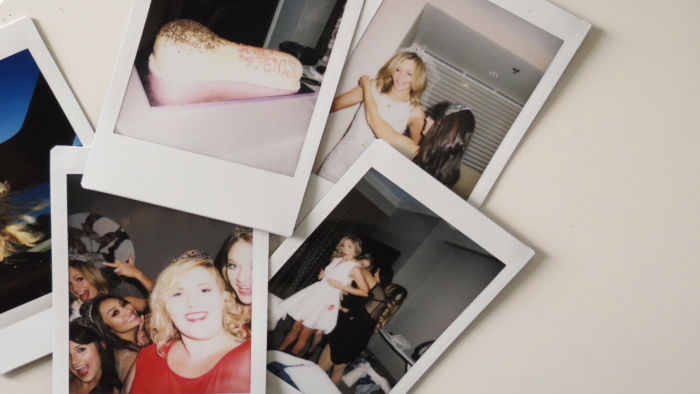
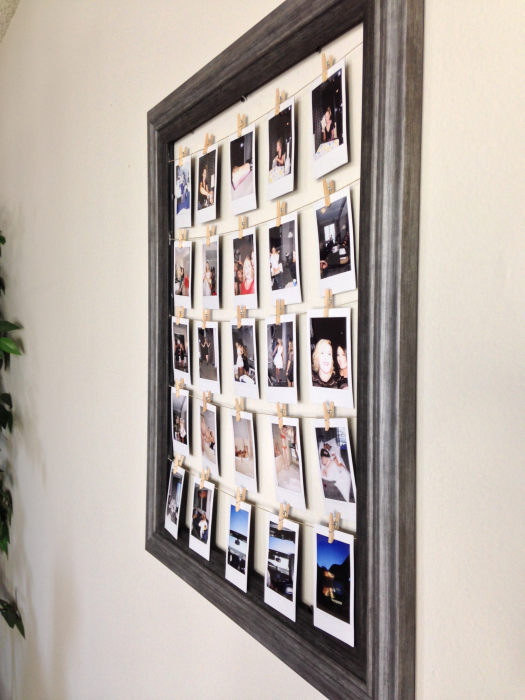
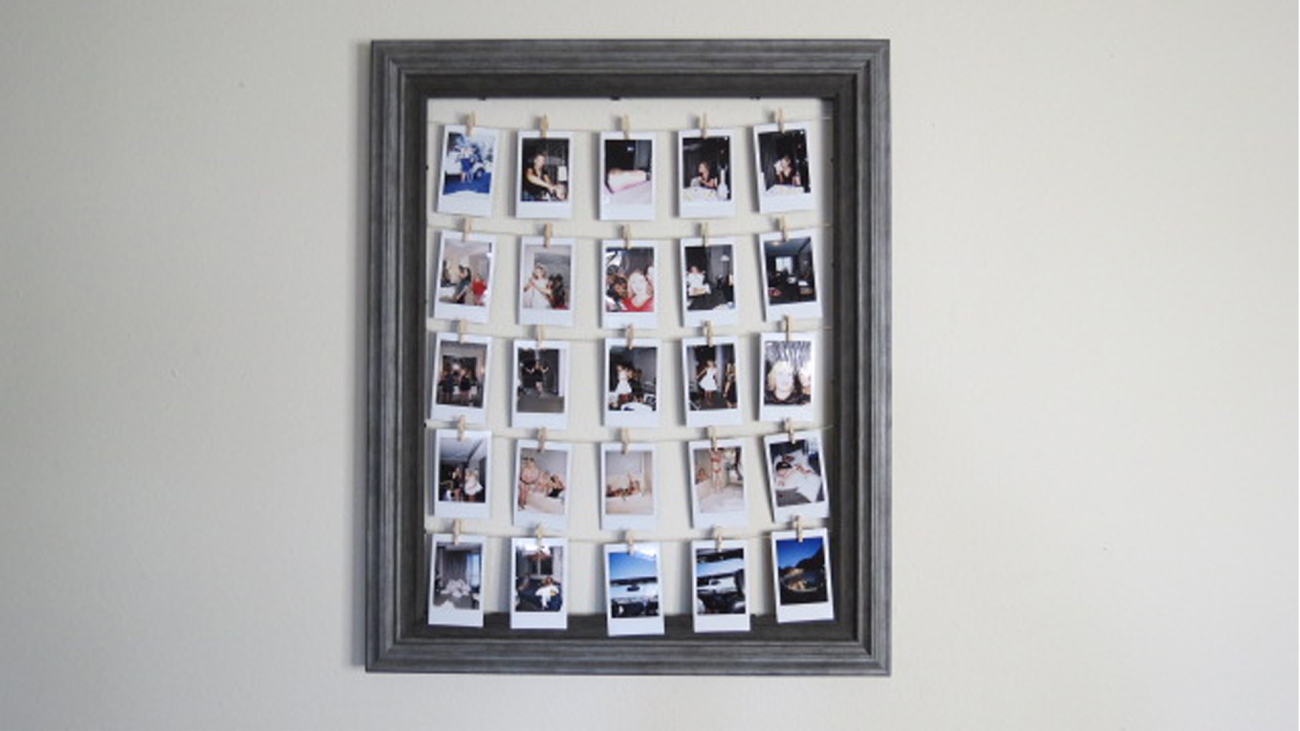
I love that pictures freeze moments in time and allow you to relive them again and again. Pictures are a physical memory since we can’t always rely on our mind memories (mind memories…totally a thing) to recall a special occasion, or remember exactly what that moment looked like. I toted a Polaroid camera along with me for Linz’s bachelorette party in Vegas last month, and asked that everyone take photos of the weekend and then give the Polaroids to me for a gift we’d make for her. This is what I did with all the photos, a Polaroid photo frame! Thank you Pinterest!!!!!! When in DIY doubt, Pinterest out!!!
polaroid photo frame
For this you’ll need:

  • a frame of your choice
  • sturdy string or wire
  • mini clothes pins or metal clips
  • your photos
  • scissors
  • hot glue gun and glue
  • measuring tape

polaroid frame prep
Method:

  • You’ll remove the back cardboard and glass from the frame so that you’re just left with the frame body
  • line up your photos so that you know how many columns you’ll have and how many rows
  • use the tape measure to figure out where you’re laying down your string or wire so that your rows are evenly distributed
  • lay down a dollop of hot glue into the nook of the frame to hold the string in place on one side than line up the other side and do the same
  • allow the glue to dry and then hang your photos onto the string with the mini clips and walaaaa!
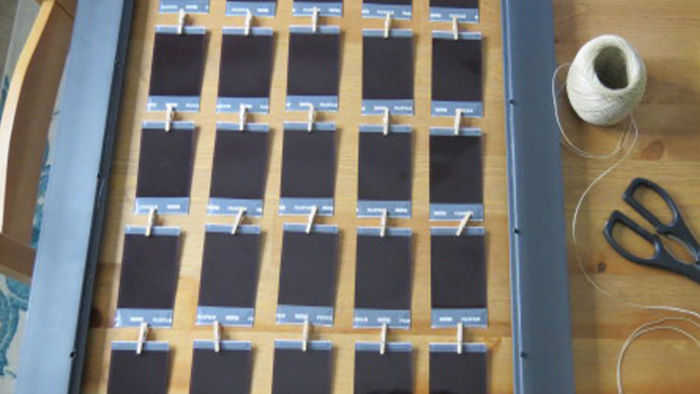
polaroid frame

All of your memories in a cute lil DIY frame, handmade by you, with love…and a few burned fingers 😉 I hope you enjoyed this DIY post, I love doing home decor, especially at a level that my skills or lack there of are able to grasp! haha!

polaroid frame

Let me know what other home decor/DIY things you’d like to see, and I hope your weekend is awesome!!!

Hugsssss!


Jess
Coconut donuts!

Valentine’s Day Ideas When You Have NO Idea!

I hope today, right now in this moment, is not the first time you’re remembering that it’s Valentine’s day. I have mixed emotions about this holiday honestly – I’m a romantic at heart, but I also think every day should be special right?! I’ll save my love rant for another day, for now, if right now you’re scrambling to find a gas station teddy bear and some chocolates that will pass for the “I totally had this planned out” impression well here’s your guide to ‘fakin’ it ’til ya make it’….to the mall!

Valentine’s day gift ideas for when you have NO idea!

So it’s crunch time…. you forgot the thoughtful gift – you’ve been busy! You skipped out on making breakfast in bed to rush out to get a gift that’s you think will be more personal in gesture than making that breakfast in bed idea. Well there are a few things you can do to make it seem as though you totally had today in the bag! Also, this is for men and women, all of the ideas listed below will work whether it be for your boyfriend, girlfriend, fiance, husband, wife, child, pet goat…..all of them:

  1. Breakfast in bed – before you rush out the door to frantically find a teddy bear that’s larger than life, why don’t you just cook their favorite breakfast meal and serve it to them in bed? This will work every time, it’s so thoughtful! AND it’s budget friendly, just use what you have already in your fridge
  2. Hand picked flowers – great for men and for women, hand picked flowers are the cutest gesture, it’s sweet and Earth friendly and you can find them anywhere in your front yard… or a neighbor’s…PLUS they’re FREE! Unless your neighbor comes after you with the garden hose
  3. Love notes – love notes are great because they’re building blocks! Leave them around the house, in the bathroom (extra points for notes left in heart shapes and smiley faces), on your loved one’s car, all with personalized messages to show them that you care, that you listen, and best part…it buys you time. To either make a reservation or go out and get their favorite icecream
  4. Dinner cooked by a real life chef – yep that real life chef is YOU bud! Nothin’ says ‘”I love you”, more than a home cooked meal made with love. And bacon. Besides, all the restaurants will be over crowded and over priced. Save yourself the cold sweats of having to call around to make a last minute reservation and set the dining table for two
  5. A love basket – this is my all time favorite go-to gift! You get a basket, or a bucket, or a shoe box, whatever – you fill it with their favorite items, trinkets, snacks, and a couple of tickets to the movies and BAM, YOU are the most thoughtful gift giver evaarrrrr!

Now I’m not saying these gifts will blow them out of the water with surprise and romance, but it will make your gift more interesting, and personal to your relationship, AND it’s not super expensive or super over the top ‘buy a star and name it after them’ status. Those are for movies like “The Notebook”.

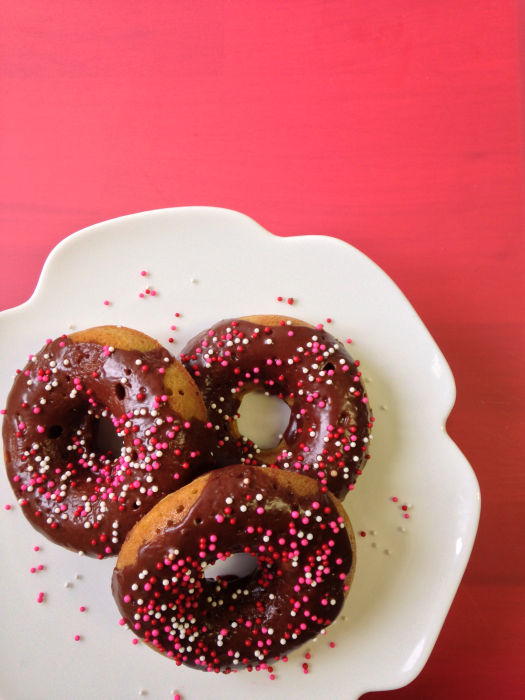
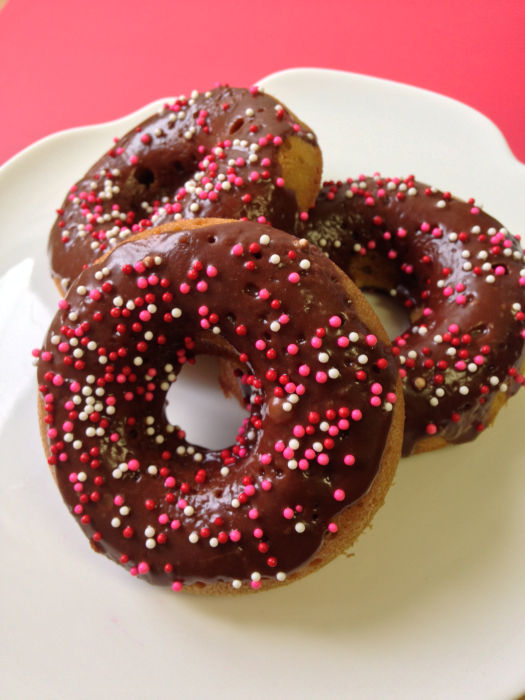
If all else fails, make them some ‘love donuts’. Picture below along with the recipe. It’s gluten free because… love. And remember, “if you’re a bird I’m a bird”.

coconut donuts
xoxo- Jess

Gluten free donut recipe for my love, Corrine.

What you’ll need: (yields 12 donuts)
For the Donuts:
1/2 cup GF flour or coconut flour
6 eggs
1 tablespoon vanilla extract
1/2 cup sugar
1/4 teaspoon kosher salt
2/3 cup melted coconut oil
1/4 teaspoon baking soda

– Mix wet ingredients together and then stir in sifted dry ingredients, bake in a donut mold for 15 minutes at 350 degrees

For the Chocolate Glaze:
3 tablespoons cocoa powder
2 tablespoons melted butter
1 cup powdered sugar
3 tablespoons hot water

– Mix ingredients all together in a bowl and then glaze over the donuts once they’re cooled, top with sprinkles and kisses and you’re all done! Enjoy!
Coconut Donuts!

6

DIY Canvas Wall Painting

I decided a long time ago that home interiors just wasn’t my thing, and I say that because if you’ve ever come over to our home you would’ve seen that nothing had a theme and nothing matched! I didn’t care about design or furniture, and call it personal growth, but I care now.  I’ve spent a lot of time these past few weeks investing money and careful thought into upgrading our space and rejuvenating the energy that’s in our home. At the end of the day we work from home and I want us to love our creative space and we do now!  These little revamps make me so happy, it’s tapping into a different part of my creativity and this part is so fun.

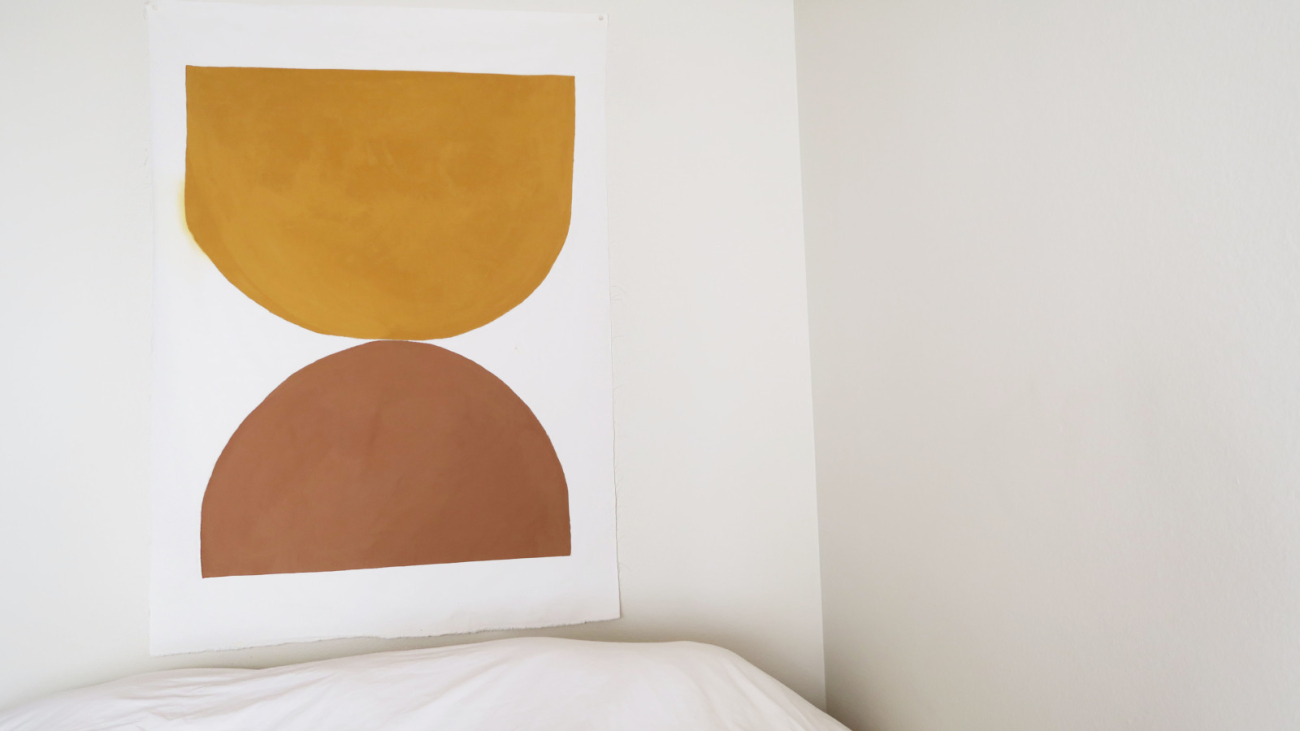
I get a lot of inspiration from Pinterest, Instagram, other bloggers, and let me tell you there is so.much.pinning! Corrine introduced me to Molly of Almost Makes Perfect and legit everything she does inspires me! Go follow along because the timeless simplicity of her home is what prompted Corrine to share with me one of her recent posts, hence this post. Molly showcased a large canvas painting her in kitchen and Corrine and I thought, “oh pretty, totally we can do that!” DIY is easy they said, it’ll save you time and money they said. Yes, totally saves you money, but ummm painting on canvas proved to be more difficult than I’d imagined so let me help you help your sanity and your art skills.

What we used:

  • 59 x 40 inch canvas from Hobby Lobby (PS have you ever been there? We’d never been and omg they have everything!)
  • pencil to stencil
  • green painters tape for clean(ish) edges and placement keeping
  • big paint brush and an angled small one to clean up rounded areas
  • measuring tape to get the shapes even(ish)

For my canvas colors:

  • smaller shape- (1) 8 oz Terracota Matte Chalk Finish decor paint from Martha Stewart Crafts
  • larger shape- (3) 2 oz Cocoa Bean DecoArt Americana satin acrylic paint

For Corrine’s canvas colors: 

  • (3) 2 oz Raw Sienna DecoArt Americana acrylic paint
  • (3) 2 oz True Ochre DecoArt Americana acrylic paint

What we did: 

So what you’ll do is measure out the space where you want your canvas to go and have the fabric cut to fit. Then figure out the shapes and colors you’d like (we really tried to mimic Molly’s shapes but how mine turned out more mushroomed shaped rather than domed) and then use a pencil to lightly sketch the shape out. We used the tape to a) hold the fabric in place and we crawled all around it b) create straight edges for the flat portions of the shapes c) remove any debris or lint that got onto the canvas painting from all the crawling around them that we did.

We used the measuring tape to measure out the width of the canvas, and with that number decided where each side of the shapes would end and where on the design the dome part would begin. I knew one shape would be slightly smaller than the other so I had to map out where that shape would begin and end… hallelu pencil. Then we began to paint, then we ran out of paint, then we ran out to get more paint and by the time we got back half had dried up which you can see in the final product. So now I’ll have to go over it with a second coat at some point. Or leave it as is and say f*ck it.

We learned a few things along the way, so we’re just gonna call these Pro Tips 😉

PRO TIPS: 

  • pencil pencil pencil. Sketch in pencil so you can easily erase way any errors or miscalculations. My painting still has some pencil stenciled on it but it doesn’t bother me
  • the measuring out bit is so important unless you don’t really care about straight lines or even shapes. Some people don’t care, I would’ve been that person a year ago but on this day I spent more time measuring than I did painting
  • it’s better to have it and not need it than to need it and not have it so I suggest to purchase more paint than you think you’ll need and you can always return what you don’t use. We ran out to get more paint and now you can clearly see when one half was painted and when the other dried on up
  • if it ain’t broke don’t fix it and if there’s a mistake don’t try to wash it out. Oh hai, we did that and it allowed the paint to bleed out onto the canvas and discolored the fabric. Sooo, I say if you make a mistake i.e. a flick of chunky paint lands onto the canvas (meee), or if paint slips underneath the tape and makes a jagged line versus a straight line (meee), it’s okay! And if you don’t get enough paint on the canvas and some of the canvas shows through (meee) well I actually think that gives it some personality, just leave it 😉

All in all we spent less than $40 for two canvases, some paints, and some fun. Now Corrine and I have some personalized paintings decorating our walls <3 We listened to Generation Why while we completed this project and got through 3 episodes… so we were painting for 3 hours and it was honestly so fun, so therapeutic! If you mess up, you can repaint, add paint, or start over, just have fun.

Thank you again to Molly and her creativity for sparking this inspiration, I hope you all get crafty this weekend!

What color palette would you choose? Are you a shapes kind of person or do you need a scene to be happening? We’re obsessed with all things earth toned and rattan right now and I couldn’t be more excited about it. 


Make Your Own DIY Floral Sage Smudge Stick

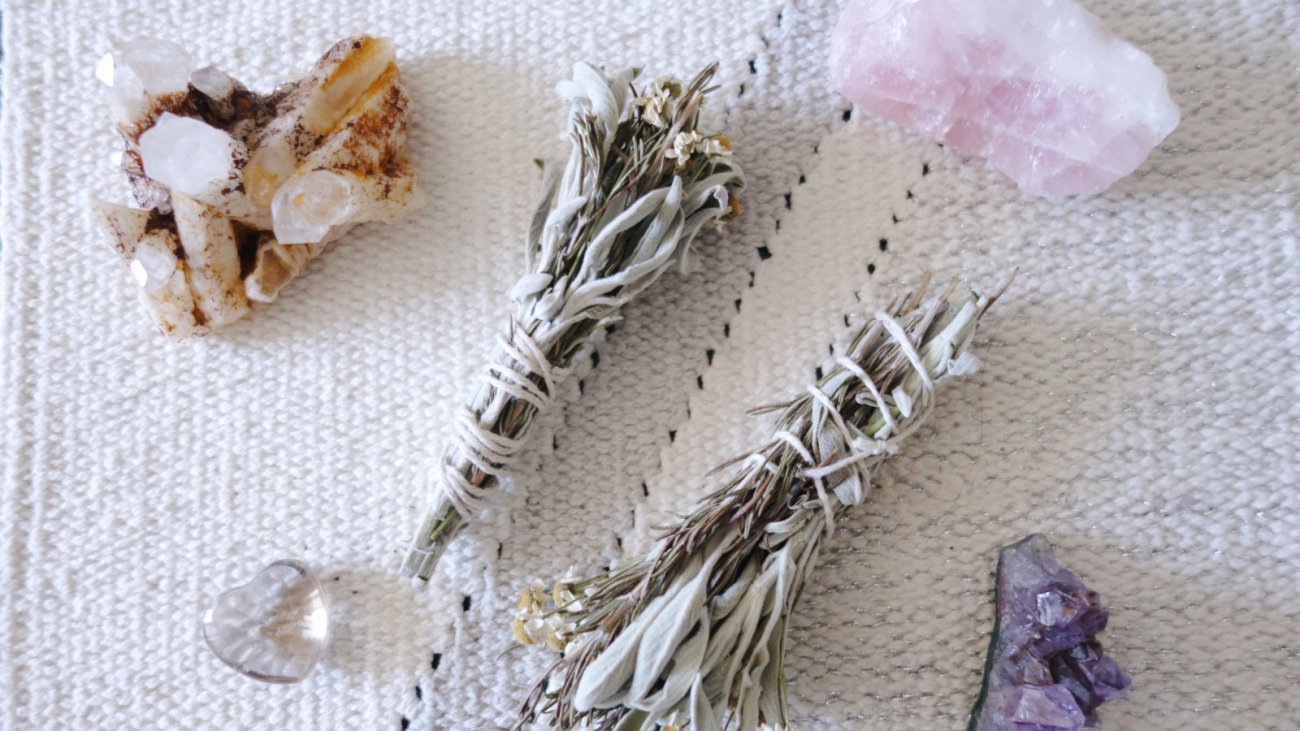
The other day I realized we have waaaay too many candles in the house. Out of the desire to make something simple with my hands and steer away from our candle-overload problem, this little DIY came about. I’d always read about making your own smudge stick and seen so many Pinterest DIY’s but I’d never taken the plunge and just did it. So I finally decided that would change and just went for it, and it was super easy and inexpensive!

Aside from being visually appealing and all around lovely, smudge sticks are a fantastic way to get any indoor or outdoor space cleansed, energized and smelling great. They’ve been used in sacred rituals for centuries and I kind of hold a little place in my heart for them because they’re magical and so easy to make.

I used those little pre-packaged white sage and rosemary sprigs from the fresh produce section because they were easy to find and inexpensive. You’ll only need one package of each herb you choose, because one package will be enough to make at least two smudge sticks. You can switch it up and add cedar, sweetgrass or any other herb that you please. Flowers are a great idea too, they’ll add some color and smell wonderful, so I also added chamomile to mine. Roses, lavender and pretty much any flower with soft, bendy petals will work. You wouldn’t really wanna use tulips, for example.

What You’ll Need:

It’s really as simple as you’d think. Take your herbs and flowers and arrange them however looks best to you. There really is no messing up with this one, because it’s going to look beautiful and smell so good. You can’t even be mad at that! You may have to cut the ends and modify them to match one length. When you’ve used up all your herbs or you’re content with how it looks, wrap it in twine and tie it up nice and safe. Voila! A beauty is born.

As far as letting the herbs dry out, I hung mine upside down for about a week and a half. When they’re all dried up, they’re set to be used. Burn them in your space or outdoors for a good energy cleanse, give them as gifts or put them in the bathroom for whenever someone lays a stinky one. They even work as decor, just lying around on the coffee table.

Corrine

EASY EASTER TREATS – DIY WITH THE KIDDOS!

Last year on Easter’s Eve I slipped bunny tracks under Corrine’s door, they led to the living room table where her basket was waiting filled with her favorite things. To say I’m dramatic about holidays is an understatement! I still do these fun, cheesy things for her and she’s NINETEEN! lol

It’s Easter weekend in a few days so I wanted to share one of the yummiest and EASIEST Easter treats with you! It’s a fun DIY activity you can do with the kiddos and only takes 10-15 minutes to complete!

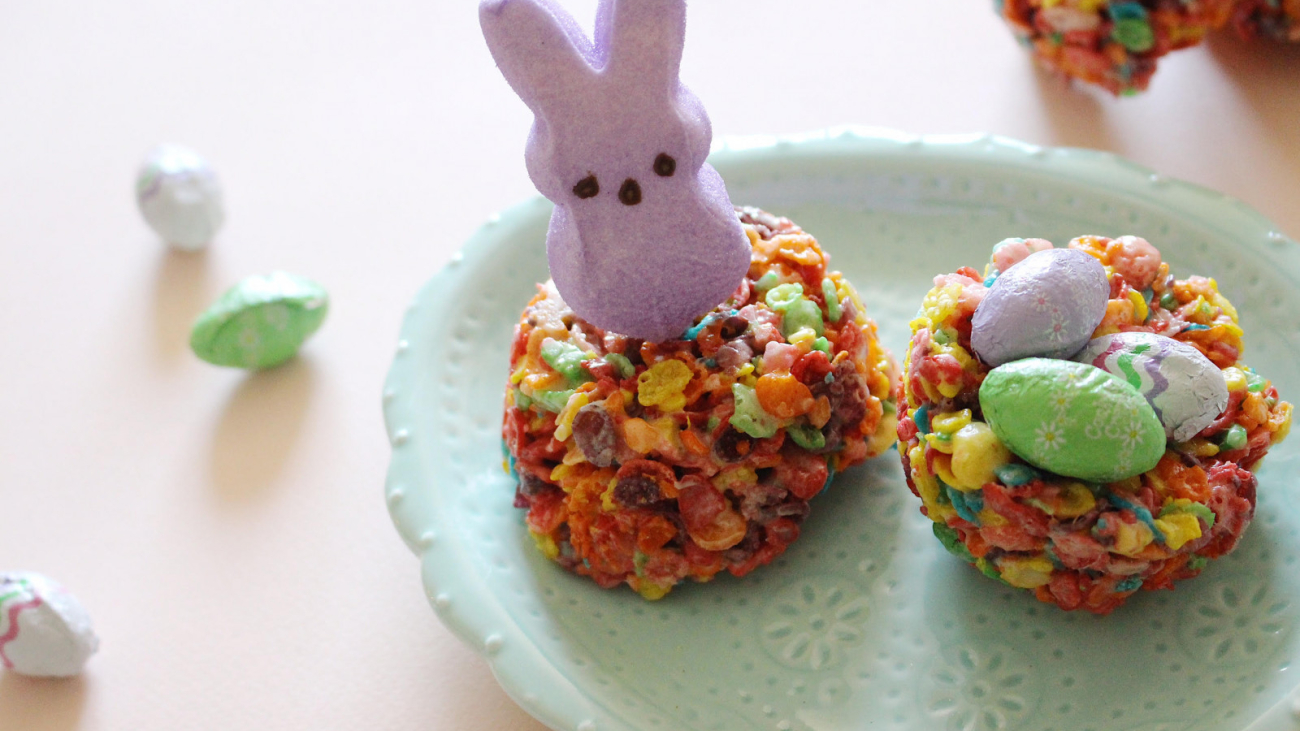
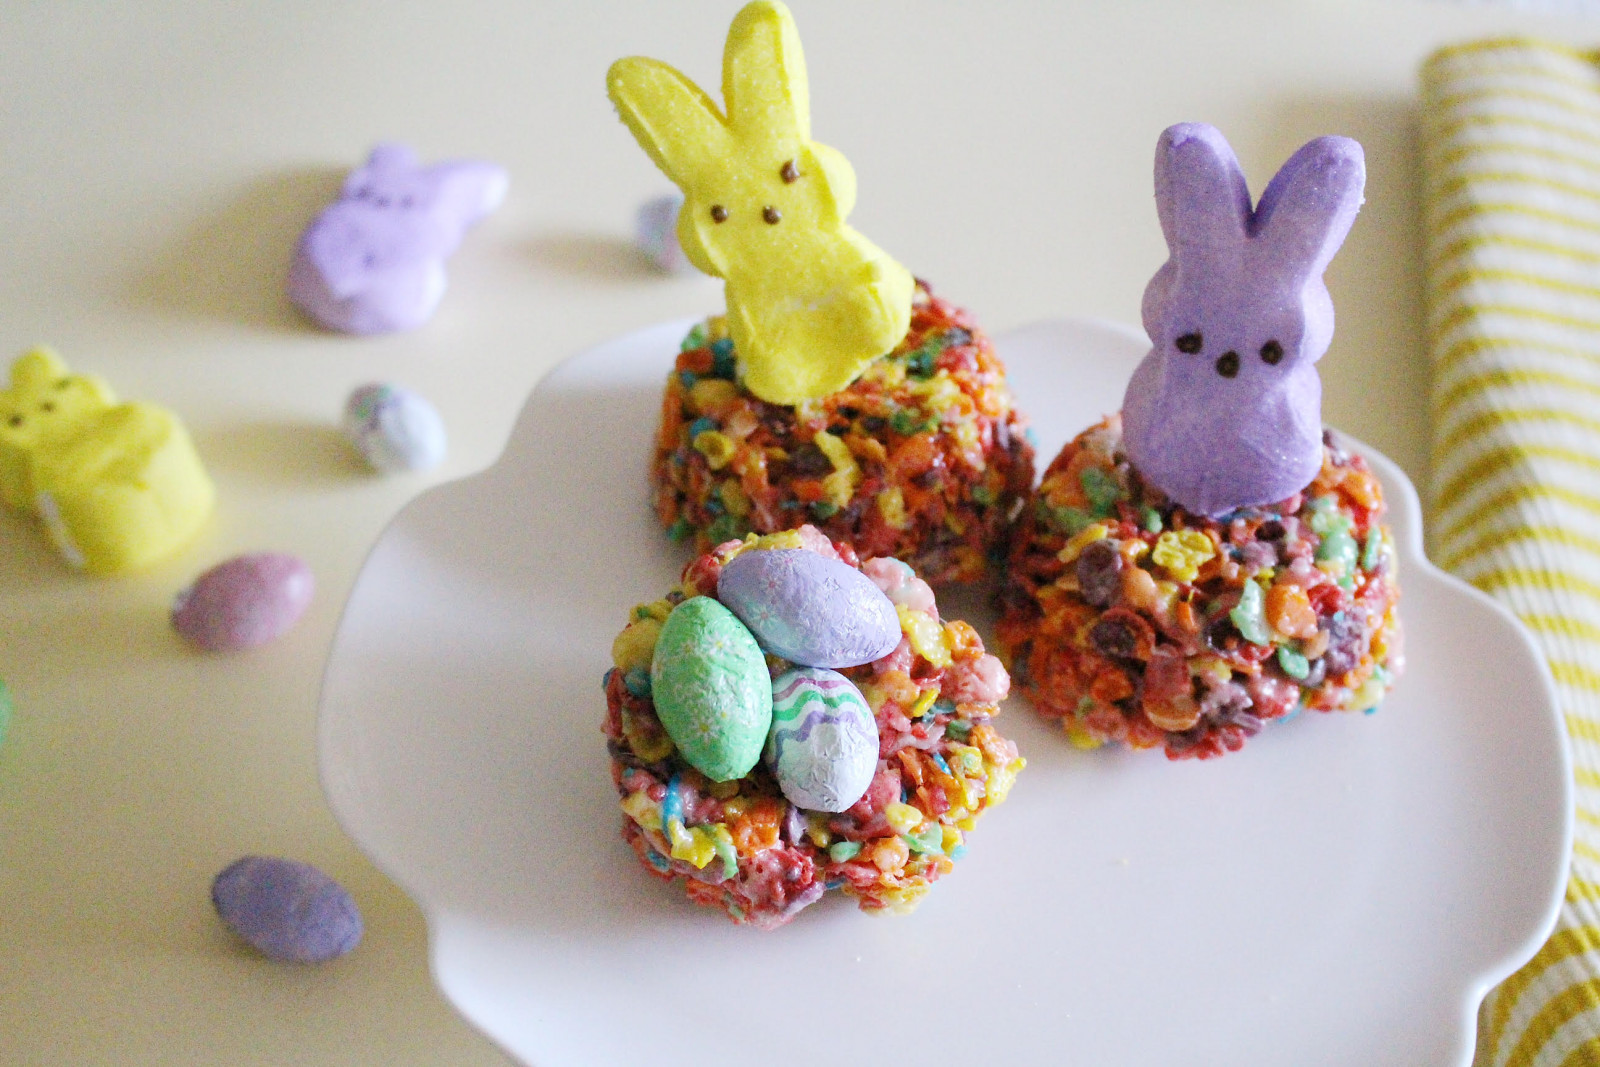
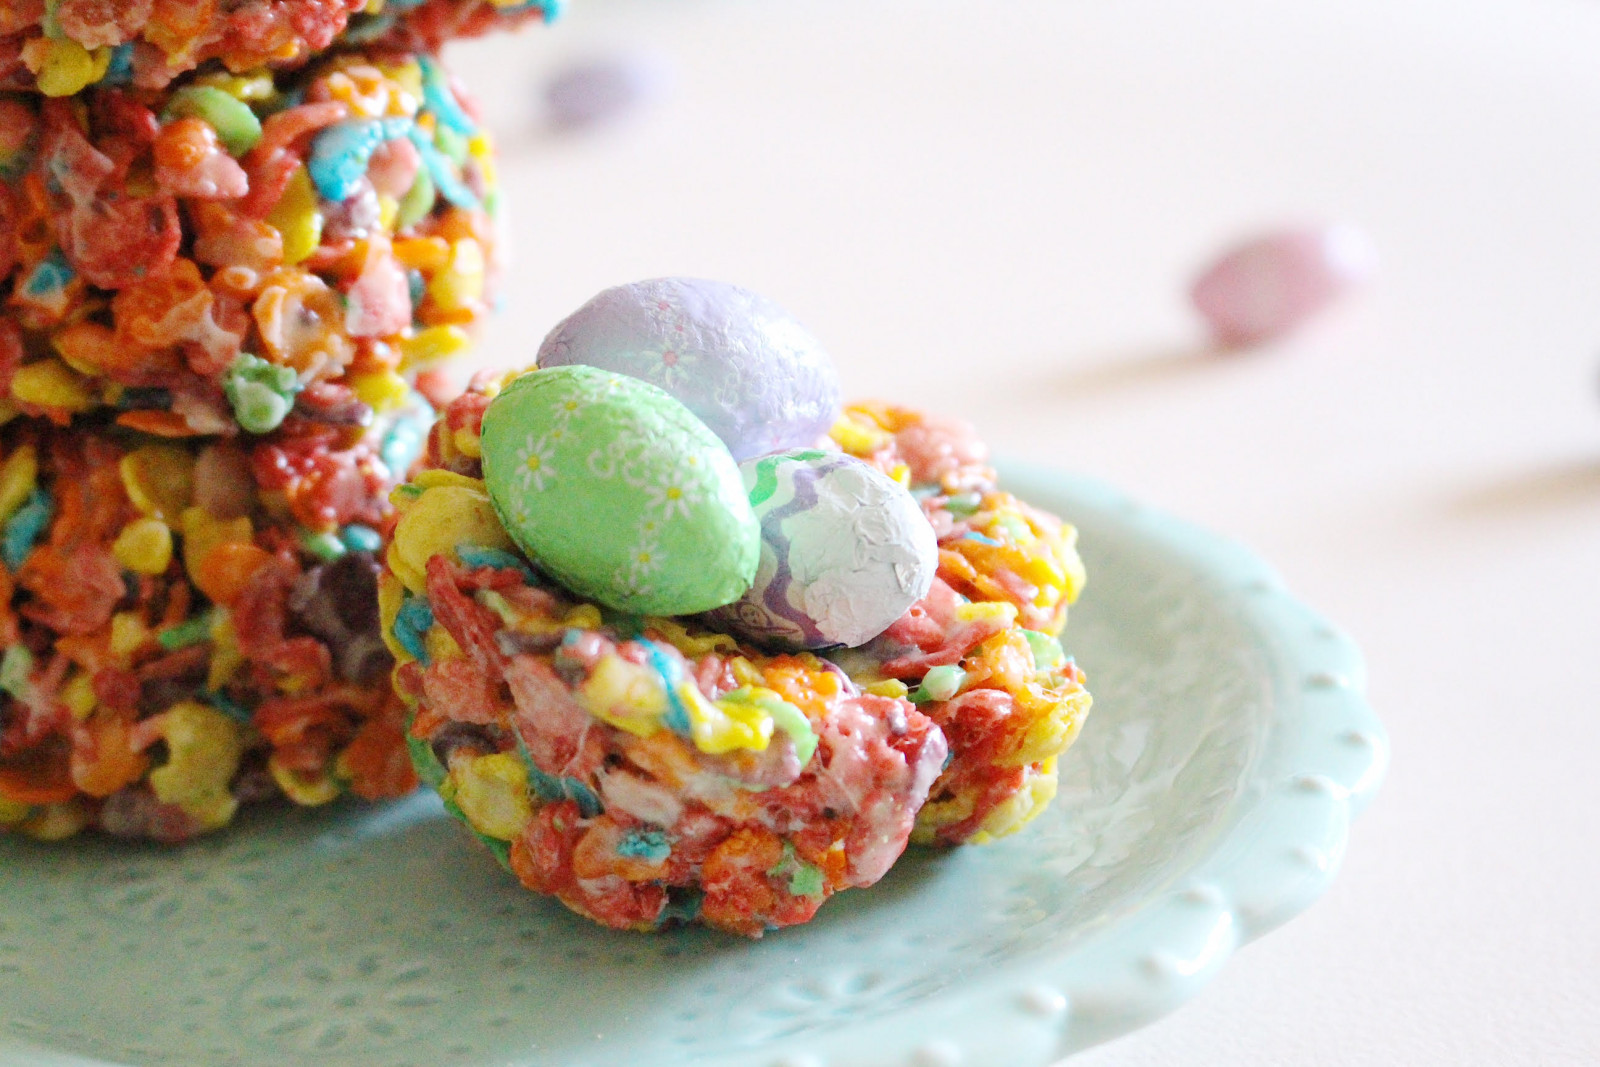
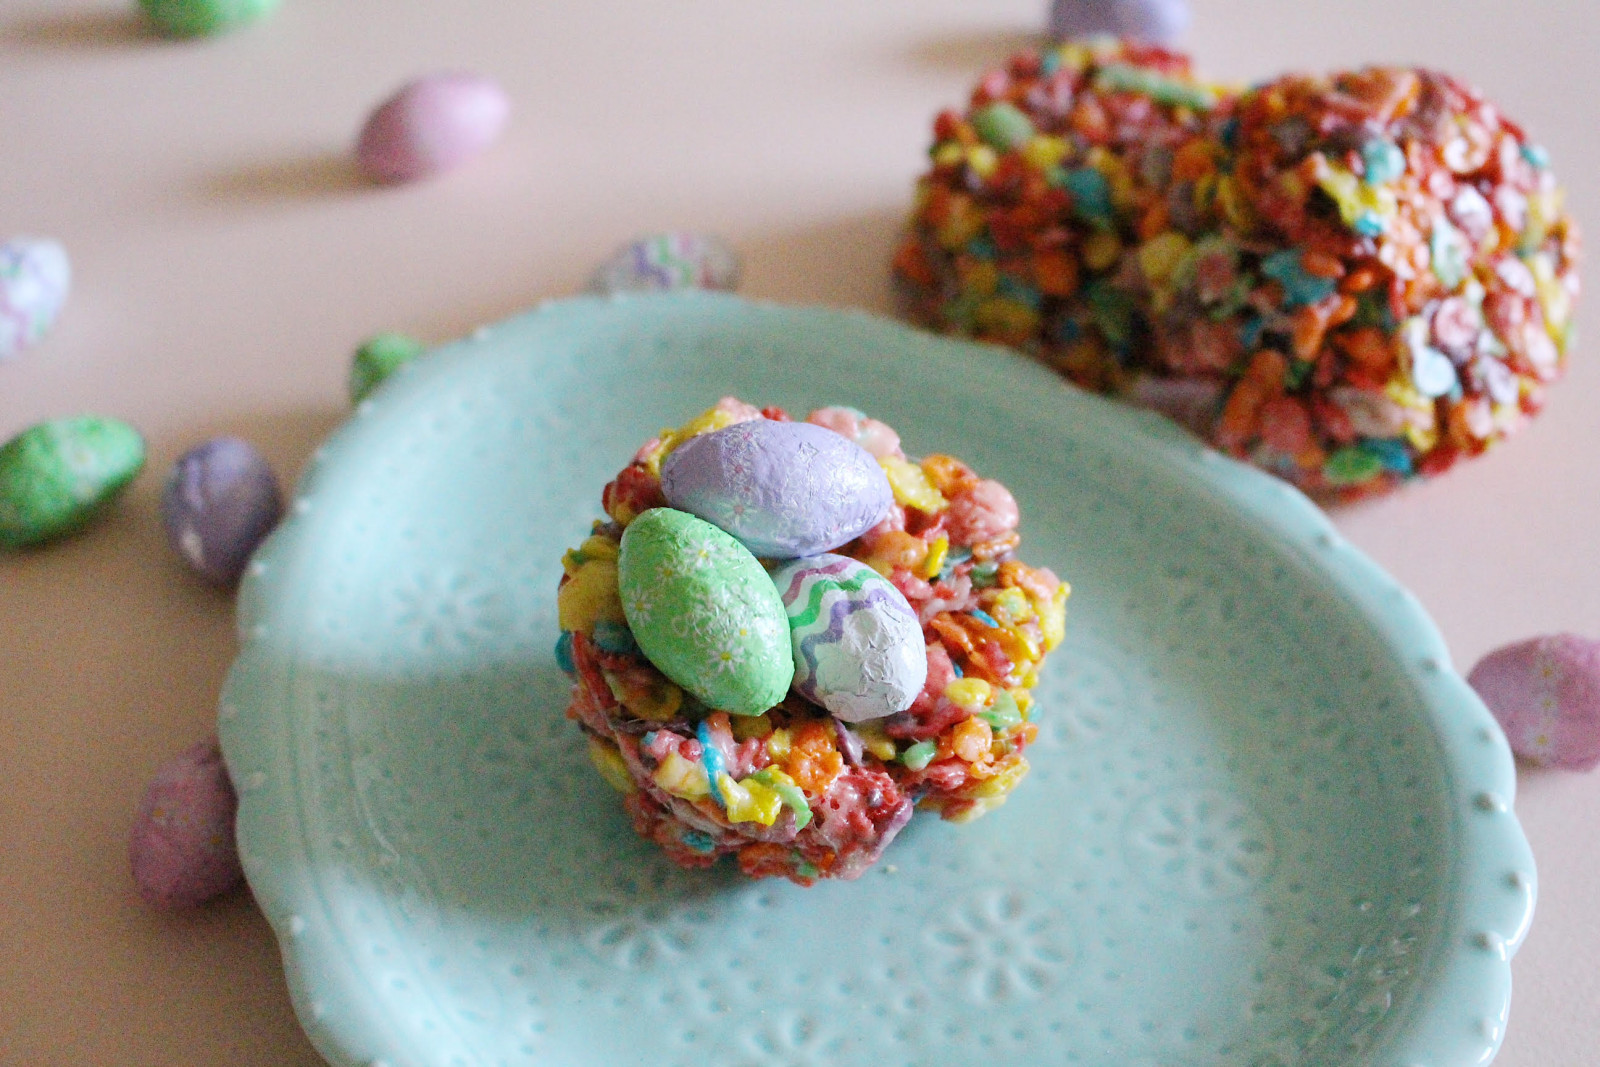
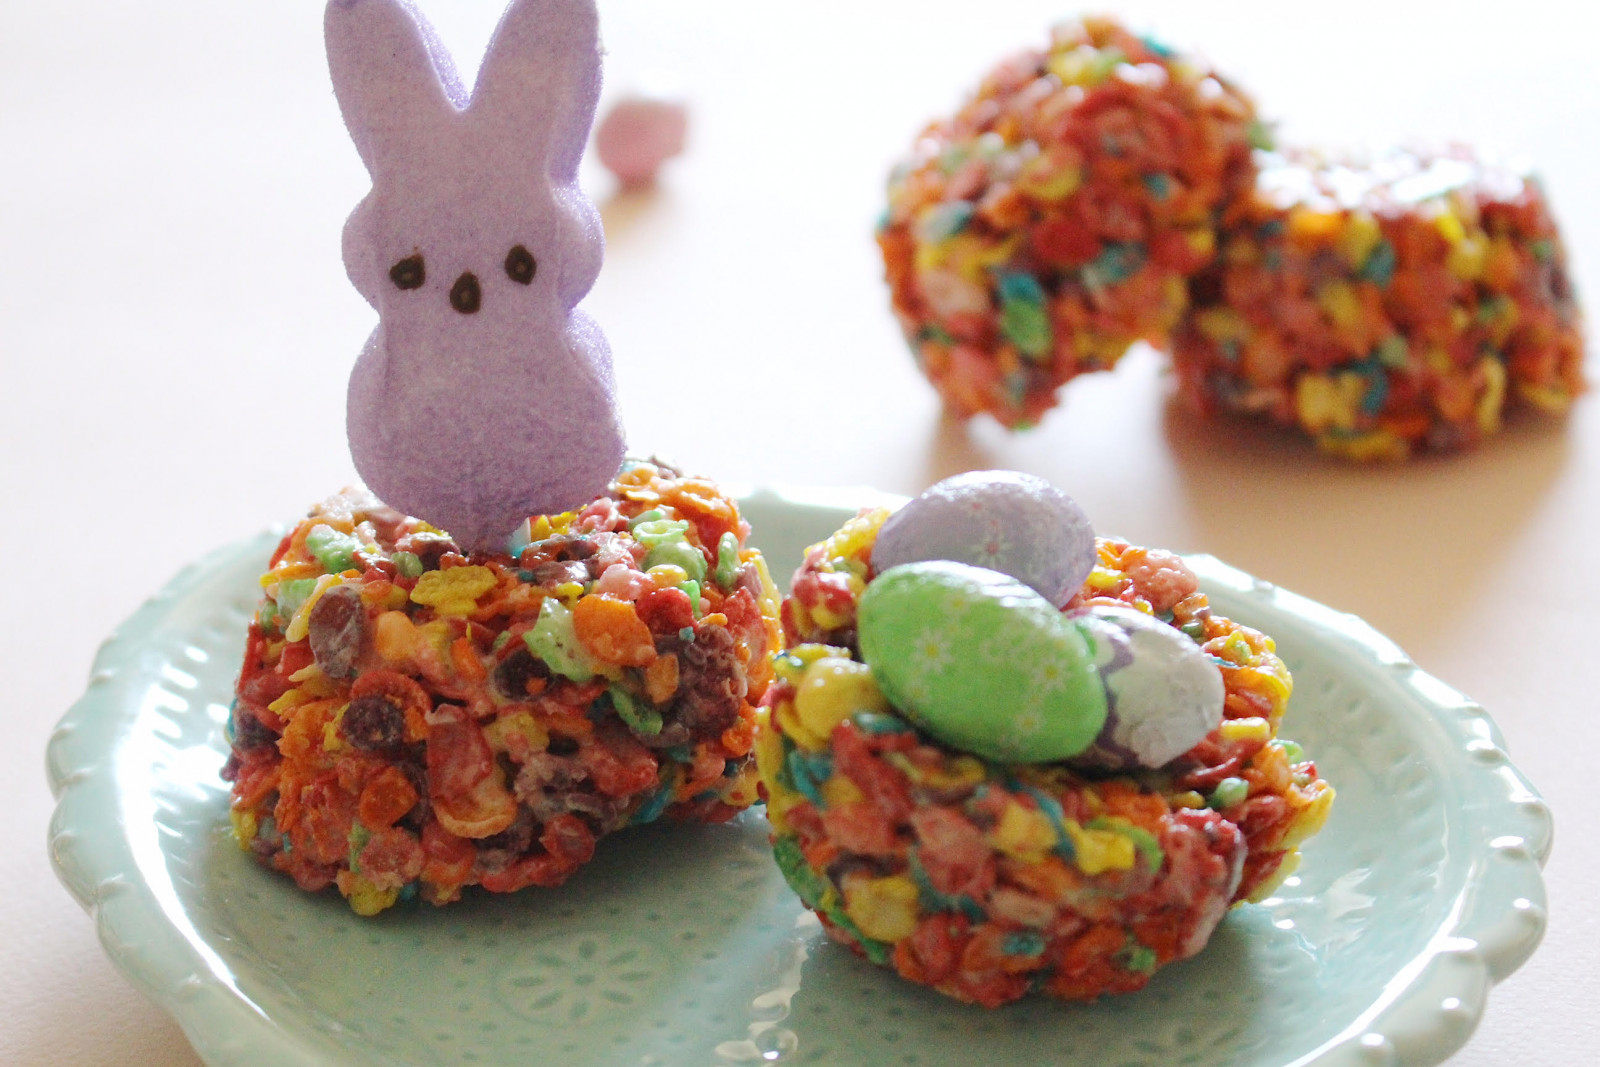
How stinkin’ cute are these fruity pebble treats! We hand formed them into nest shapes and filled them with chocolate eggs topped with Peeps! Sugar overload but soooo worth it, I swear I just wanna make rice crispy treats with every cereal out there!

You’ll simply make the traditional “rice crispy treat” recipe and instead of the original rice crispy cereal, you’ll swap it out for any cereal you like. In this case we used Fruity Pebbles because the color combination was so pretty and festive, not to mention it tastes tangy, sweet, and all things delicious.

Top your ‘nests’ with the chocolate eggs of your choice and pop a lil Peep bunny on there to complete this yummy and easy Easter treat!


What’s your favorite Easter dessert or recipe? I personally cannot wait until we get to tye dye eggs with Corrine! Even though she doesn’t seem as excited as we are, I know she loves that I’ve continued the tradition with her. 


DIY DAILY BRUSH CLEANER – HOW TO PREVENT BREAKOUTS!

Looking back, as a teenager I thought I had terrible skin. I mean I broke out like any normal hormone-raged, pubescent teen would but I really thought I had a problem. Like, I made my dad buy me acne pills and I tried every face wash you could think of. I was 12 and no medication or face astringent on the planet could do away with my breakouts. Now as an adult, I’m breaking out and it’s unlike a normal adult woman should. The only difference between then and now is that I knew then what was triggering my breakouts.

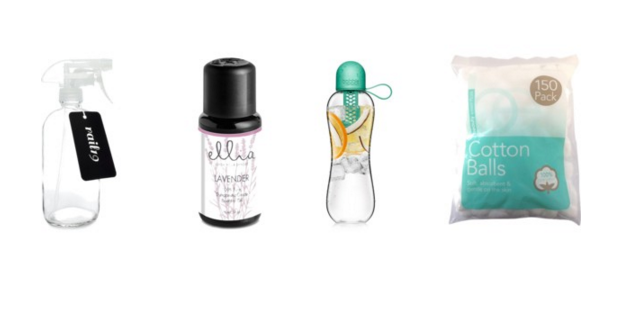
By process of elimination I realized that my problem was that I wasn’t cleaning my cosmetic brushes AND makeup enough. I was doing everything I needed to in terms of keeping my skin clean, but I was being pretty lazy when it came to daily maintenance of the products that touch my skin every dang day. Imagine the bacteria . . . ewww gross.  S0 today I’m sharing with you my DIY daily brush spritz and a super simple way to deep cleanse your brushes weekly. So for the daily brush spritz you’ll need an empty spray bottle, mineral water, alcohol, your favorite essential oil, and some cotton balls or paper towels.
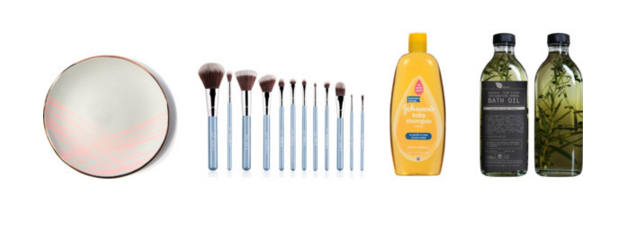
– fill the spray bottle 70% full of water and then fill it up another 30% with alcohol
– add in 9-11 drops of your favorite essential oil (I love lavender!), give it a good shake and then spray a few spritzes onto a paper towel or tissue paper and swirl your brushes around (in a back and forth motion) until they’re clean.
– air dry

*the alcohol will cleanse and disinfect your brushes, the essential oil will recondition them since alcohol is very drying and pungent, and the water will help to dilute the mixture and the alcohol. You can use this method daily to give your brushes a nice quick cleaning so that during the week you aren’t reintroducing old makeup and bacteria onto your skin, hence the pesky breakouts.

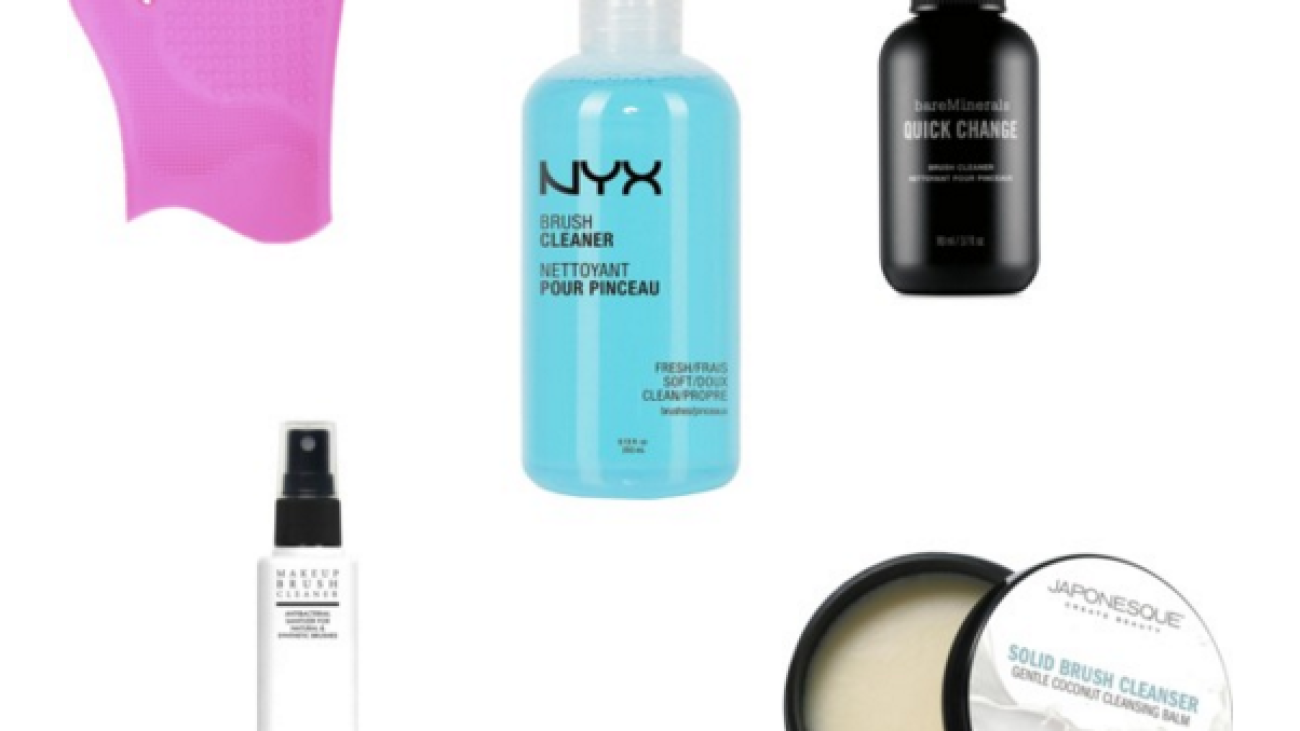
About once a week or so I’ll deep cleanse my brushes since even my daily cleanser isn’t always enough. Most makeup shampoos can be a bit pricey especially if you’re washing up to 20 brushes! *raises hand* so I’m bringing back an old favorite that you may have seen before!
For this DIY brush shampoo/conditioner you’ll need a mild shampoo, olive oil, and a plate for mixing. Simple right?!
– pour equal parts of the shampoo and olive oil onto the plate and use your brush to combine the mixture and to saturate the bristles with the combination
– use the palm of your hand to swirl the brush around and create suds (back and forth and swirls onto your palm) until you’ve gotten most of the pigment out
– run the brush under tepid water until the water runs clear and your brushes are clean
– reshape the brush and then lay them flat or at least bristles down, so that they air dry without allowing the water to enter the handle of the brush and rusting your goods

*the shampoo is effective yet mild enough to deep cleanse your brushes weekly and the olive oil with recondition them

Don’t forget to disinfect your makeup and tools at least once a week also! So your pressed powders, palettes, and tools should all get a nice lil alcohol bath simply using alcohol and a cotton round. This will keep your makeup clean and your skin clean too!

To see all of this in action check out the tutorial I did on my YouTube channel and please subscribe if you haven’t already! I love doing stuff like this!

How often do you clean your brushes, makeup, and tools?! Do you fellas out there clean your stuff too? You totally should! 


mothersday1

MOTHER’S DAY MADE SPECIAL!

Easily titled one of the most special holidays of the year, Mother’s Day is next weekend! I love Mother’s Day, not just because I’m a mom but because it’s a day to celebrate all moms, and the dads who take on mom duty full-time, I’m looking at you!

As a single mom I really appreciate all of you guardians, care givers, single dads, and anyone else stepping in to take on the ‘mom duties’! Lucky for all of us, on May 8th we get to celebrate you all!

So today I’ll share with you my personal take on gift giving, what it means to me, and the 3 easiest yet most thoughtful gifts you can give to mom!

#1 ARTS & CRAFTS! 

mothersday2
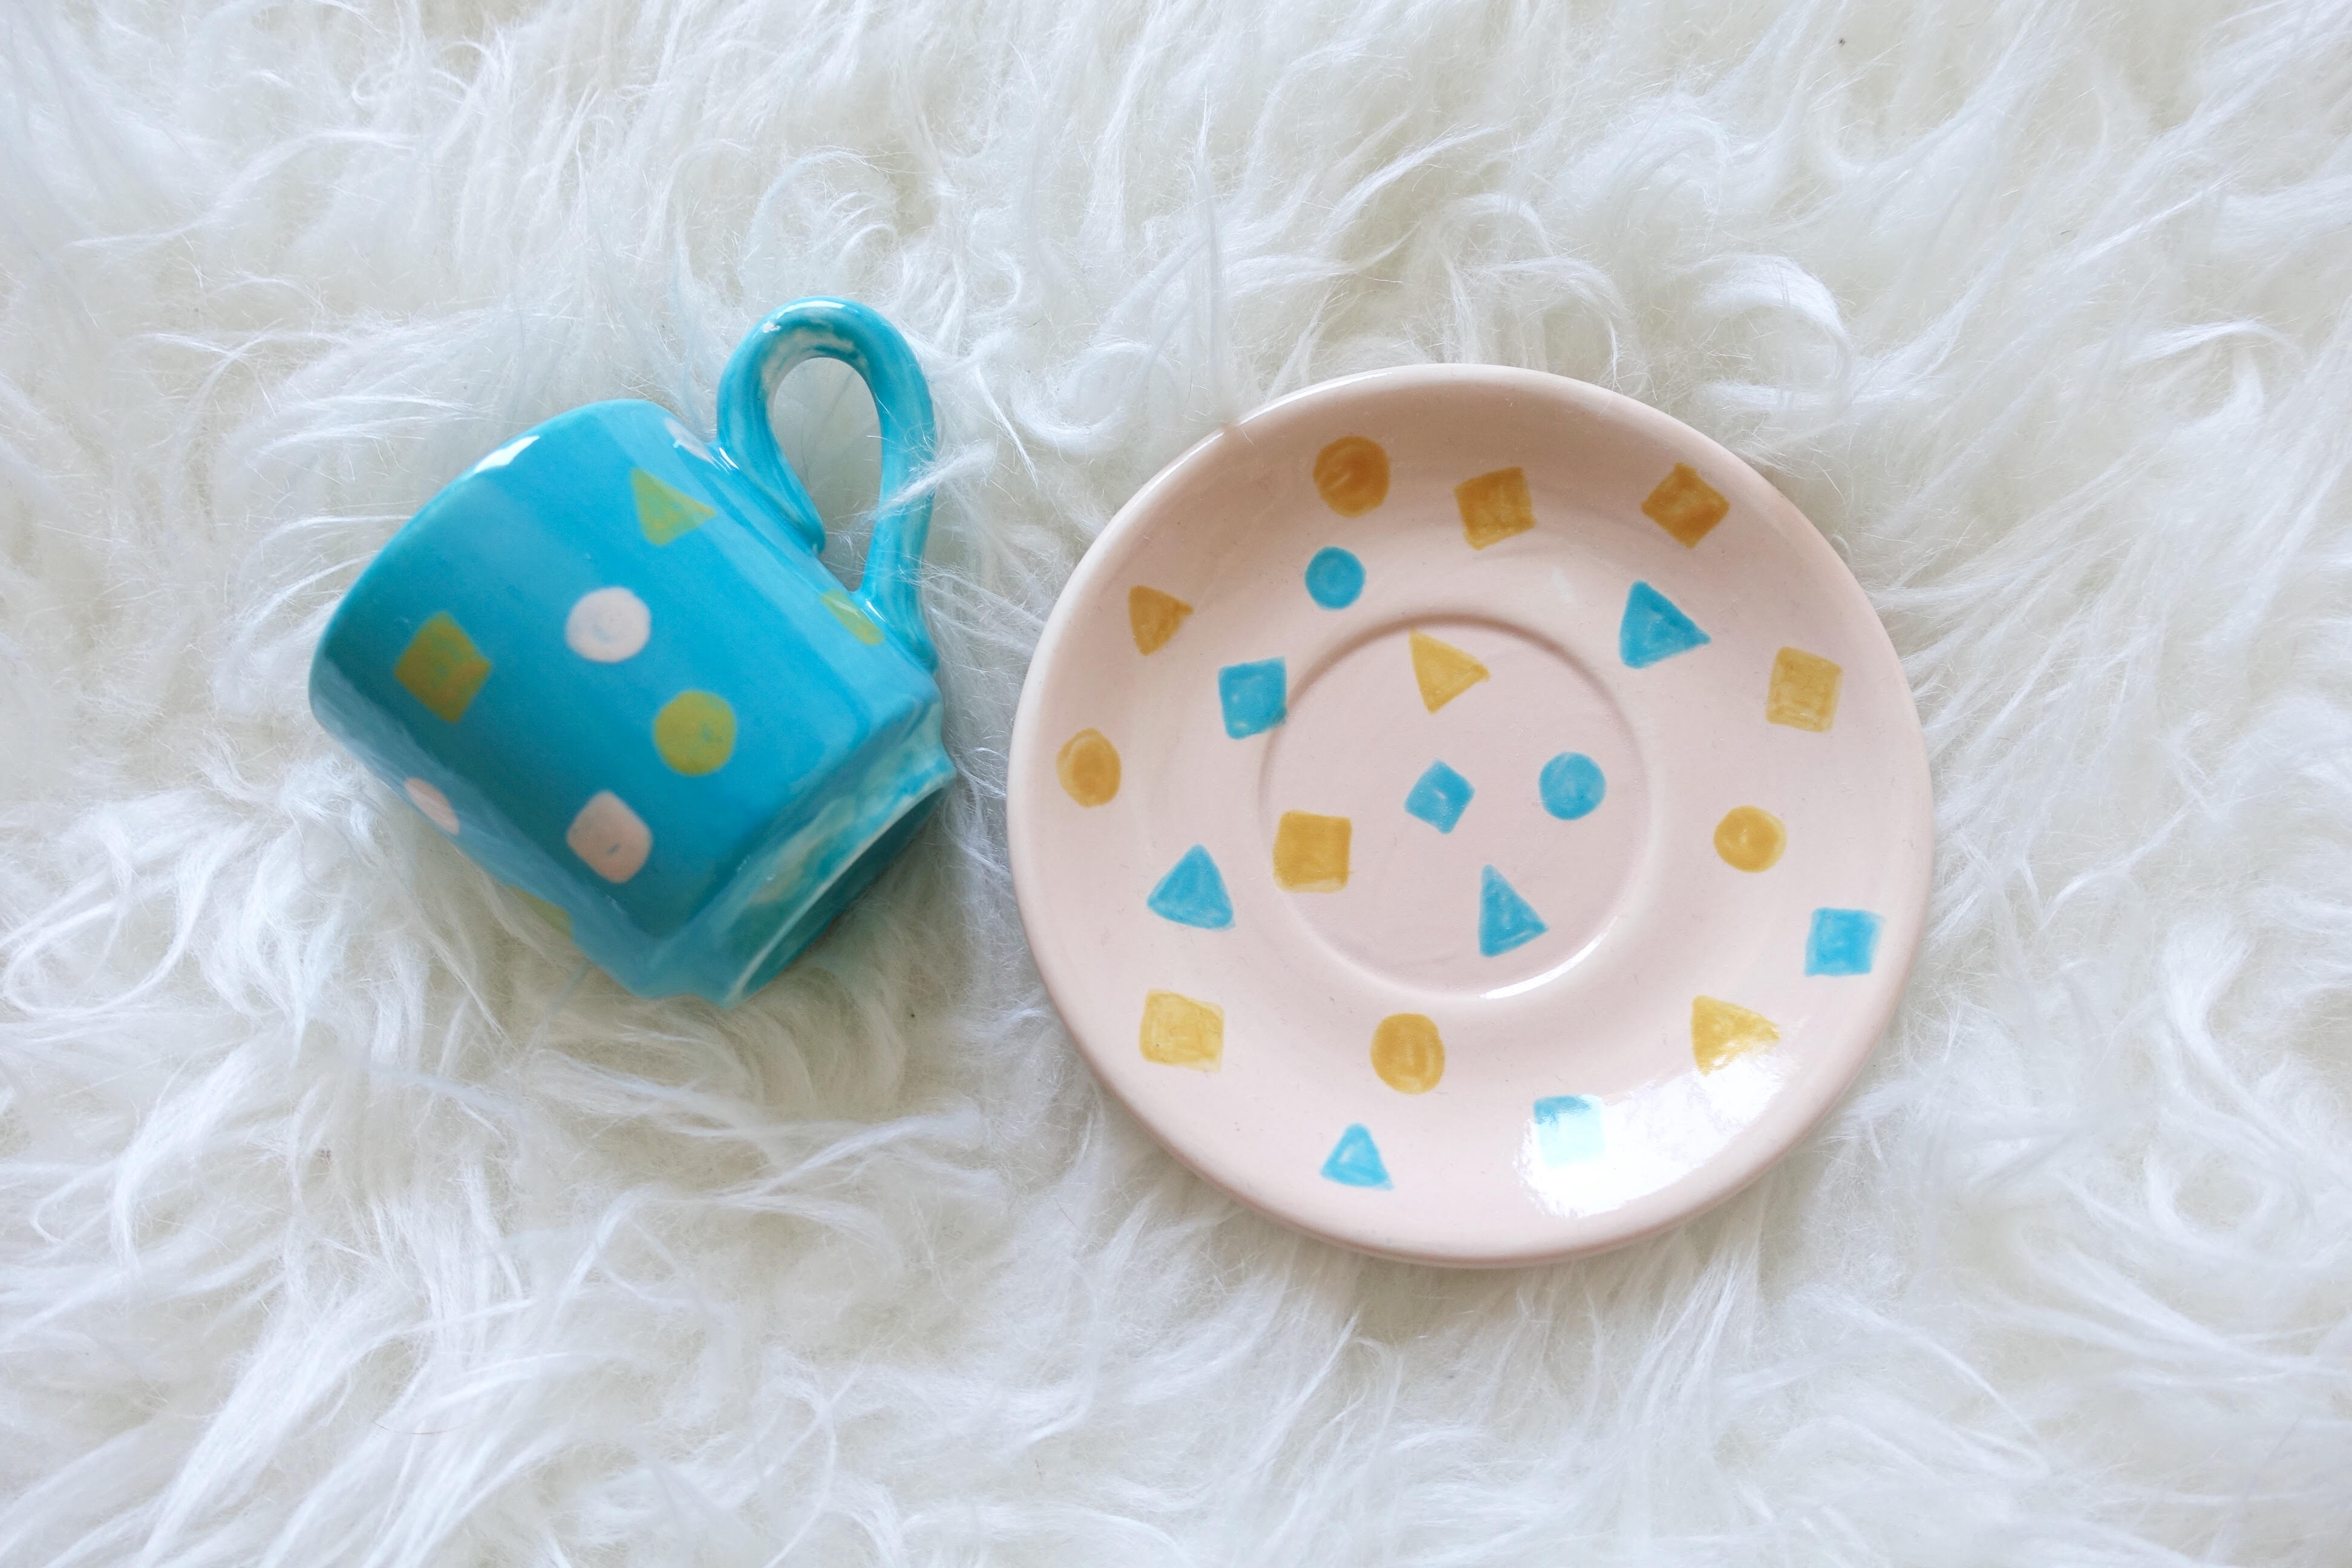
I will forever cherish hand-made gifts from people who I love, especially the little ones! I remember when Corrine would make macaroni necklaces for me for holidays, or paintings, or finger painted musings for the refrigerator. I miss those little things, but this year we made ceramics together for my birthday and I couldn’t think of a better gift to give someone than something you make with your hands. It’s so sweet and original, there won’t be another like it anywhere.

#2 I OWE YOU!

mothersday3
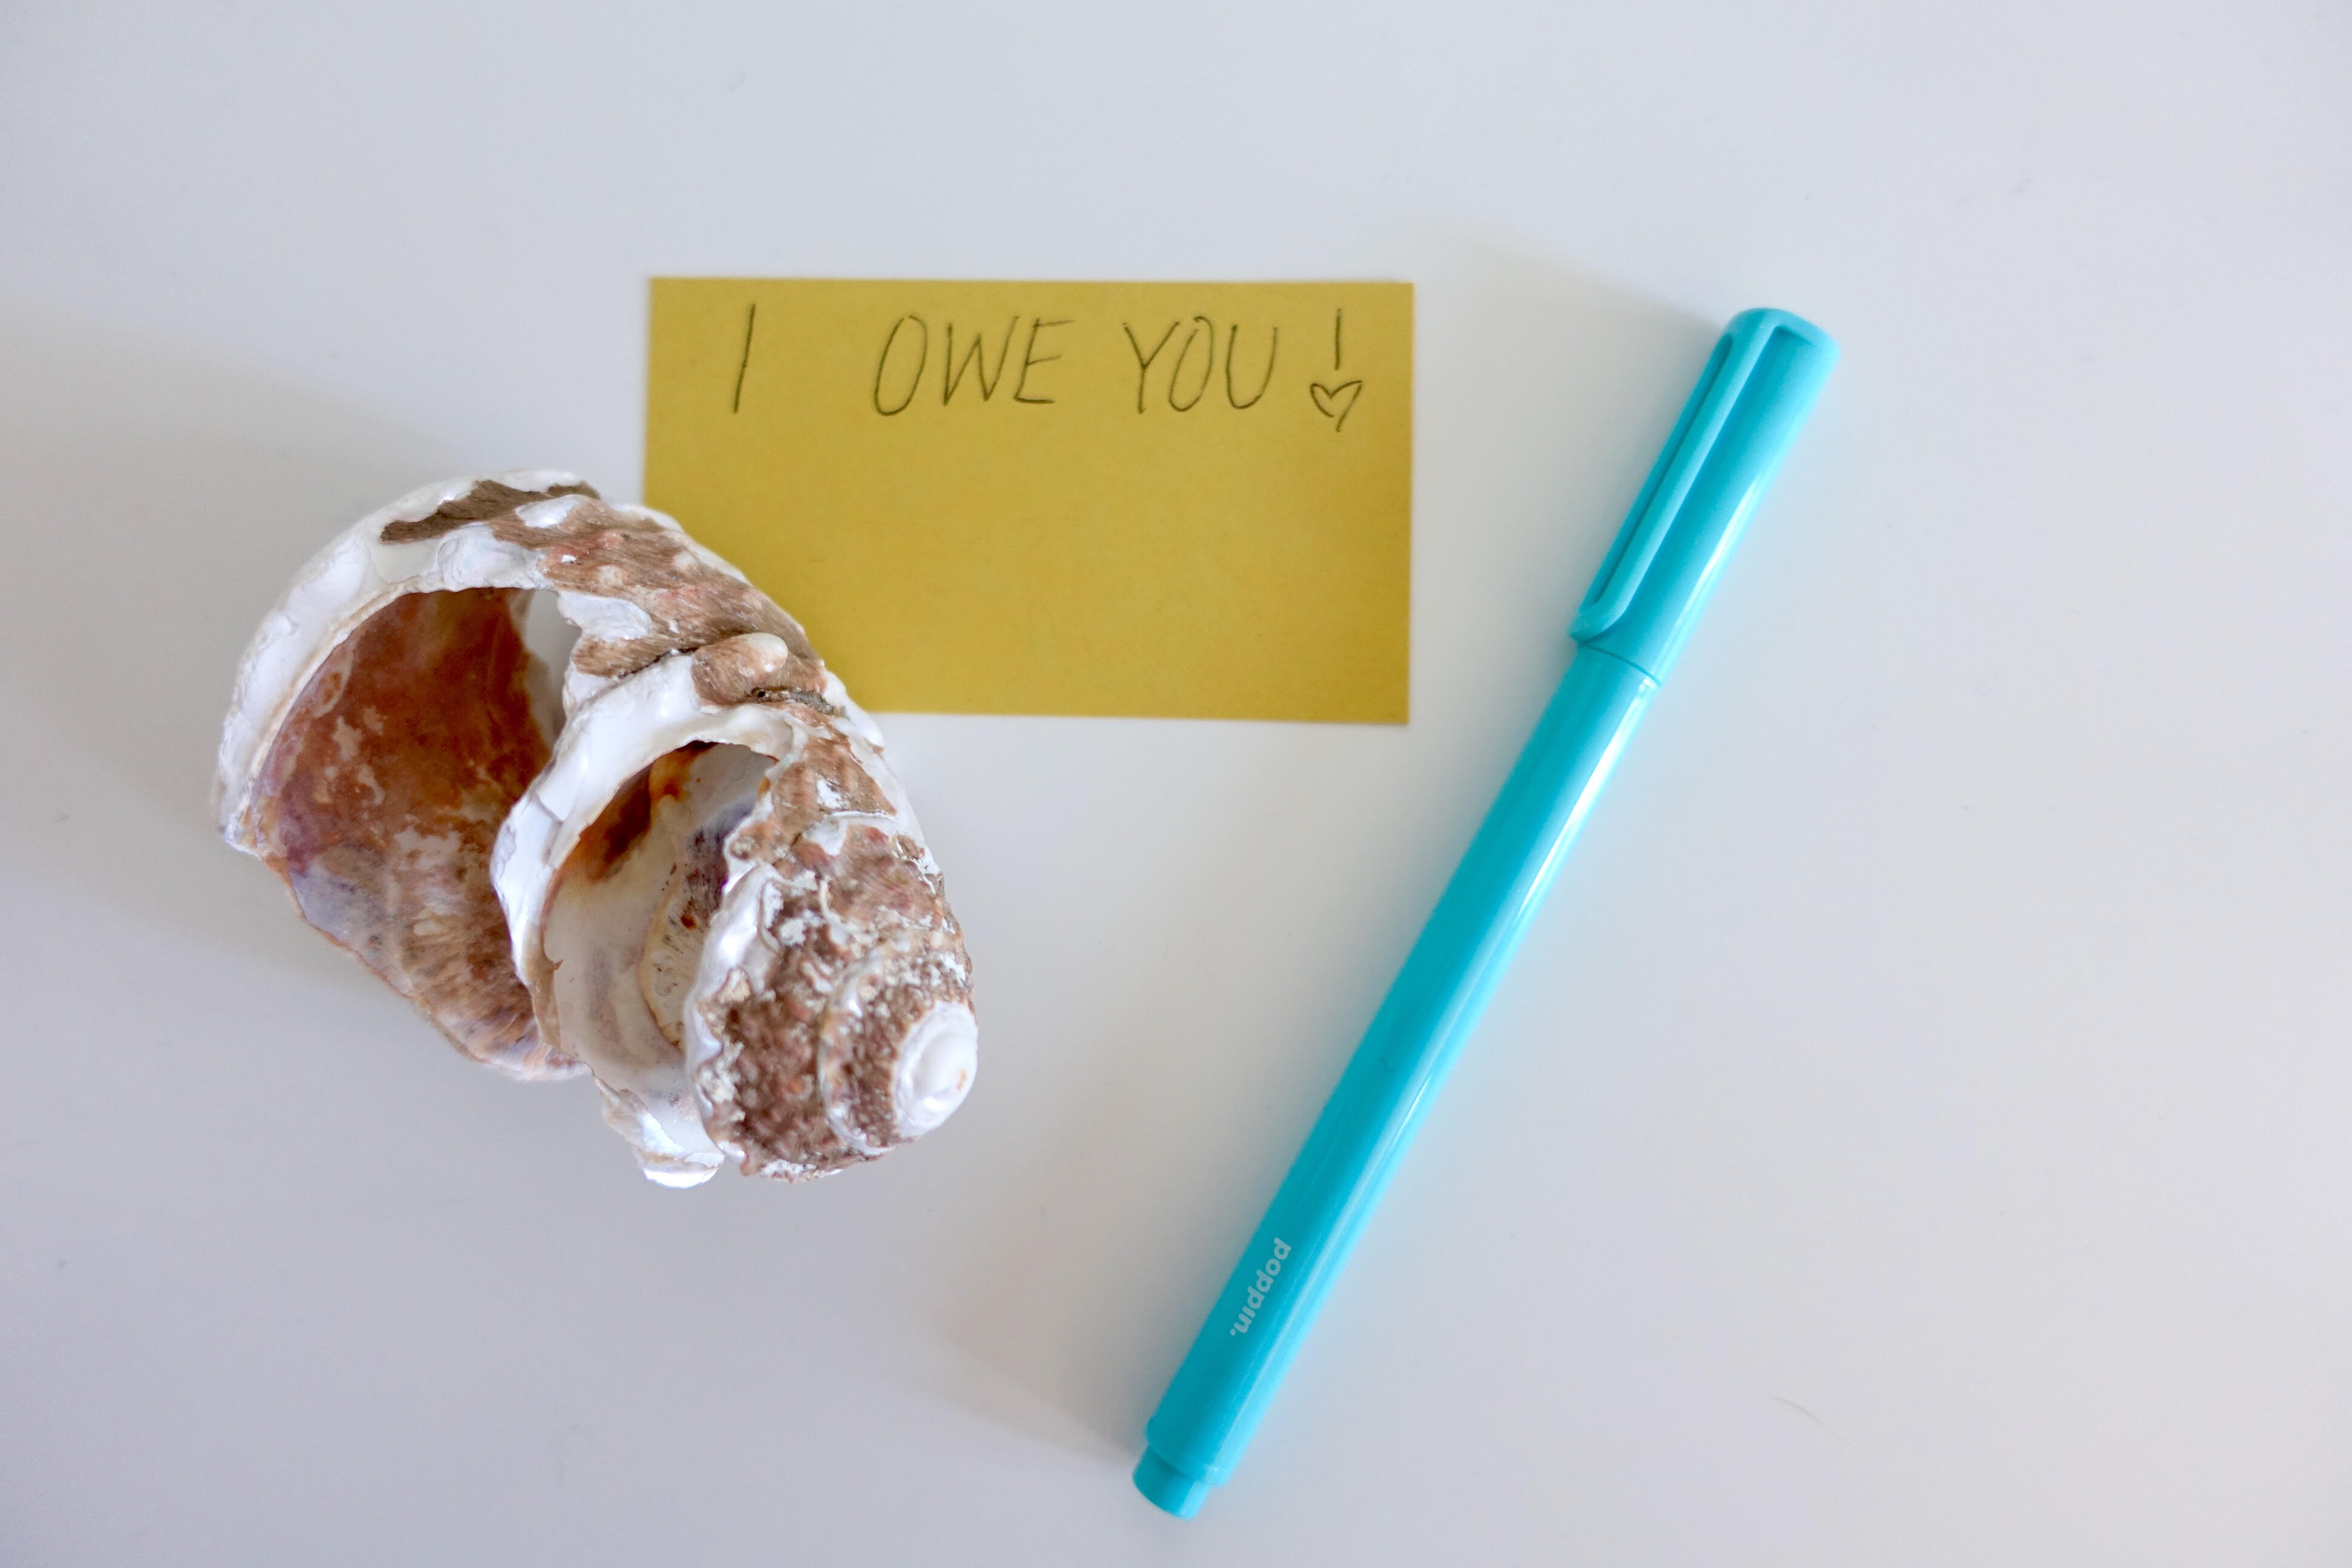
What may seem like a cop-out or an easy gift idea is actually pretty brilliant if you ask me! An I owe you for an hour of alone time, or breakfast in bed, or for you to do the dishes for the entire day?! Yes please!!! I’ll take all the IOU’s I can get! These are special because  you’re giving mom what she wants and what you know she’d really like and appreciate. Never underestimate the power of a good IOU 😉

#3 A PERSONALIZED GIFT JUST FOR MOM

Last but definitely not least, giving her a personalized gift is personal and especially special because it’s unique and again one of a kind <3 Taking this back to those macaroni necklace days, it’s nostalgia meets new memories … and old ones. You can personalize jewelry for mom, or mugs, or a tee-shirt for her even!

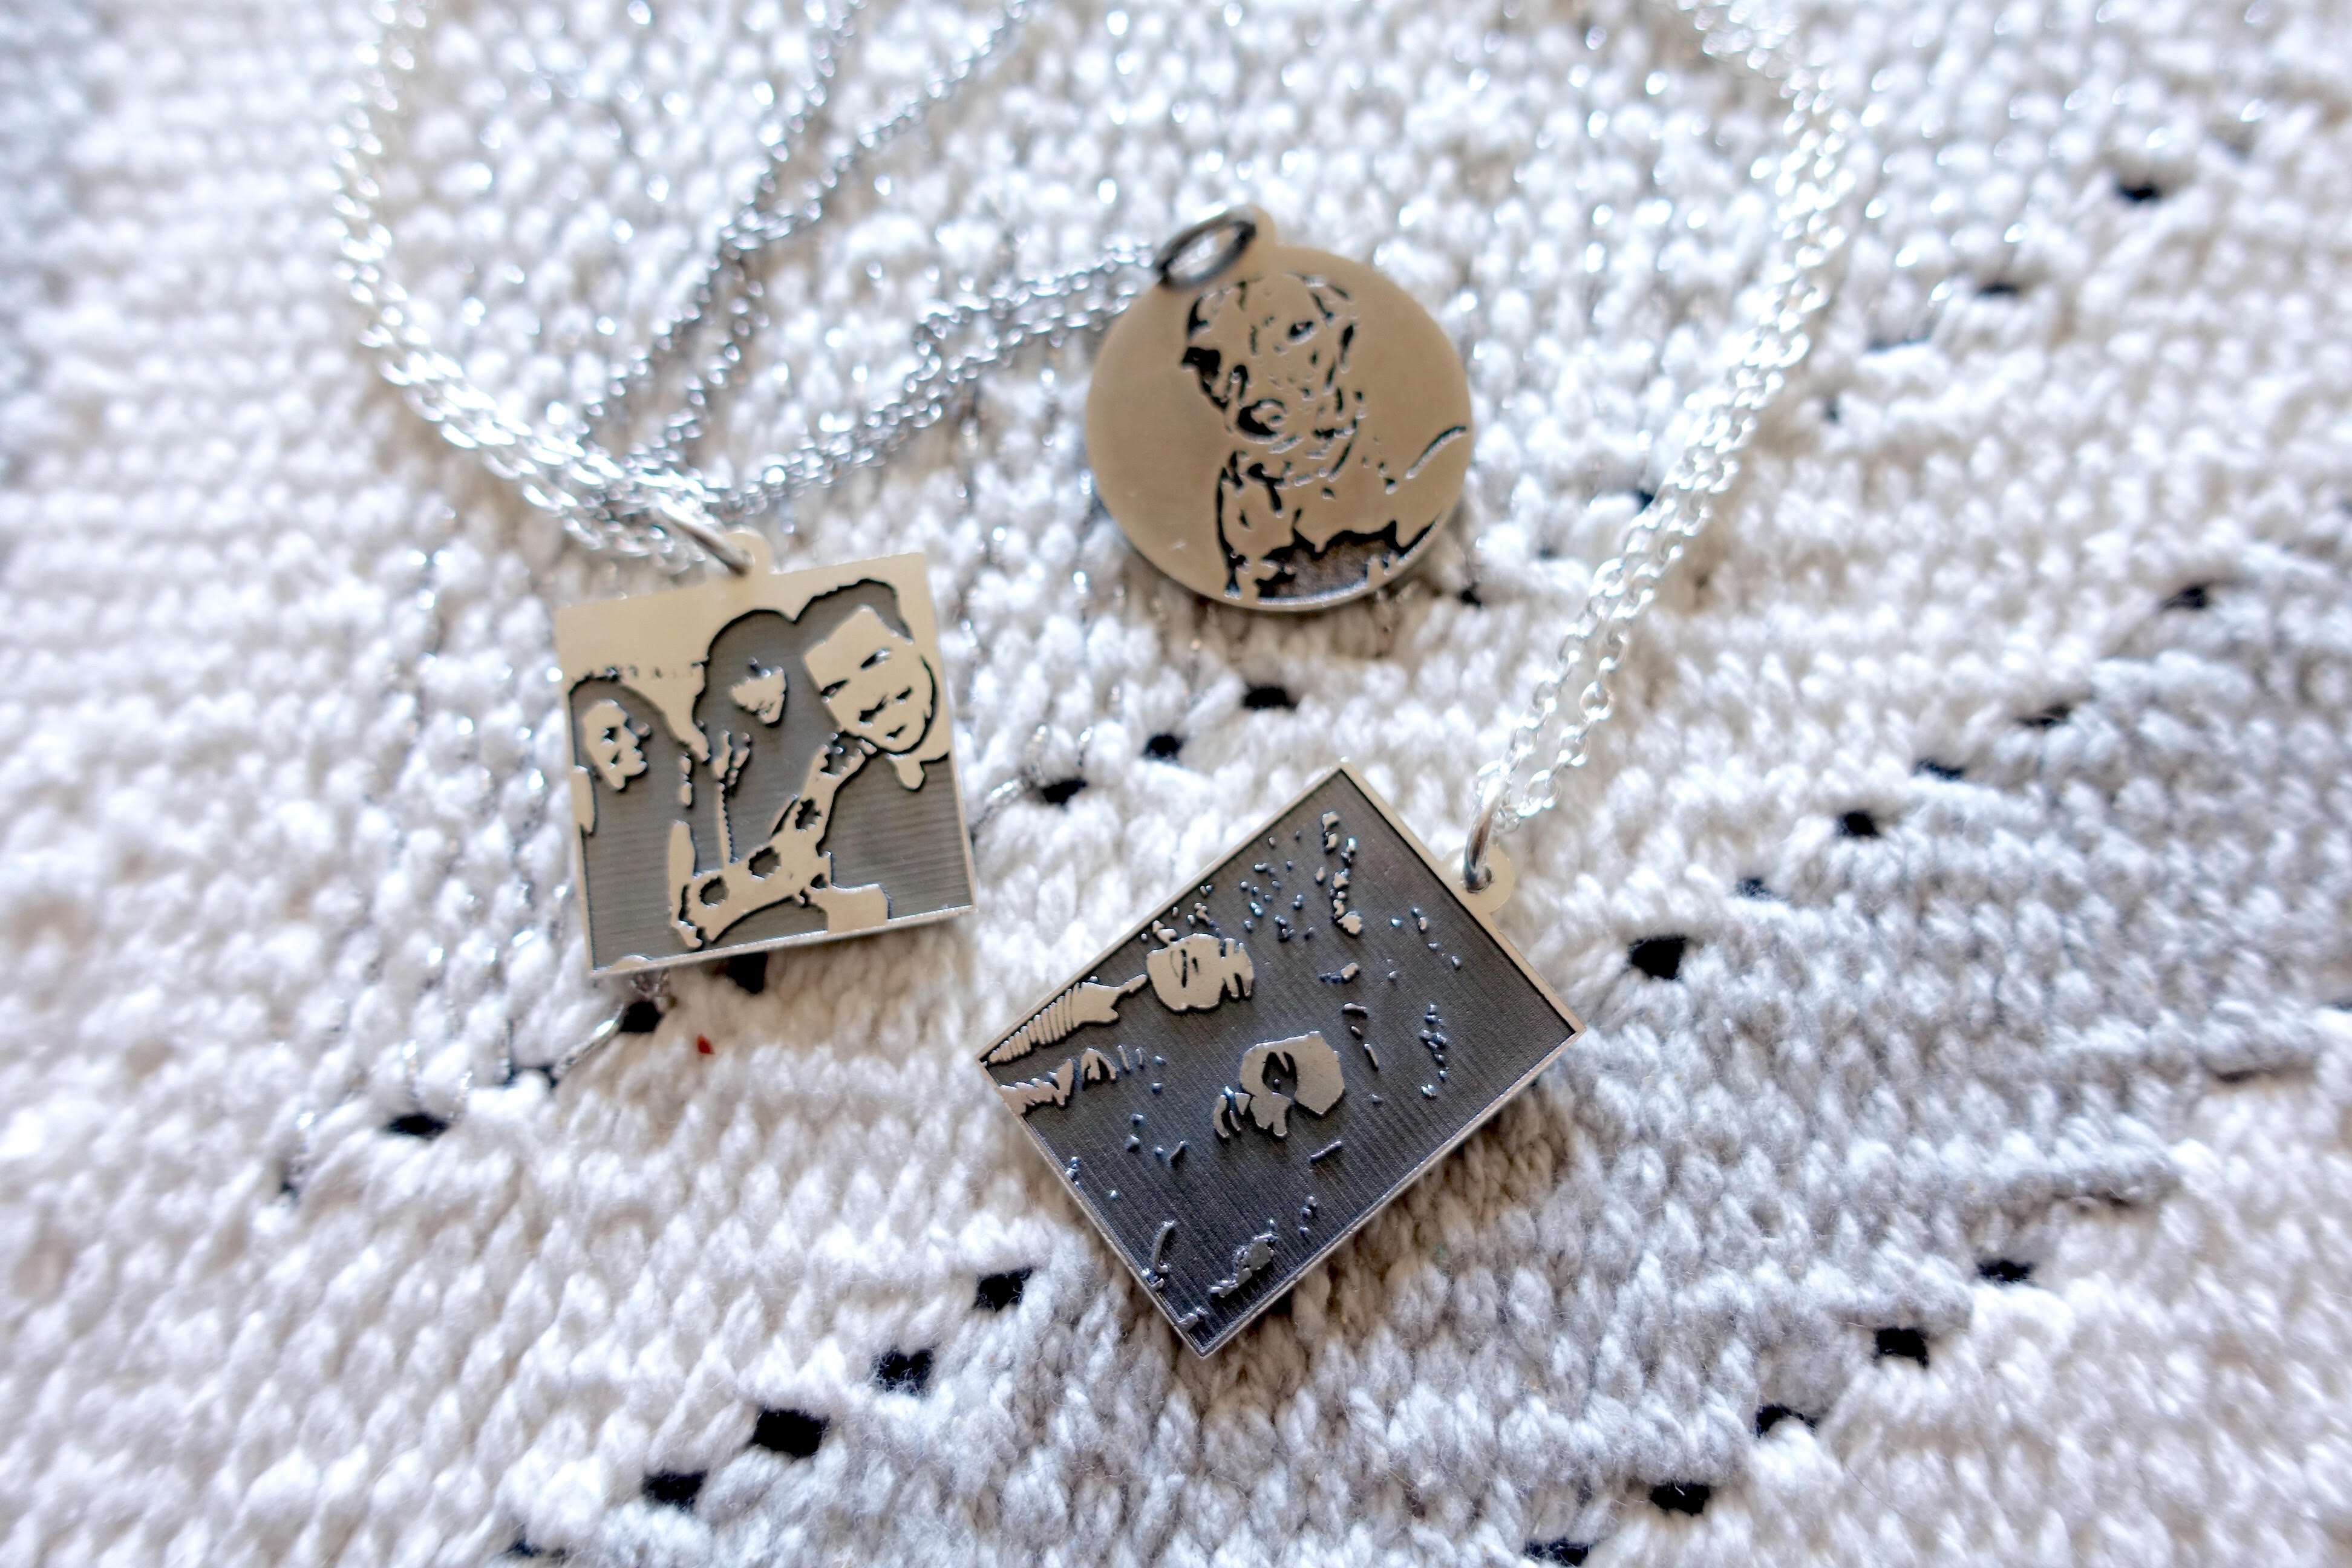
Corrine and Joe surprised me by customizing necklaces for me from Jevelo, a fun and user-friendly app where you select a photo from your camera roll or take a photo and import it into the design page and create your own custom jewelry! You can even design necklaces around a drawing or idea you have so long as you can take a photo of it. I actually had Luna design a necklace for the two of them also because Mother’s Day is about family for me. A day to celebrate family and not just me … but the me part is pretty special too 😉

mothersday4
Jevelo were so awesome to send us these necklaces for my our special day and even hooked up our audience with 20% off, just use the code 3SA4E6 at checkout!

No matter what you get your mom for Mother’s Day, I promise she will love it because it really is about the thought behind the gift, the intentions of making her smile and making her feel loved and appreciated. I hope you all have a beautiful Mother’s Day, don’t forget it’s next Saturday, May 8th!

Happy Mother’s Day to all my fellow mommas out there, the guardians, the caretakers, and the dads pulling double duty! My hat is off to you all <3

What are your plans for this Mother’s Day and what’s the most special gift you’ve ever given someone you love?

Our little family did a Mother’s Day surprise video on my channel! Check it out here and please Subscribe if you haven’t already xoxo

TOP 3 THINGS TO DO WITH AVOCADO!!!

I’m that girl! Any time anyone talks about avocado and its many uses, I go, “oh I put it on everything!” But I really do! My hair, my skin, my food, I just put it on anything I can.

I love that avocado is not only delicious but it also has beauty benefits when applied topically.  So today I’m going to share with you my top 3 favorite things to do with avocado!


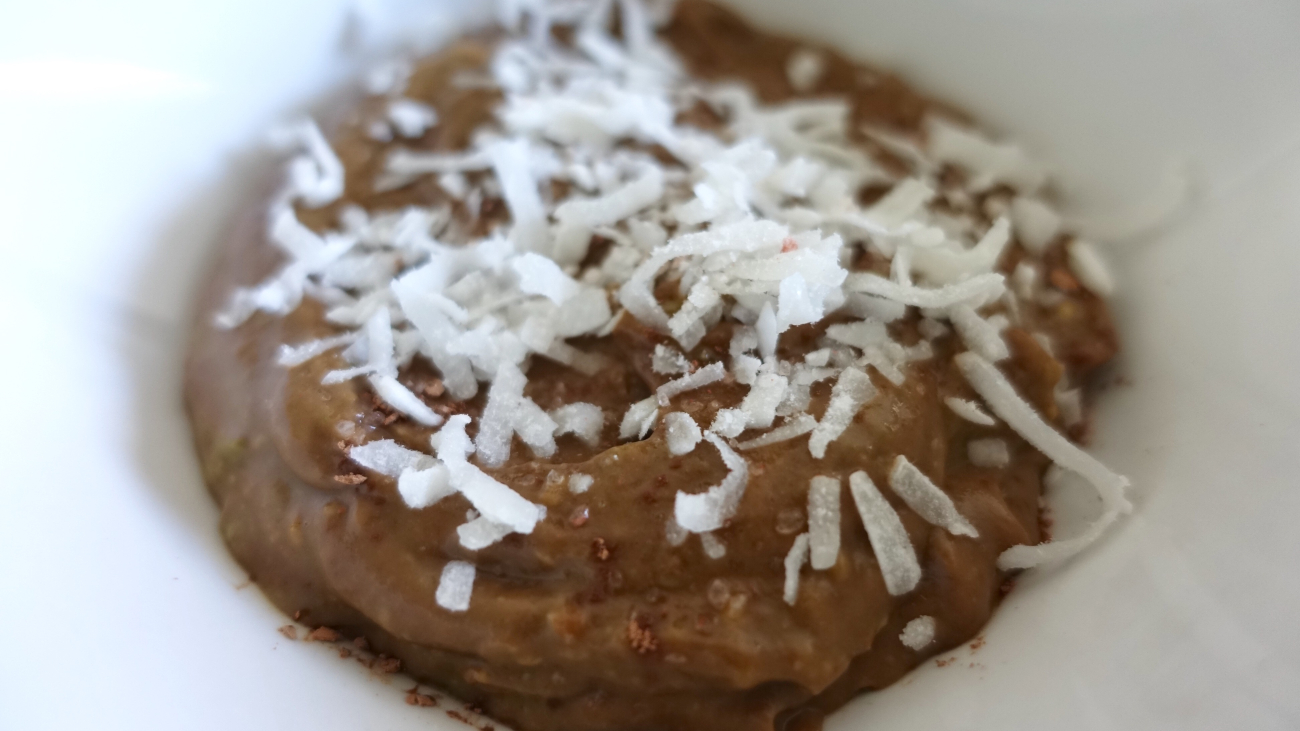
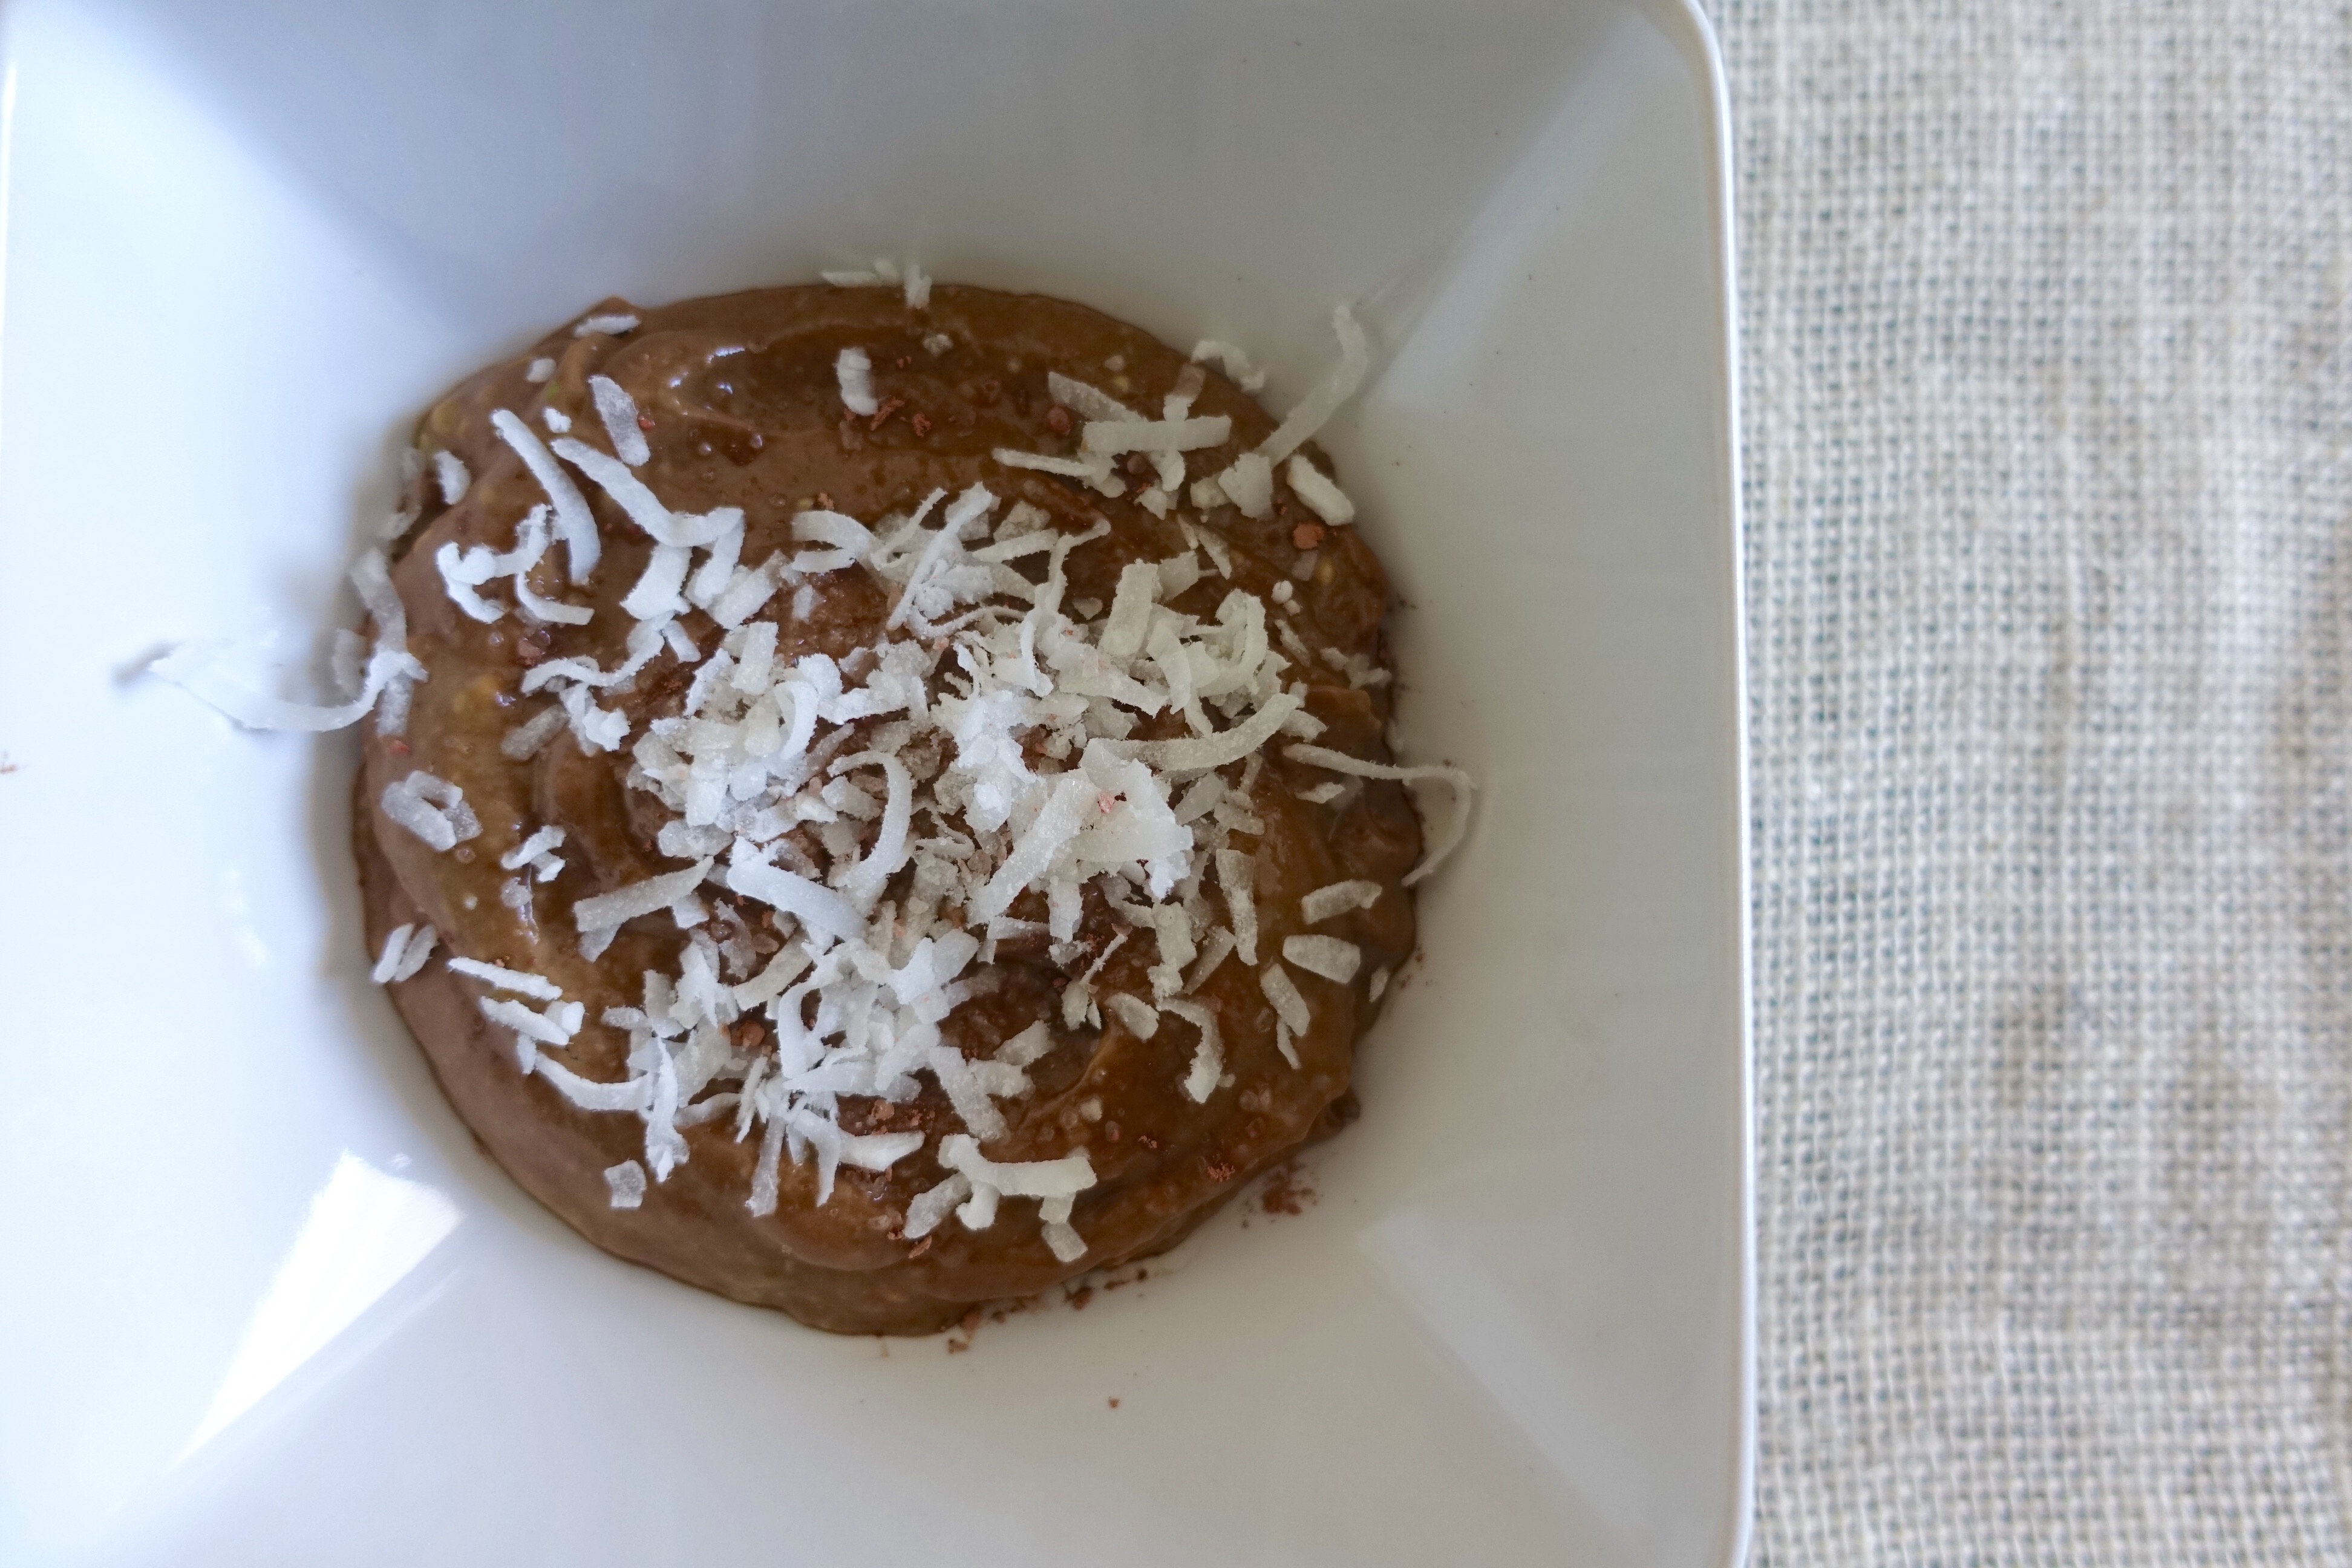
Just like with most of my meals, we’ll just start with dessert first! So this is a healthy version of pudding, a cocoa avocado pudding! Now this doesn’t taste exactly like the pudding you get in the lil plastic cups at the grocery store! But it IS just as creamy and for me, when I’m craving something chocolatey and indulgent, this does the trick!

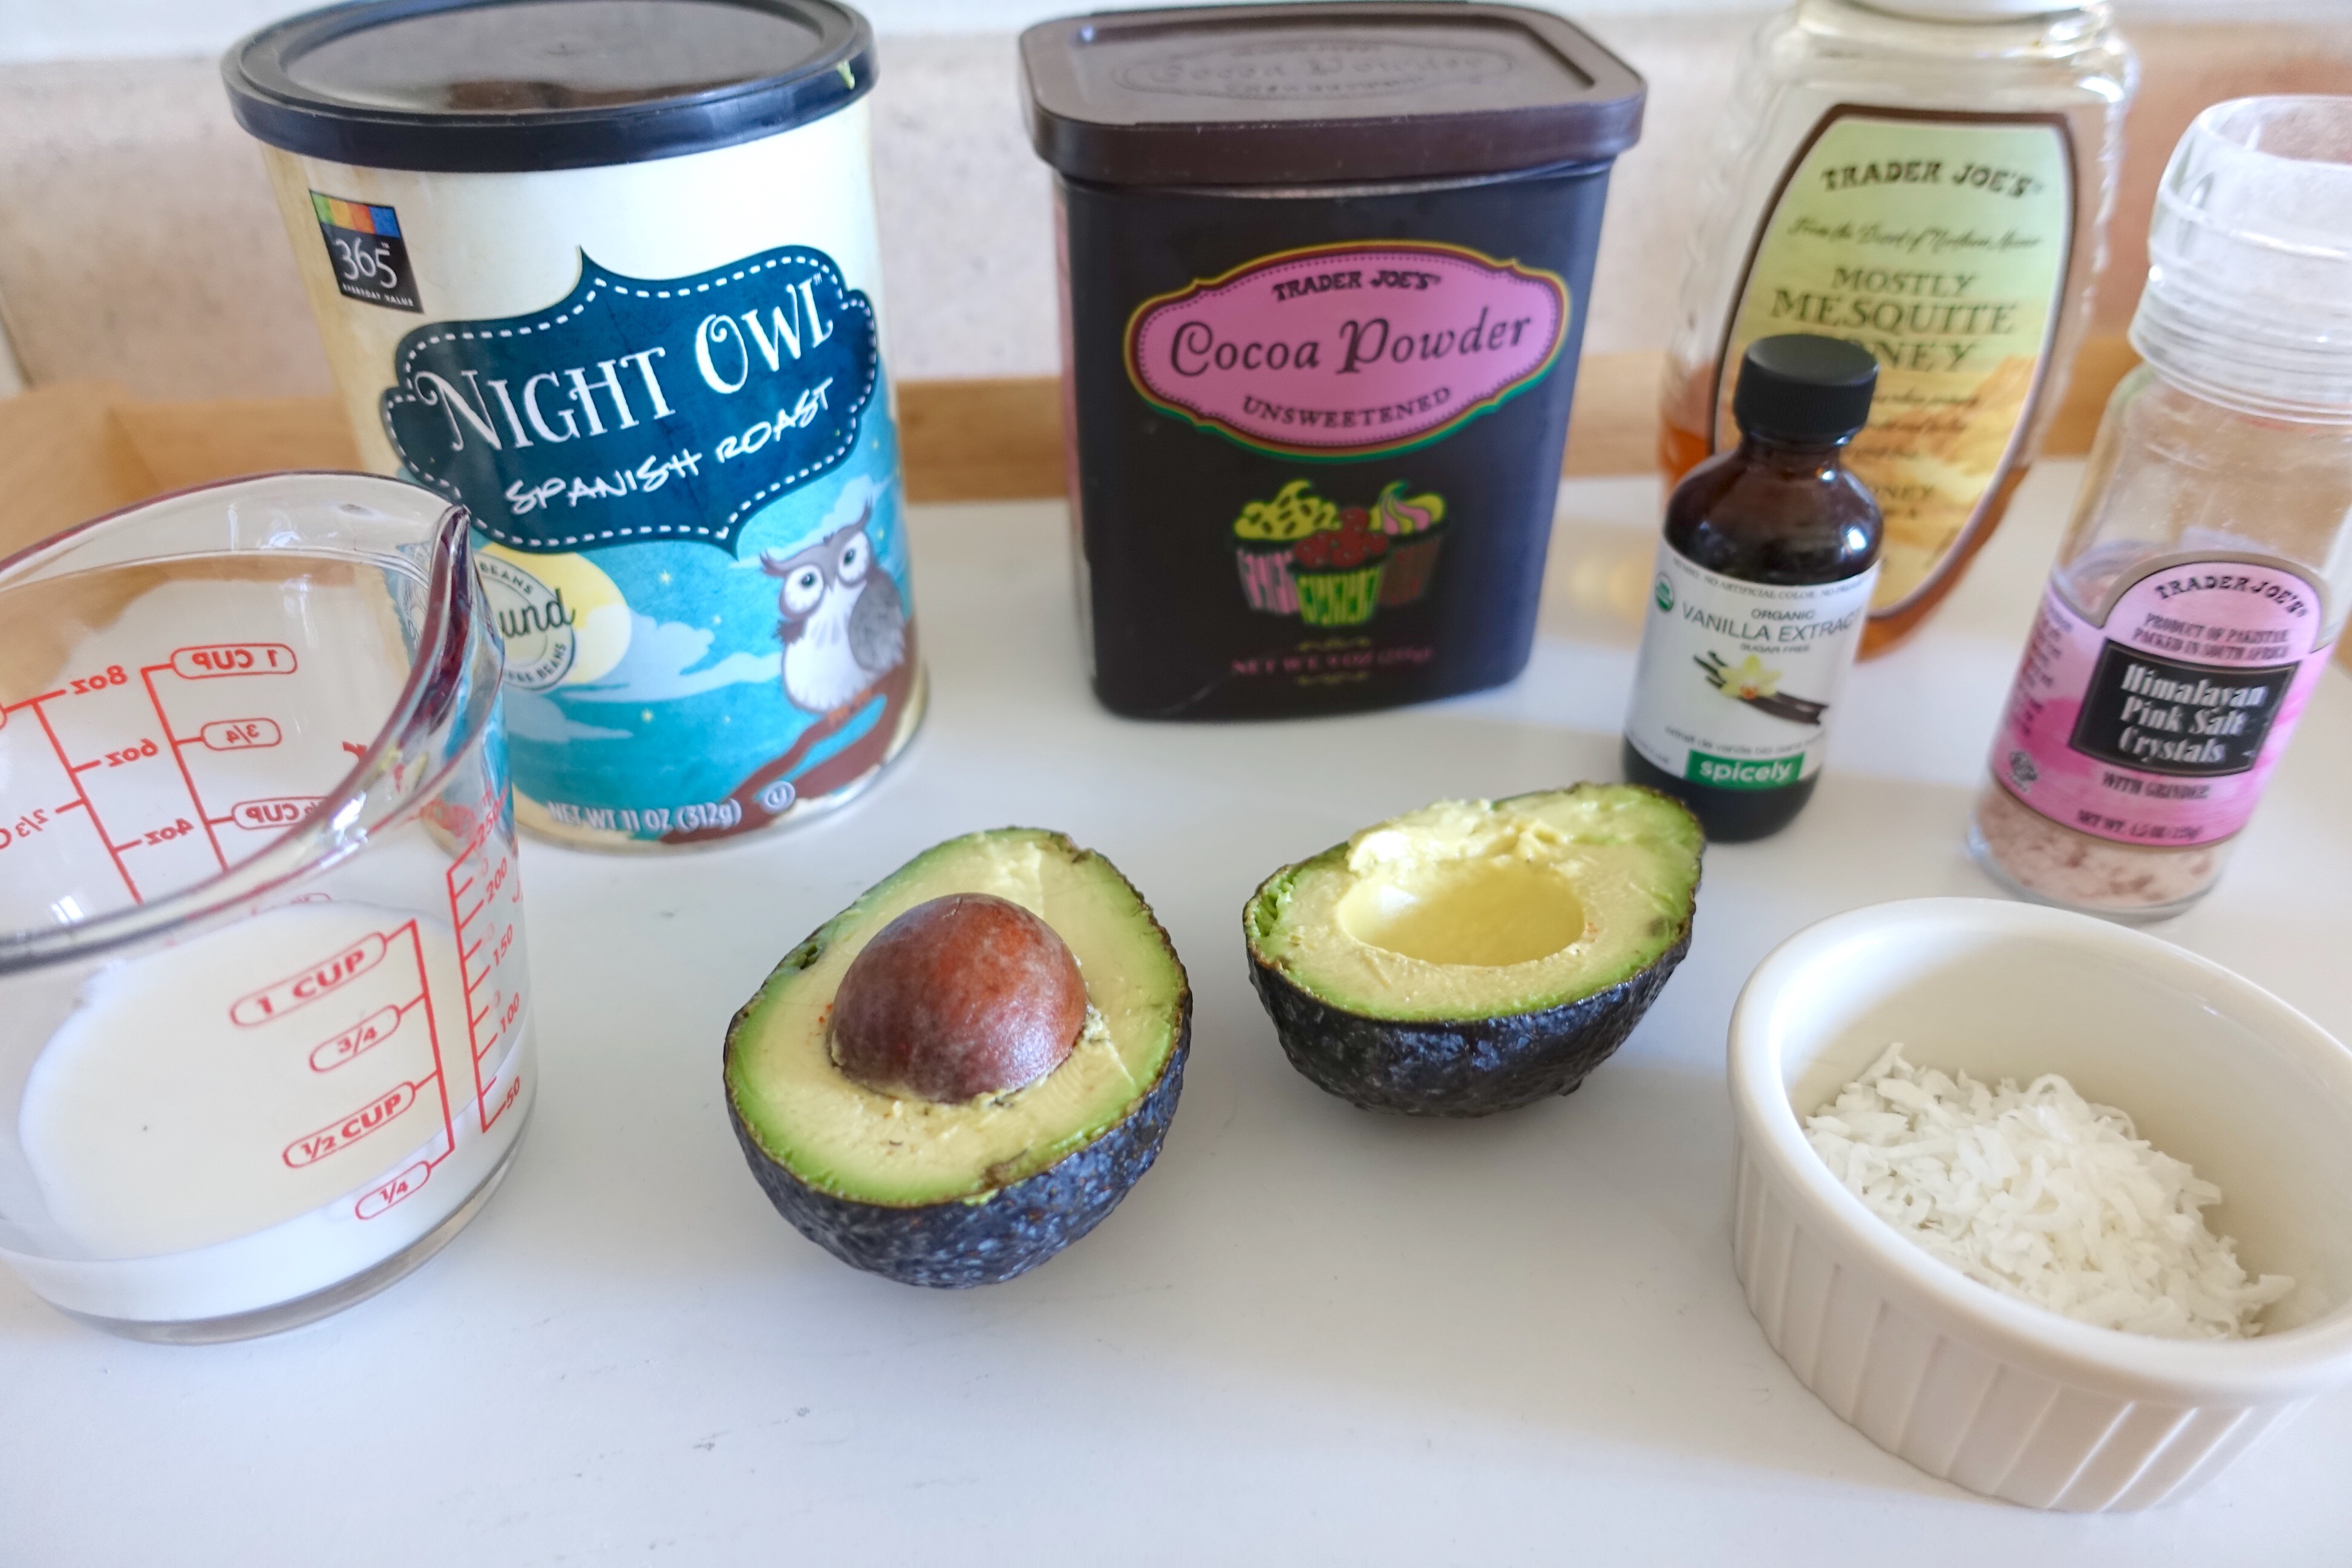
You’ll need:
– 2 large avocados
– 6-8 Tbsp agave or honey
– 1 tsp vanilla extract
– 1/2 cup cocoa powder
– coconut flakes for garnish
– 1/4 skim milk
– coarse salt to taste

Method:
Into your food processor, toss in the peeled and pitted avocados along with the rest of the ingredients. Blend until smooth, chill for an hour and ENJOY! Garnish each bowl with coconut flakes and some salt, you’re in for a treat! Joe says he’d rather not mix chocolate with a vegetable, but I say … don’t knock it ’til you try it!


Next up, a hydrating mask that will leave you feeling moisturized, refreshed, and smooth! The natural oils in avocado mixed with a few ingredients you can find in your pantry make a wonderfully whipped up cocktail for your hair and skin!


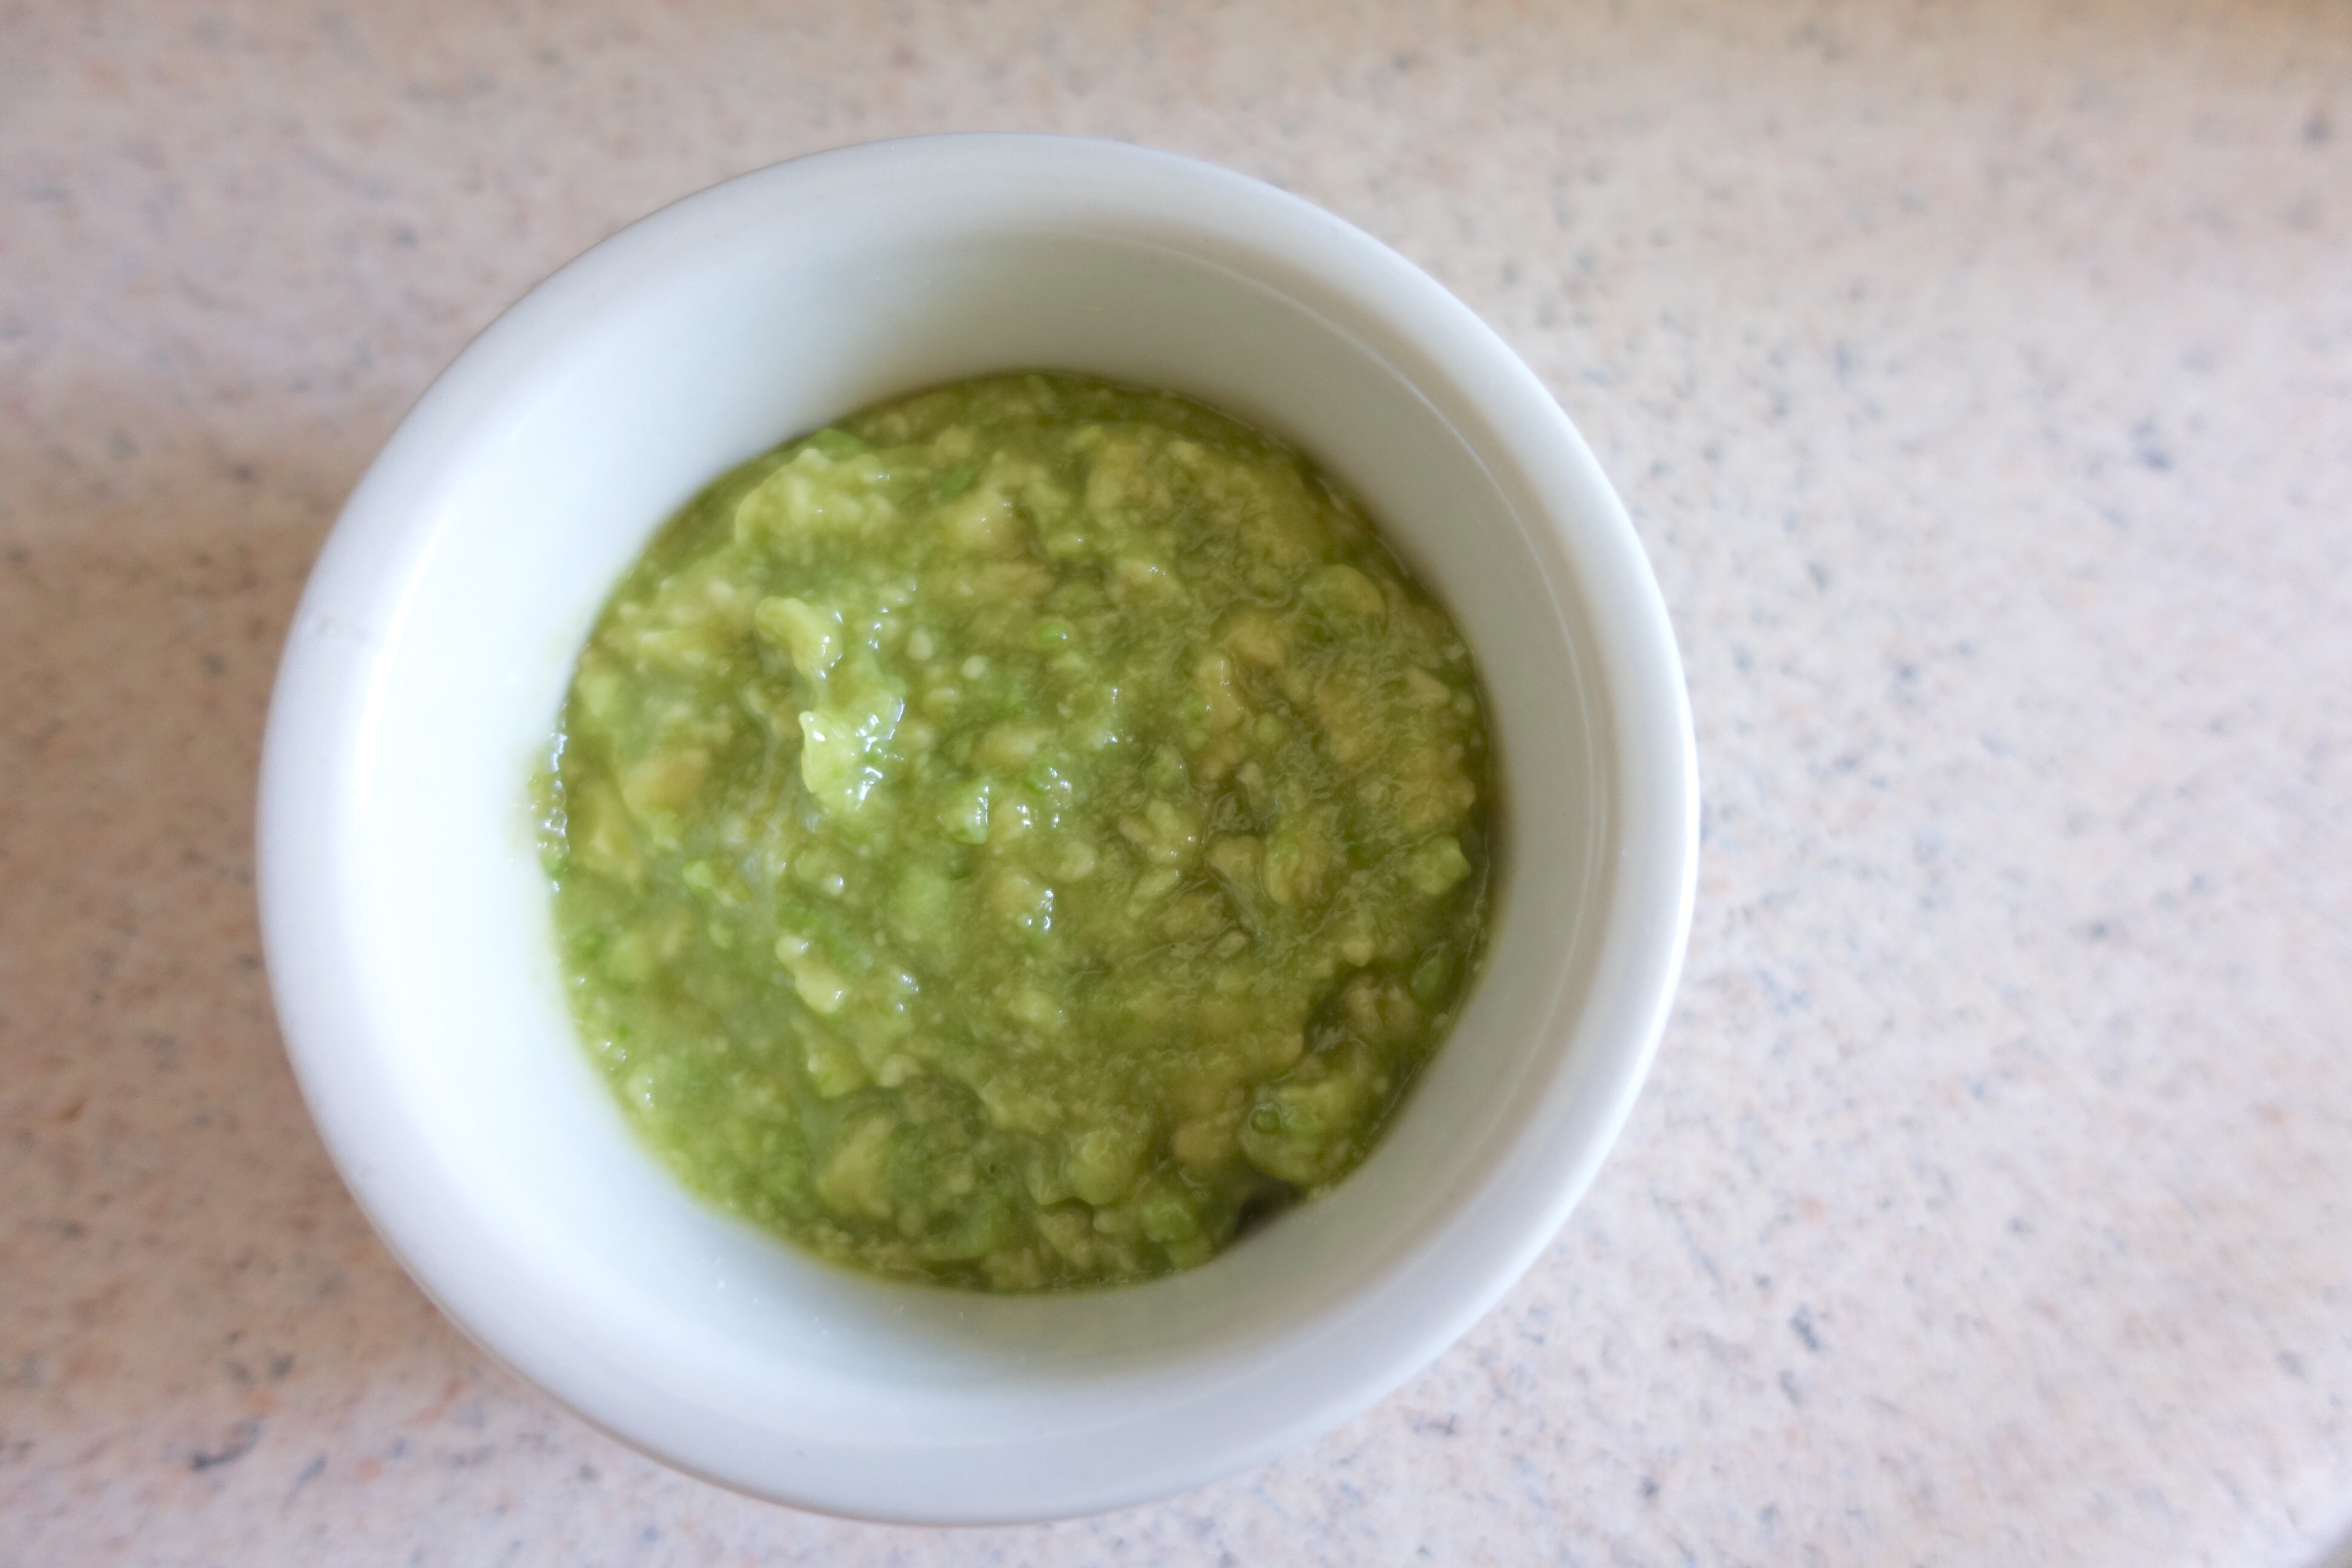
For this you can use any variation you fancy, but I like to keep it simple, just avocado and honey! I put all of it into a bowl and smash it up! Then I apply it to my face for ten minutes and my hair for 30 minutes. Rinse and relish in the softness!

You can add in coarse sugar for a nice face scrub! Then when you rinse it off your skin, massage gently, and you’ll exfoliate and hydrate all at the same time!


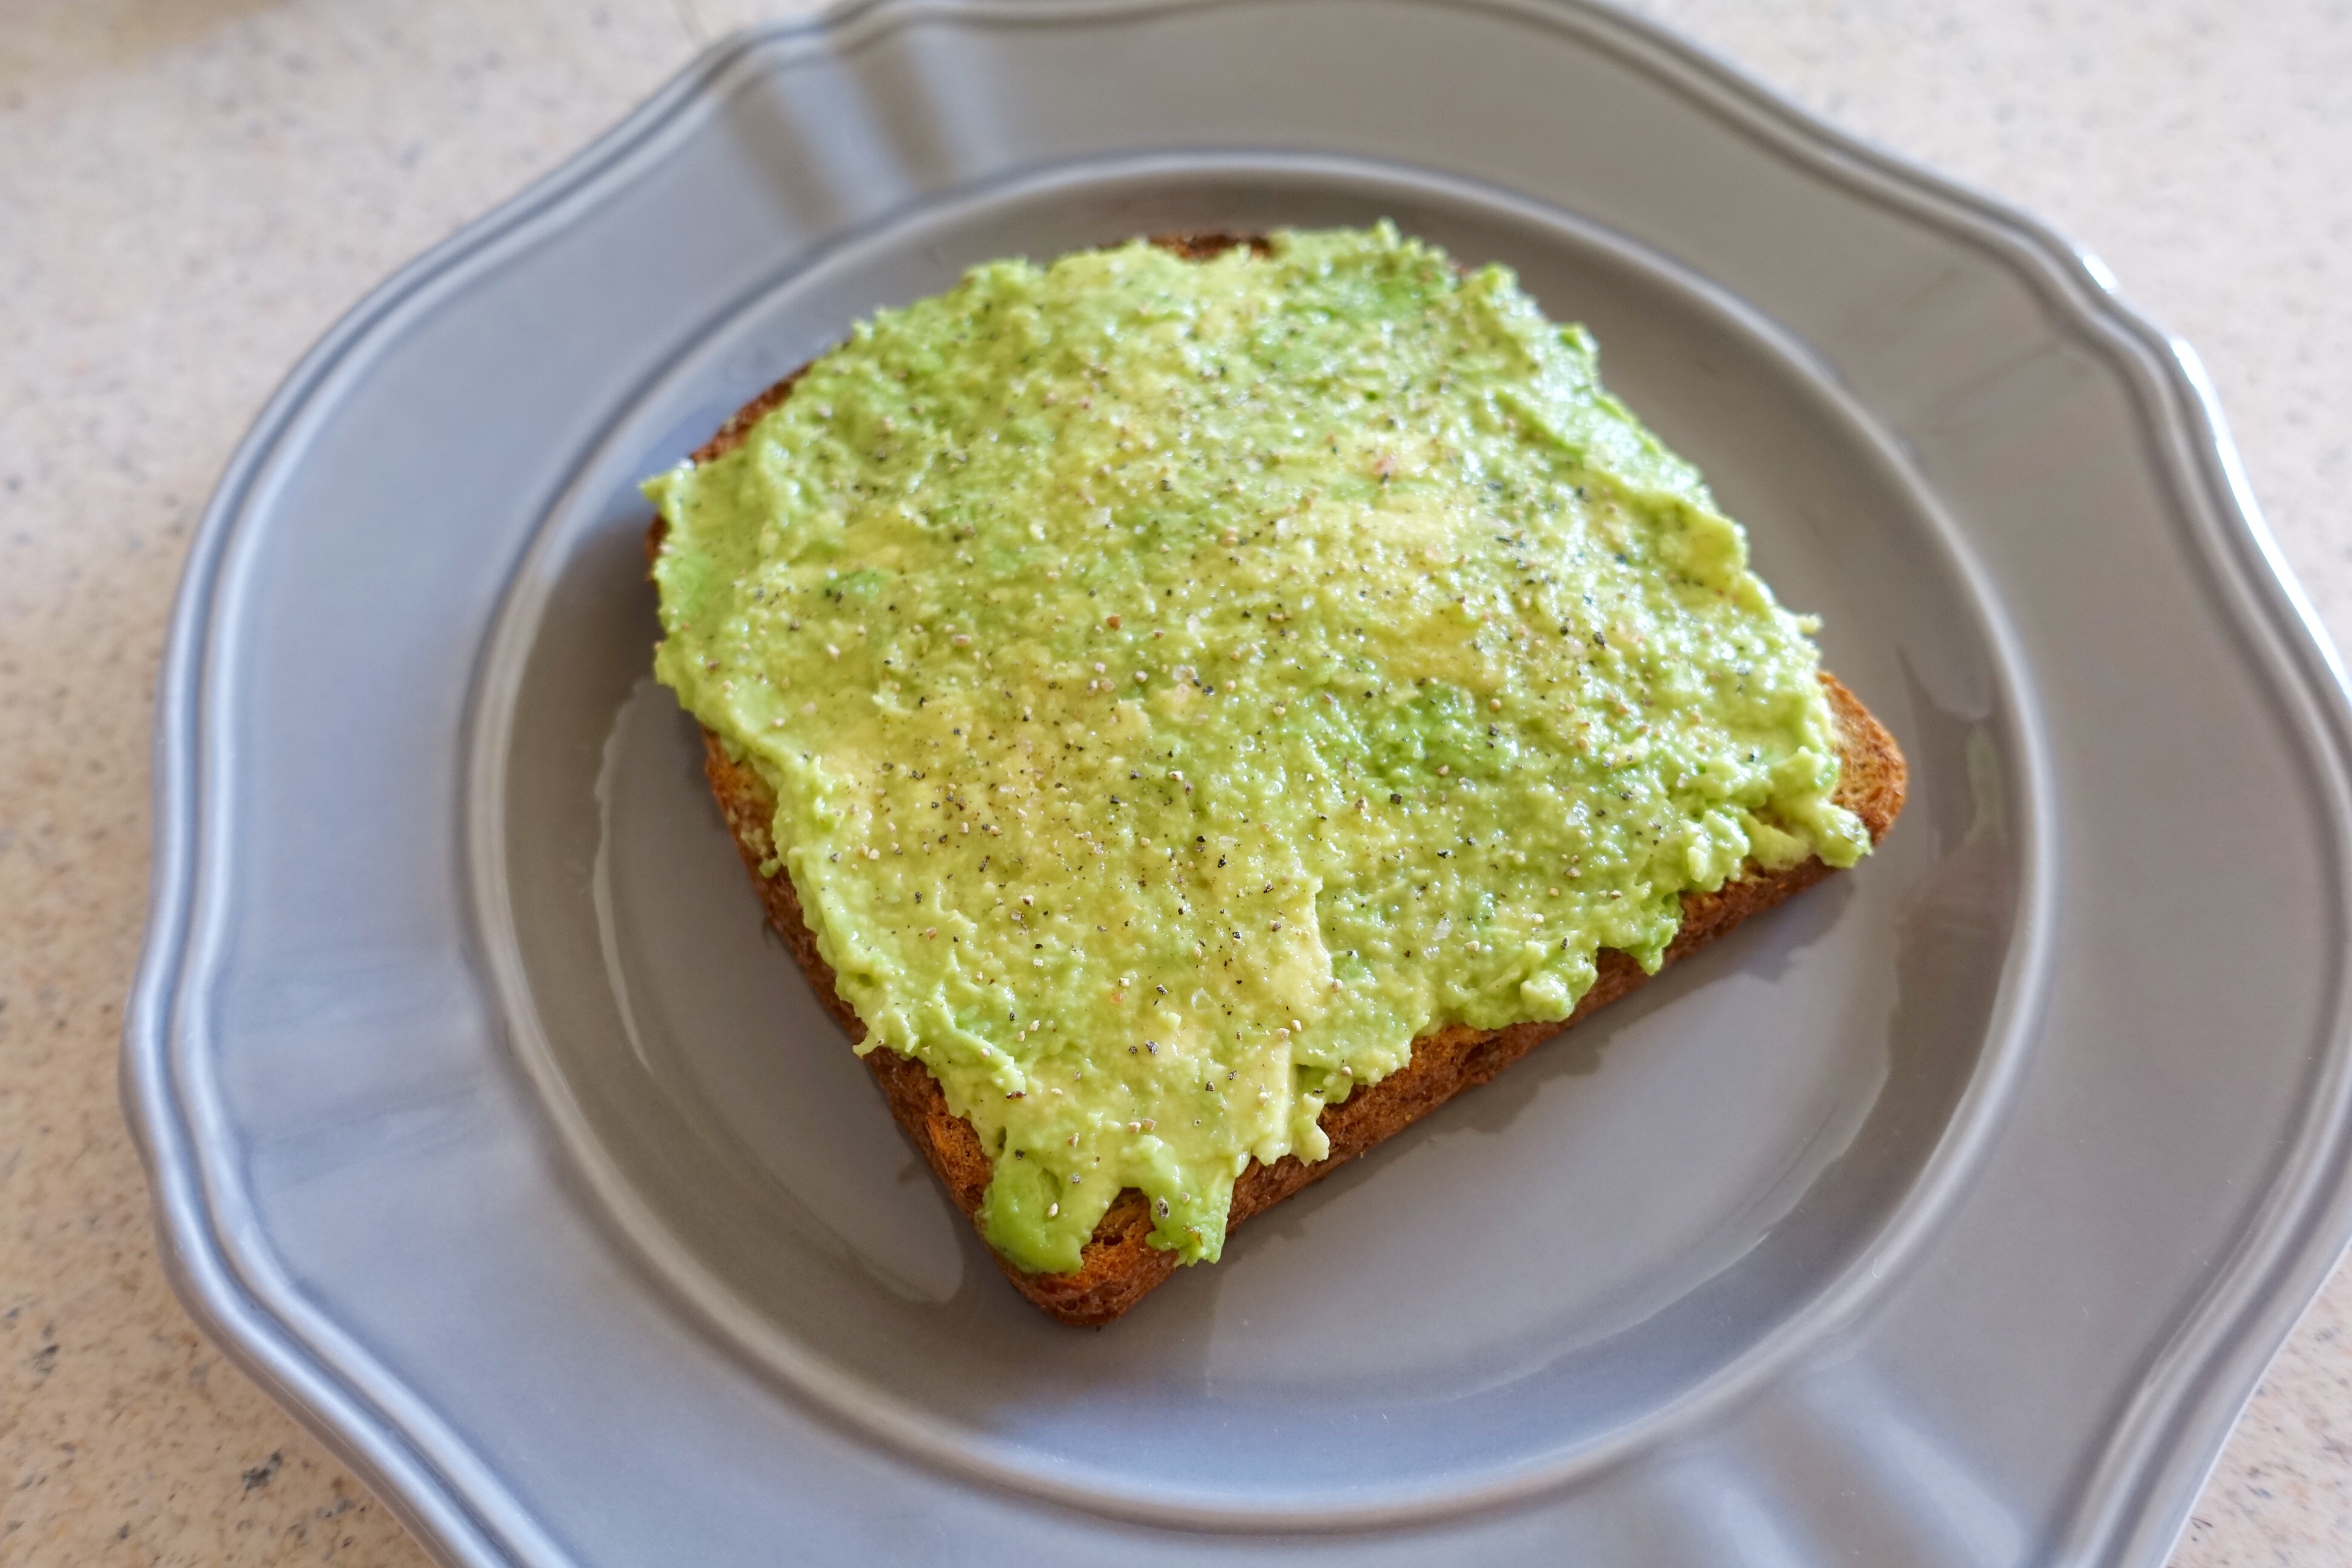
Oh the yummiest thing to do ever! Take a ripe avocado, plop it onto your favorite toast, spread it around, crack some black pepper and Himalayan pink salt on top. Eat. Repeat until all the foods are gone! This is the best thing to do before a work out for me, it’s super filled and fuels me for my weight training!

Give these a try and let me know what you think! What is your favorite thing to do with avocados? I’ll try them all!

love these girls

How To Throw The Best Bachelorette Party For Your Best Girls!

It’s wedding season! For the type A/planner in me, I couldn’t have been more excited about gift giving and surprise planning than I was for this bachelorette party! My girl Linz is getting married in 3 weeks and I’m the maid of honor!!! This past weekend we celebrated her with a fun filled weekend in Vegas with the best group of girls you’ve ever seen, and I wanted to share with you all the fun things I did that you can use for your next Bachelorette/birthday/celebration! Also I suck at surprises and it was SO hard for me not to send the girls photos of everything I was doing.

giftbags
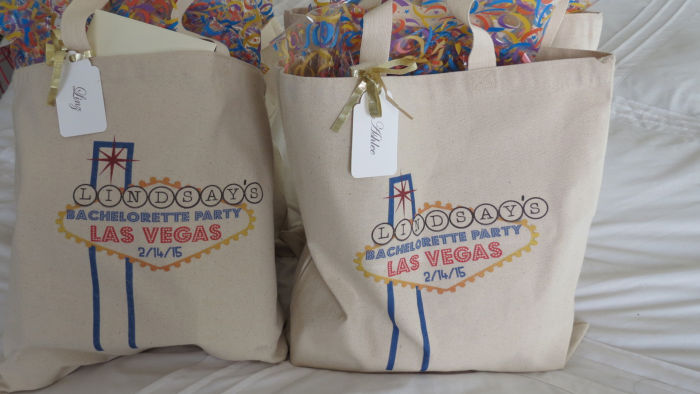
So I had these ‘Who Doesn’t Want That‘ totes especially made for Linz’s bach party  with the date, because it’s the best party favor … cute and functional! Yes it was over Valentine’s day weekend and we had THE best ever Galentine’s day I could even have imagined #girlpower

bachbags
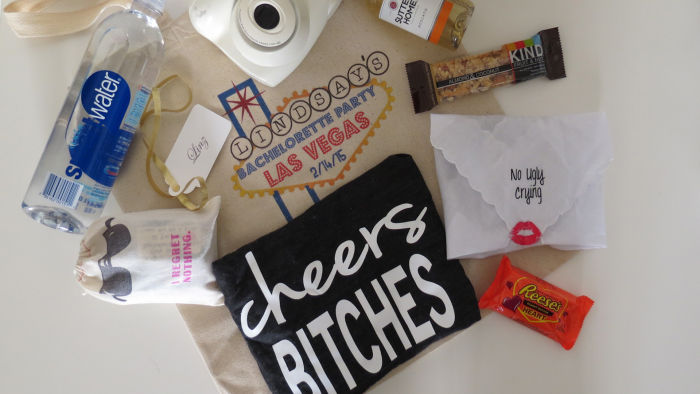
So in the bags I put together a lil ‘survival kit’ for the weekend complete with a hangover kit:

  • smart water because dumb decisions
  • a ‘cheers bitches’ tank since this was our theme for the weekend
  • Reese’s candy, Linz’s favorite
  • Kind bars because we were meanies to our livers
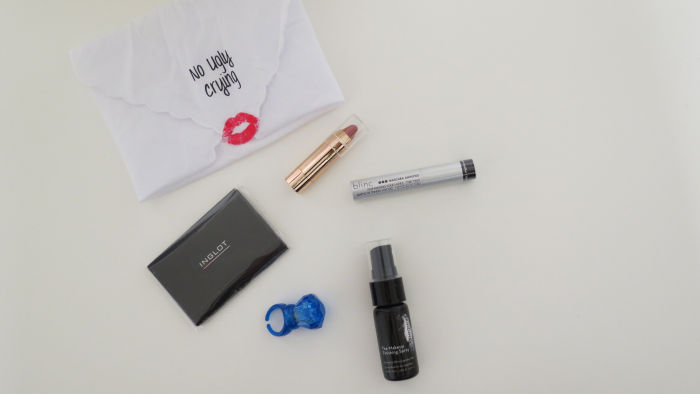
  • a ‘no ugly crying’ hankie filled with my favorite products to ensure no faces fell off
  • Moscato wine because never enough
  • a pack of polaroids for the polaroid camera I brought because polaroids are lyyyfe
  • le mieux eye masks (didn’t fit in the photo)- best evaaar for dark circles & puffiness!
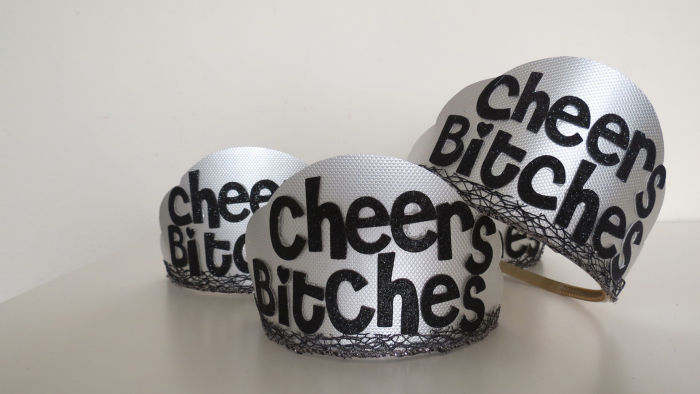
  • handmade tiaras that I made…with my hands thus they later fell a part!
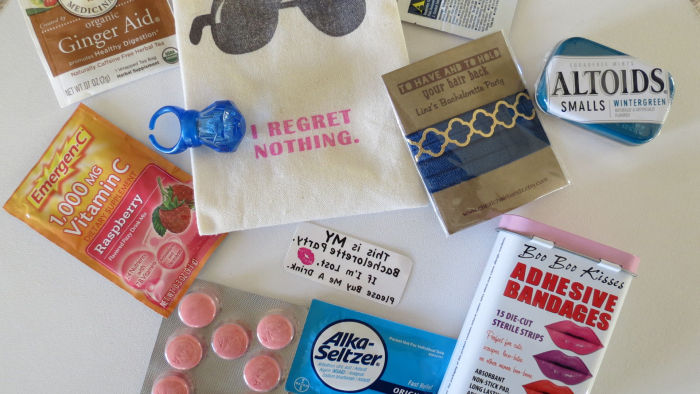
  • and “I regret nothing” survival/hangover kits!survivalkitsIn these kits I put all my go-to items that you just NEED the morning after any kind of partying because survival mode:
  • my FAVORITE part of the gift bags: temporary tattoos that read “I belong to Linz’s bachelorette party. If I’m lost please buy me a drink!” (I mean….genius Etsy just genius)
  • ginger tea (aids in belly aches and nausea)
  • raspberry Emergen-C (tastes delicious and you need all the vitamins you can get)
  • nausea chews (these really do work!)
  • alka seltzer
  • kissy bandaids for any booboos (kissing a booboo makes everything better)
  • “To have and to hold….your hair back” hair ties with Linz bach note on it (cutest ever)
  • altoids
  • advil
  • glow in the dark rings so I could find my girls in dark clubs! We were likePower Rangers!

hankies

The ‘no ugly crying’ hankies folded into the perfect envelopes to hold some of my favorite ‘don’t let my face fall off’ products. Weddings will make you cry so I didn’t want anyone’s beautiful face to melt off:

  • Inglot blotting tissues (my favorite brand)
  • Blinc mascara that turns any mascara into a waterproof/ cry proof/ smudge proof magic-ness
  • my favorite lip liner that can double as blush and is perfect to layer or wear alone
  • Skindinavia’s setting spray (hands down the best) it’s time released and temperature controlled so when you start to sweat it kicks in high gear, hello dancing! (oh technology)

tiaras
These were the ‘cheers bitches’ tiaras I made….after about 3 attempts, 2 trips to Michaels, a return to Marth-freaking-Stuart, and gluing 2 of my fingers together…. here they are! Post on the how to’s coming soon! I did so much DIY for this party that you’d all be so proud of me…because DIY is not my friend!

linztiara
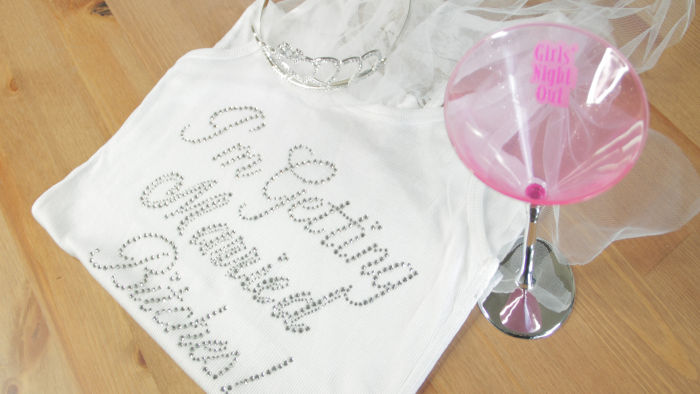
Linz’s bag had a few extra special items that I threw in there since it’s her big day I wanted even her martini cup to be wearing a veil! I got this tank from Etsy, and the tiara and matching cup veil cup came from Party City.

linzbag
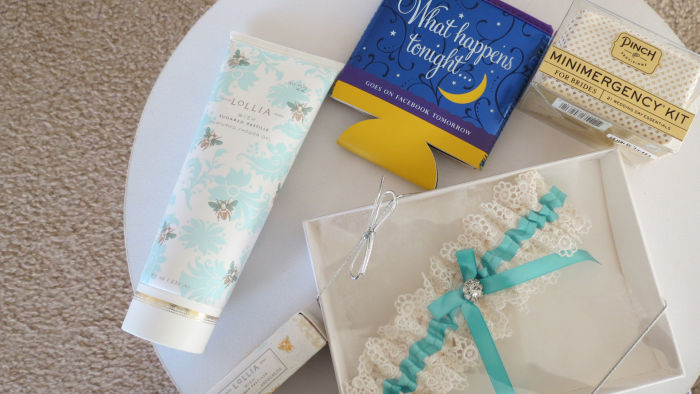
I think what makes a person a good friend is different from person to person, and what makes Linz a great friend to me, consists of too many words that deserve their own post. So I wanted her to feel just as loved, so in her bag also went her favorite Lollia Wish body wash and lotion, a bridal emergency kit, a quirky drink sleeve (because truth), and the something ‘blue’ I got her was this garter I had made for her that matches the same blue as Tiffany’s, and has Swarovski crystals surrounding the center bow. I fell in love with it when I saw it and I wanted her to have one to keep since one goes to a lucky bachelor! Every girl deserves a Tiffany blue something!

Some things I couldn’t make and bring with was the traditional penis cake….what an awkward conversation to have to the hotel concierge about baking such a cake and delivering it to the room! But it was so fun and their cake was delicious! I brought along with me the penis straws, cups, shot glasses, and all things penis I could find on the internet and it made for an amazing time!

Do it big ladies! Go ALL out and laugh until you’re swimming on a flooded bathroom suite floor with girls you absolutely adore, while having a communal bath and rubbing one another’s feet! haha yup that all happened! I honestly couldn’t have asked for a better more beautiful and supportive group of girls to be around than Bailey, Linz, Ashlee, and Meghan who I spent an incredible weekend with (Dani you were missed girl!!!)! I got so much closer to them and I’ve known them for years! There was no drama, it was all love, all laughs, and all dancing! Top night ladies!!! #buttsout

polaroids

Hope you all have a wonderful rest of your week and party til ya need an IV in the mornin 😉 We did that too!


xoxo- Jess