TOP 10 FREE THINGS TO DO WITH THE FAMILY!

I had a really nostalgic moment today, I was remembering that as a kid, each weekend my family and I would drive over to the local Blockbuster to hand-pick movies for the weekend. If you’re lucky enough to remember those good ol’ days than this will spark some fun memories, and if you were born after Blockbuster and MC Hammer pants, than just imagine this: My sister, brother, and I would walk up and down the aisles reading the synopsis on the backs of each VHS (yes VHS days) or DVD, beg our parents for popcorn and candy, and then we’d decide which movies we’d rent . . . as a family. I mean, it DID depend on if it were a $2.99 or $4.99 rental and IF you could have it for two days or FOUR, but it really was just some good ol’ clean family bonding times. Gahhh can we bring back some of that!

I thought today I’d share with you my favorite things to do with my Corriney and Joe, not to mention they’re practically free! So here are my top 10 free (almost) things to do with the family!

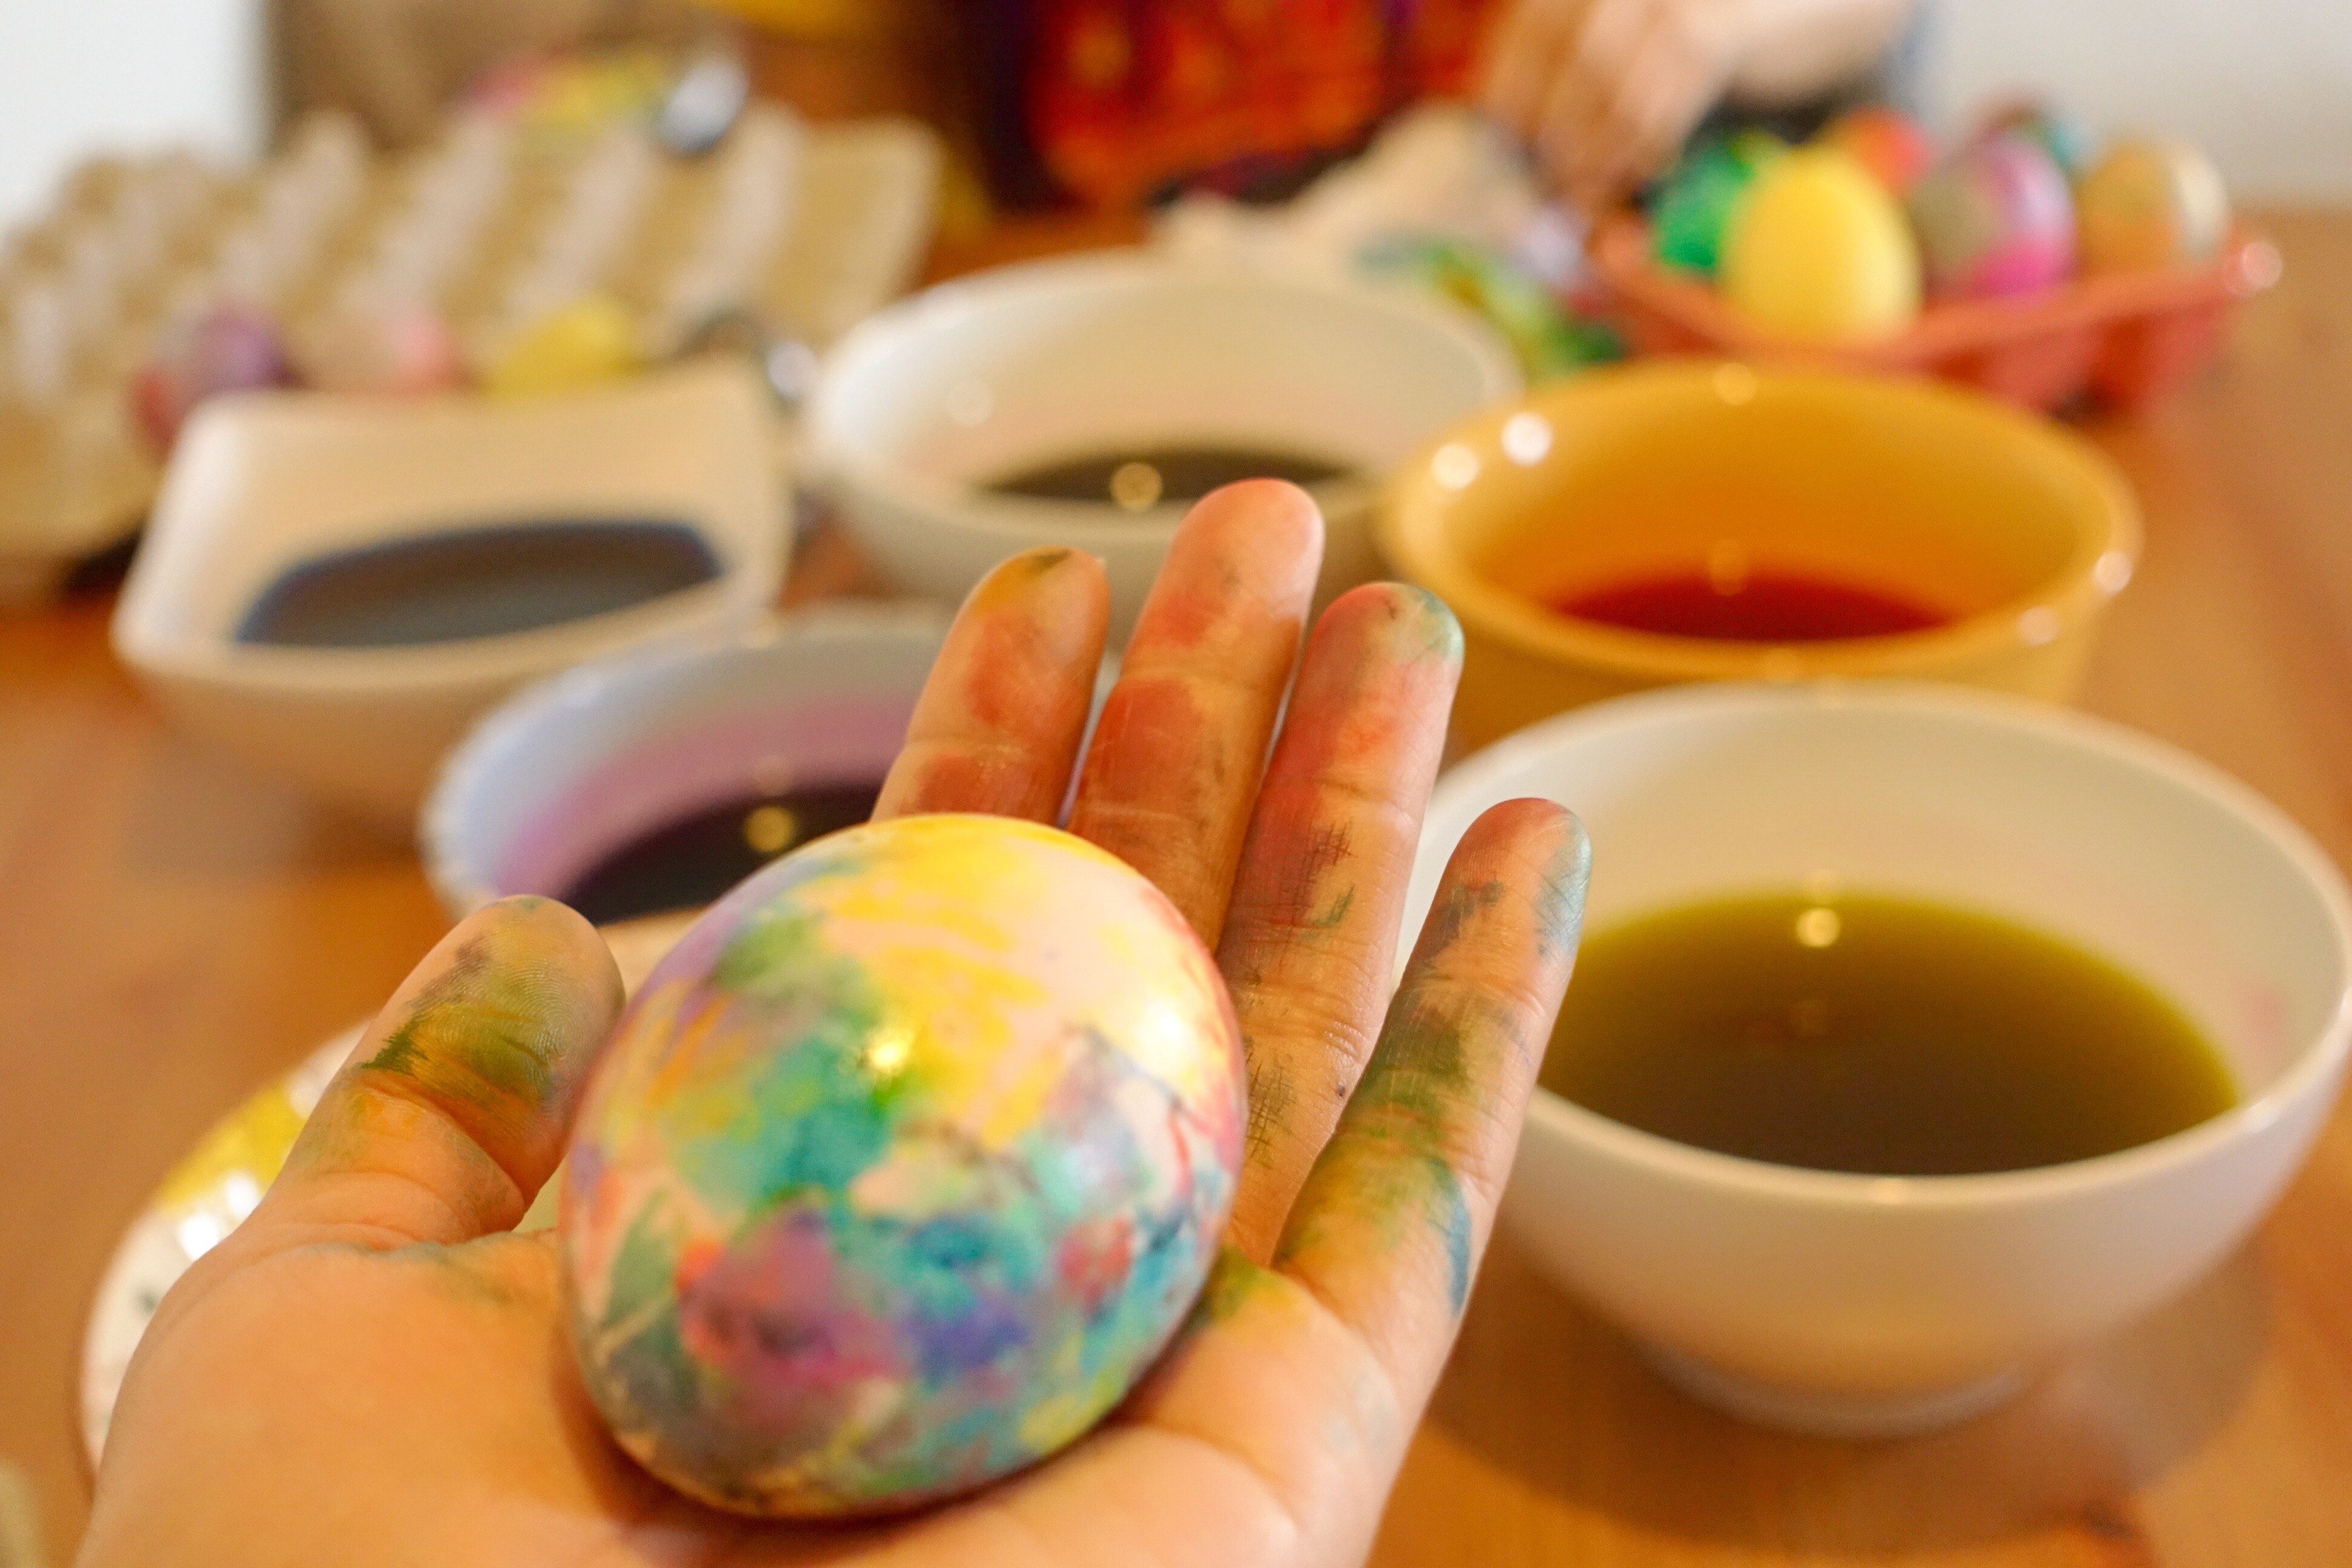
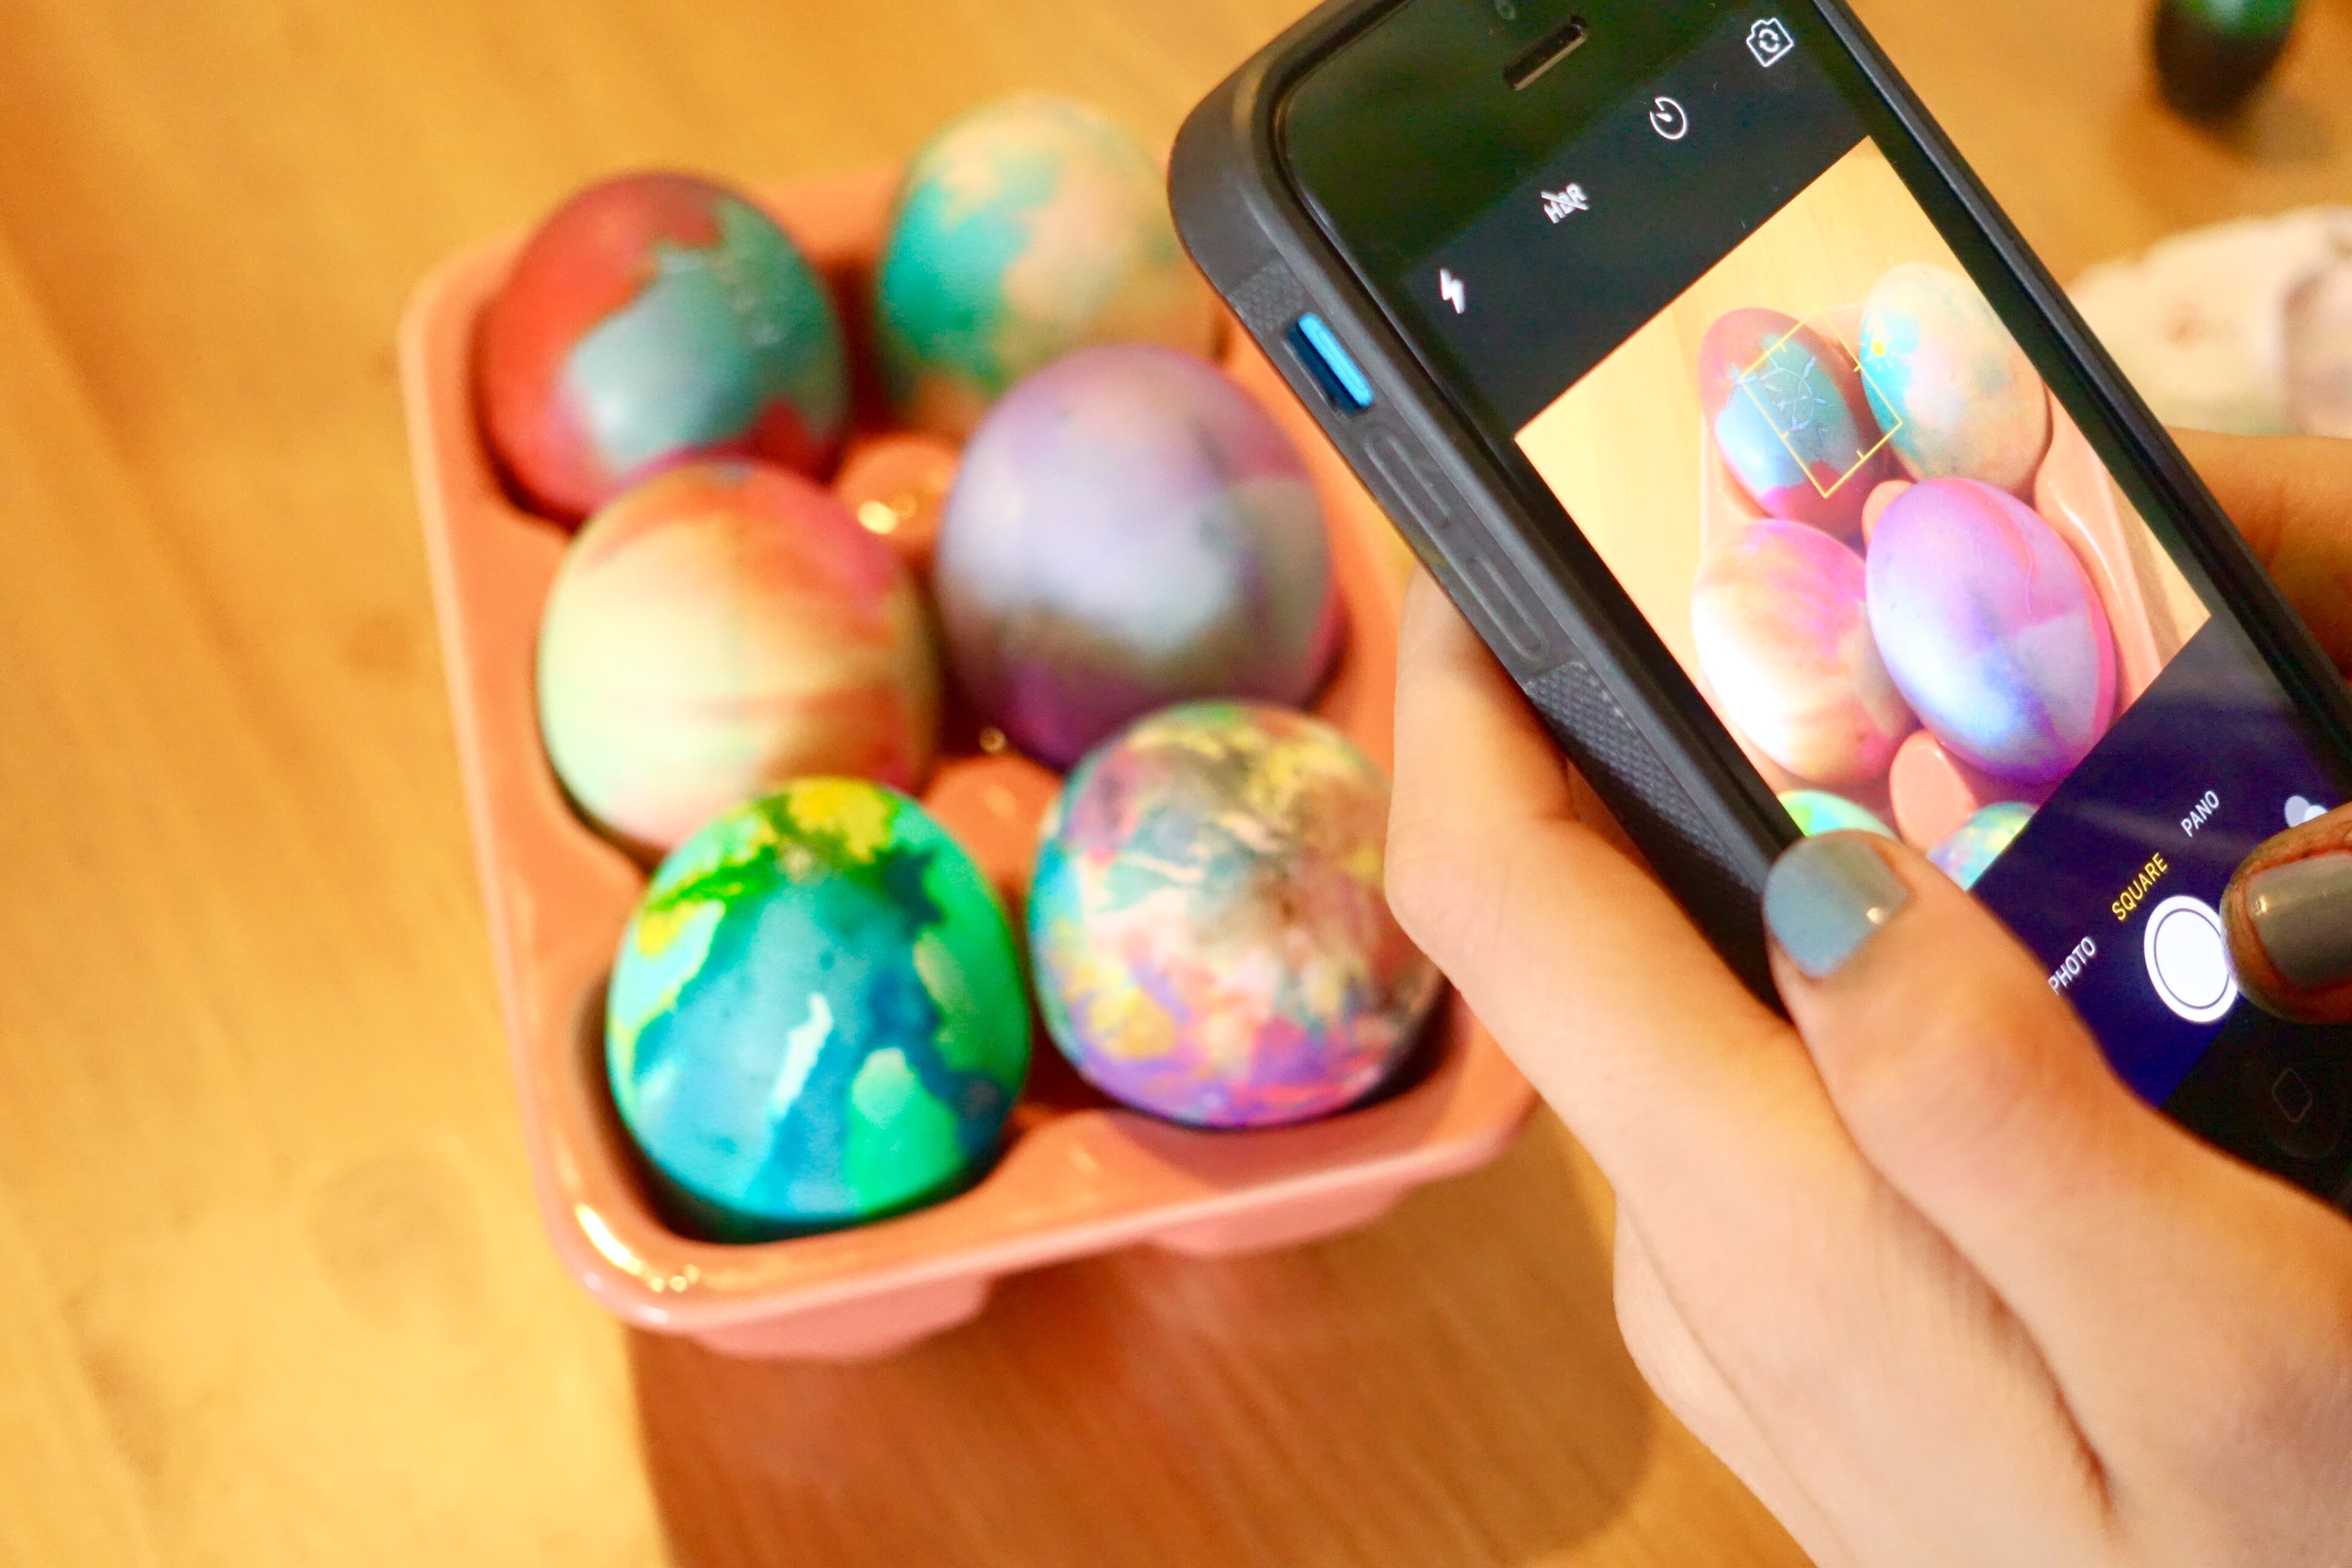
PAINT NIGHT – places like Color Me Mine can be a bit pricey especially if you have more than 1 child, so why not head over to Michael’s (or the DOLLAR STORE woot!) pick up some paints and craft paper and boom, paint night at home! Ahem for you parents out there, this is also a wonderful time to bust out a bottle of wine and crank up some paint night tunes!

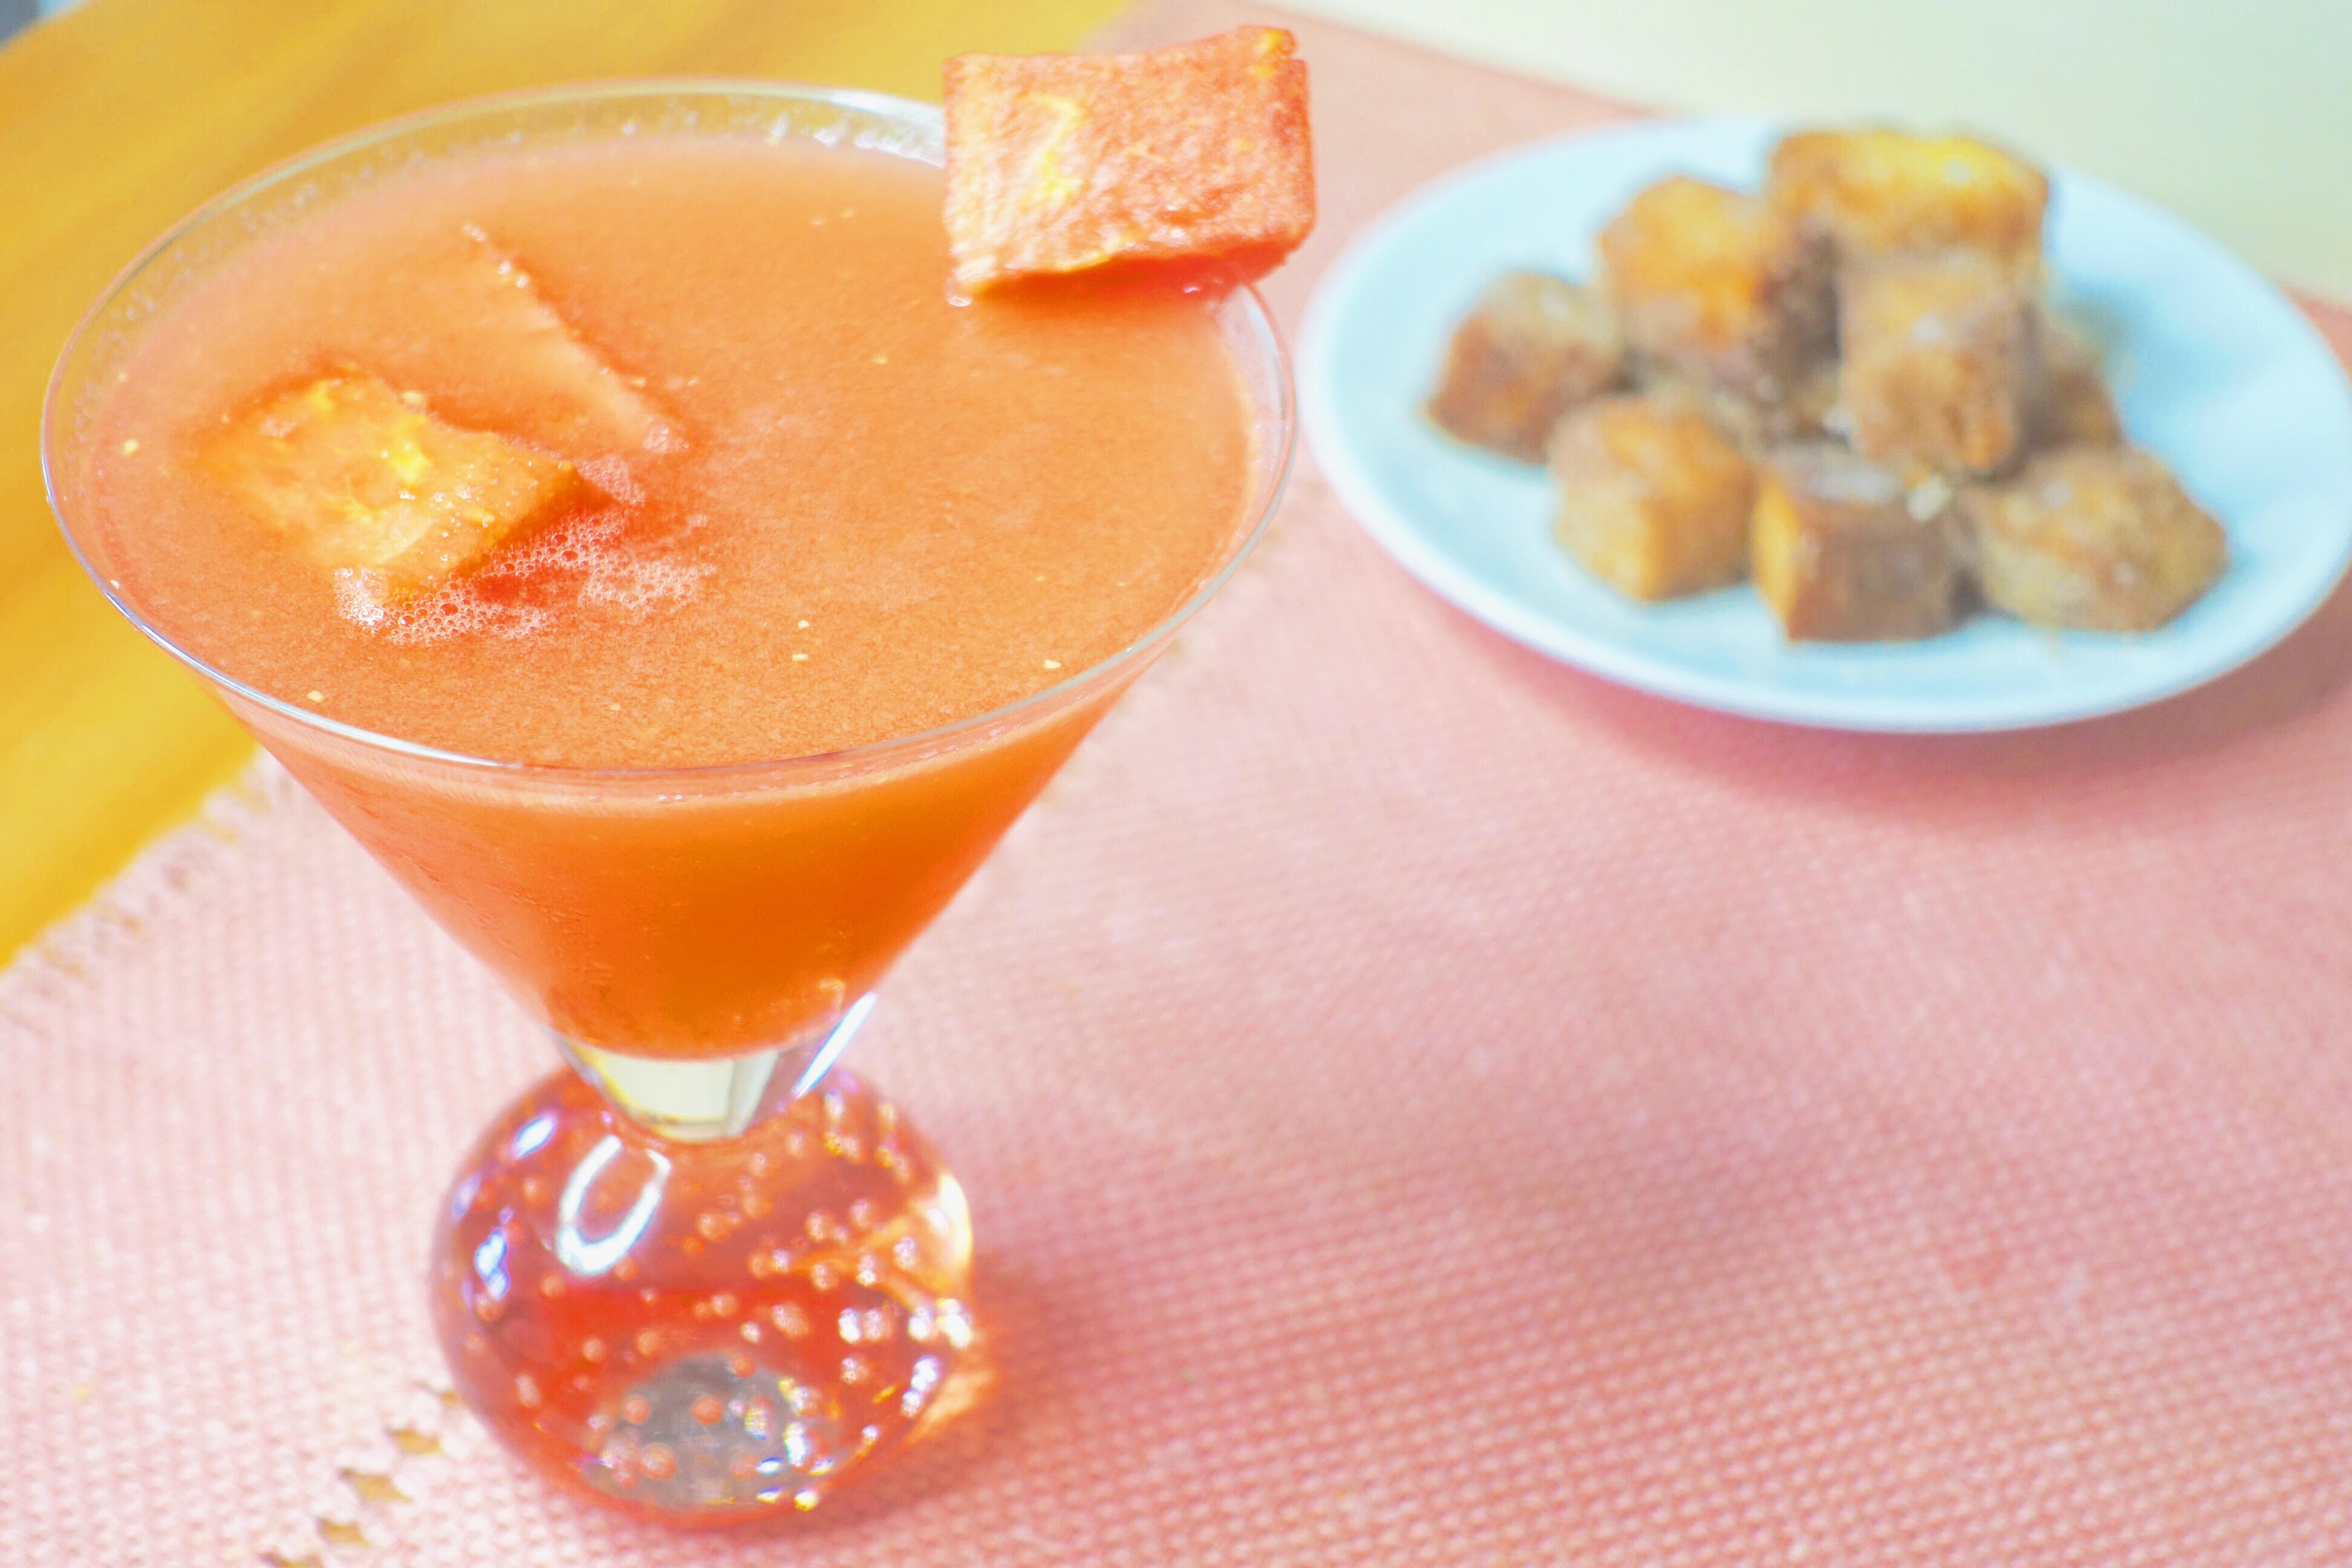
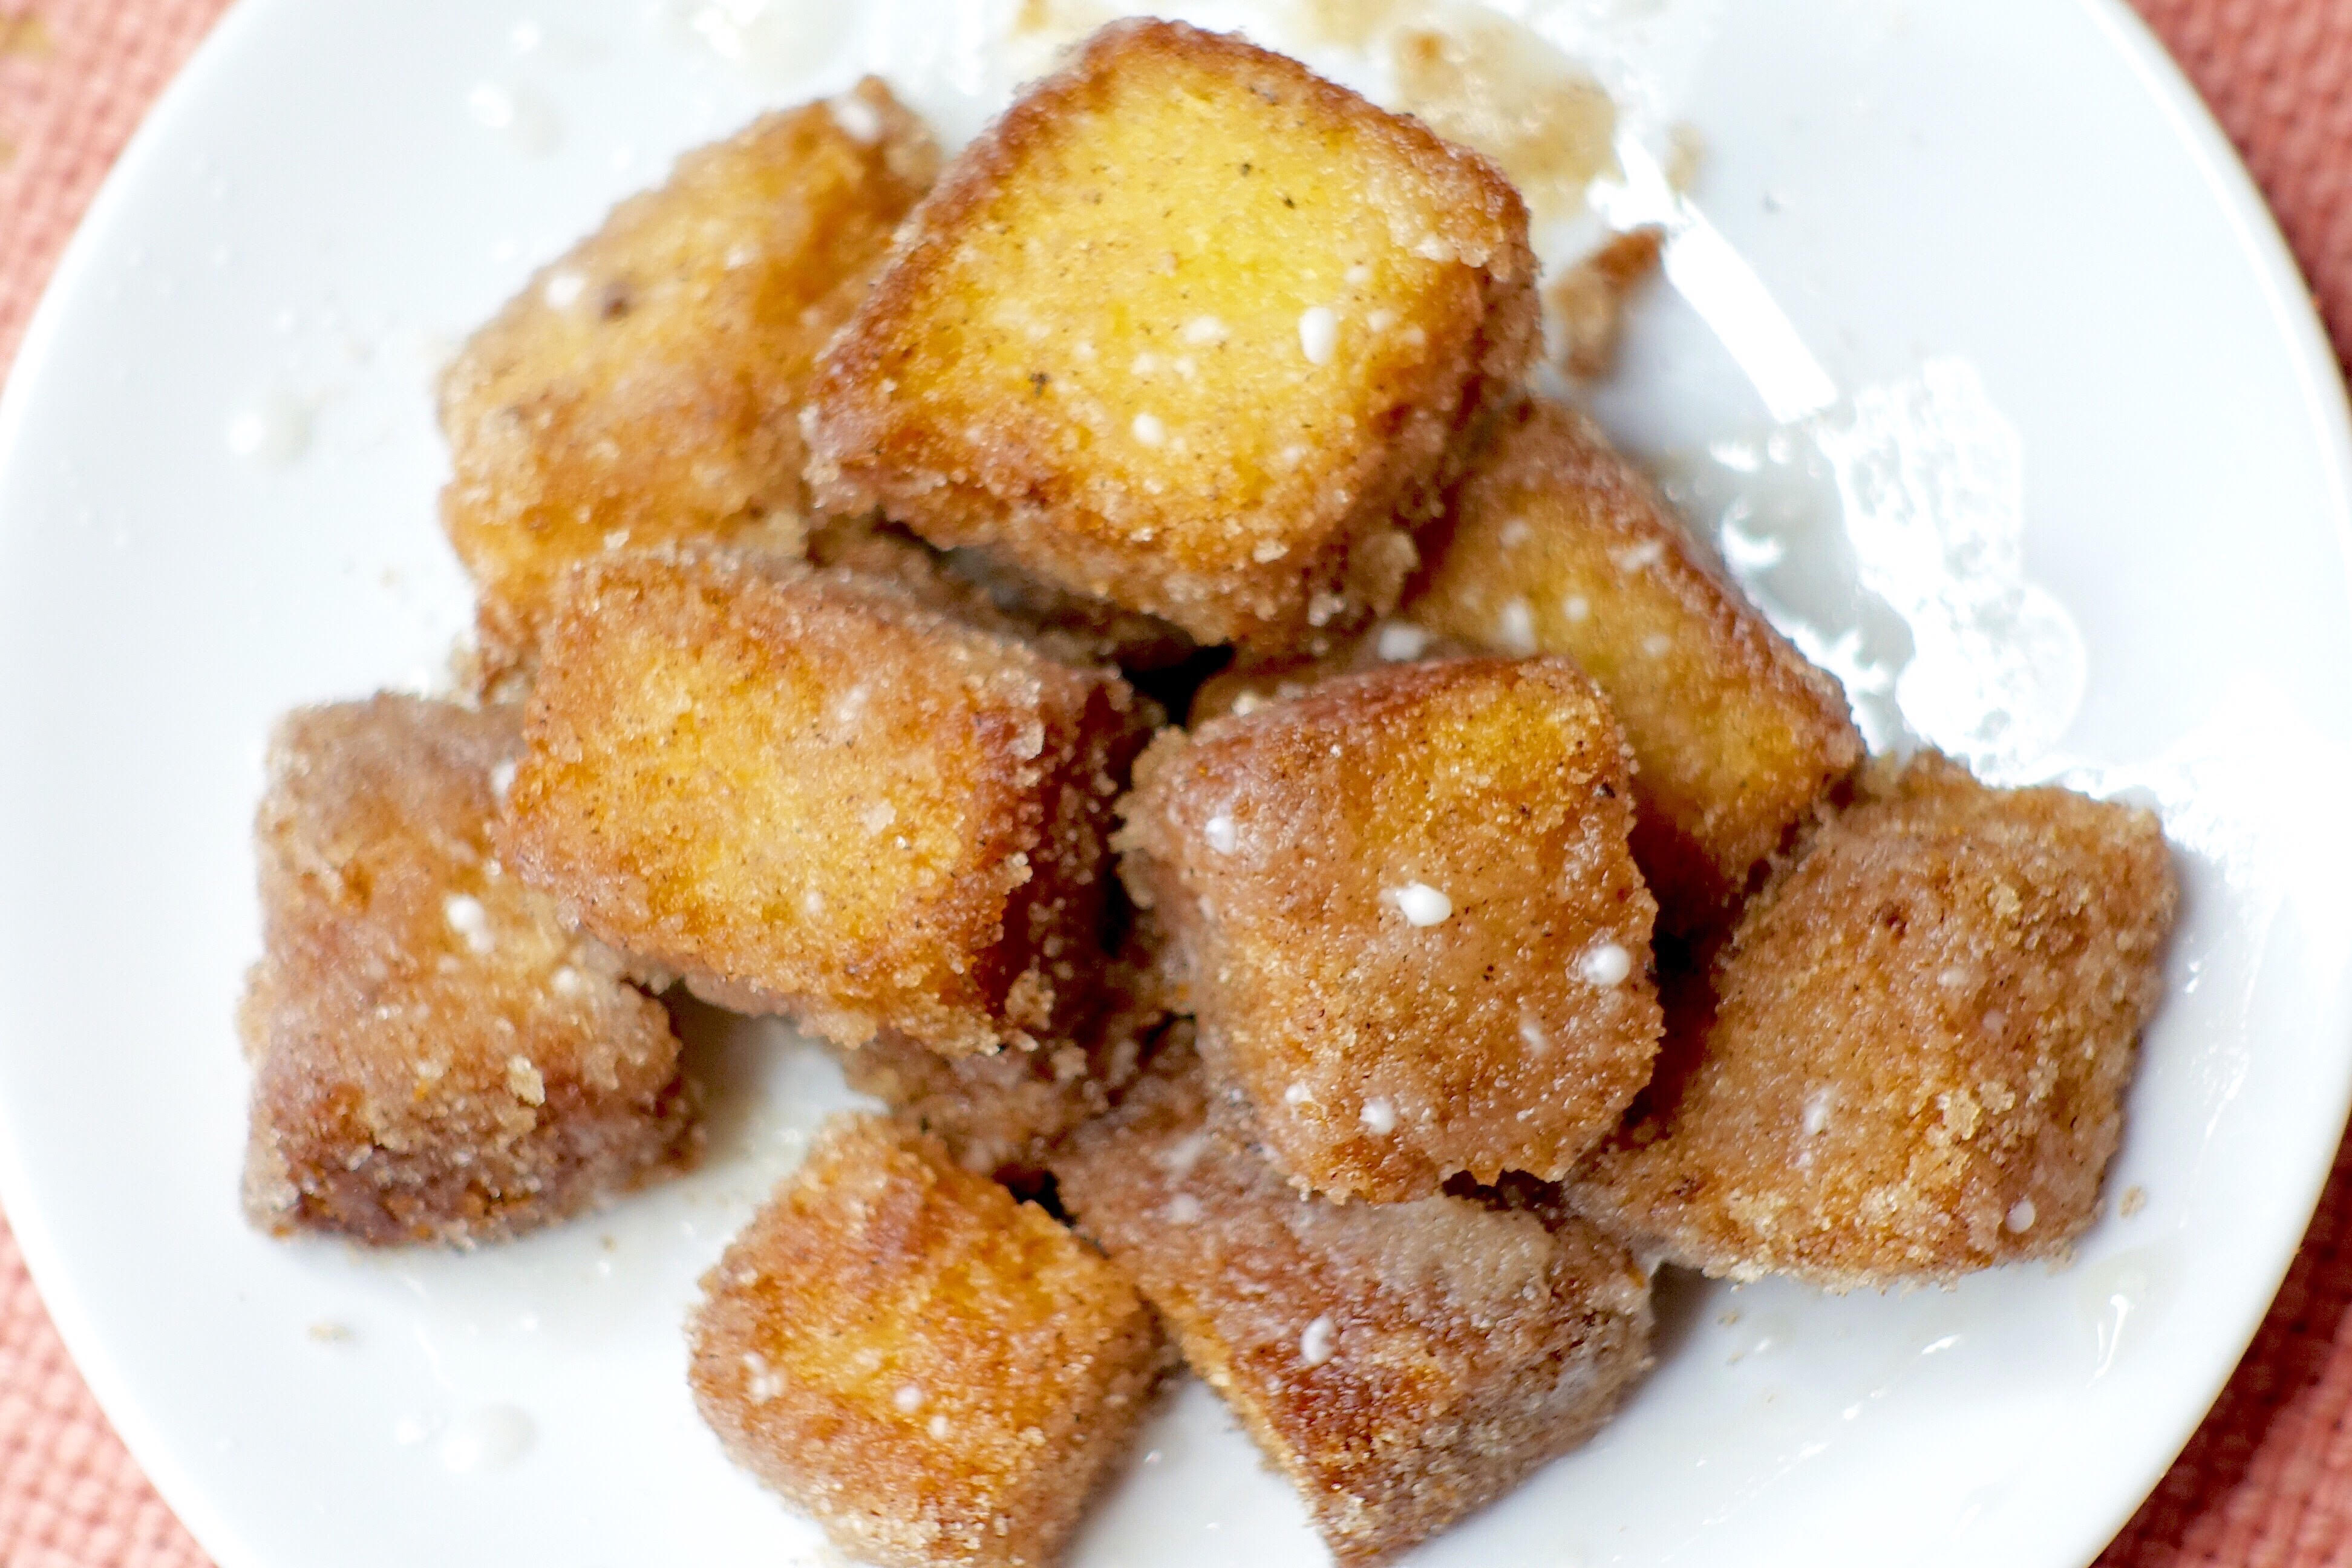
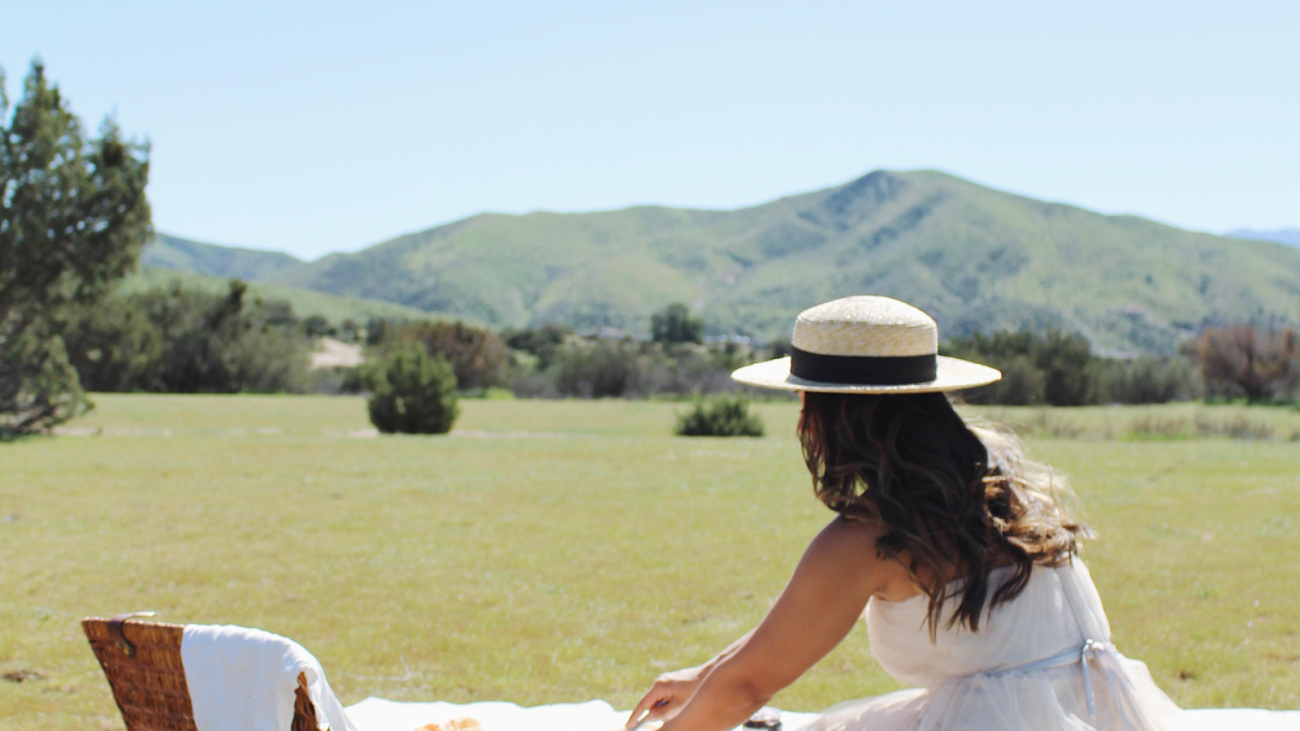
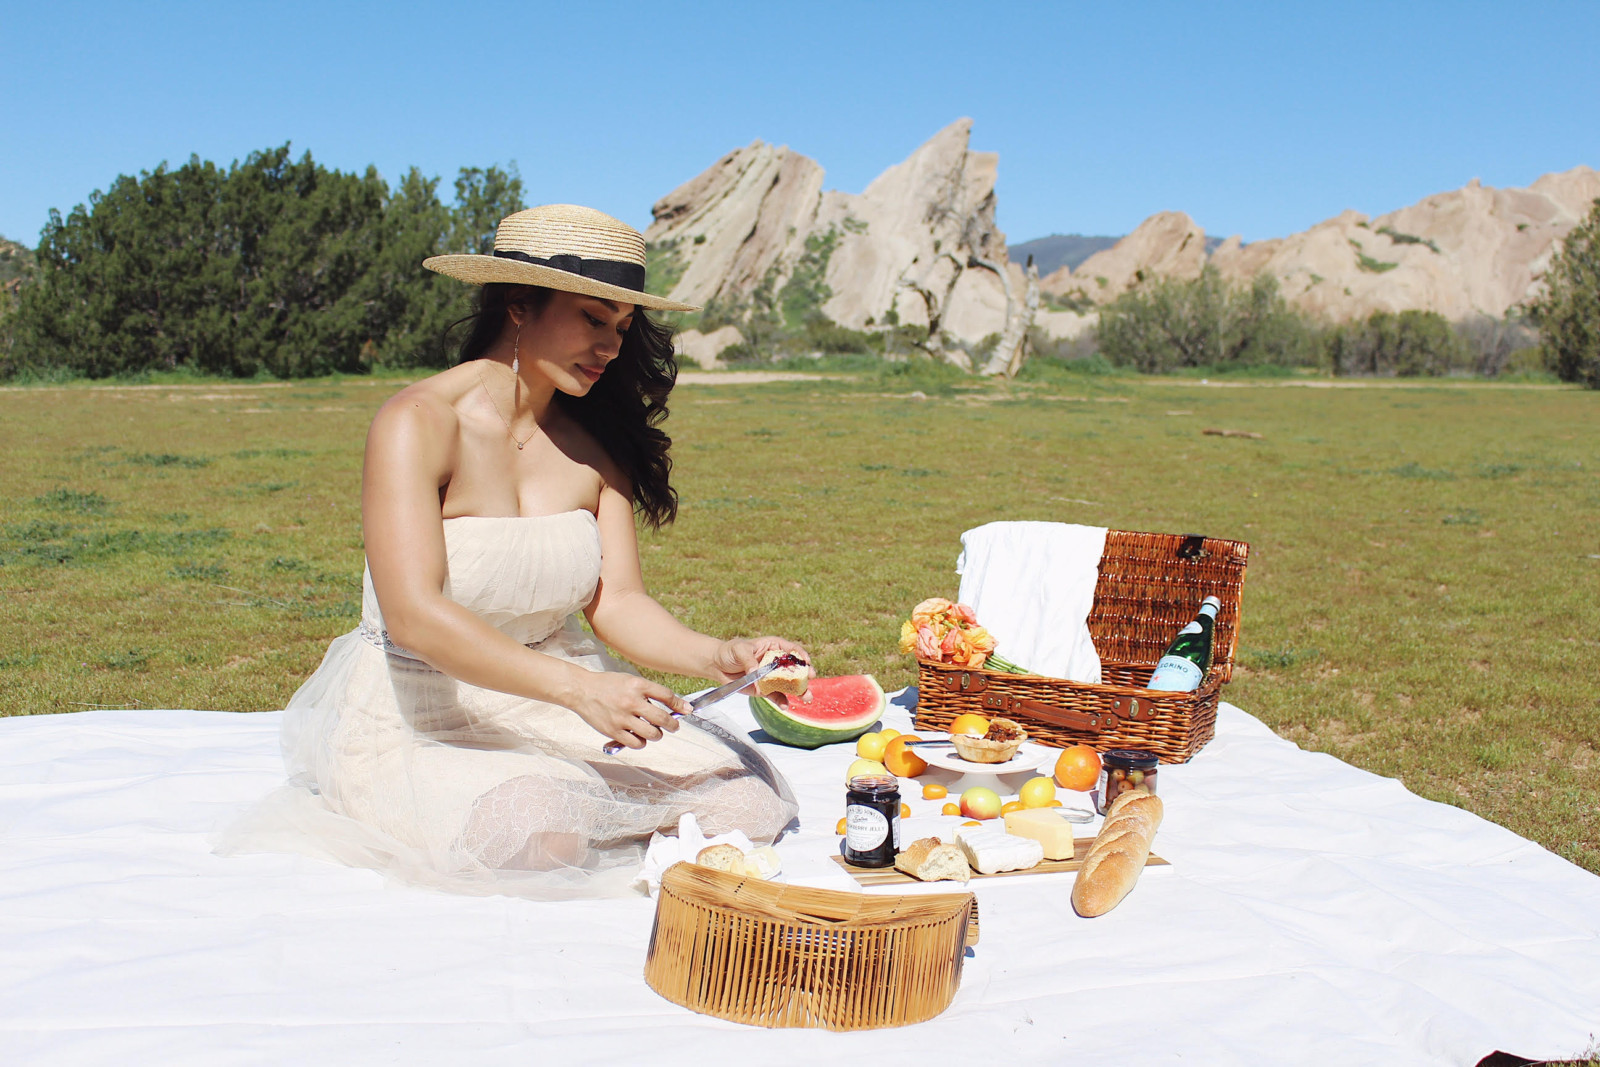
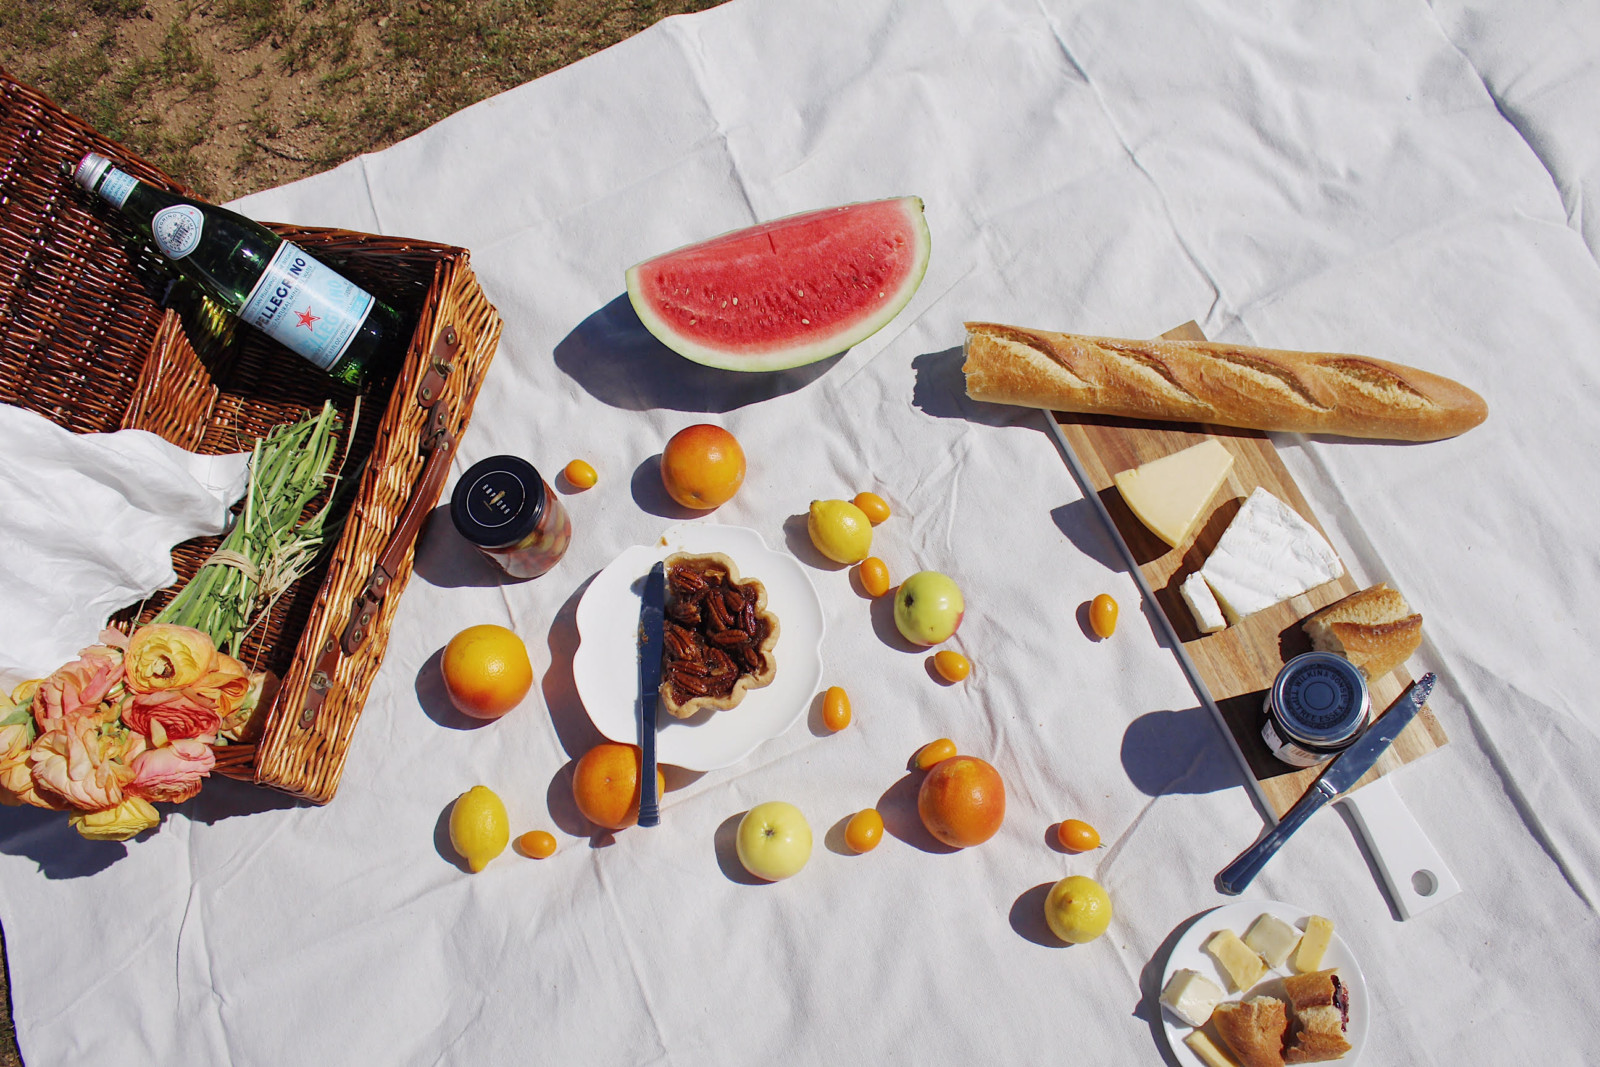
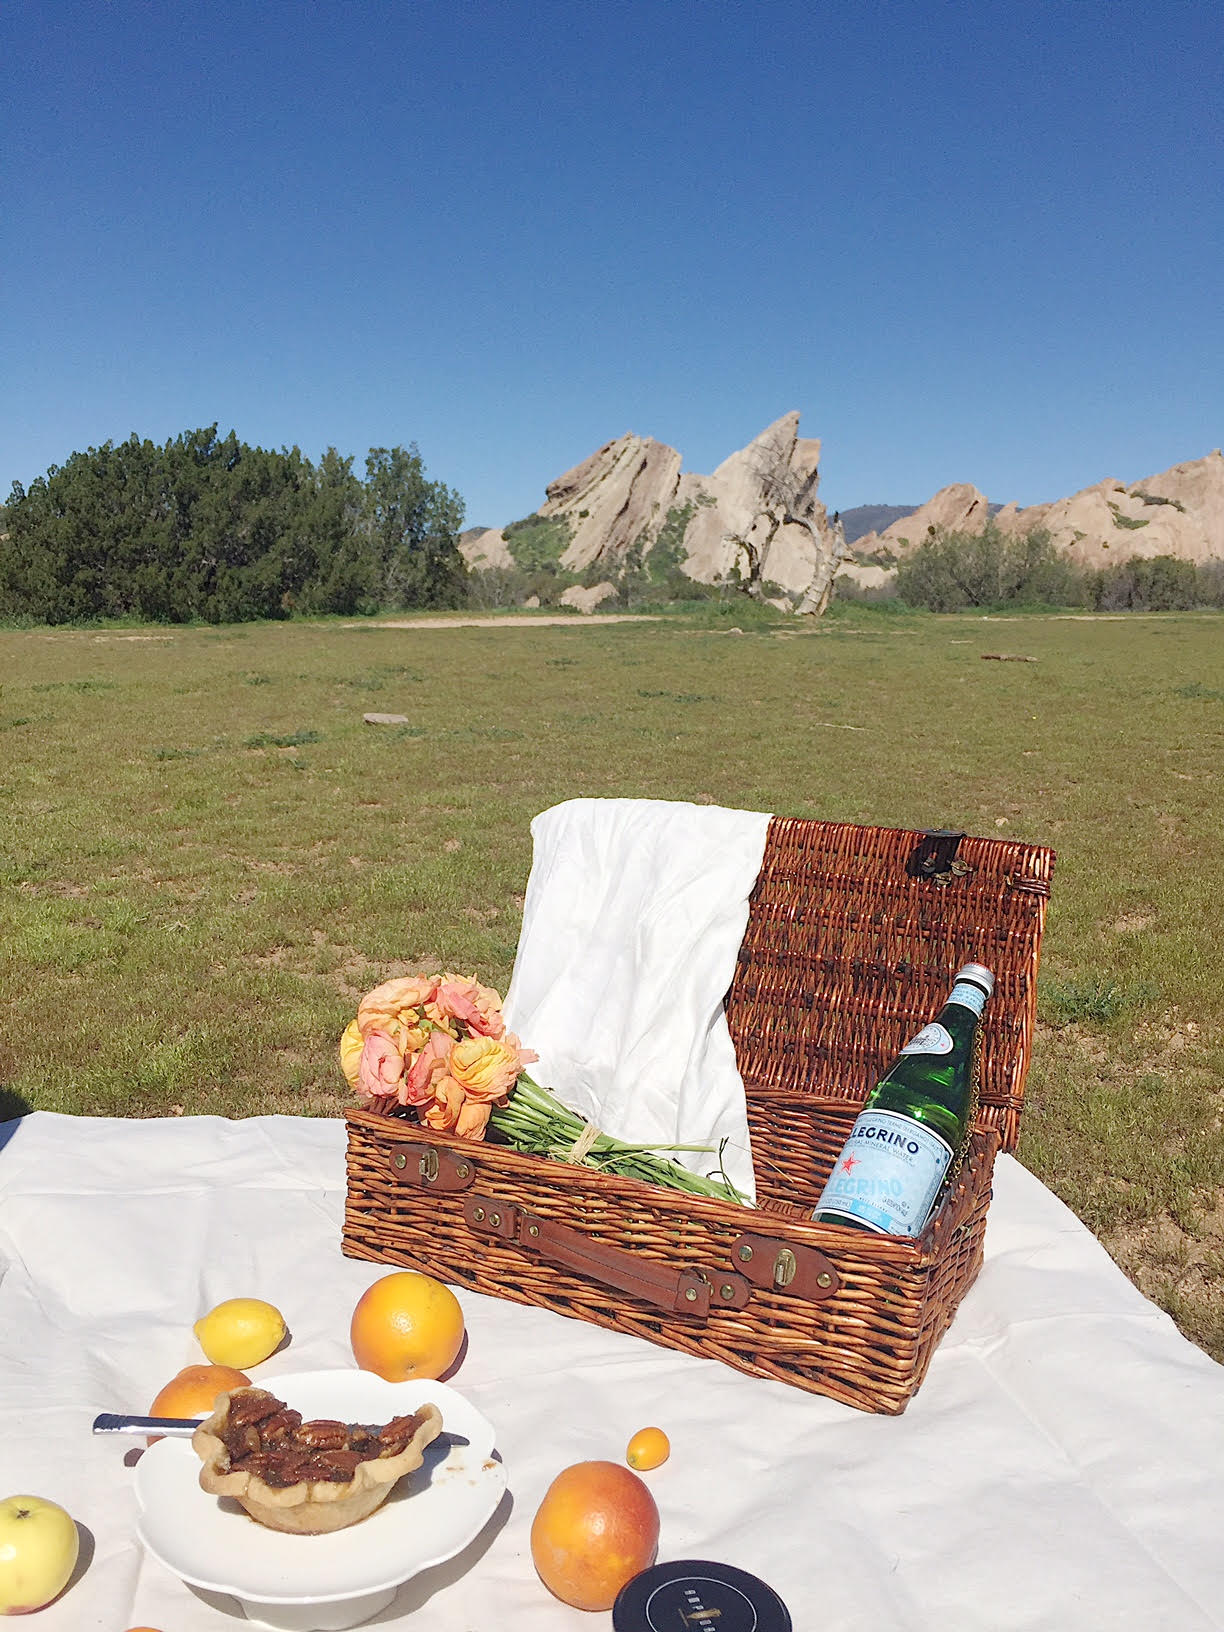
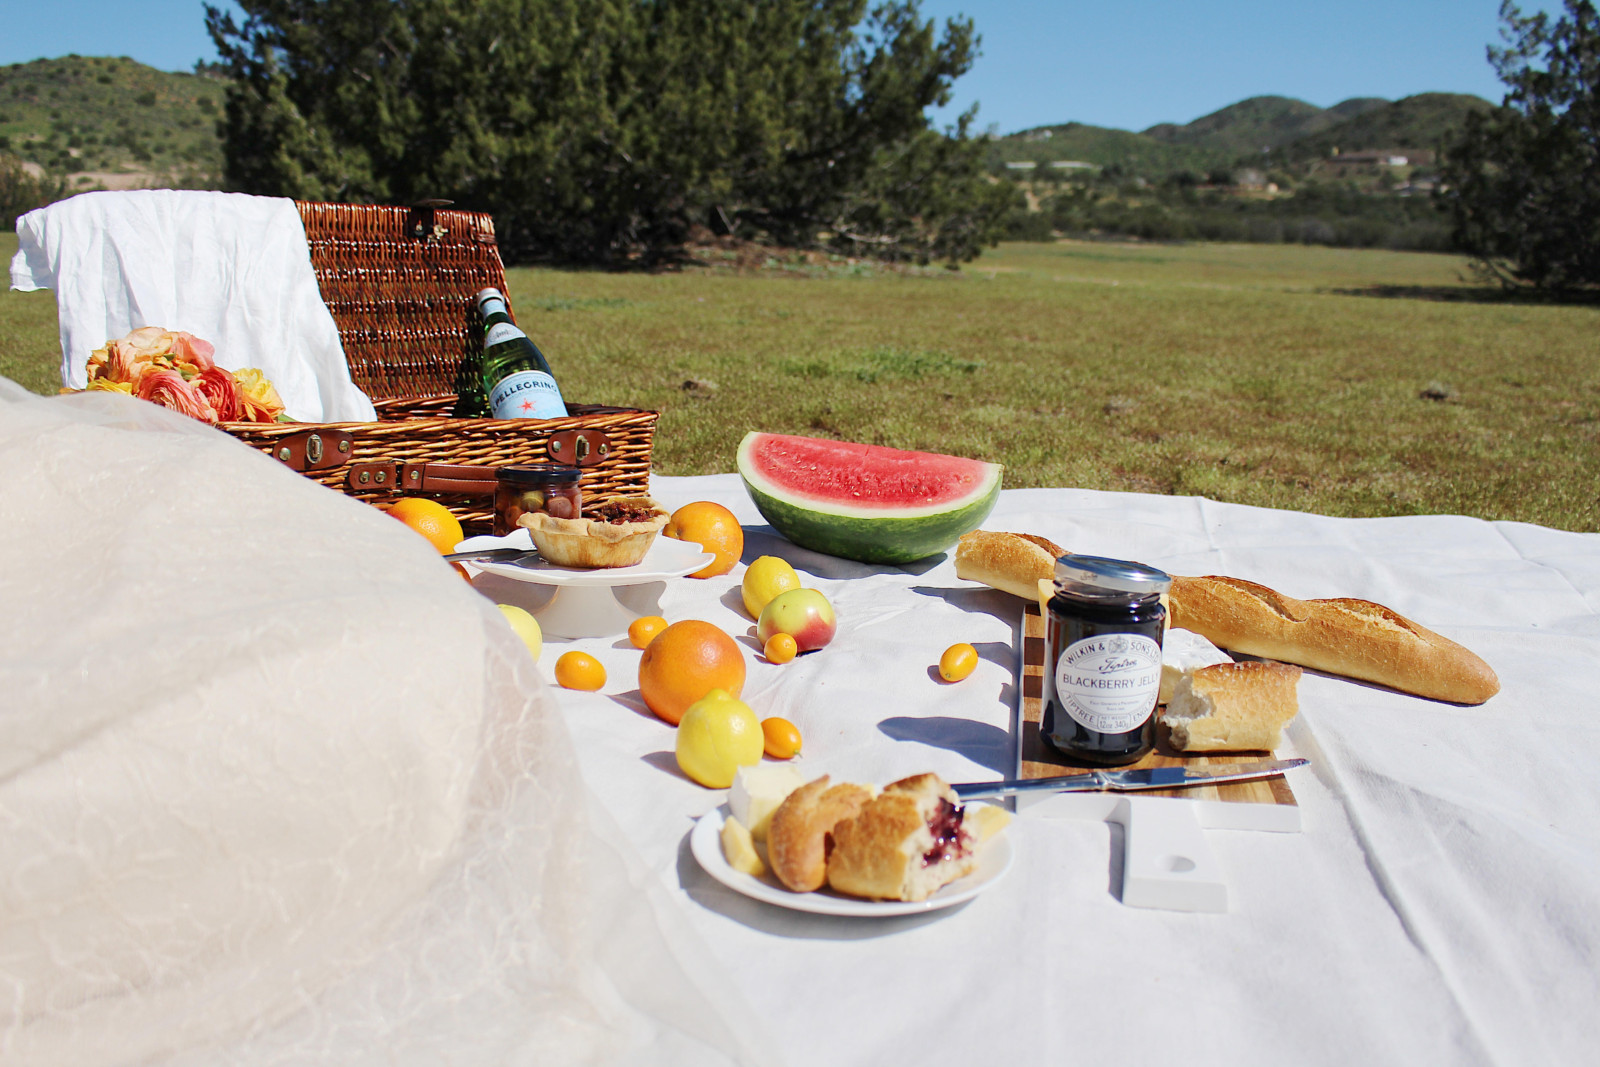
PICNIC – best thing is eating your favorite food, outside, on a blanket, listening to the birds chirp. Picnics are easy I promise! For this particular day we went to Trader Joe’s and spent under $10 for a baguette and cheese, threw some fruit and drinks into our picnic basket and enjoyed our fancy shmancy picnic outside. Pro tip: when you’ve forgotten to pack cutlery just simply eat with your hands! Also, watermelon eaten with your hands will get sticky. Also also, farmers markets make for the best treats and have home made PIE (featured below is caramel pecan for your viewing pleasure)!


HIKE – get out and get movin’! Pointing things out in nature, identifying plants and animals while you’re with the kiddos, and then picnicking at the end of it . . . leads straight into my next favorite thing!

HIKE ANNND PICNIC – okay okay this is me cheating by combining my two faves but for realizies! If you hike to the top of that mountain or stroll to the other side of that park and then add in a PICNIC, it’s the best thing ever! Go ahead, enjoy that refreshing sticky watermelon with your hands!

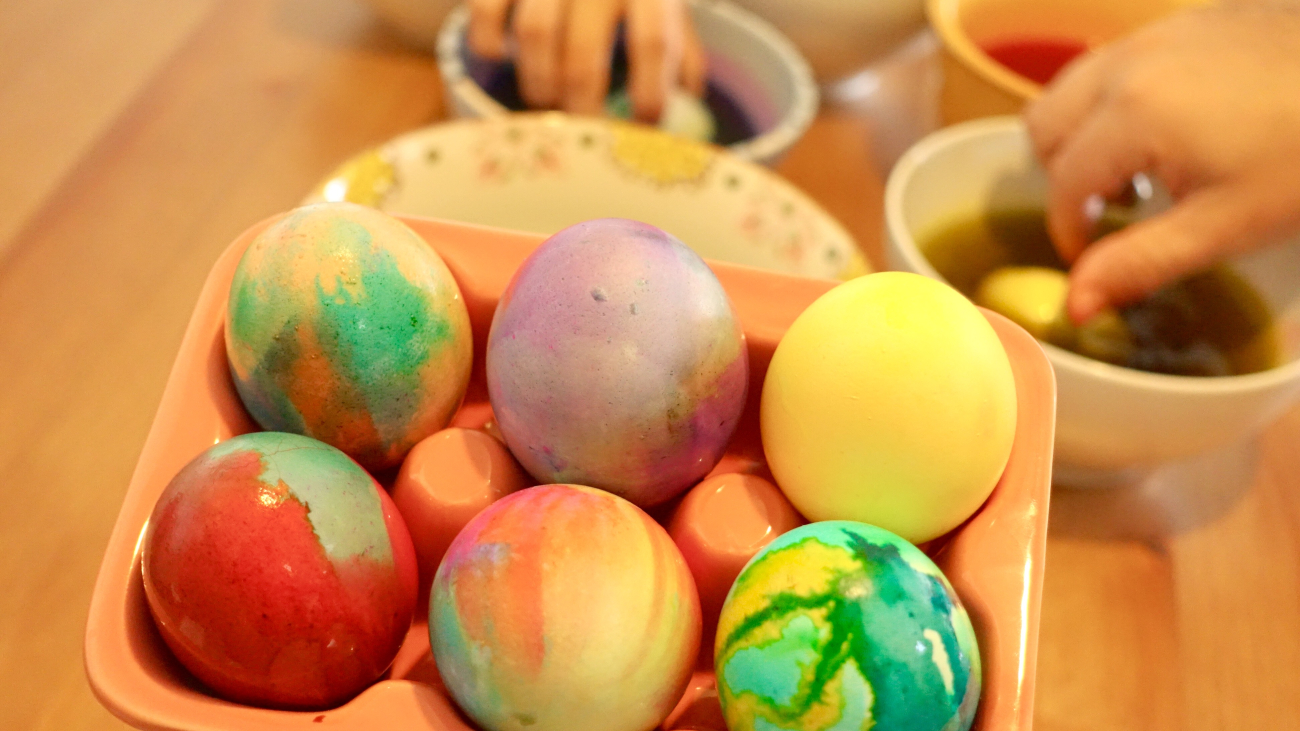
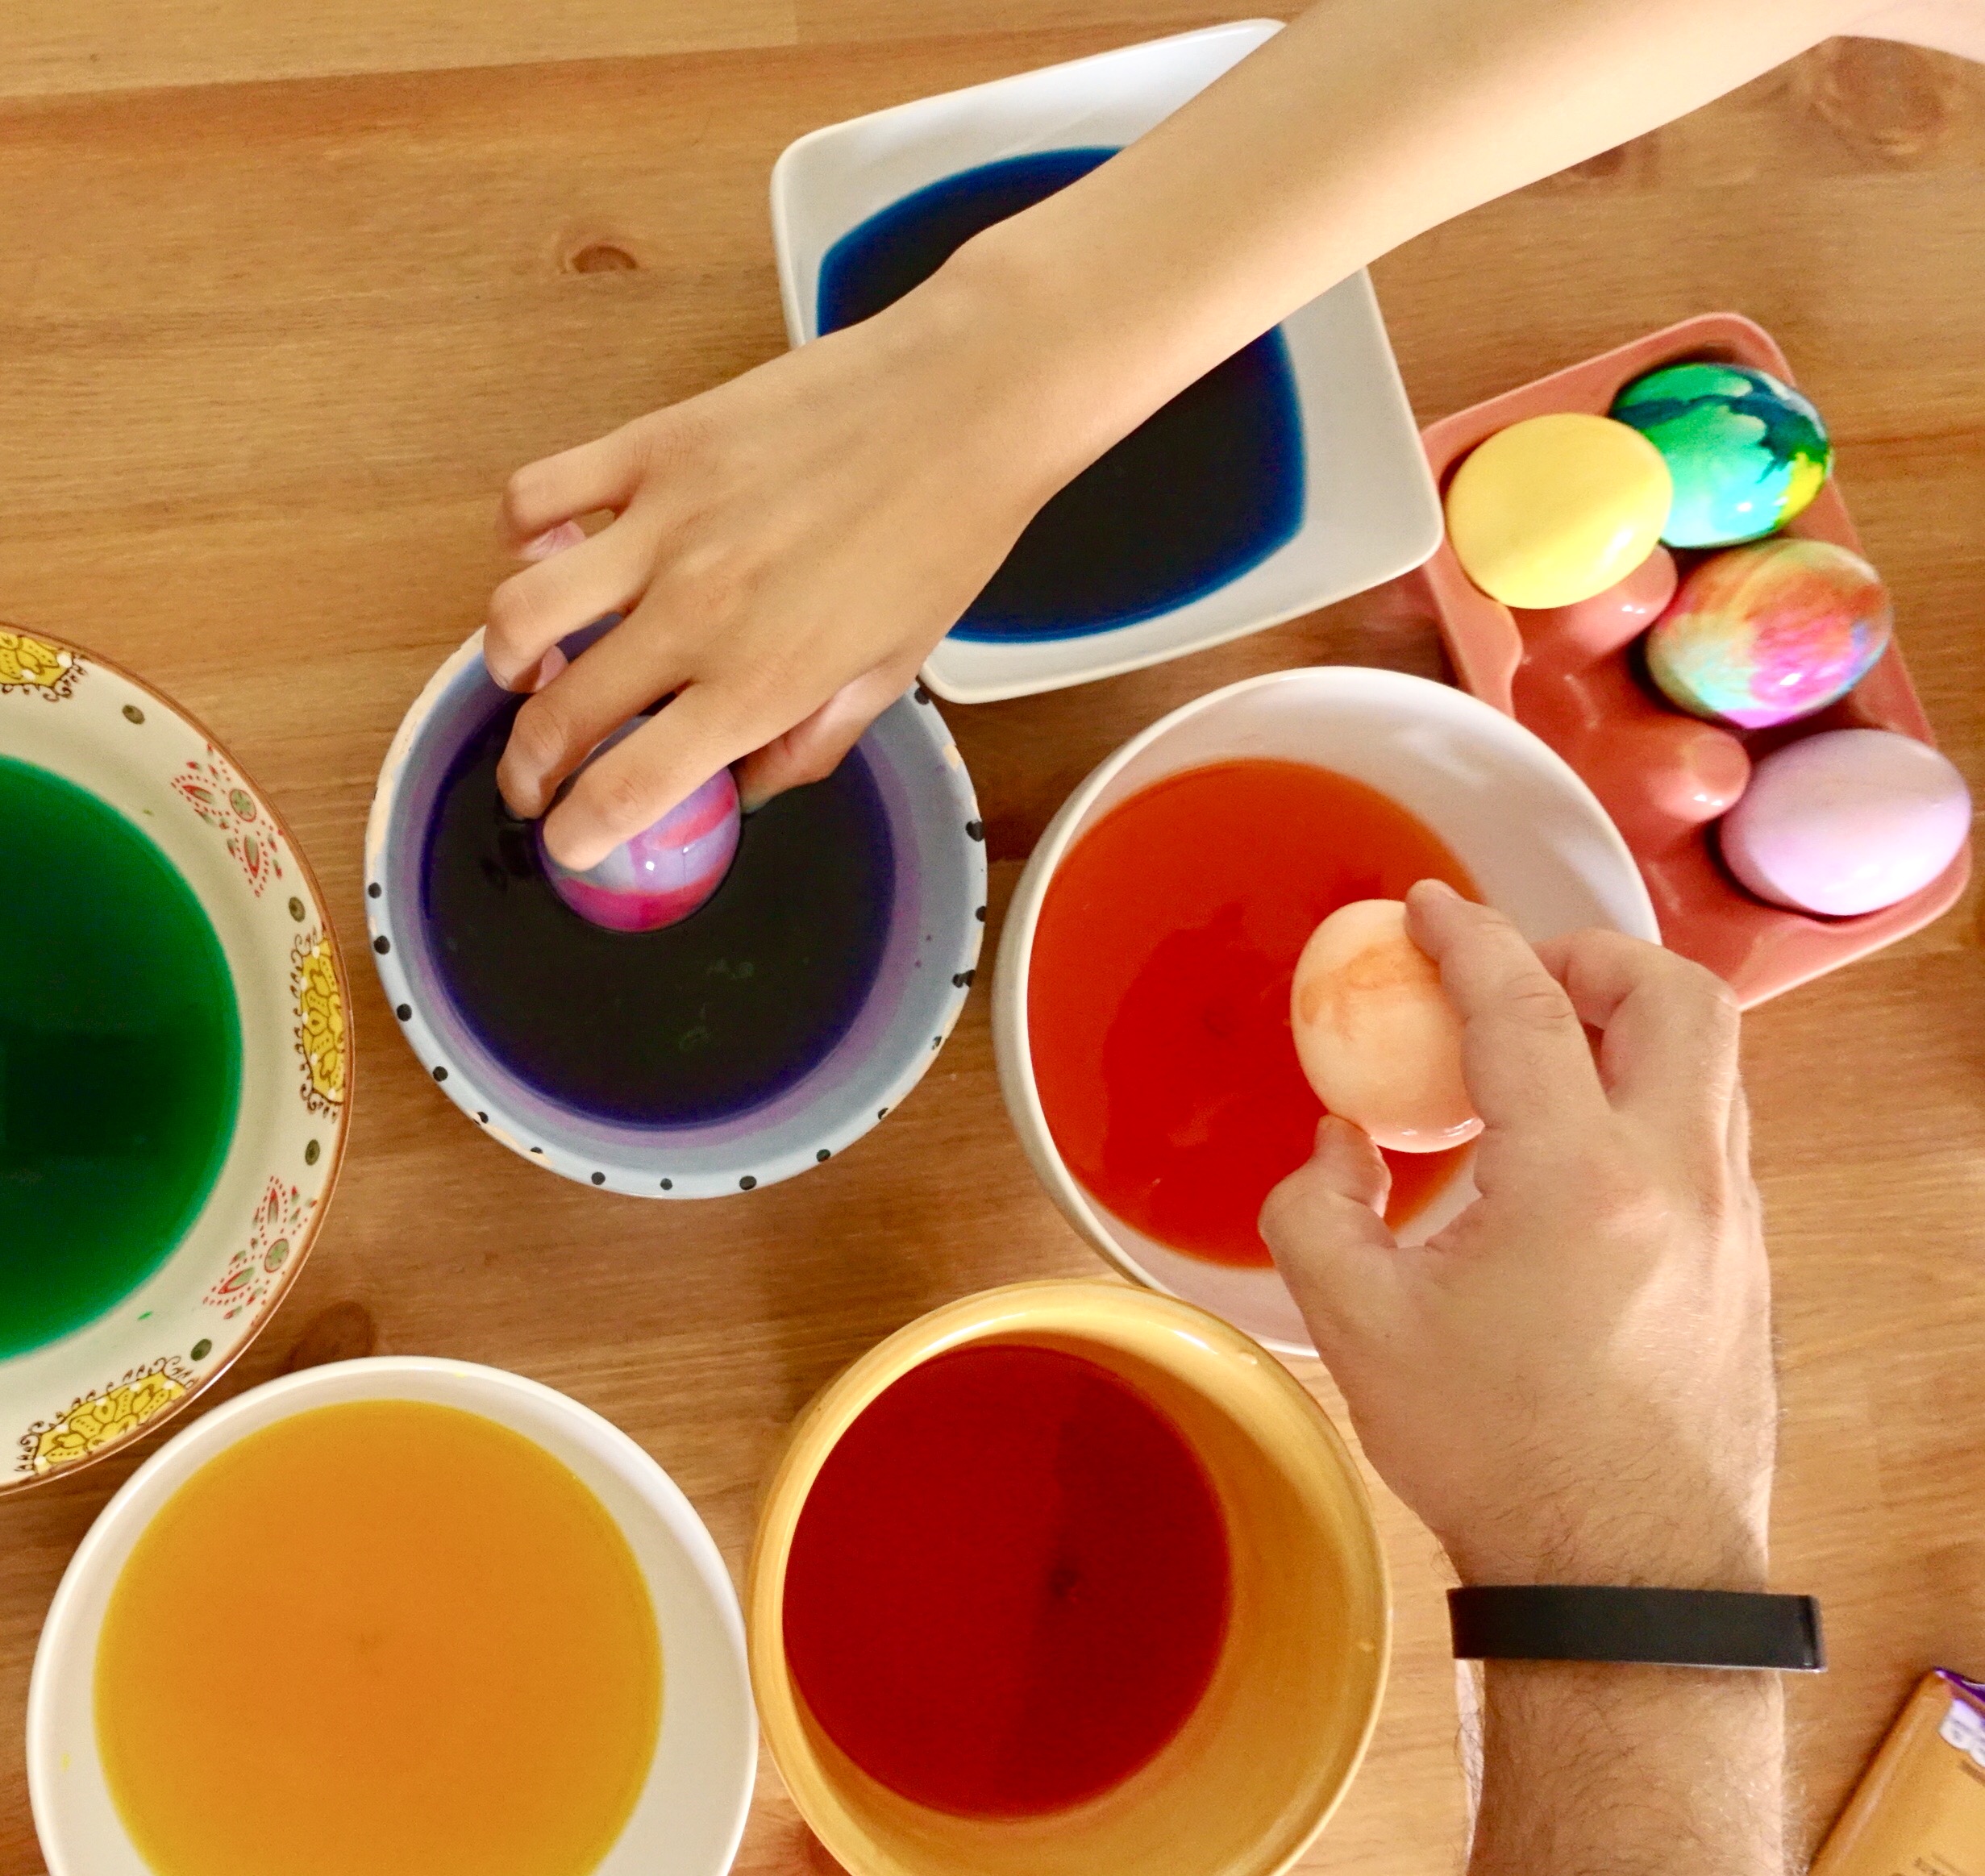
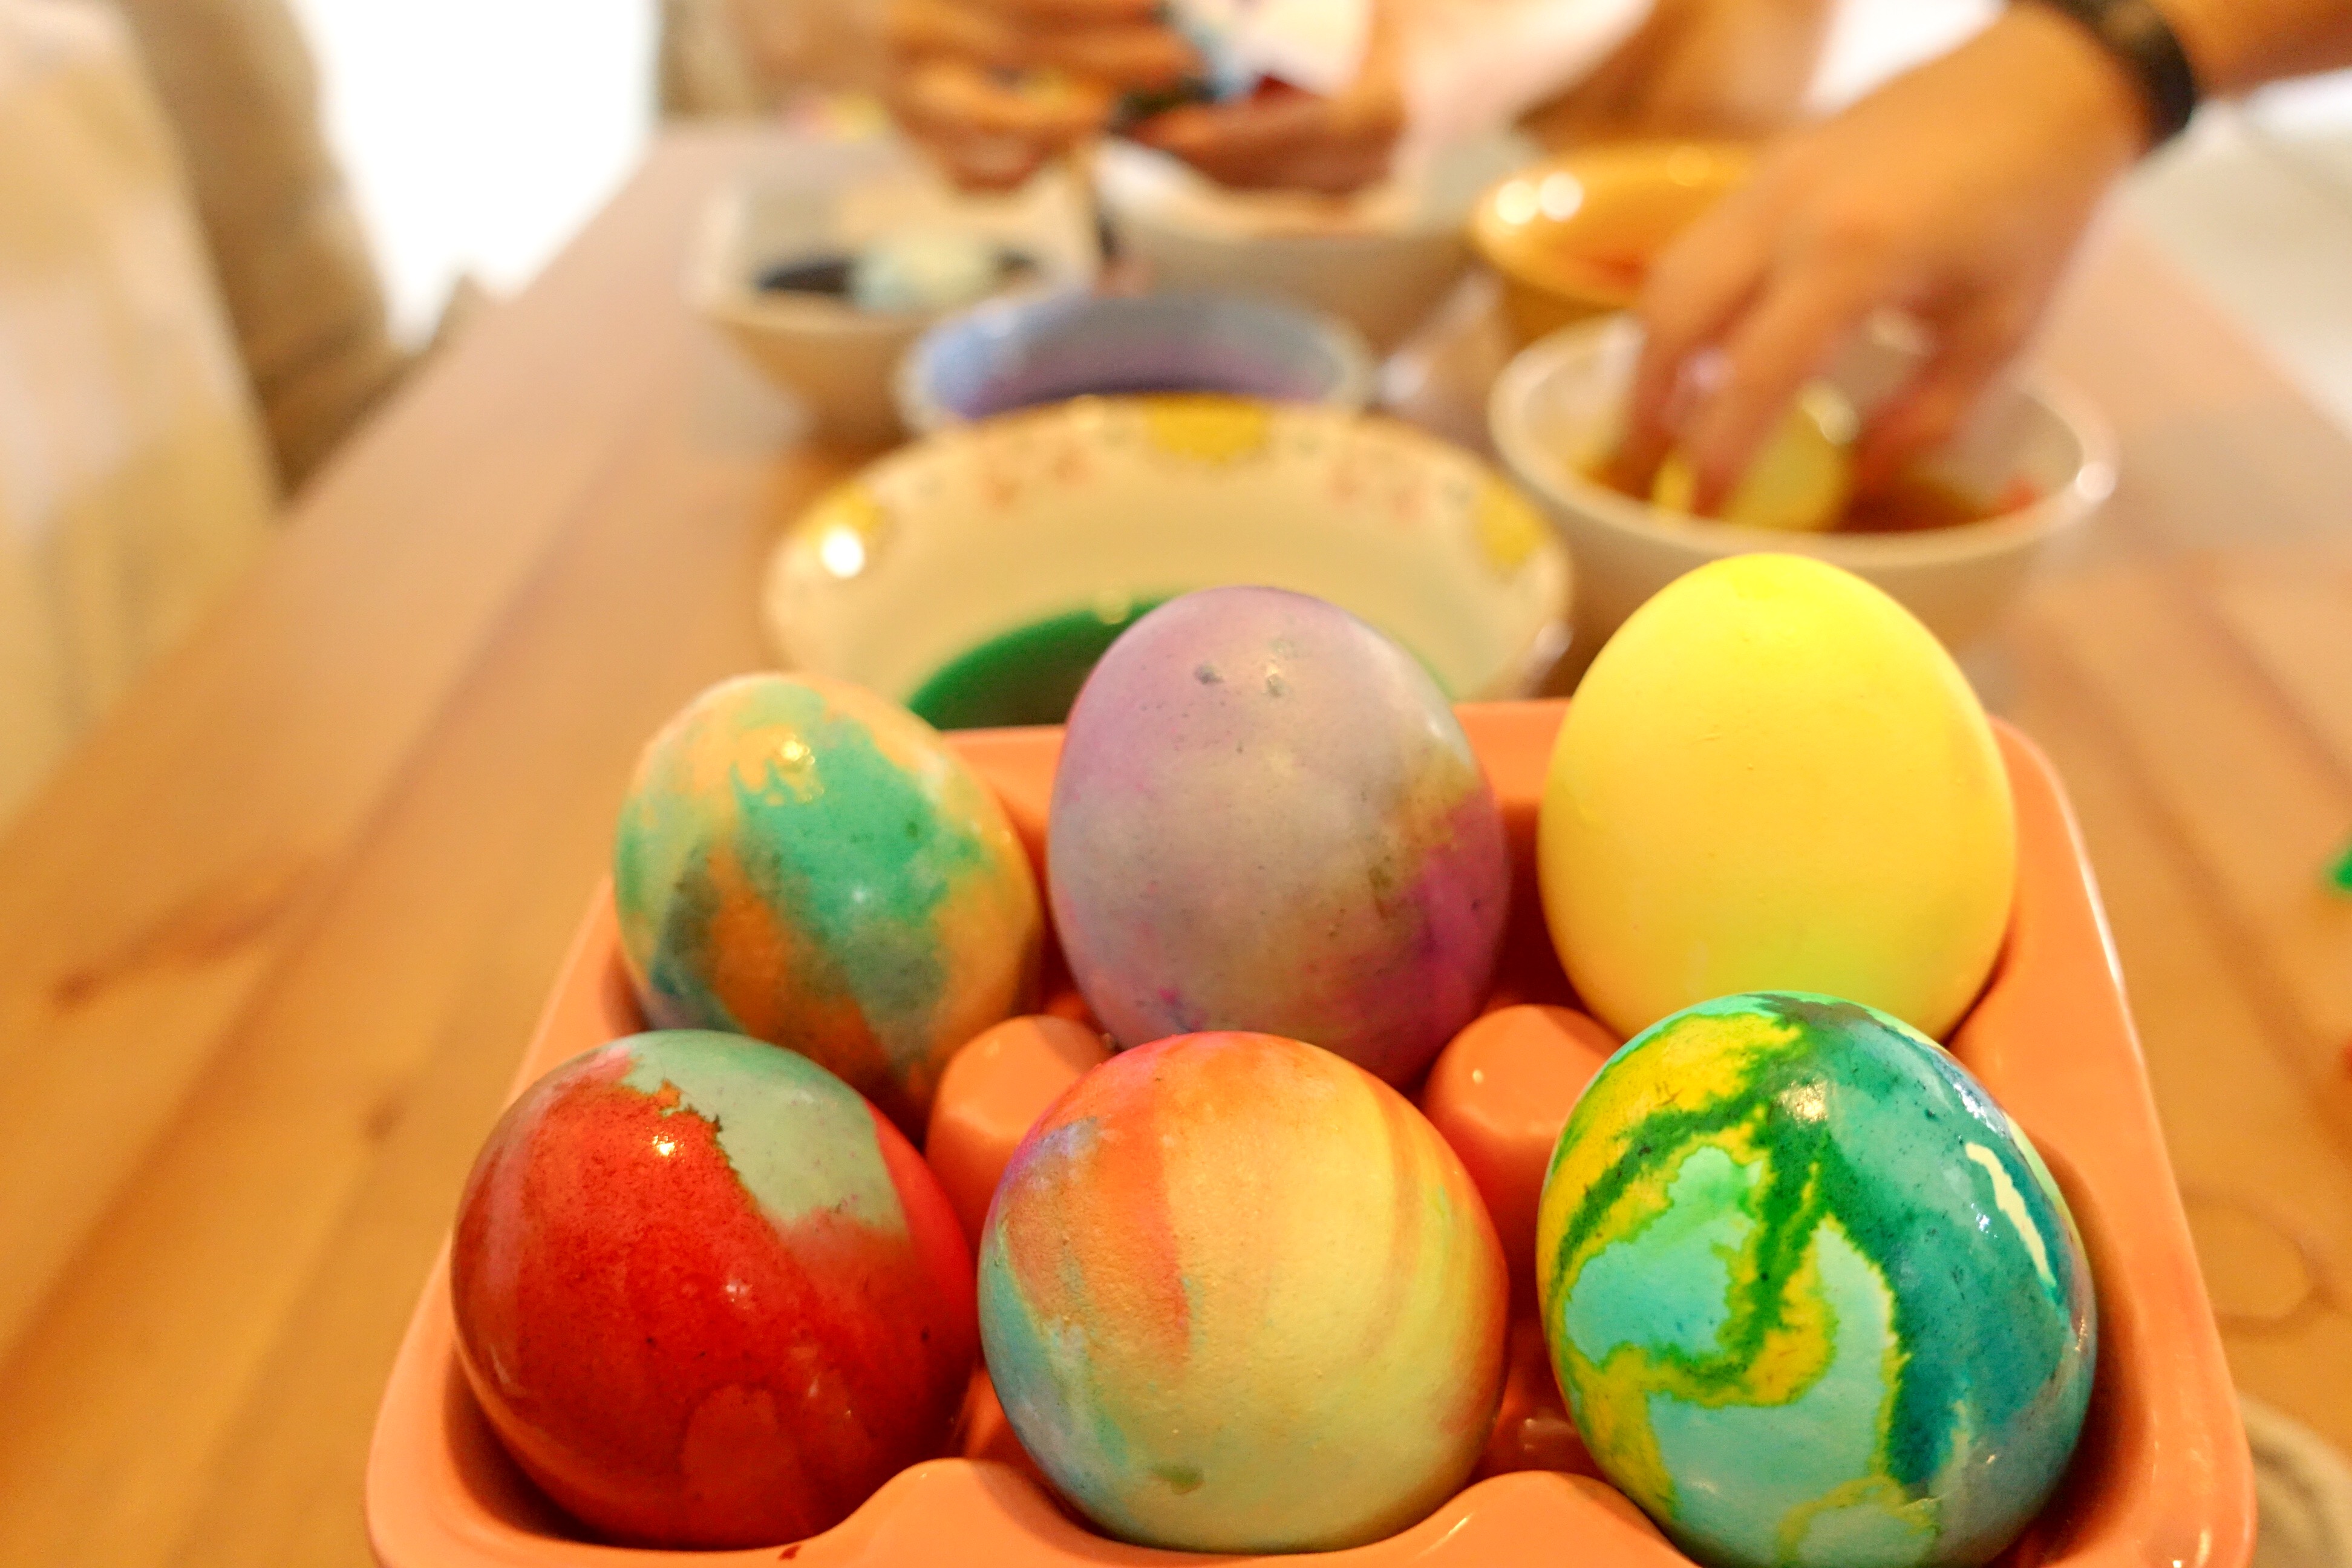
BOARD GAMES – you guys my family and I used to play Dungeons And Dragons, like the board game version! Oh yes, we were supes popular in school LOL I legit think a wonderful team building activity is a board game or arts and crafts. You learn how to NOT be a sore loser *me* and how to appreciate a night in with board games and crafting. And remember when crafting, “God don’t make no junk”- 100 points to whomever can guess where that’s from! LOL

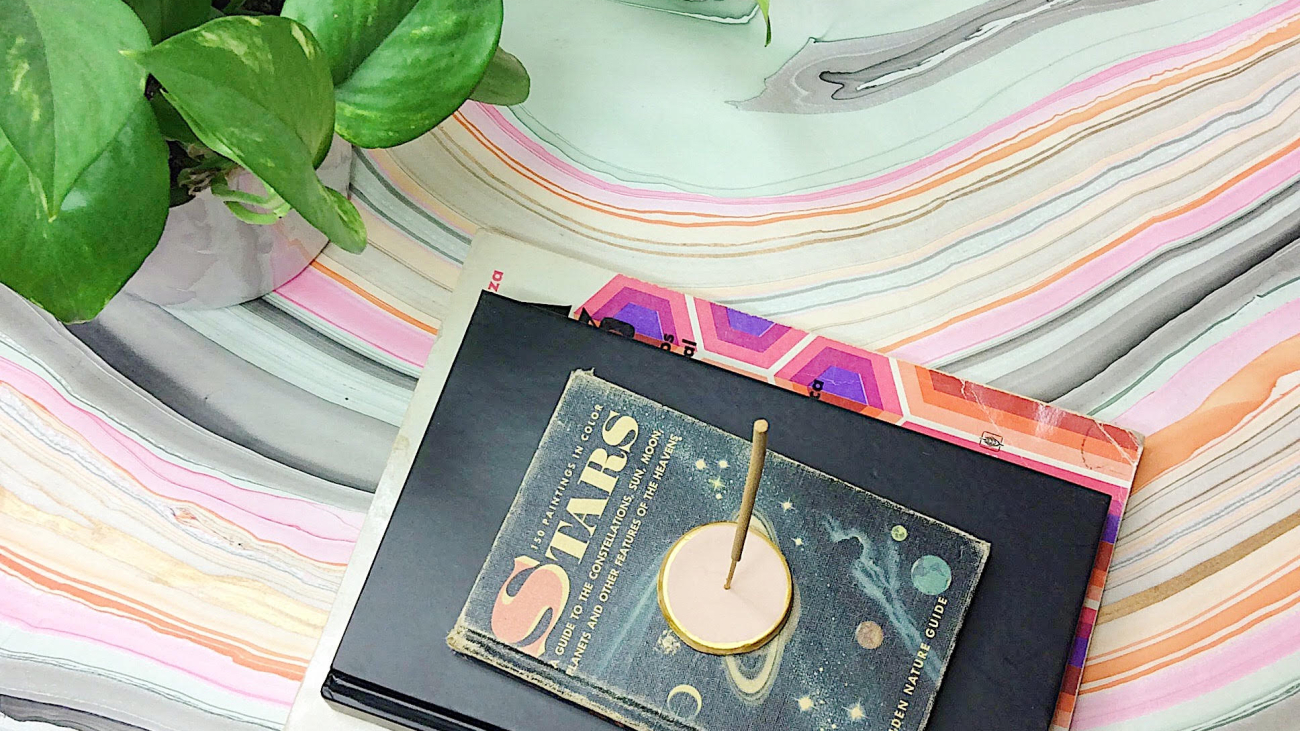
MUSEUMS – or art exhibits even! These are fun, free (mostly), AND you’ll all learn something along the way. Fun fact, I got really into the stars and constellations as a child and even wanted to be an astronaut. Visiting museums absolutely contributed to that dream! Can you tell from this list so far that I’m a HUGE nerd?! I love nerds <3

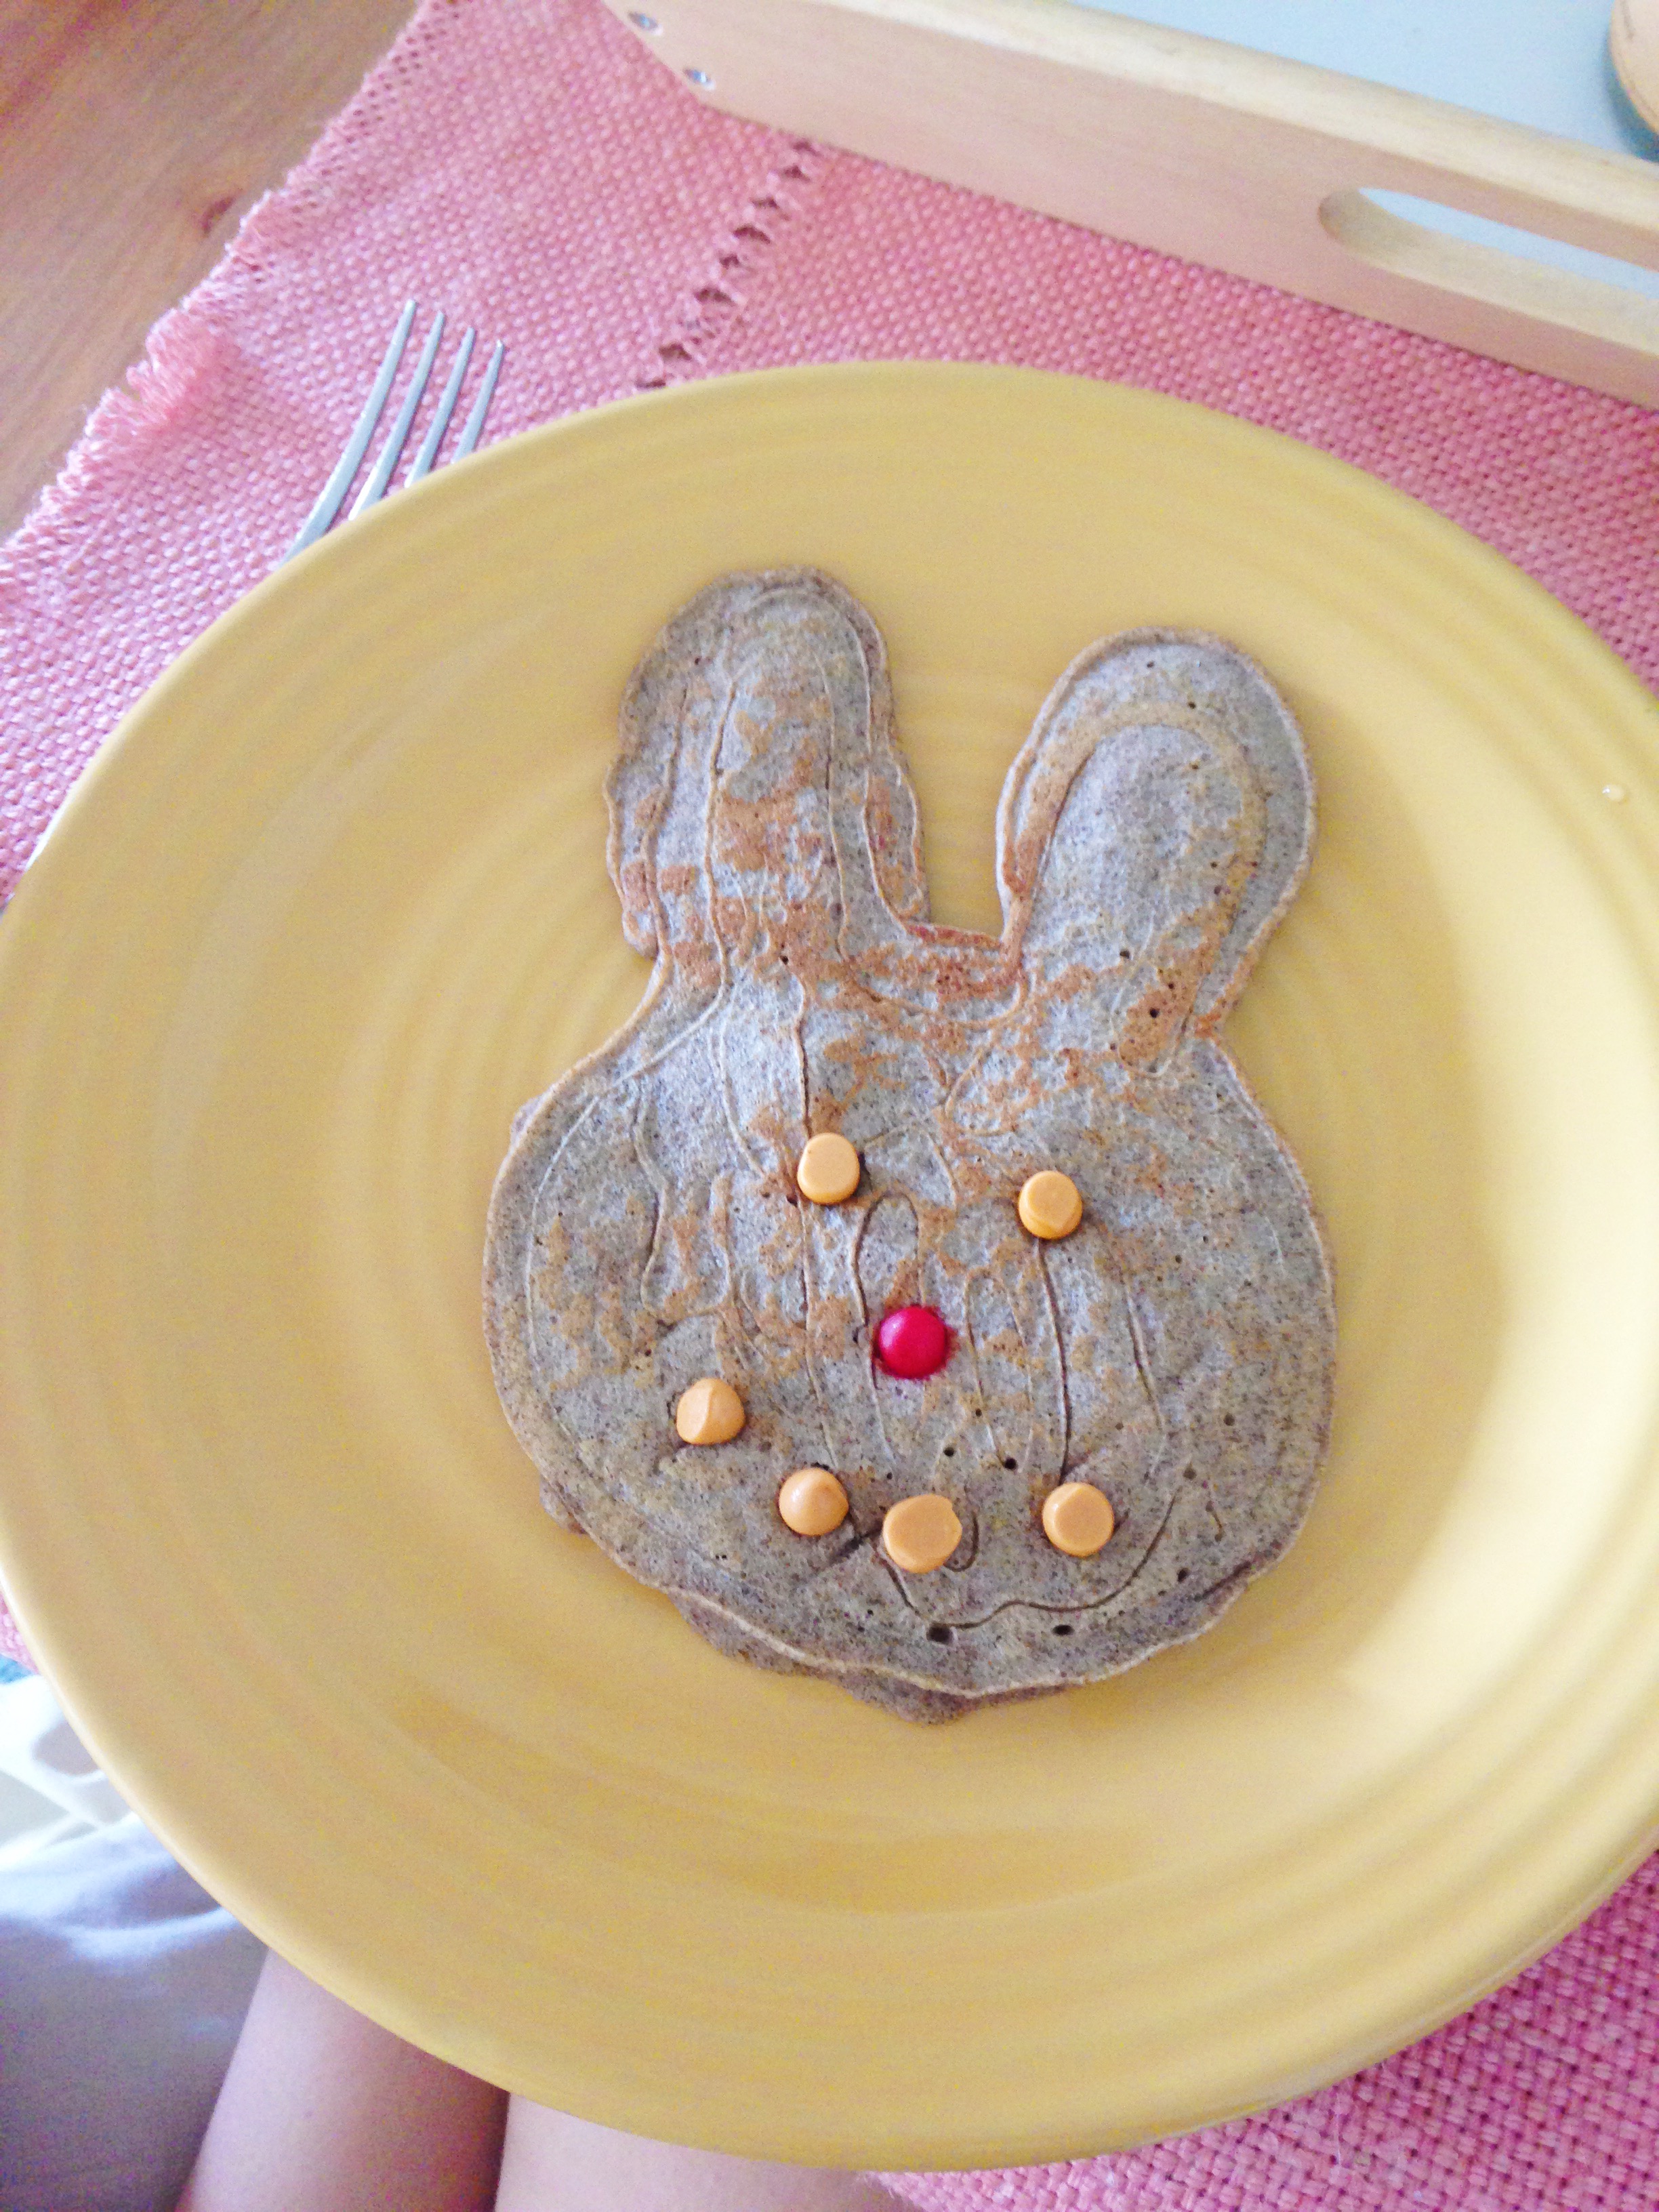
COOK TOGETHER – how fun to teach the kids (and your significant other) how to cook! The stirring, the spices, the creativity of it all, it’s one of my favorite things to do even when we do nothing but make mac n cheese together while noshing on snacks in the kitchen. It’s fun to ‘Pinterest pluck’ and just make a recipe you wouldn’t usually make, get cookin!

MOVIE NIGHT – reminiscent of Blockbuster night, movie night is the best way to snuggle up with your babes and make popcorn the old fashioned way! Toss all of the pillows and blankets onto the floor and just have one big ol’ slumber party – onesies highly encouraged!

TALENT SHOW – how fun right? Lets put on a talent show for one another! Sing, dance, put on a play, it’s just so fun to be silly and encouraging. Also, this is how those blooper reels from America’s Got Talent are created so lets also be real with one another mkayyy! 😉

GO FOR A DRIVE – alright, so this is gonna sound super cheesy but one of my favorite things in life ever, is to just pack up the car, my family, and puppy Luna and drive. Drive to another city, explore another town, anything, but ya gotta do it! The open road is full of new adventures … and new places to eat teehee 😀


I hope you enjoyed this list of fun and almost free things to do with your loved ones, you could even refer to this for fun date night ideas!

Are there any other things that you love to do that we can add to this list? Share! <333


EASY VALENTINE’S DAY DIY – INCENSE HOLDERS! LOVE, CORRINE

Happy Valentine’s Day! If you’re a last minute gift giver . . . ahem it’s TODAY, than this DIY will not only save you time and money, but it’s also personalized and super unique! AKA it will cover up your last-minute-DAY OF-gift-giving tendencies LOL! All will be forgiven!

So whether you’re making it for your special one or with your ladies for Galentine’s Day festivities, it’s a lot of fun and super minimal. Don’t be afraid to get messy and make some mistakes, that’s where all the fun is at! All you’ll need is the polymer clay of your choice, an x-acto knife or mold, and gold paint. Before you begin, set the mood with this Valentine’s playlist I created just for you!

Directions:

1. Roll your polymer clay into a ball. I used beige because it resembled more of a light pink to me. Once you’ve rolled it into a ball, flatten it out with a rolling pin (can also be done with a cup or jar! )

2. Now that it’s flattened out, use your x-acto knife and/or mold to shape your clay. (For the circle, I used the rim of a candleholder) Don’t be afraid to get creative and make all kinds of wacky shapes!


3. Now that you have the shape you want, poke a hole in the middle of the clay with an incense stick, just enough so that it can wiggle around a bit.

4. It’s time to bake! Preset your oven to 275°F and let your creations bake for 15 minutes.


5. Once they are done baking, let them cool. When finished cooling, grab your gold paint and begin painting the sides and around the outer rim. Imperfections and uneven lines will make it look even more authentic and effortless, so have fun with it! You can also paint the entire thing gold or create a pattern on it. You’ll most likely have some extra clay sitting around, so you can make more to give to your friends and loved ones. ?

Altogether, the supplies for this tutorial cost me a grand total of $10 and I made almost a dozen holders! They’re the perfect gift for your bestie, room decor, or housewarming present and are super sweet!


I hope you enjoyed this tutorial and high five for saving the day <3

Happy Valentine’s Day!!!

Love, C


VALENTINES DAY READY!

I’m so excited to share that you can finally shop my posts directly and see what products I’m currently using in my featured videos! You’ve perhaps seen this utilized by other creators on Instagram and Facebook, so if you aren’t on DubCandy already, download it (it’s free!) and add me! I’m jess_lizama over there just like on all of my other platforms. I’m sharing my most recent videos over there!

This week I have for you a Valentine’s day cocktail (Cupid’s Kiss to be exact), a ‘day to night out’ makeup look, and the worlds quickest and easiest flat-iron ‘beachy waves’ tutorial!

If you’ve already explored the app and shopped people’s posts and videos, please share them with me so I can see what everyone is most interested in these days! I’d love to know if you’d like to see more beauty stuff from me, or cooking and travel . . . let me know and I’ll recruit my Corriney to help me post more frequently on there! I love being able to link you to the things I’ve tried and tested, and I hope you enjoy these and it makes it easier for you to peruse the items I feature:D


Do you like posts where you can shop the products featured or do you feel distracted by the option? 


FTC: I am an affiliate with DubCandy but the products I feature and the opinions expressed here are mine. As always I’ll continue to share with you the things I truly use and love, and always in my honest opinion.

BEST GAME DAY RECIPES!!!

I once joined a fantasy football league just so that I could bring goodies and have gigglefests with my friends. As I began to pick my lineup based solely upon how “cute” I thought the players names were, I also realized that it was a BIG deal! So I decided to redeem myself by giving you 3 of the most yummiest best game day recipes ever! Even if you are only there for the food and fun, at least you’ll be contributing by way of deliciousness! Enjoy babies!


DESSERT PIZZA! A crowd pleaser and worthy of any occasion really, this ‘pizza’ takes 10 minutes to make and will be gone even quicker than that!

You’ll need:
– a small package of strawberries and blueberries
– (1) 8oz package of softened cream cheese
– 2 cups of Reddi-wip whipped topping
– 2 teaspoons sugar
– 2 tablespoons honey
– 2 tablespoons minced basil
– 1 crescent roll dough

Method:
Bake the ‘pizza’ crust per the instructions and while it’s baking cream together the whipped topping, honey, and cream cheese. In a separate bowl chop up the strawberries and blueberries, add in the sugar, and toss. Allow the pizza to cool, top it with the whipped cream cheese mixture, spread the berries on top and then sprinkle with the basil. ENJOY!

COCONUT CHICKEN SKEWERS WITH HOMEMADE SPICY PEANUT DIPPING SAUCE!


What you’ll need for the skewers: 
– 5 boneless chicken breasts
– 1 can coconut milk
– 1/4 cup soy sauce

Method: cut the chicken into chunks and marinate for a few hours in a bowl with the coconut milk and soy sauce. You have time for the peanut sauce now!
– 1/4 cup Peter Pan creamy peanut butter
– 1/3 cup sweet and sour sauce
– 3/4 cup water
– 1 1/2 tablespoons soy sauce
– 1 1/2 tablespoons red pepper flakes

Once you’re ready to grill the skewers brown them until fully cooked and then combine the peanut sauce ingredient in a bowl and whisk together and ENJOY!

CHILI CHEESE DIP!


An oldie but goodie, this is a crowd favorite! I don’t think I’ve ever been to a sports gathering and not had a cheese dip or layered dip of some kind. This is spicy, creamy, and cheesy!

What you’ll need:
– a bag of your favorite chips (I love blue corn tortilla chips!)
– (1) 16 oz Velveeta cheese
– 1 can of vegetarian chili (or you can go with turkey or ground beef)
– 1 can of diced tomatoes with chilies
– paprika

Method:
Cut the cheese into chunks and in a pot add in the cheese, chili, and drained can of tomatoes. Stir the mixture up over medium low heat until the cheese is melted and then sprinkle with a few dashes of paprika! DIP AND ENJOY!


If ever you invite me to your party or you see me out at an event, you’ll most likely find me near the snack table or food cart 😀

Do you have any special game day recipes?! I love trying new things, share with me what you like to bring to a cookout or game day gathering! 


DIY DAILY BRUSH CLEANER – HOW TO PREVENT BREAKOUTS!

Looking back, as a teenager I thought I had terrible skin. I mean I broke out like any normal hormone-raged, pubescent teen would but I really thought I had a problem. Like, I made my dad buy me acne pills and I tried every face wash you could think of. I was 12 and no medication or face astringent on the planet could do away with my breakouts. Now as an adult, I’m breaking out and it’s unlike a normal adult woman should. The only difference between then and now is that I knew then what was triggering my breakouts.

By process of elimination I realized that my problem was that I wasn’t cleaning my cosmetic brushes AND makeup enough. I was doing everything I needed to in terms of keeping my skin clean, but I was being pretty lazy when it came to daily maintenance of the products that touch my skin every dang day. Imagine the bacteria . . . ewww gross.  S0 today I’m sharing with you my DIY daily brush spritz and a super simple way to deep cleanse your brushes weekly. 
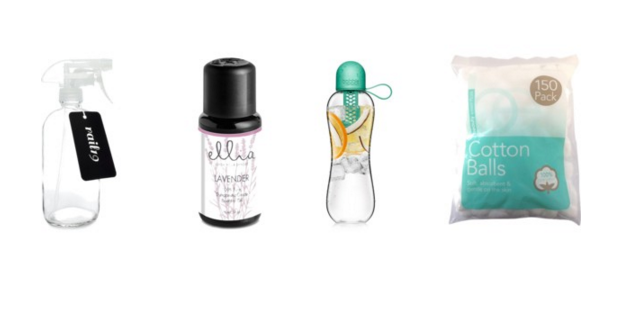
So for the daily brush spritz you’ll need an empty spray bottle, mineral water, alcohol, your favorite essential oil, and some cotton balls or paper towels.
– fill the spray bottle 70% full of water and then fill it up another 30% with alcohol
– add in 9-11 drops of your favorite essential oil (I love lavender!), give it a good shake and then spray a few spritzes onto a paper towel or tissue paper and swirl your brushes around (in a back and forth motion) until they’re clean.
– air dry

*the alcohol will cleanse and disinfect your brushes, the essential oil will recondition them since alcohol is very drying and pungent, and the water will help to dilute the mixture and the alcohol. You can use this method daily to give your brushes a nice quick cleaning so that during the week you aren’t reintroducing old makeup and bacteria onto your skin, hence the pesky breakouts.

About once a week or so I’ll deep cleanse my brushes since even my daily cleanser isn’t always enough. Most makeup shampoos can be a bit pricey especially if you’re washing up to 20 brushes! *raises hand* so I’m bringing back an old favorite that you may have seen before!
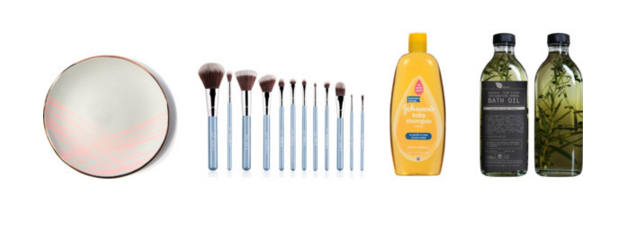
For this DIY brush shampoo/conditioner you’ll need a mild shampoo, olive oil, and a plate for mixing. Simple right?!
– pour equal parts of the shampoo and olive oil onto the plate and use your brush to combine the mixture and to saturate the bristles with the combination
– use the palm of your hand to swirl the brush around and create suds (back and forth and swirls onto your palm) until you’ve gotten most of the pigment out
– run the brush under tepid water until the water runs clear and your brushes are clean
– reshape the brush and then lay them flat or at least bristles down, so that they air dry without allowing the water to enter the handle of the brush and rusting your goods

*the shampoo is effective yet mild enough to deep cleanse your brushes weekly and the olive oil with recondition them

Don’t forget to disinfect your makeup and tools at least once a week also! So your pressed powders, palettes, and tools should all get a nice lil alcohol bath simply using alcohol and a cotton round. This will keep your makeup clean and your skin clean too!

To see all of this in action check out the tutorial I did on my YouTube channel and please subscribe if you haven’t already! I love doing stuff like this!

How often do you clean your brushes, makeup, and tools?! Do you fellas out there clean your stuff too? You totally should! 


BRIDE GUIDE: TOP 5 WEDDING PLAN TIPS!

I’m so excited to share this series with you and I’m also creating videos for it on my YouTube channel! Welcome to the Bride Guide, from yours truly! Because, those that can’t do, teach and I’ll be the first to admit that I suck at planning! Like really I’d rather have someone else just tell me where to be and when ha! Realistically though I’m a control FREAK so I’m giving you my tips and tricks to staying bright and breathing and never turning into the huffing puffing bridezilla, from the control freak in me to the control freak in you!

So the part of wedding planning that I found to be the most stress inducing (ahem the entire ‘planning’ part of it duh) has become the most fun to do … once I relied on other sources to do it for me of course! Today I’m sharing with you my bride guide to planning your big day with ease, featuring some of the sites I’m currently using to prep, plan, style, and SAVE with my top 5 wedding planning tips!


1. Create a site– a landing page for guests and a place to get information surrounding your wedding. If I have a ton of questions I can’t imagine the questions my guests would have and creating a site for this puts it onto one place- the who, the where, the what, the when, the hows! You’ve probably heard of Martha Stewart weddings and The Knot, and I love checking in on those sites to see if I’m on track with the planning ‘time line’ (oh yeah, there’s a freaking time line to follow! No pressure!), but I’m using RileyGrey.com for my actual wedding site and reception hub. It feels daunting but it’s super user friendly and if I can navigate it, your tortoise probably can too! You design the page, you fill in the information, create your own personalized link, and boom, you’re like a pro baby!

2. Set a date and pick a location– I feel like these two go hand in hand because if you plan on a destination wedding *raises hands and feet* than timing becomes crucial depending on time of year, weather conditions, and travel. Also, when you set a date the next natural thing to do is pick your location which takes away 99.9% of stress, at least for me it did. I’m living and breathing by THIS blog by JetFete which caters to destination wedding planning, and helps you narrow down your options, sift through all the possibilities, and goes through every question you may have lingering when it comes to planning a wedding away from home.

3. Food, flowers, and such– choosing a vendor that offers prime location, handles decorating for you, and provides food AND beverage service is like a dream come true! But lets face it, most vendors aren’t all inclusive, thus you’re left to fend for yourself. I got your back though, CaratsAndCake is a site that allows you to shop your vendors ACCORDING TO LOCATION (whoa! and hence pick your location first) with the help of other brides who’ve already had their weddings and link you out to each of the services they used. Genius right?!?!?! So you go through the albums, it features photos from their wedding and the links to their vendors from food, to their dress, to decorations and flowers! These links are located at the bottom of the post which takes you to a page with other work the company has done, and from there you can contact the vendor directly.
G E N I U S

4. Take photos and send Save The Dates!– taking lovey dovey pictures are the fun part! You get to look all kissy and fishy faced with the love of your life … in front of strangers, and hold poses that seem awkward but look sexy! Then you send those to your family and friends as Save The Dates and RSVP cards 😀 Postable is like oxygen to me right now because it gathers the mailing address and contact information from all of your guests and puts them into one place for you. So when you’re ready to mail out your invitations simply upload or export that information to your stationary person or print them off yourself and you’re set! It’s a free service and you create a personalized link which you then email your guests with. It takes them to the landing page where they fill out their information and it goes directly to you, never shared (that was a big deal for me). You could use this for holidays, special occasions, and birthdays since you update the list yourself throughout the year.

5. Register and receive– gifts! The super duper fun funners part! Well it’s all fun but I mean c’mon, wahooo gifts!!! Sites like The Knot, Honey Fund, and others also allow your nearest and dearest to either purchase a gift from your registry or contribute to your honeymoon. Since I will both register for gifts AND ask for honeymoon perks, I’m using NewlyWish. With group gifting options and a low cash fund fee, it was just the way to go for us. I also never know what I need or want- I want it all, but this site helps you skim through products and add them to your list with a click of a button . . . ummm yes please!

So I realllllly hope this post helped you if you’re planning a wedding, helping someone else plan theirs, or will be planning in the future! There are so many resources out there like Etsy and Pinterest that give you a plethora of options when it comes to story boards and sharing ideas, and gift giving! However these are the sites I’m currently using to organize my thoughts and plans for my own wedding and I wanted to share them with you before things start to get cray lol.

There are some key things left out of this article like dress shopping and timelines, which will be woven in between all of this, but these were the items that I needed to check off my list in order to settle the nerves and be able to function and get shit done in my life so there ya go! And cheers to you <333

Are there any sites or companies you use for planning a wedding or special occasion? 


BEST CINCO DE MAYO RECIPES – MARGARITAS AND CHURROS!

Audio Player

READ TIME: Less than 2 minutes or LISTEN above!


Happy Cinco De Mayo everyone!!! Today is a day for celebration, music, and culture … and FOOD! Today I’m sharing with you the BEST Cinco De Mayo recipes including a Spicy Watermelon Coronarita and homemade Churros!!!

Hold on to your chonies because these are crazy delicious!

SPICY WATERMELON MARGARITA – CORONARITA


In a blender mix 2 shots (per serving, yes this is strong like bull) of tequila, a shot of orange liqueur (I used Bahama Mama’s peach slushy from Ralph’s), the juice of a teeny lemon wedge, 1 tablespoon of jalapeno juice  (straight from the jar baby), and a handful of watermelon wedges (frozen for extra slush!). Once blended, pour into a TALL glass but not before rimming it with salt, and top it with half a Corona (or the whole thing get wild!), and drink with responsibility. <—- disclosure because I’m a mom so I’m everyone’s mom.

This is truly one of the BEST coronaritas I’ve ever had! Yes this was the first one I’ve ever made, but it won’t be my last 😀

HOMEMADE CHURROS – IN FIVE MINUTES OR LESS!


I got this recipe from Pinterest and she’s brilliant because it took me all of 3 minutes to make these and they’re DELICIOUS! Crispy, sweet, cinnamon-y, and buttery!


This is SO easy and you’ll be nomming on these in minutes! I thawed out some frozen Sara Lee frozen food cakes, cubed them and then fried them up! Immediately after, I tossed them around in a sugar and cinnamon mixture (1 cup sugar and 1/4 cup cinnamon) and then didn’t even wait for them to cool off before DEVOURING them! So so so good!

I hope you have a happy and safe holiday weekend, please TAG me when you make these scrumdillyumptious recipes and let me know what your Cinco De Mayo plans are!

One of my favorite holidays, I love learning about the history, the culture, and the stories behind some of my most coveted recipes!

Watch me make these LIVE here on my channel!

mothersday1

MOTHER’S DAY MADE SPECIAL!

Easily titled one of the most special holidays of the year, Mother’s Day is next weekend! I love Mother’s Day, not just because I’m a mom but because it’s a day to celebrate all moms, and the dads who take on mom duty full-time, I’m looking at you!

As a single mom I really appreciate all of you guardians, care givers, single dads, and anyone else stepping in to take on the ‘mom duties’! Lucky for all of us, on May 8th we get to celebrate you all!

So today I’ll share with you my personal take on gift giving, what it means to me, and the 3 easiest yet most thoughtful gifts you can give to mom!

#1 ARTS & CRAFTS! 

mothersday2
I will forever cherish hand-made gifts from people who I love, especially the little ones! I remember when Corrine would make macaroni necklaces for me for holidays, or paintings, or finger painted musings for the refrigerator. I miss those little things, but this year we made ceramics together for my birthday and I couldn’t think of a better gift to give someone than something you make with your hands. It’s so sweet and original, there won’t be another like it anywhere.

#2 I OWE YOU!

mothersday3
What may seem like a cop-out or an easy gift idea is actually pretty brilliant if you ask me! An I owe you for an hour of alone time, or breakfast in bed, or for you to do the dishes for the entire day?! Yes please!!! I’ll take all the IOU’s I can get! These are special because  you’re giving mom what she wants and what you know she’d really like and appreciate. Never underestimate the power of a good IOU 😉

#3 A PERSONALIZED GIFT JUST FOR MOM

Last but definitely not least, giving her a personalized gift is personal and especially special because it’s unique and again one of a kind <3 Taking this back to those macaroni necklace days, it’s nostalgia meets new memories … and old ones. You can personalize jewelry for mom, or mugs, or a tee-shirt for her even!

Corrine and Joe surprised me by customizing necklaces for me from Jevelo, a fun and user-friendly app where you select a photo from your camera roll or take a photo and import it into the design page and create your own custom jewelry! You can even design necklaces around a drawing or idea you have so long as you can take a photo of it. I actually had Luna design a necklace for the two of them also because Mother’s Day is about family for me. A day to celebrate family and not just me … but the me part is pretty special too 😉

mothersday4
Jevelo were so awesome to send us these necklaces for my our special day and even hooked up our audience with 20% off, just use the code 3SA4E6 at checkout!

No matter what you get your mom for Mother’s Day, I promise she will love it because it really is about the thought behind the gift, the intentions of making her smile and making her feel loved and appreciated. I hope you all have a beautiful Mother’s Day, don’t forget it’s next Saturday, May 8th!

Happy Mother’s Day to all my fellow mommas out there, the guardians, the caretakers, and the dads pulling double duty! My hat is off to you all <3

What are your plans for this Mother’s Day and what’s the most special gift you’ve ever given someone you love?

Our little family did a Mother’s Day surprise video on my channel! Check it out here and please Subscribe if you haven’t already xoxo

WHY TRADITIONS ARE SO IMPORTANT- EASTER EDITION

When Corrine was little and we were really poor, no matter how much money I had or didn’t have – I always made sure she had her holidays. I made sure of that because, tradition. Not to start this post off all heavy and serious, but that was my life. It’s still a struggle being a parent sometimes but in different ways.

Holidays will always be special to us and it doesn’t take a lot of money or resources to make a day remarkable. Today I wanted to share with you our lil family’s Easter tradition!


” … it doesn’t take a lot of money or resources to make a day remarkable” 

I should totally put that text on a teeshirt or mug 😉 So I texted Corrine on Easter morning (because ya know, millennial mom over here) and told her, “come out to the kitchen I have a surprise for you”. I’m like so cool right?! I placed this creepy yet super yummy bunny-shaped pancake on her plate with butterscotch candies for its eyes and mouth, and a cinnamon candied nose. She also got a bowl of fruit, a glass of milk, and a chocolate bar. Happily my lil angel face came to the table and merrily ate her lil pancake because we’re all 4 years old in this house!


I usually stay up late the night before Easter to tuck fake green grass under Corrine’s door and bunny prints that lead from her door to the living room, which guide her to a huge basket full of goodies. This year we were super busy so while I was making bunny pancakes, Joe ran to the grocery store to get candy and fruit! Team work makes the dream work! We did it and our girl was a happy girl!


We dyed eggs, we ate yumminess, and then we took Corrine hiking to a spot she wanted to explore! It was full of rolling hills and poppy flowers, though we missed the poppy field part thanks to California’s drought. Then we ended the day with Taco Bell and ice cream because as grown up as my Corriney is, she’s still a kid at heart, my baby forever- and she eats pizza and ice cream about 3-4 times a week! I love it! Oh to have the metabolism of an 18 year old!

I love establishing traditions with the three of us because it used to be just Corrine and I. It’s a beautiful thing to bring Joe into our day to day and especially into our holidays. It’s really special to me, the memories that we’re creating together- as a family, and that makes me so damn happy.

What are some traditions that you have with your family or your friends? Or even your special someone that only the two of you do!

If you don’t have any traditions yet start one, and I hope this inspired you to do some team building activities with your loved ones <333